.svg)
Create a Project
To create a new project:
-
Click + Add Project.
-
Fill in the project information in the dialog box.
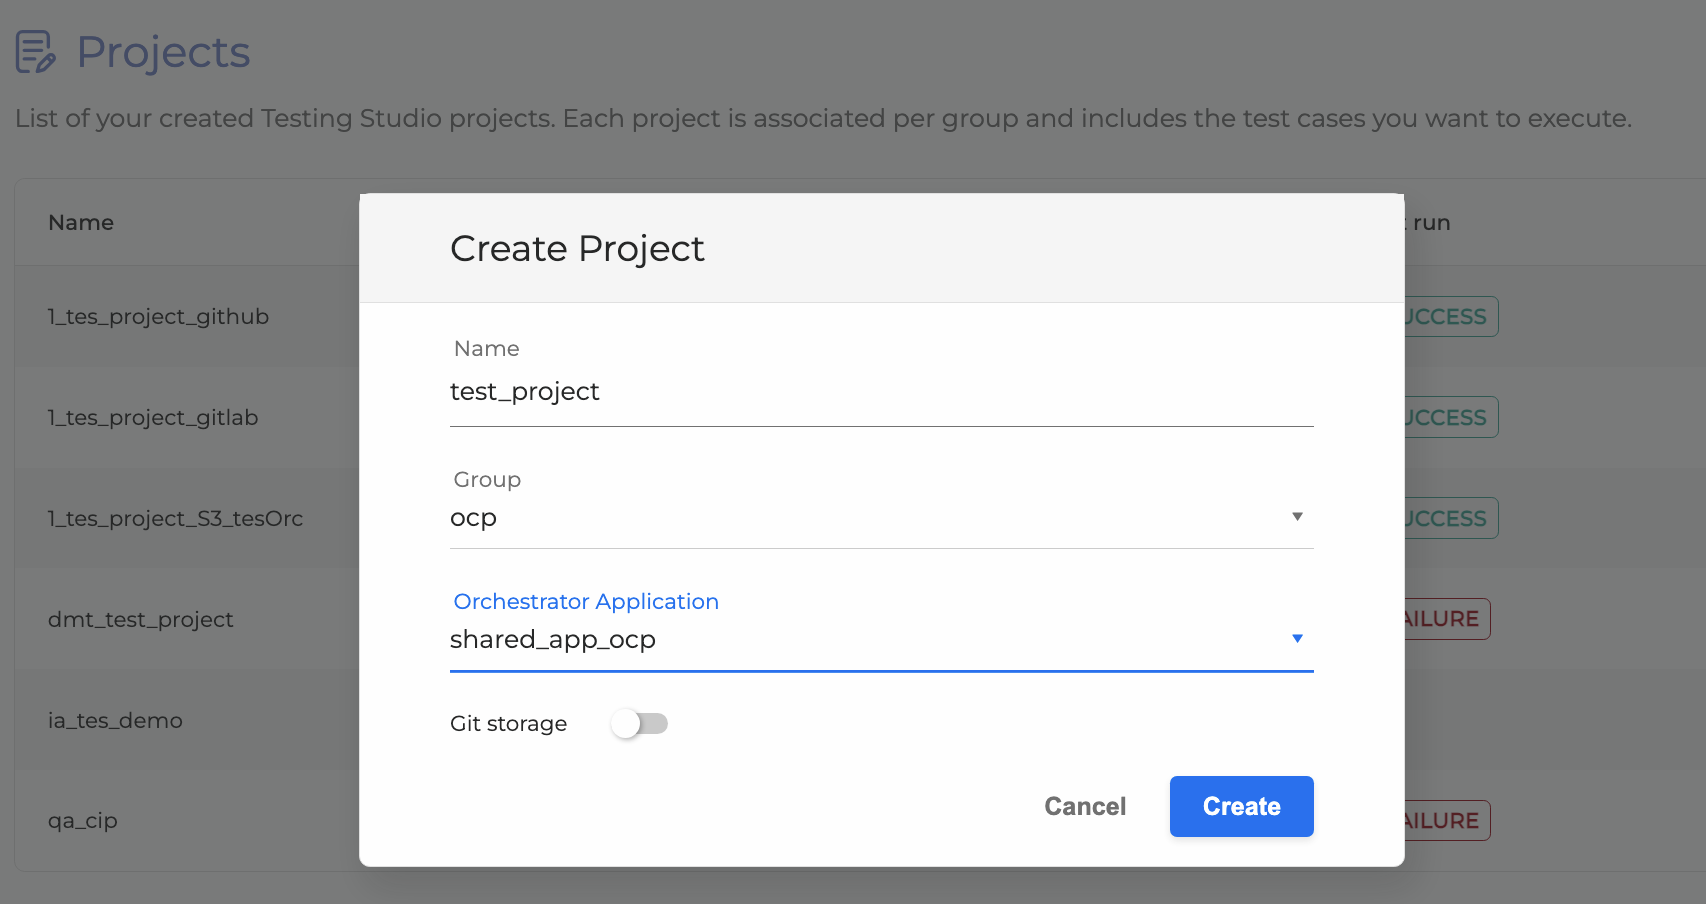
By default, the project is stored in the Cloud storage.
-
If you select Cloud, you can upload the Test Suites directly to the cloud.
-
For GitLab, test suites are stored in the repository.
-
Name: The name of your project.
-
Group: The group the project belongs to.
-
Orchestrator Application: The application created in Orchestrator that you will use for your project.
The list of available Orchestrator Applications is based on the group the user has selected, so selecting the group first is necessary.
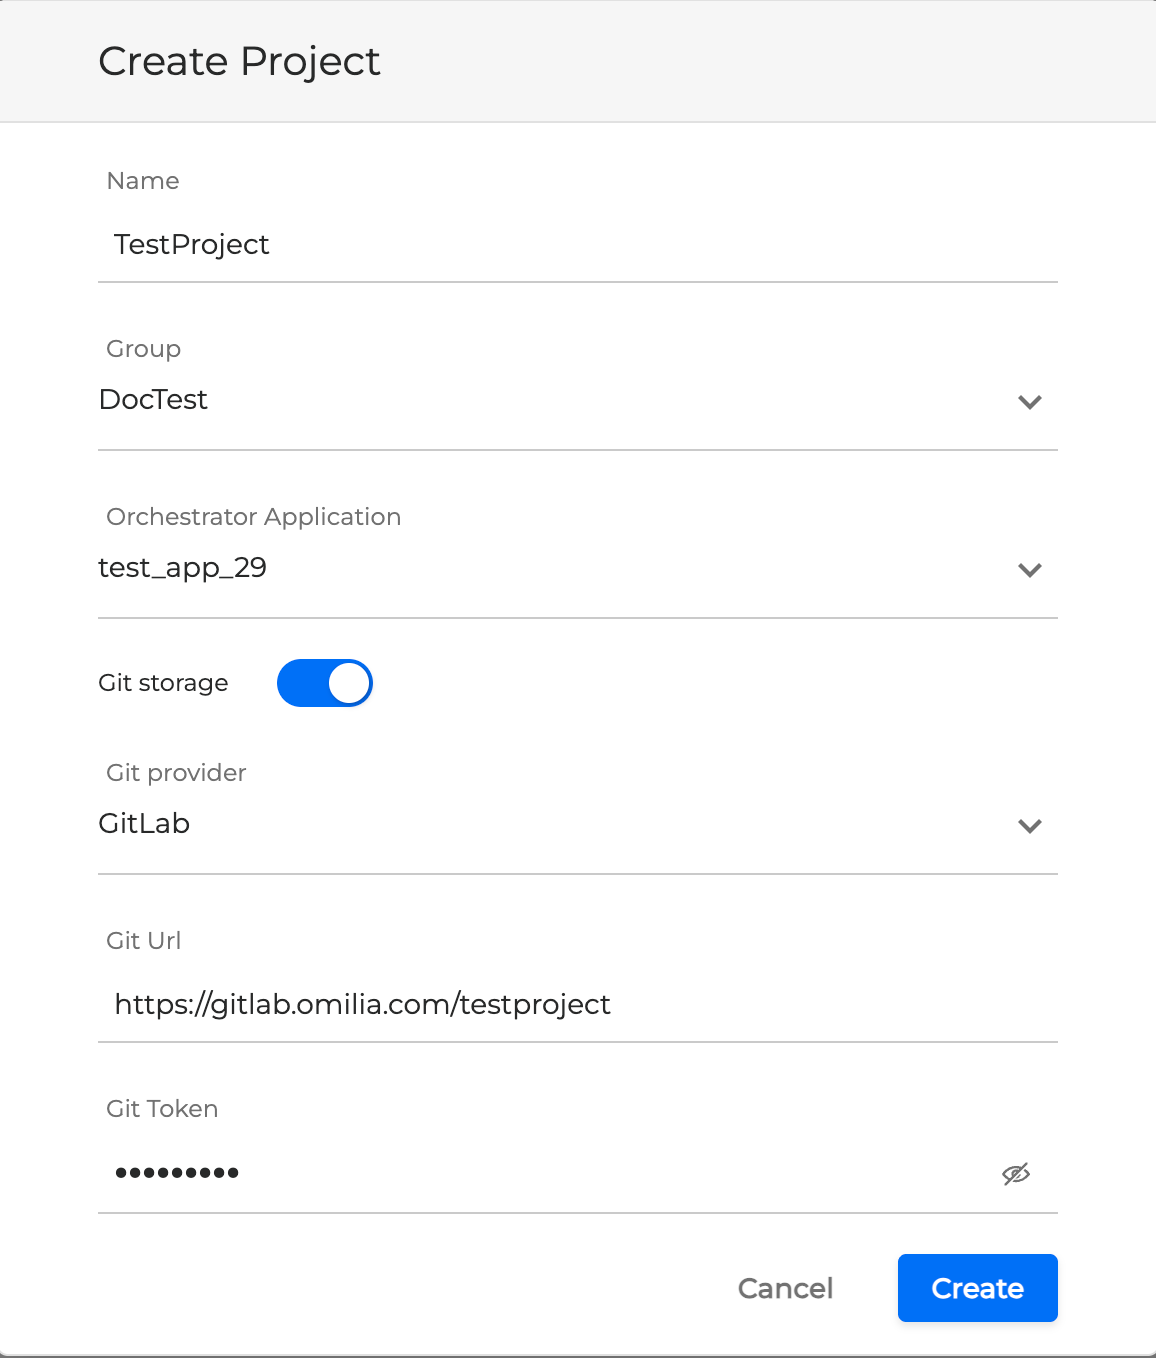
If you want to store it in a Git provider (GitLab, GitHub), toggle the bar accordingly and fill in the following information.
-
Git provider: Select GitLab or GitHub as your Git provider
-
Git URL: The URL of the remote repository with tests. Omilia currently uses GitLab
-
Git Token: An access token to GitLab
For further instructions on generating an access token, refer to the original GitLab documentation.
-
Click Create. Your created projects are listed accordingly.
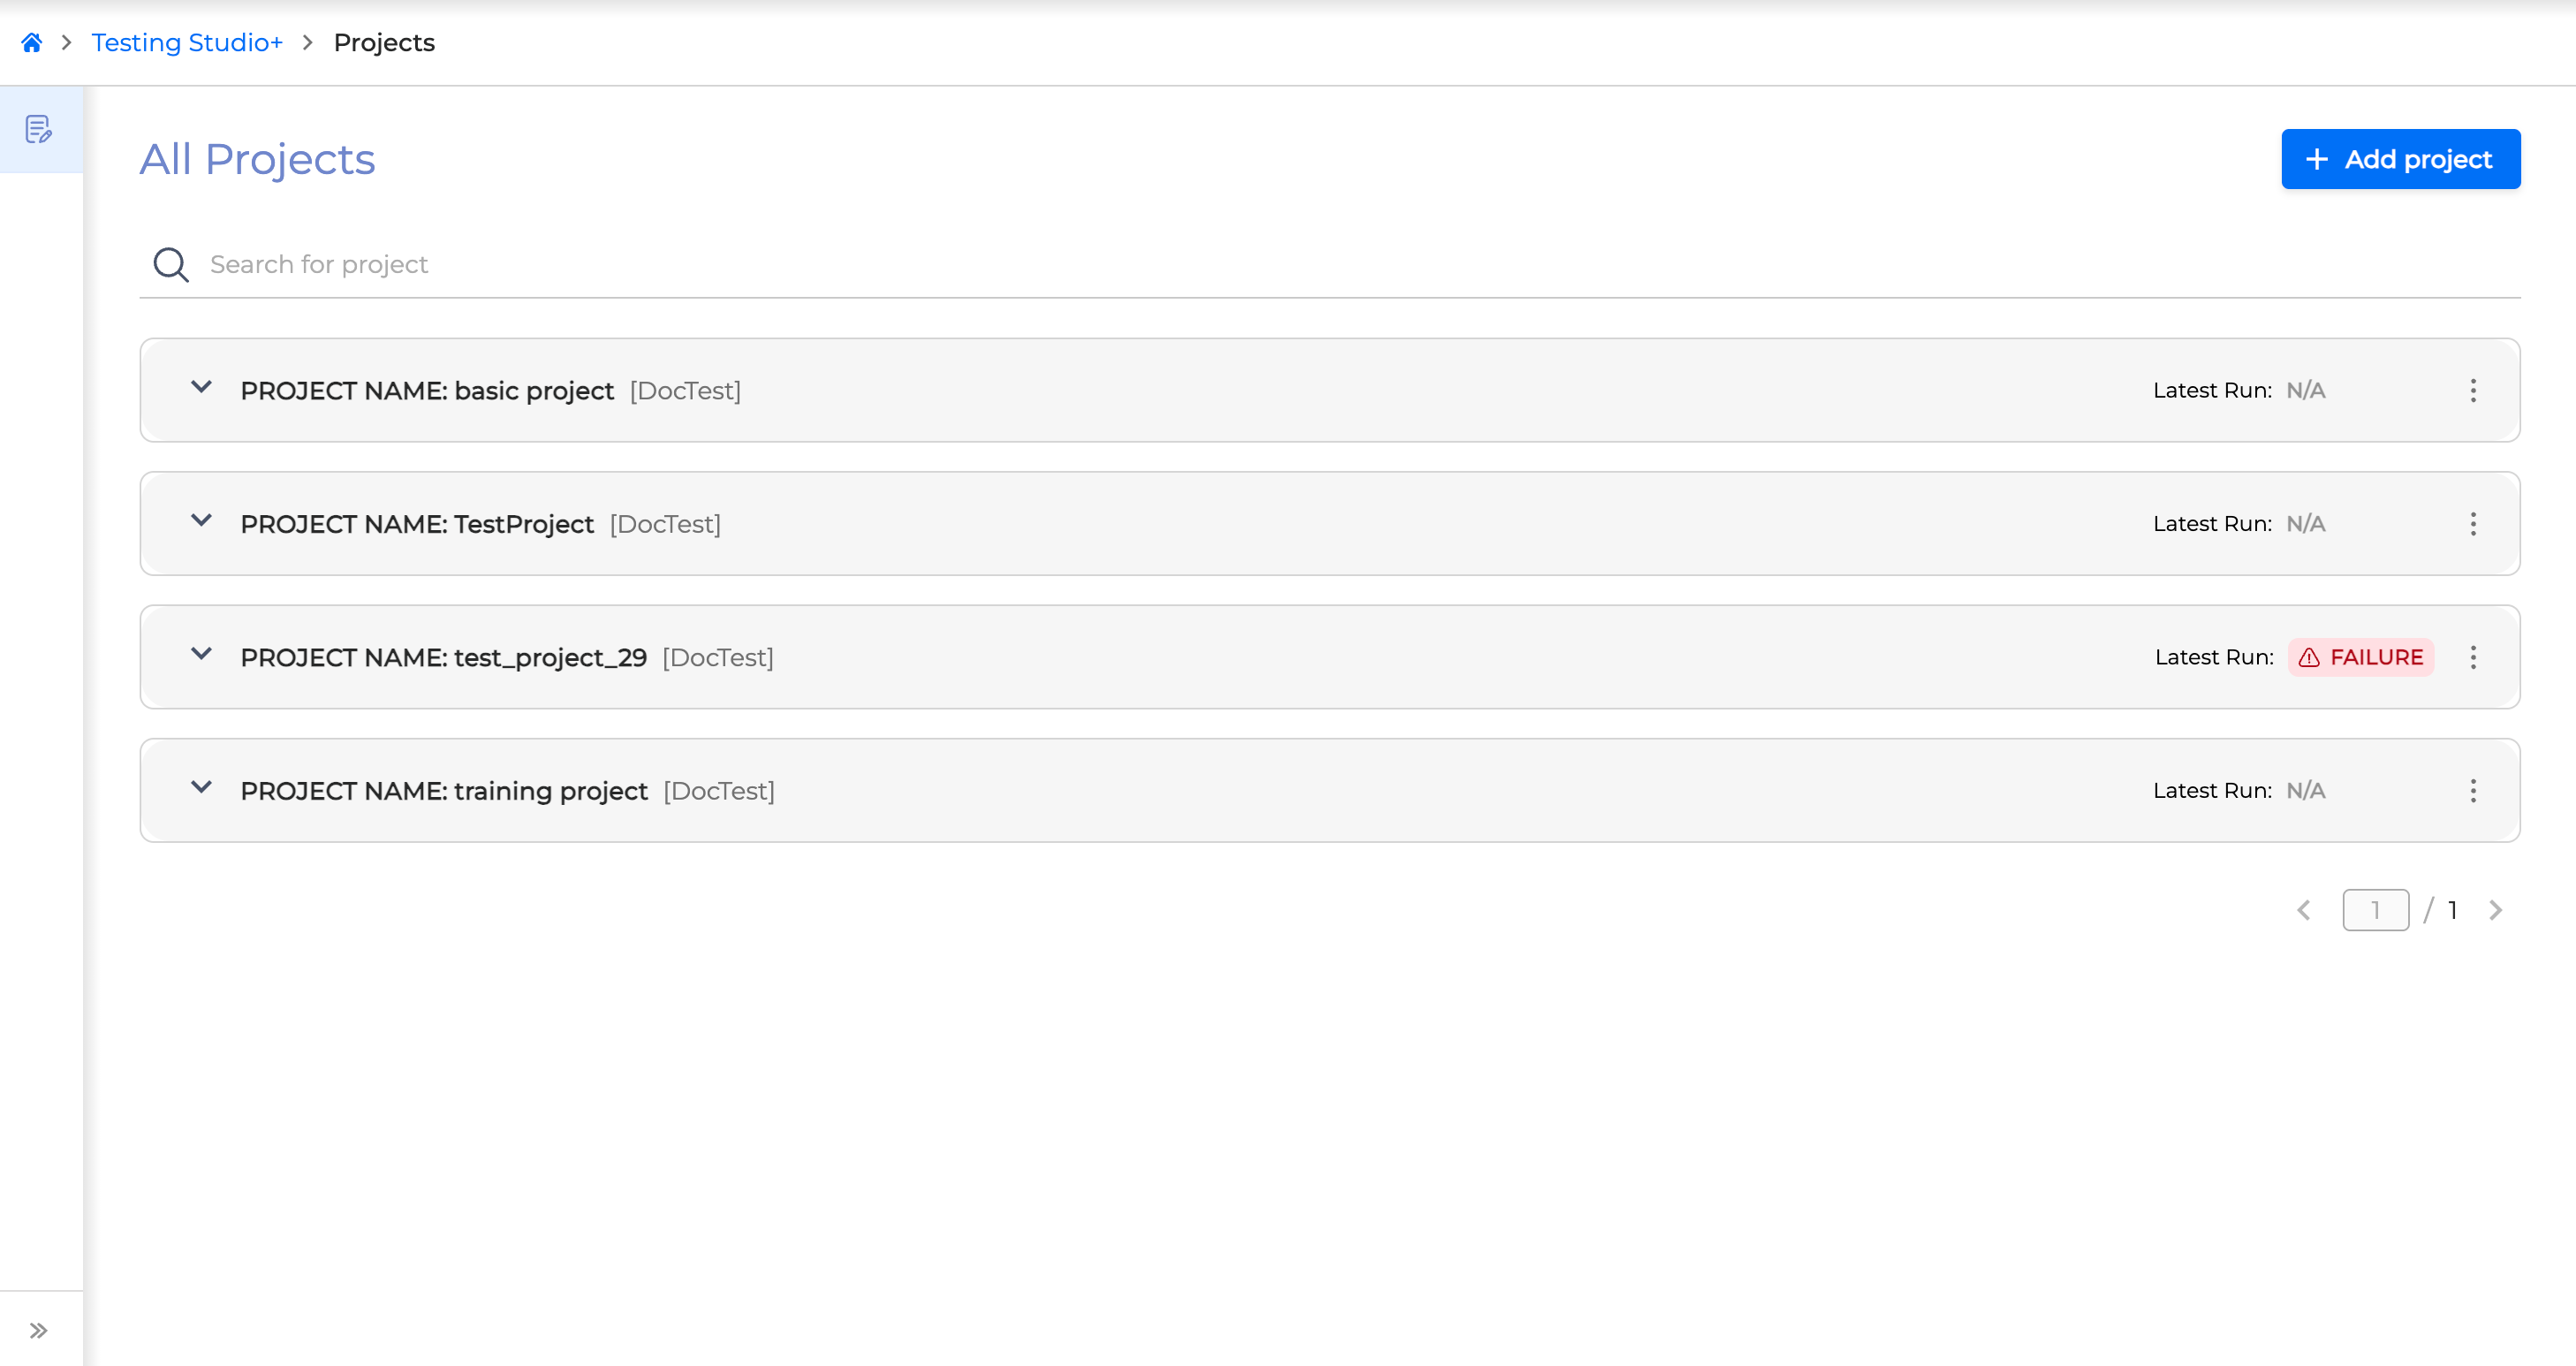
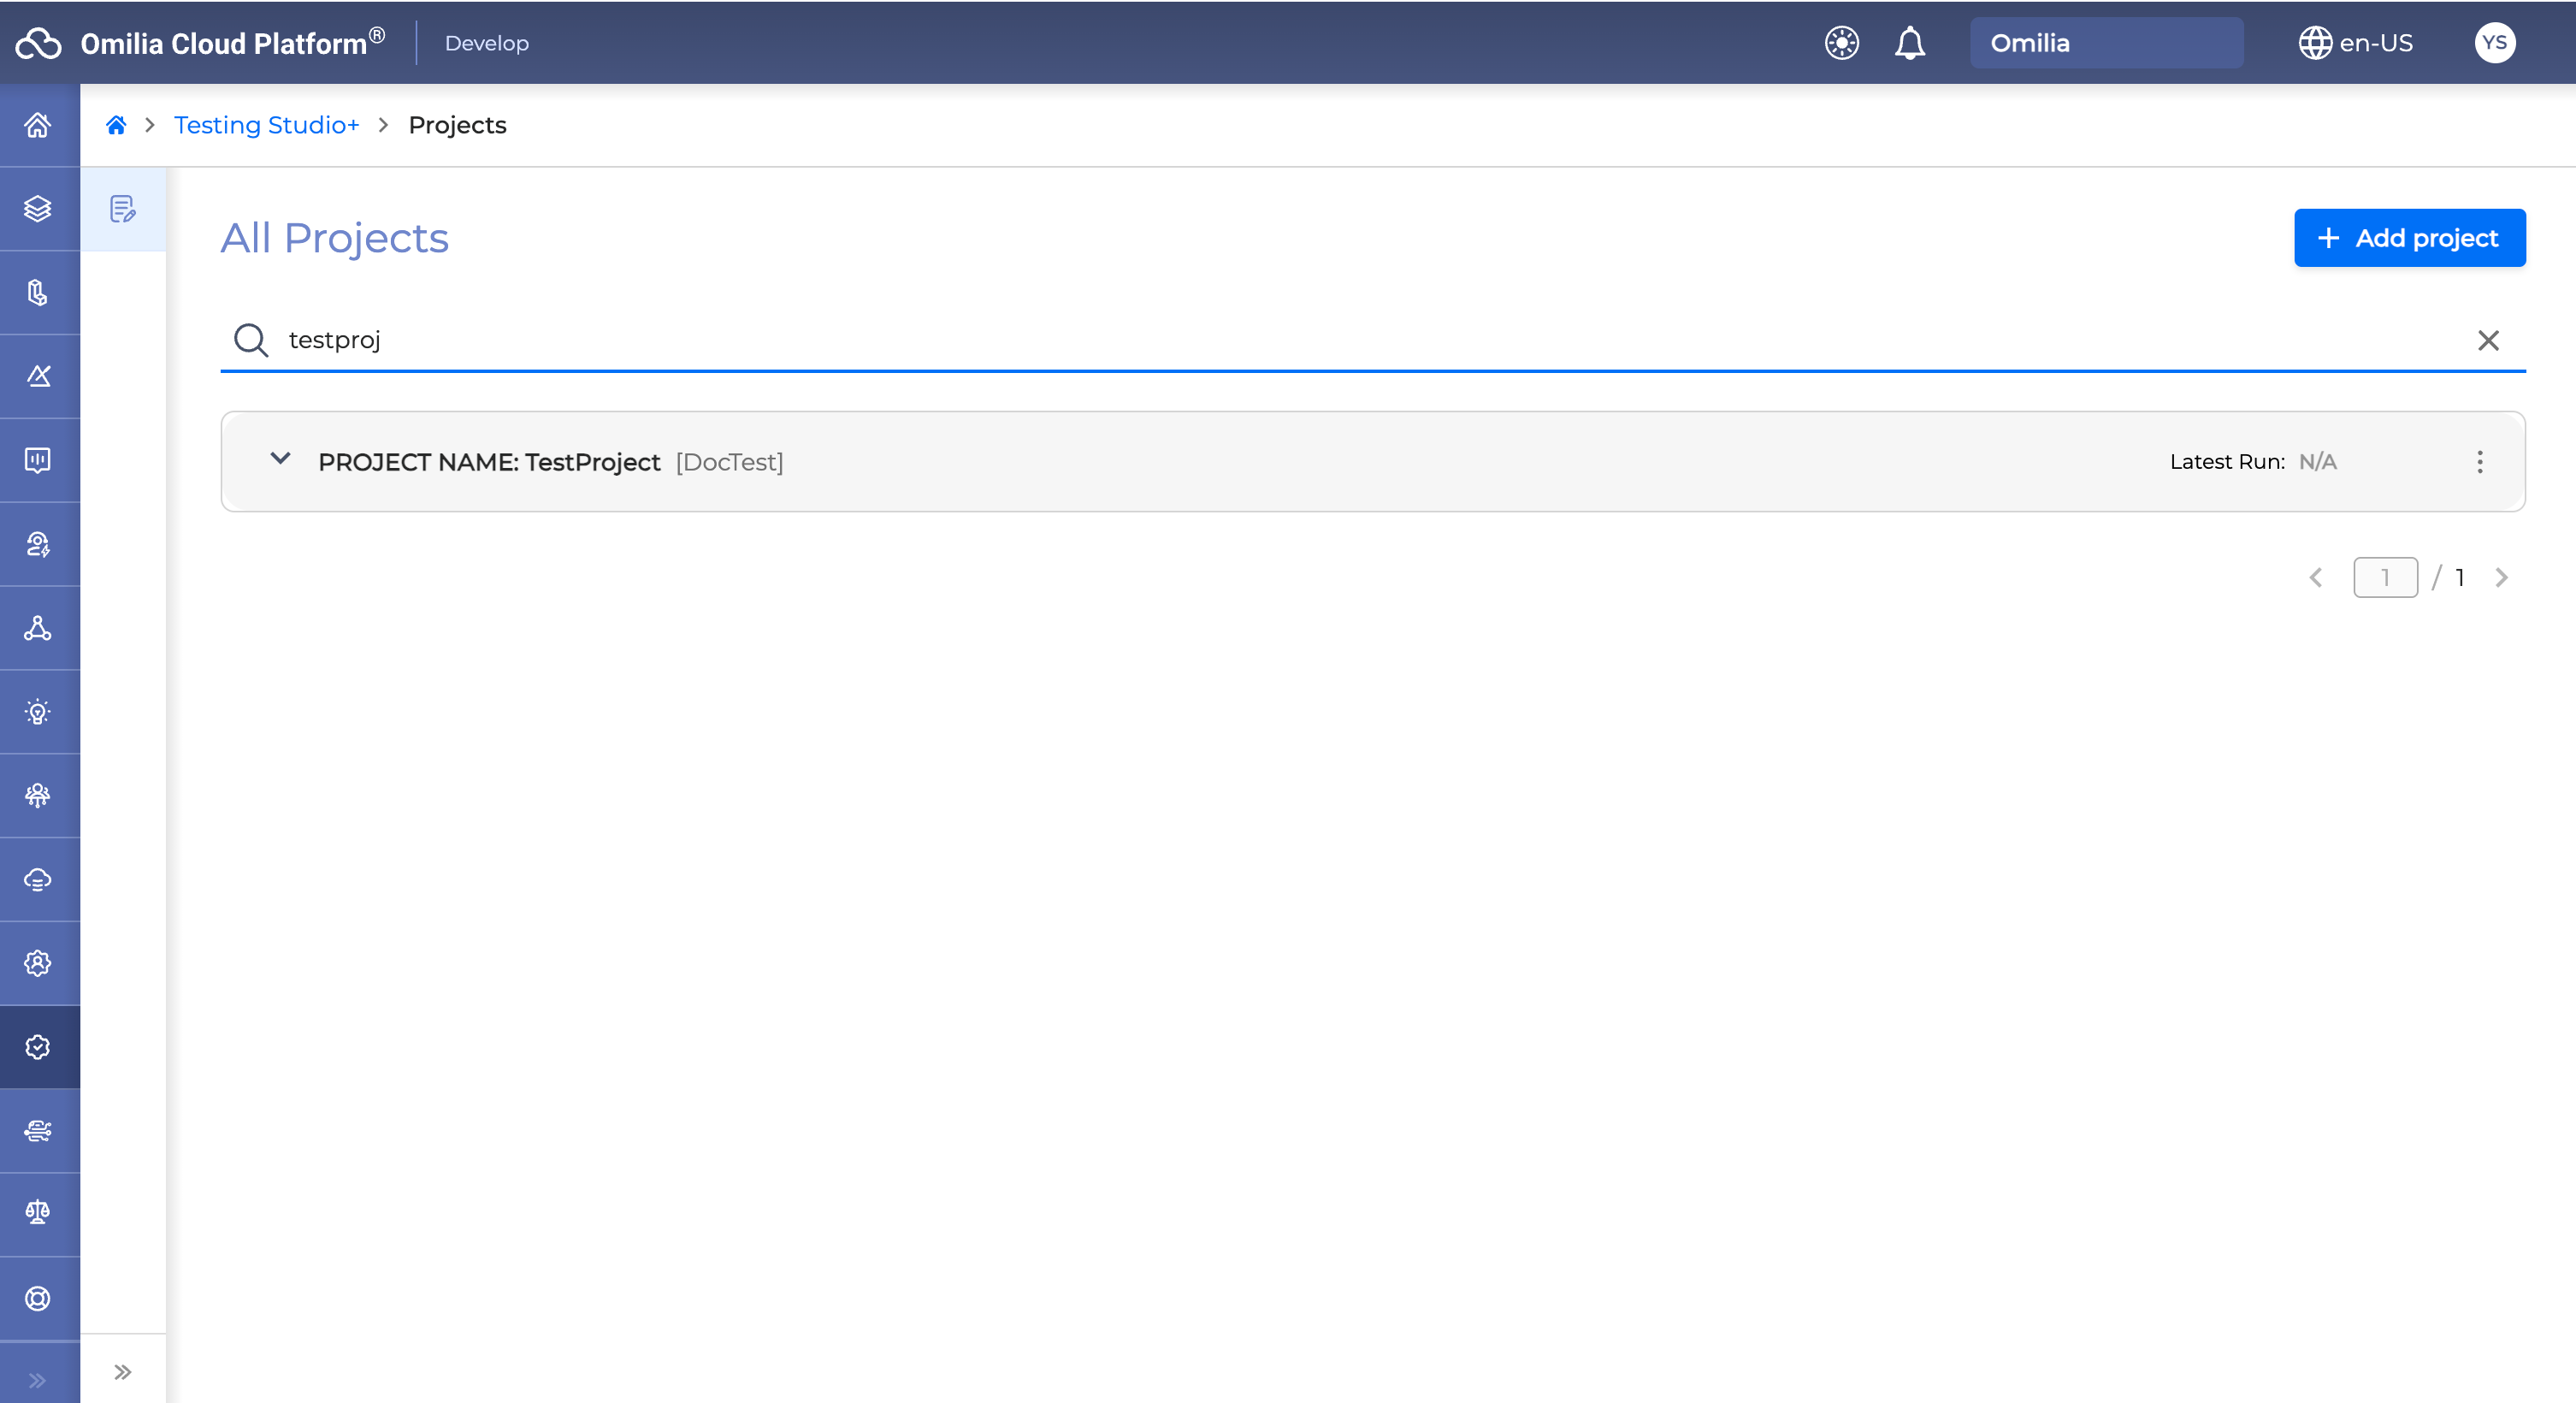
To filter out a lengthy project list, utilize the Search field by typing the name of the project or the group:
Open a Project
To open a project, just click on it.
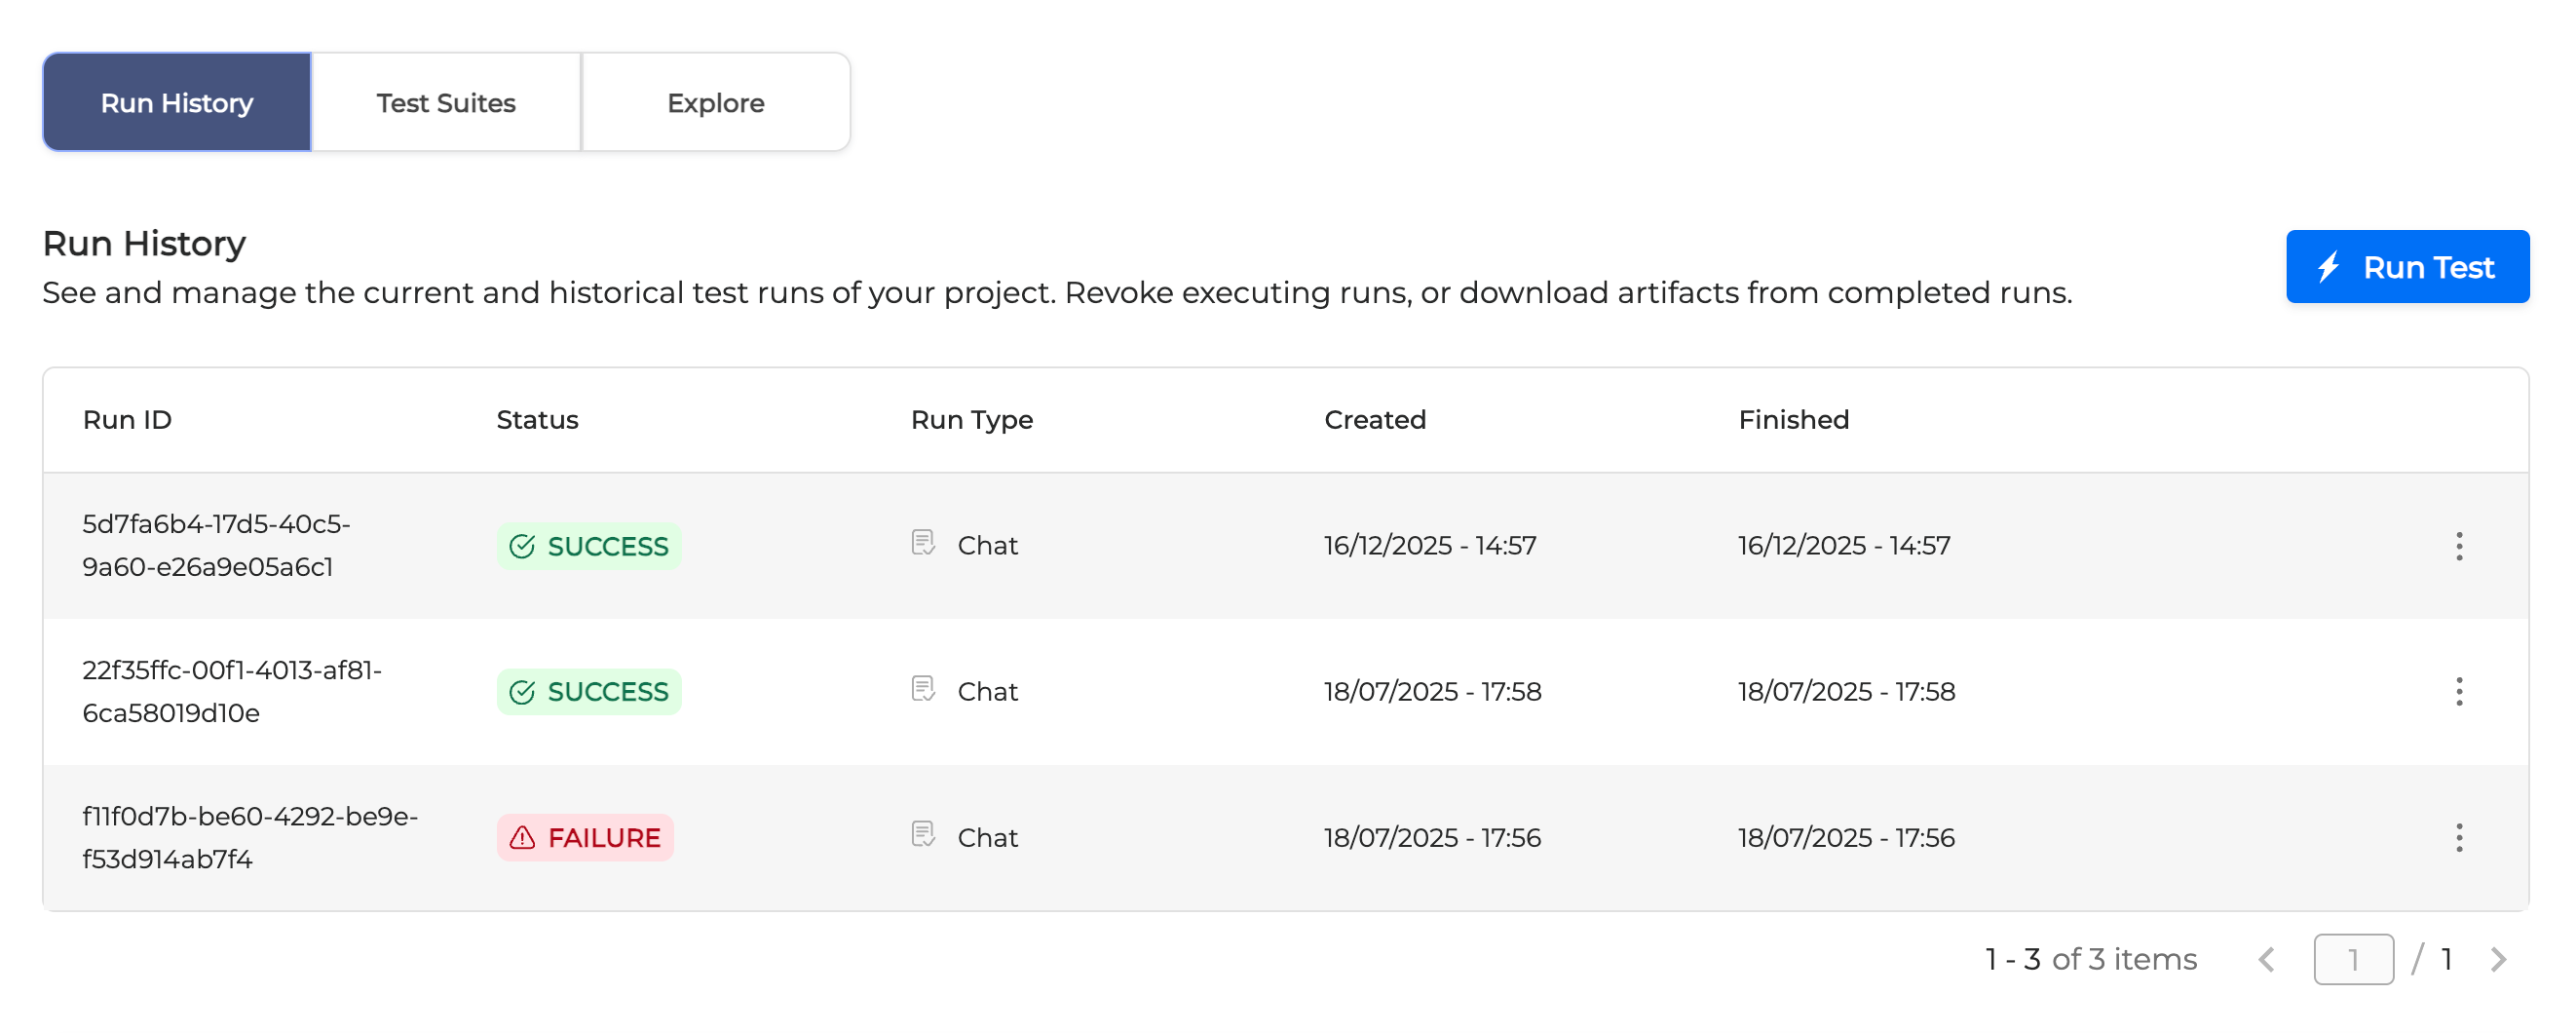
When you open a project, navigate the following tabs:
-
Test Suites (Cloud storage only)
-
Insights (this section appears under the Run History tab).
View and Edit Project Details
-
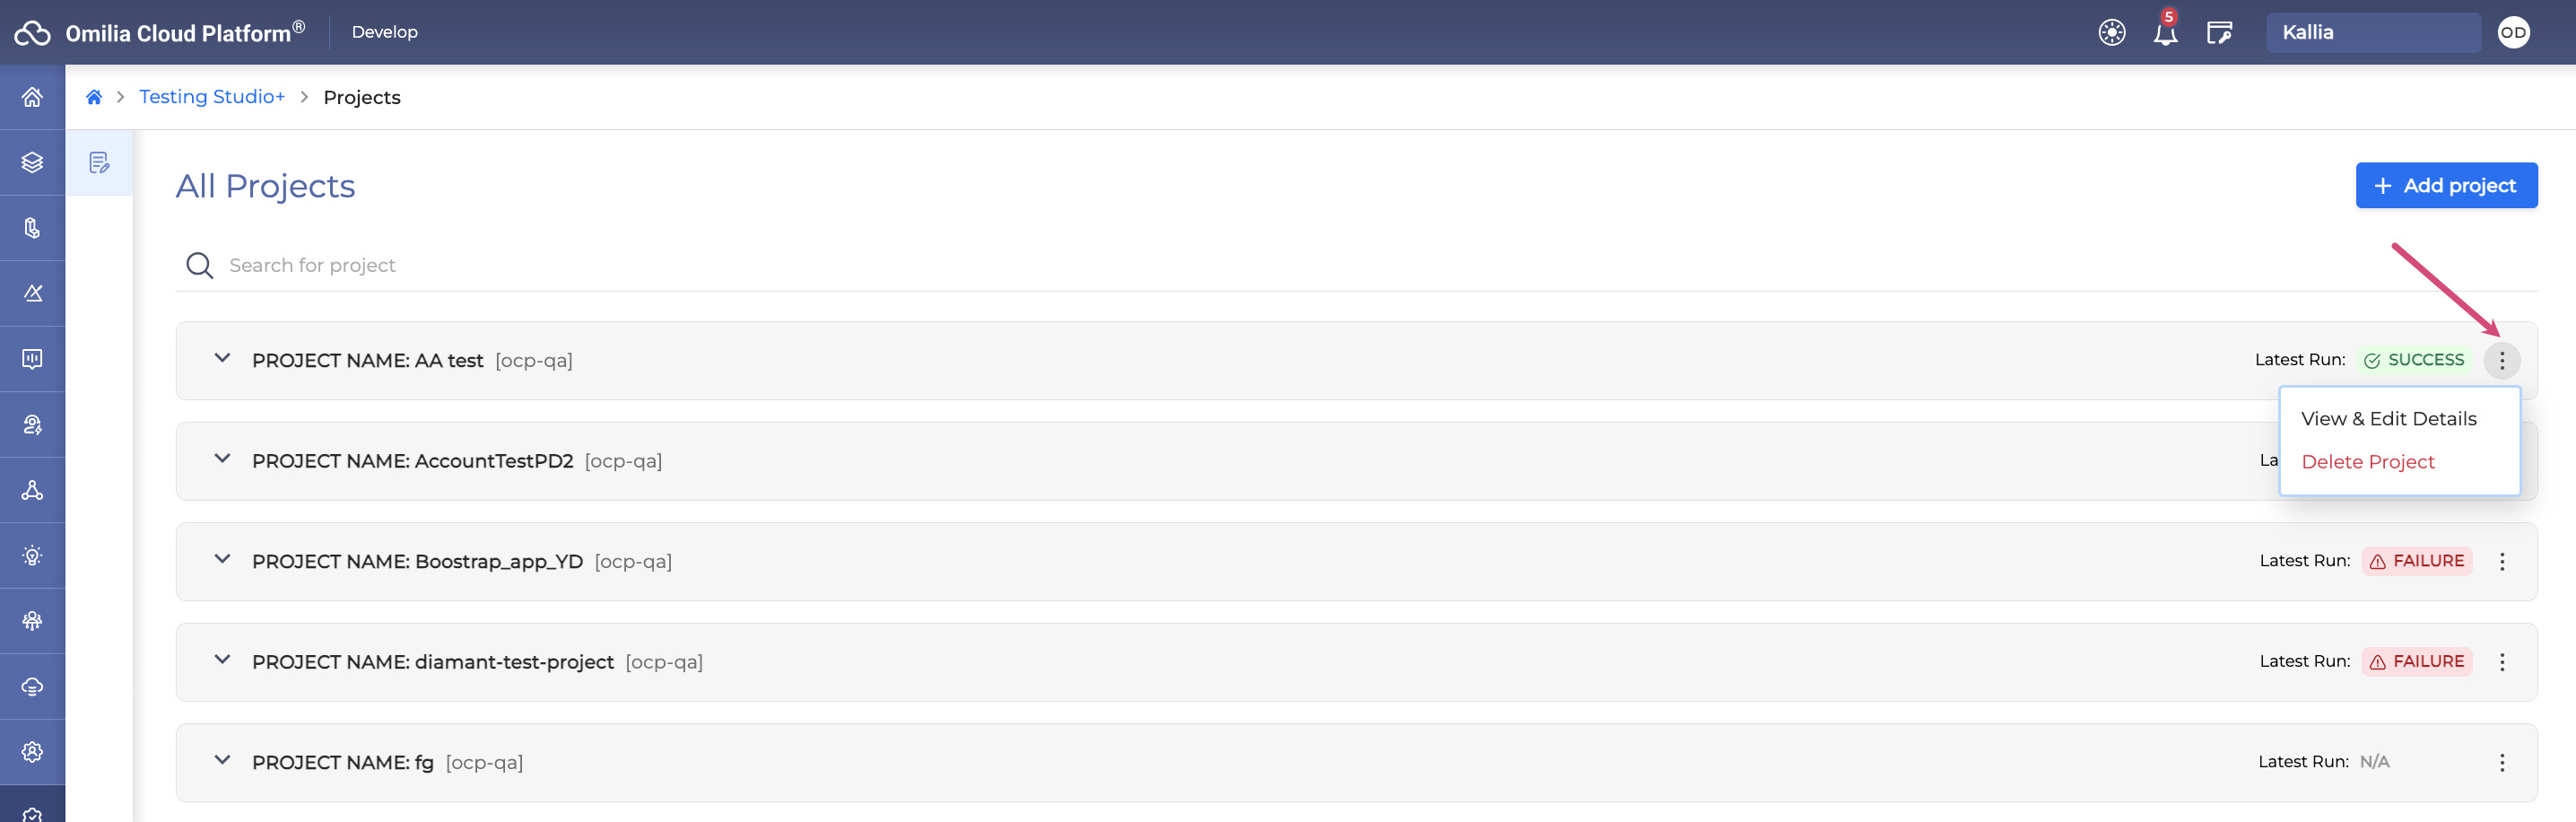
Click the Options menu on the right of the project name → select View & Edit Details.
-
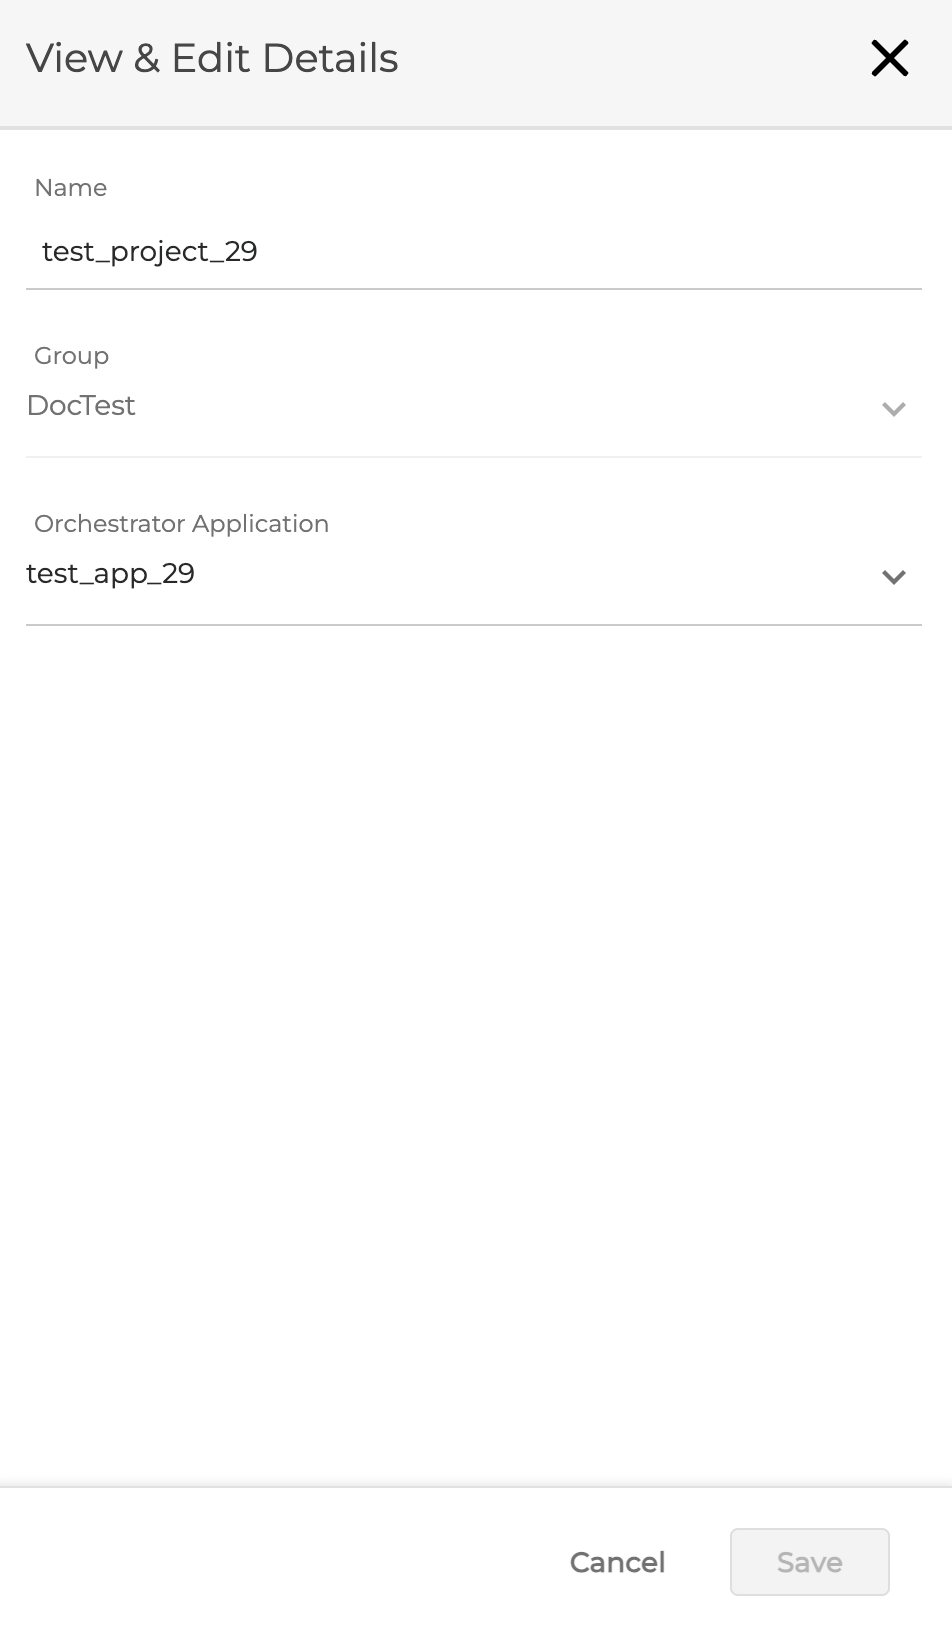
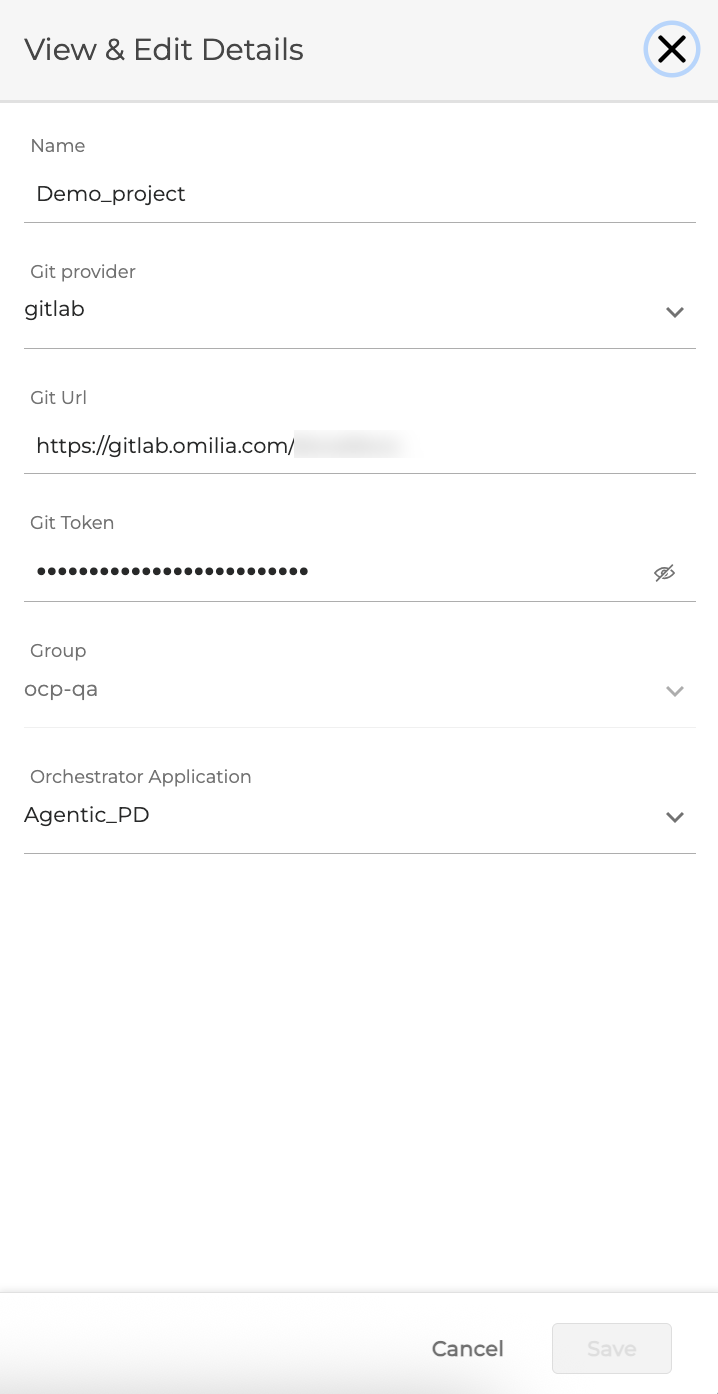
The following dialog box opens.
-
This menu displays the general information about a selected project, such as its name, the remote repository URL and the access token. This is basically the information you’ve entered when creating the page.
-
You can modify the project general information any time. Click Save to save the changes if modified.
Delete a Project
To delete a project, follow the procedure below:
-
Open the Projects page.
-
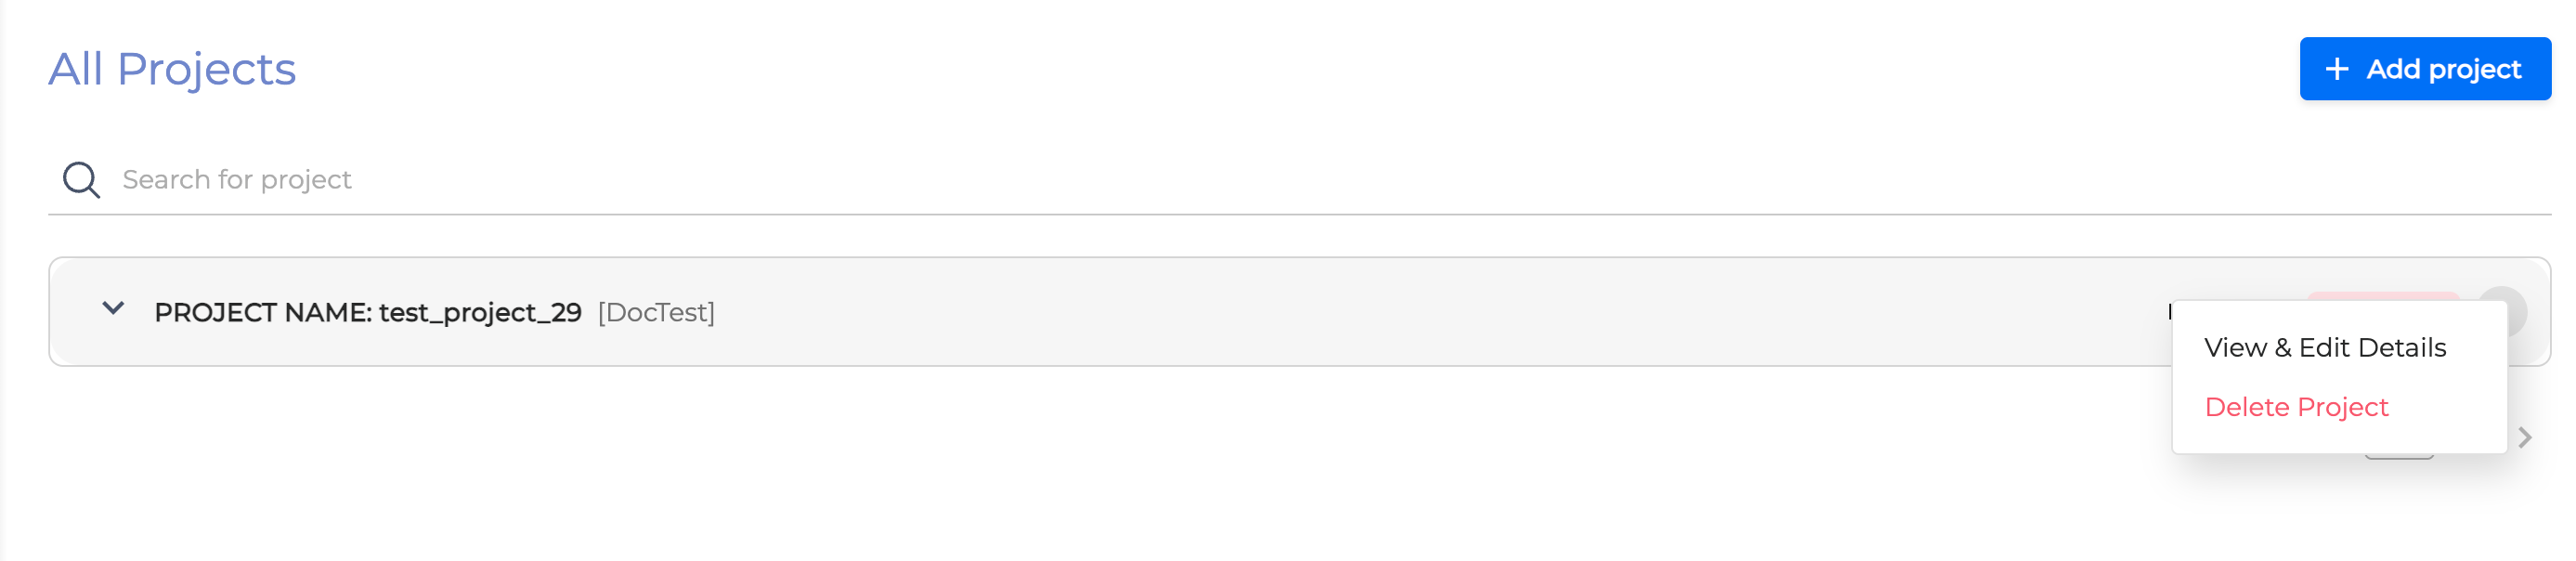
Select a project to delete and click the three dots icon.
-
Once clicked, confirm the deletion as requested below.
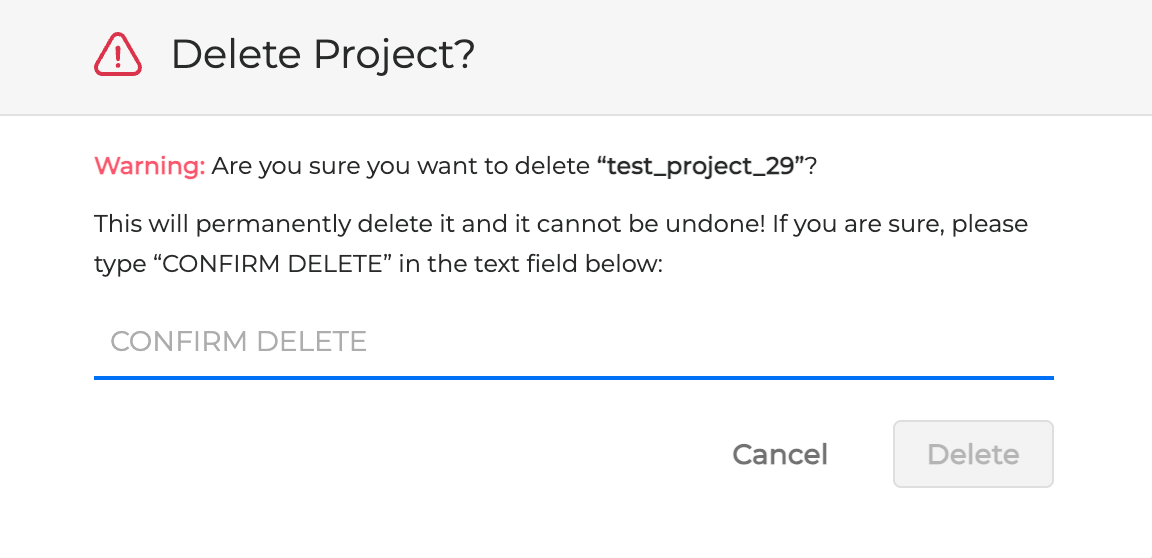
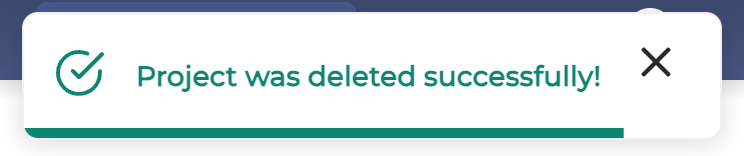
The project is deleted from the projects list.