OCP Console® User Guide
About this guide
This document describes the functionality and usage peculiarities of OCP Console®.
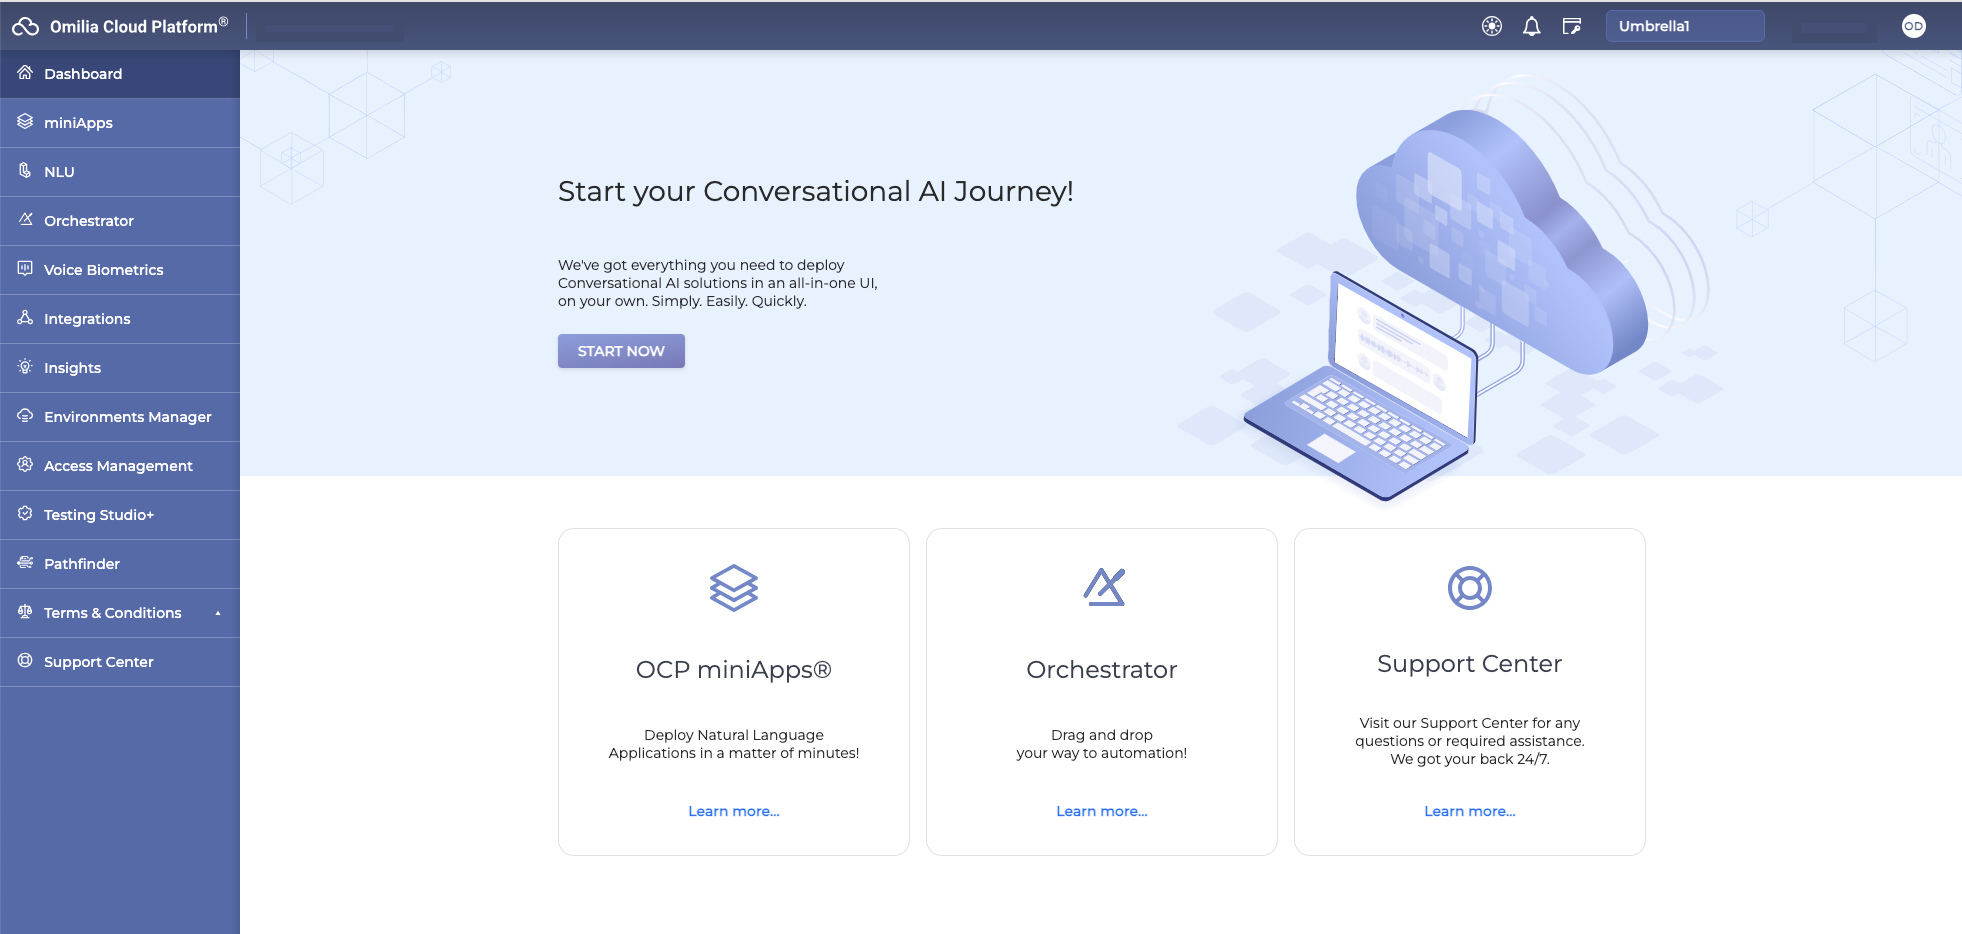
OCP Console® is a unified entry point for managing all OCP® services. It provides full control of all the services, such as:
Accessing and using your OCP® services
Configuring your OCP® services
Accessing your billing information and managing your billing settings
Submitting requests to the Support Center.
OCP Console® has an easy and intuitive interface and is designed for both advanced and novice users.
Logging in
To access OCP Console®, the credentials for OCP® are required.
To log in, visit OCP Console® page and enter your credentials.

If the credentials are correct, you are authorized to proceed with using the tool. A successful login brings you to the OCP Console® landing page.

The landing page provides shortcuts to other tools and sections.

1 - Opens OCP miniApps® web application.
2 - Forwards you to OCP miniApps® knowledge base.
3 - Opens OCP Orchestrator® web application.
4 - Leads to the Support Center section.
Navigation
OCP Console® consists of the following elements:
Top bar contains the user area with the avatar, service notifications, and log-out option.
Side menu consists of global menu options. To fold/unfold the Side menu, click the Arrows buttons at the bottom of the Side menu.
Main service area is the main area of the OCP Console® dashboard. It displays the content of the selection from the side menu.

miniApps
The miniApps section provides you full control of miniApps.

OCP miniApps® are zero-coding, zero-maintenance, instantly deployable, and configurable natural language dialog components that handle a single task, such as soliciting a US address or credit card number, or even negotiating an appointment. miniApps can be quickly tailored to each application’s requirements, significantly limiting a substantial part of delivery time.
For more information on miniApps, refer to the miniApps Knowledge Base.
NLU
The NLU section opens OCP Conversational Natural Language®.

This is an intuitive and easy-to-use tool created to build, test and deploy Machine Learning powered NLU models. The NLU models are necessary to analyze text and extract meaningful entities, entity features, intents, and other syntactic elements.
For more information on how to use NLU®, follow to OCP Conversational Natural Language® User Guide.
Orchestrator
The Orchestrator section opens the Orchestrator web application directly in OCP Console®.

Orchestrator is a part of OCP®. It allows combining the existing miniApps created in OCP miniApps® web application to build and run a complete Dialog Application. The Dialog Application can be further connected to a phone number or a chatbot to maintain a conversation.
For more information on how to use Orchestrator, go to the Orchestrator User Guide.
Billing
The Billing section gives you access to the billing information for the services you are using.

To get a detailed billing report:
Click on a selected service. You are forwarded to the Dashboard tab.
Hover over a selected day to see the total amount of calls.
Select a report criterion, such as call, chars, steps, meters.
To export the billing report, click Export. The report is exported as an XLS file.
To see the list of all the integrated services and their IDs, go to the Integrations tab.
Support Center
The Support Center section provides useful support information.
Contact information
The Contact information tab displays Customer Support contact information:
For urgent and high-priority issues and for NICE inContact support, find the corresponding contact details suggested on the page. Emergency support is available 24/7.
For medium and low priority issues, as well as for reporting a problem or suggesting an enhancement, create a ticket.
Creating a ticket
To create a ticket, proceed as follows:
Select Support Center → Create Ticket. The following window opens.
Fill in the form.
Summary: Provide a concise descriptive summary for your request
Description: Provide a detailed description of your problem or enhancement suggestion
Select a request type: Select the type of your request from the drop-down list
Select priority: Select the severity level of your request from the drop-down list
Phone: Provide your telephone number. This field is optional.
Select service: Select a service your request is related to. Available options are Console, NLU, miniApps, Orchestrator. The following additional fields need to be filled in:
For NLU:
Select an NLU model: Select an NLU model from the drop-down list.
Select an NLU deployment: Select an NLU deployment from the drop-down list.
For Orchestrator:
Select an Orchestrator instance: Select an Orchestrator instance from the drop-down list.
For miniApps:
Select instance: Select a miniApps instance from the drop-down list.
Select integration: Select an integration from the drop-down list. Available options are Nice inContact, Genesys, CXengage.
Select CCaaS Business unit number: select the number from the drop-down list.
3. Add an image or screenshot that illustrates the issue. Supported are JPG and PNG files. This field is optional.
4. Click Create to submit your request.
Learn
To get access to miniApps knowledge base, click Learn. This resource provides the most substantial how-to information on miniApps.

Notifications
Notifications inform users of product changes and updates.
To find the notifications list, click the notifications icon in the upper right corner. The number above the icon indicates the number of unread new messages.
Messages are listed based on time and date received. New messages appear with a blue dot on their left.

To mark a message as read, just click on it.
Logging out
To log out, click the arrow button in the top bar and click Logout.
