Overview
This document provides a detailed description of the Pathfinder tool.
Pathfinder is a knowledge management system, part of the Omilia Cloud Platform® (OCP®), which allows users to upload raw data and use that raw data to create knowledge bases. These knowledge bases can be used later to attach them to either a Q&A Agent or a Flow.
Additionally, users can create a list of intents based on the data and create the knowledge base from these intents. The knowledge base can then be used in your Intent OCP miniApps® when setting up Announcements, particularly for the Knowledge Base Announcements and the Knowledge Base Fallback.
Supported data formats include PDF, TXT, CSV, JSON, and ZIP files. It is also possible to add a URL to Pathfinder to get information from it.
You can access Pathfinder in the side panel as shown below.
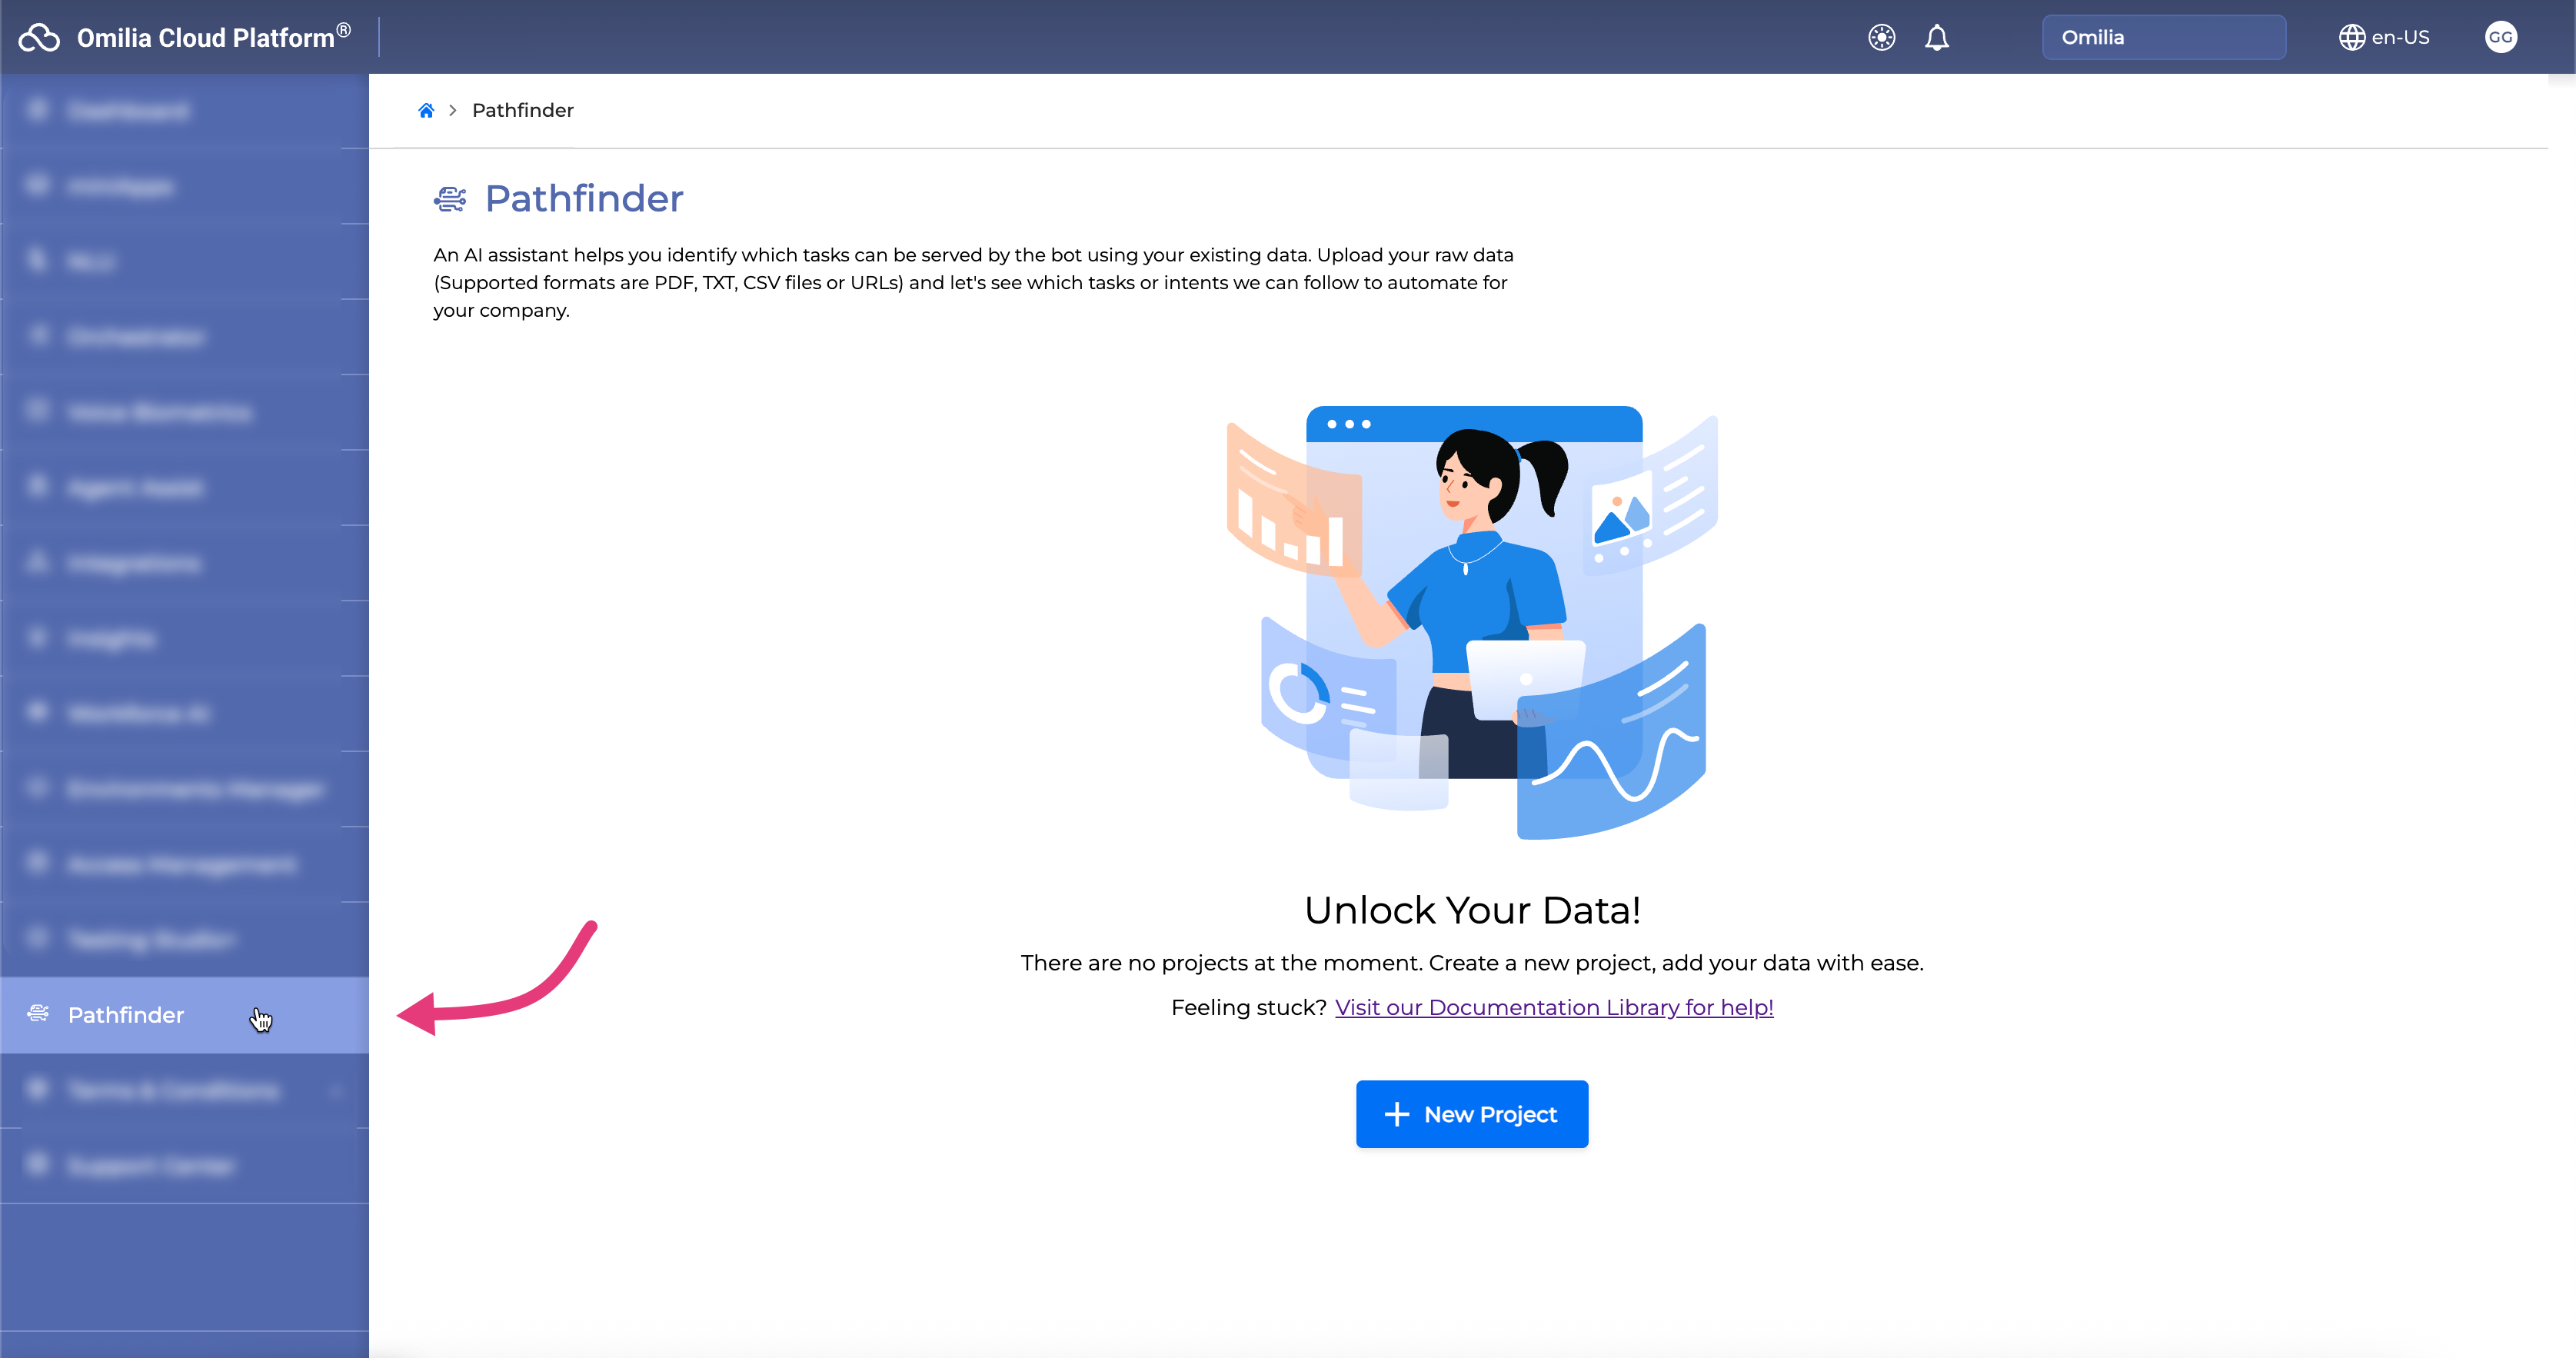
Creating Project
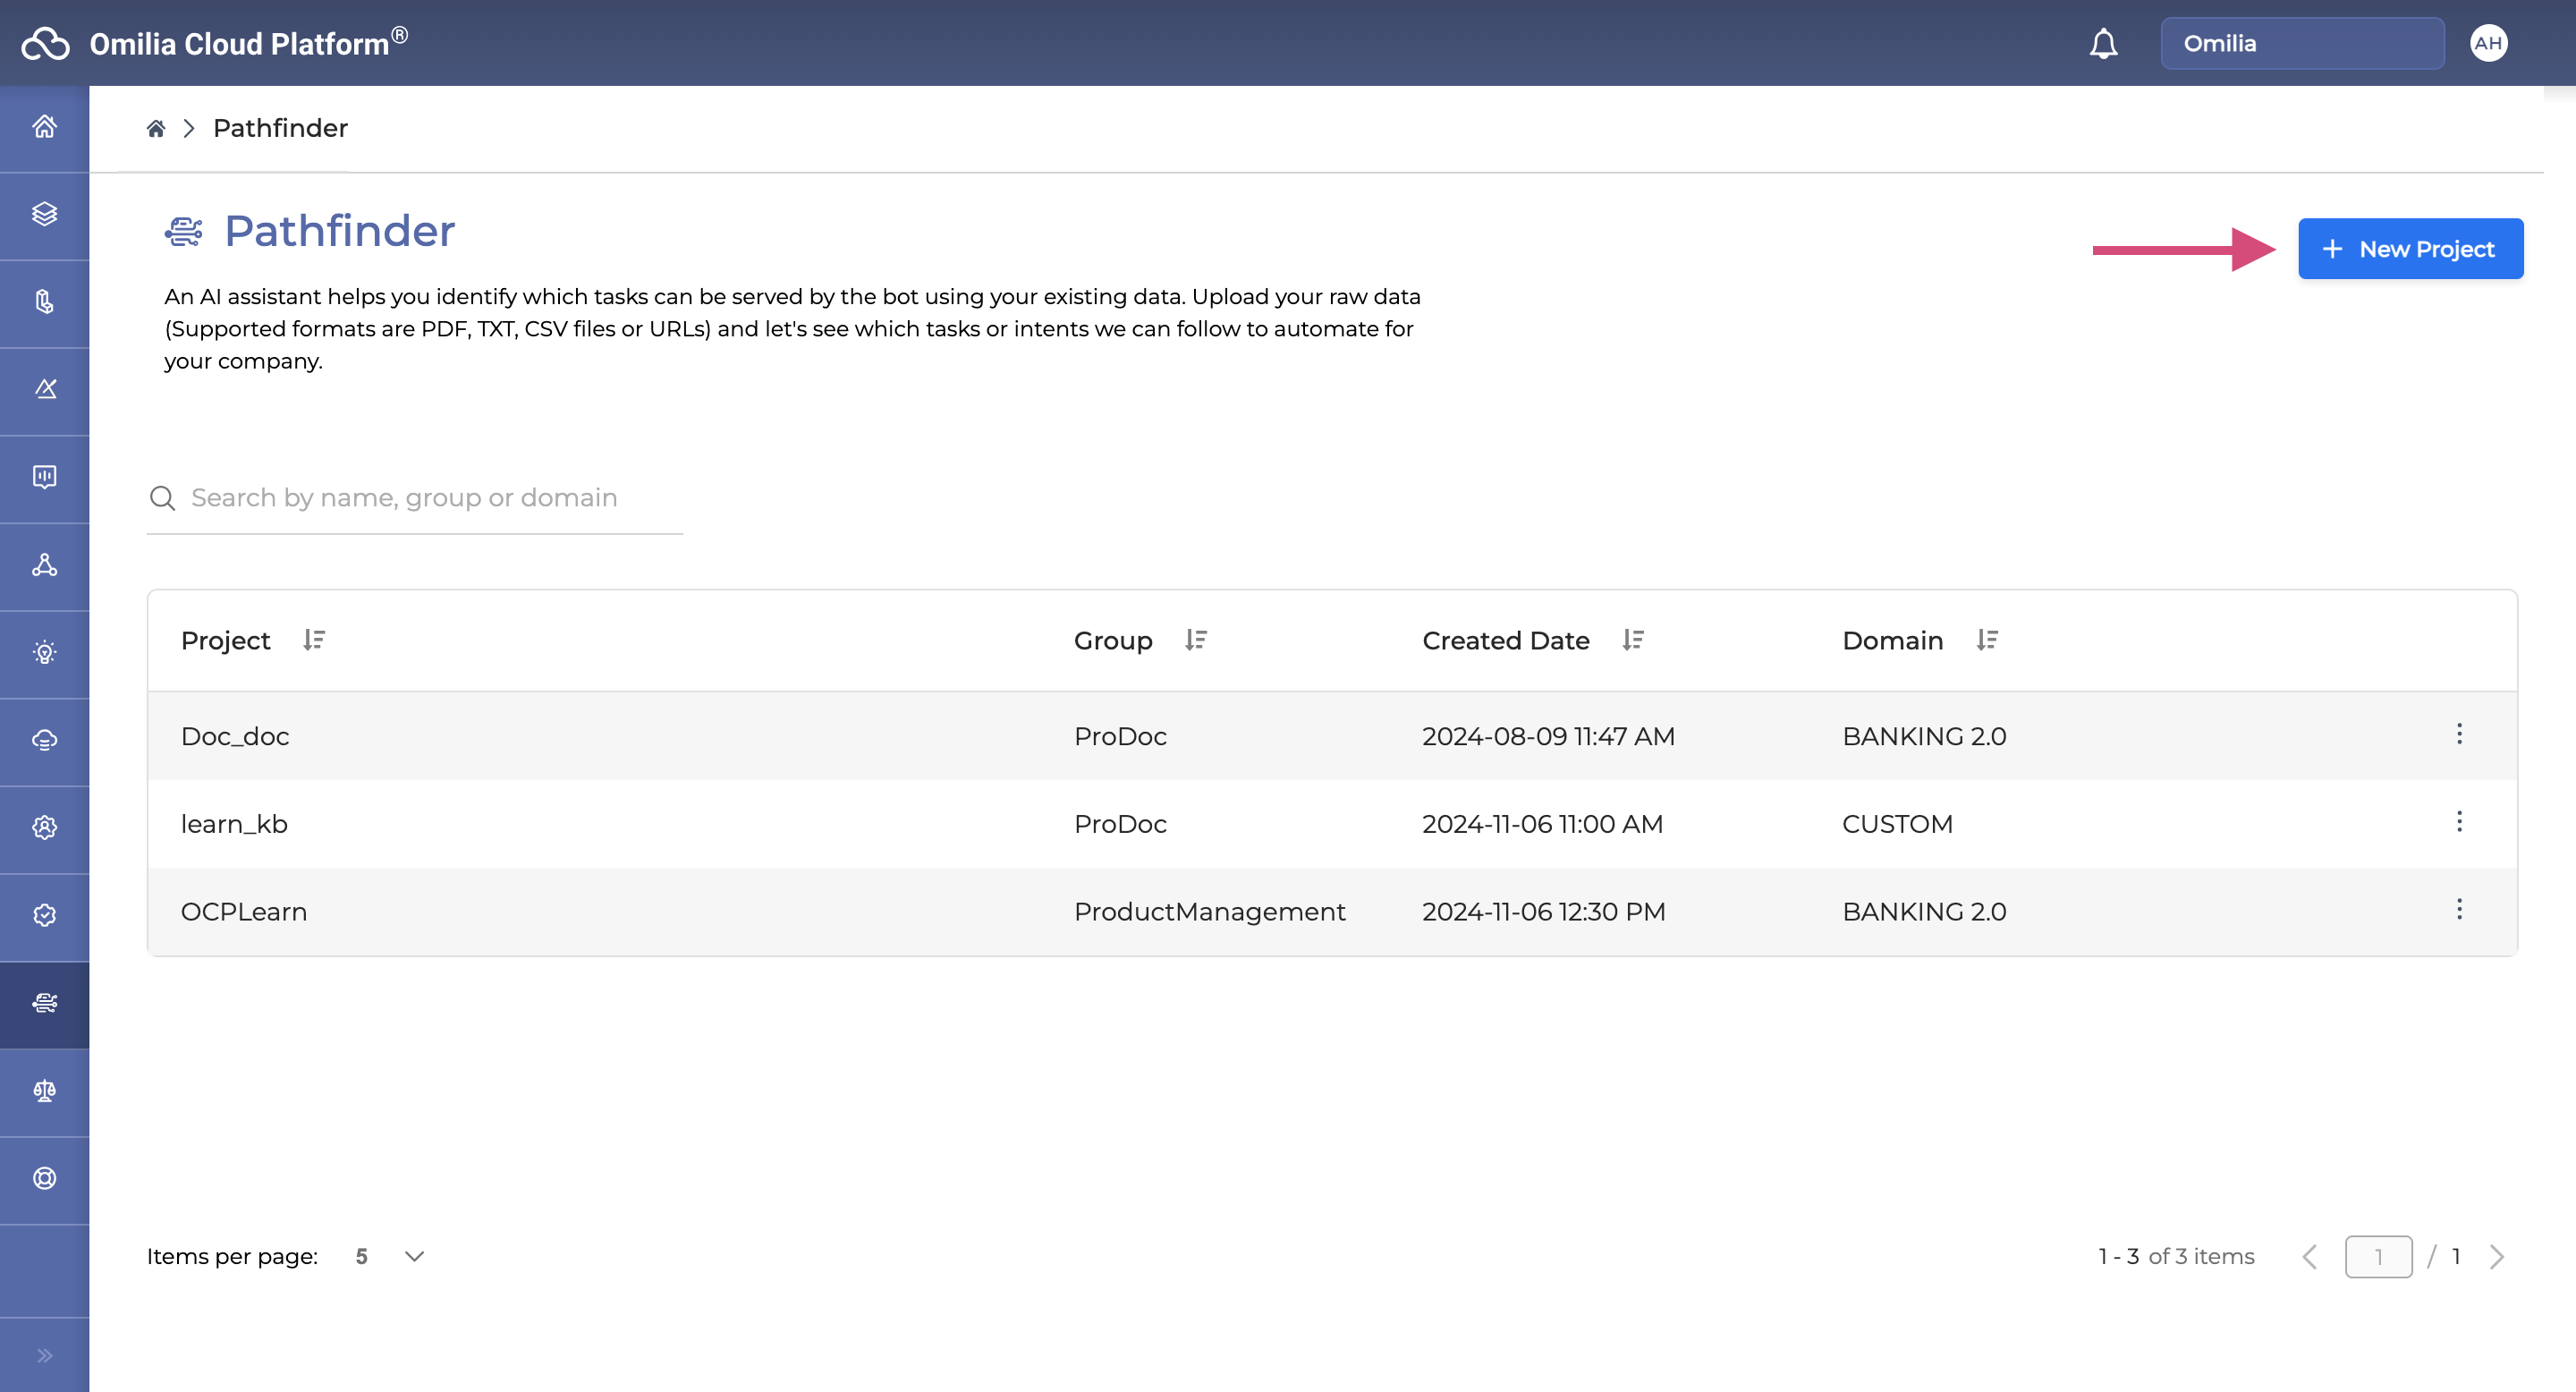
To add data for work, you need to create a project first. Click the + New Project button to get started.
All your created projects will be listed in the Pathfinder tab.
Project details
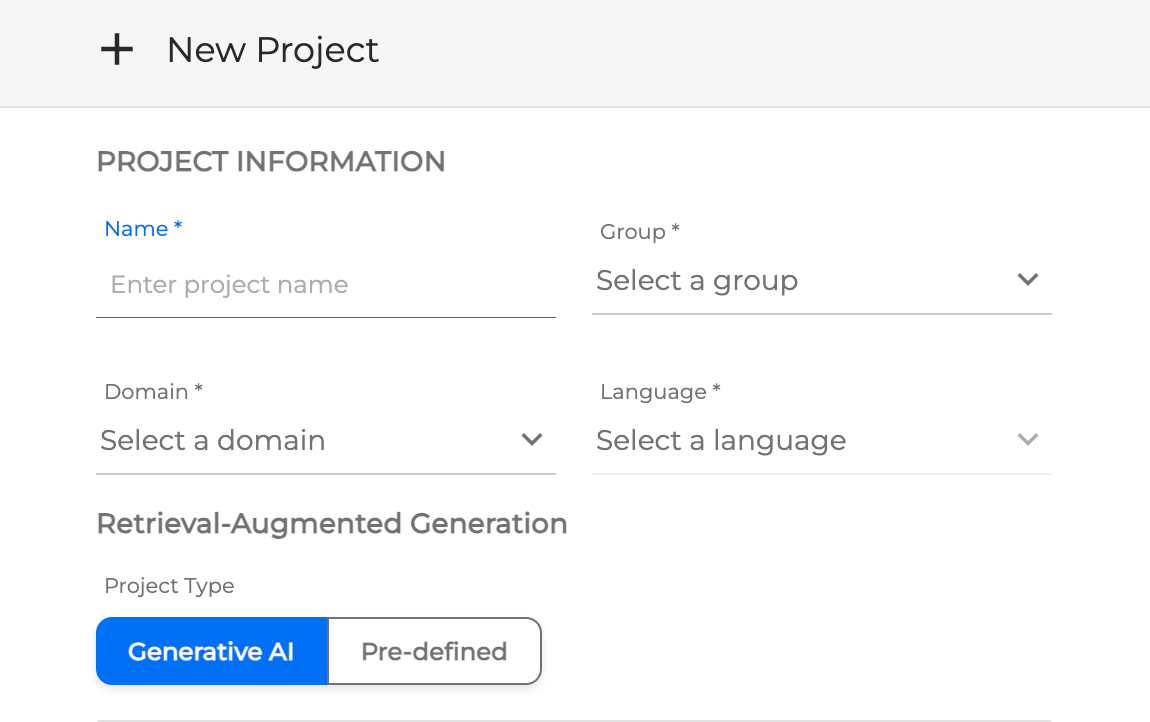
When you click the + New Project button, you’ll see a modal prompting you to either create a new project or import a project from a file.
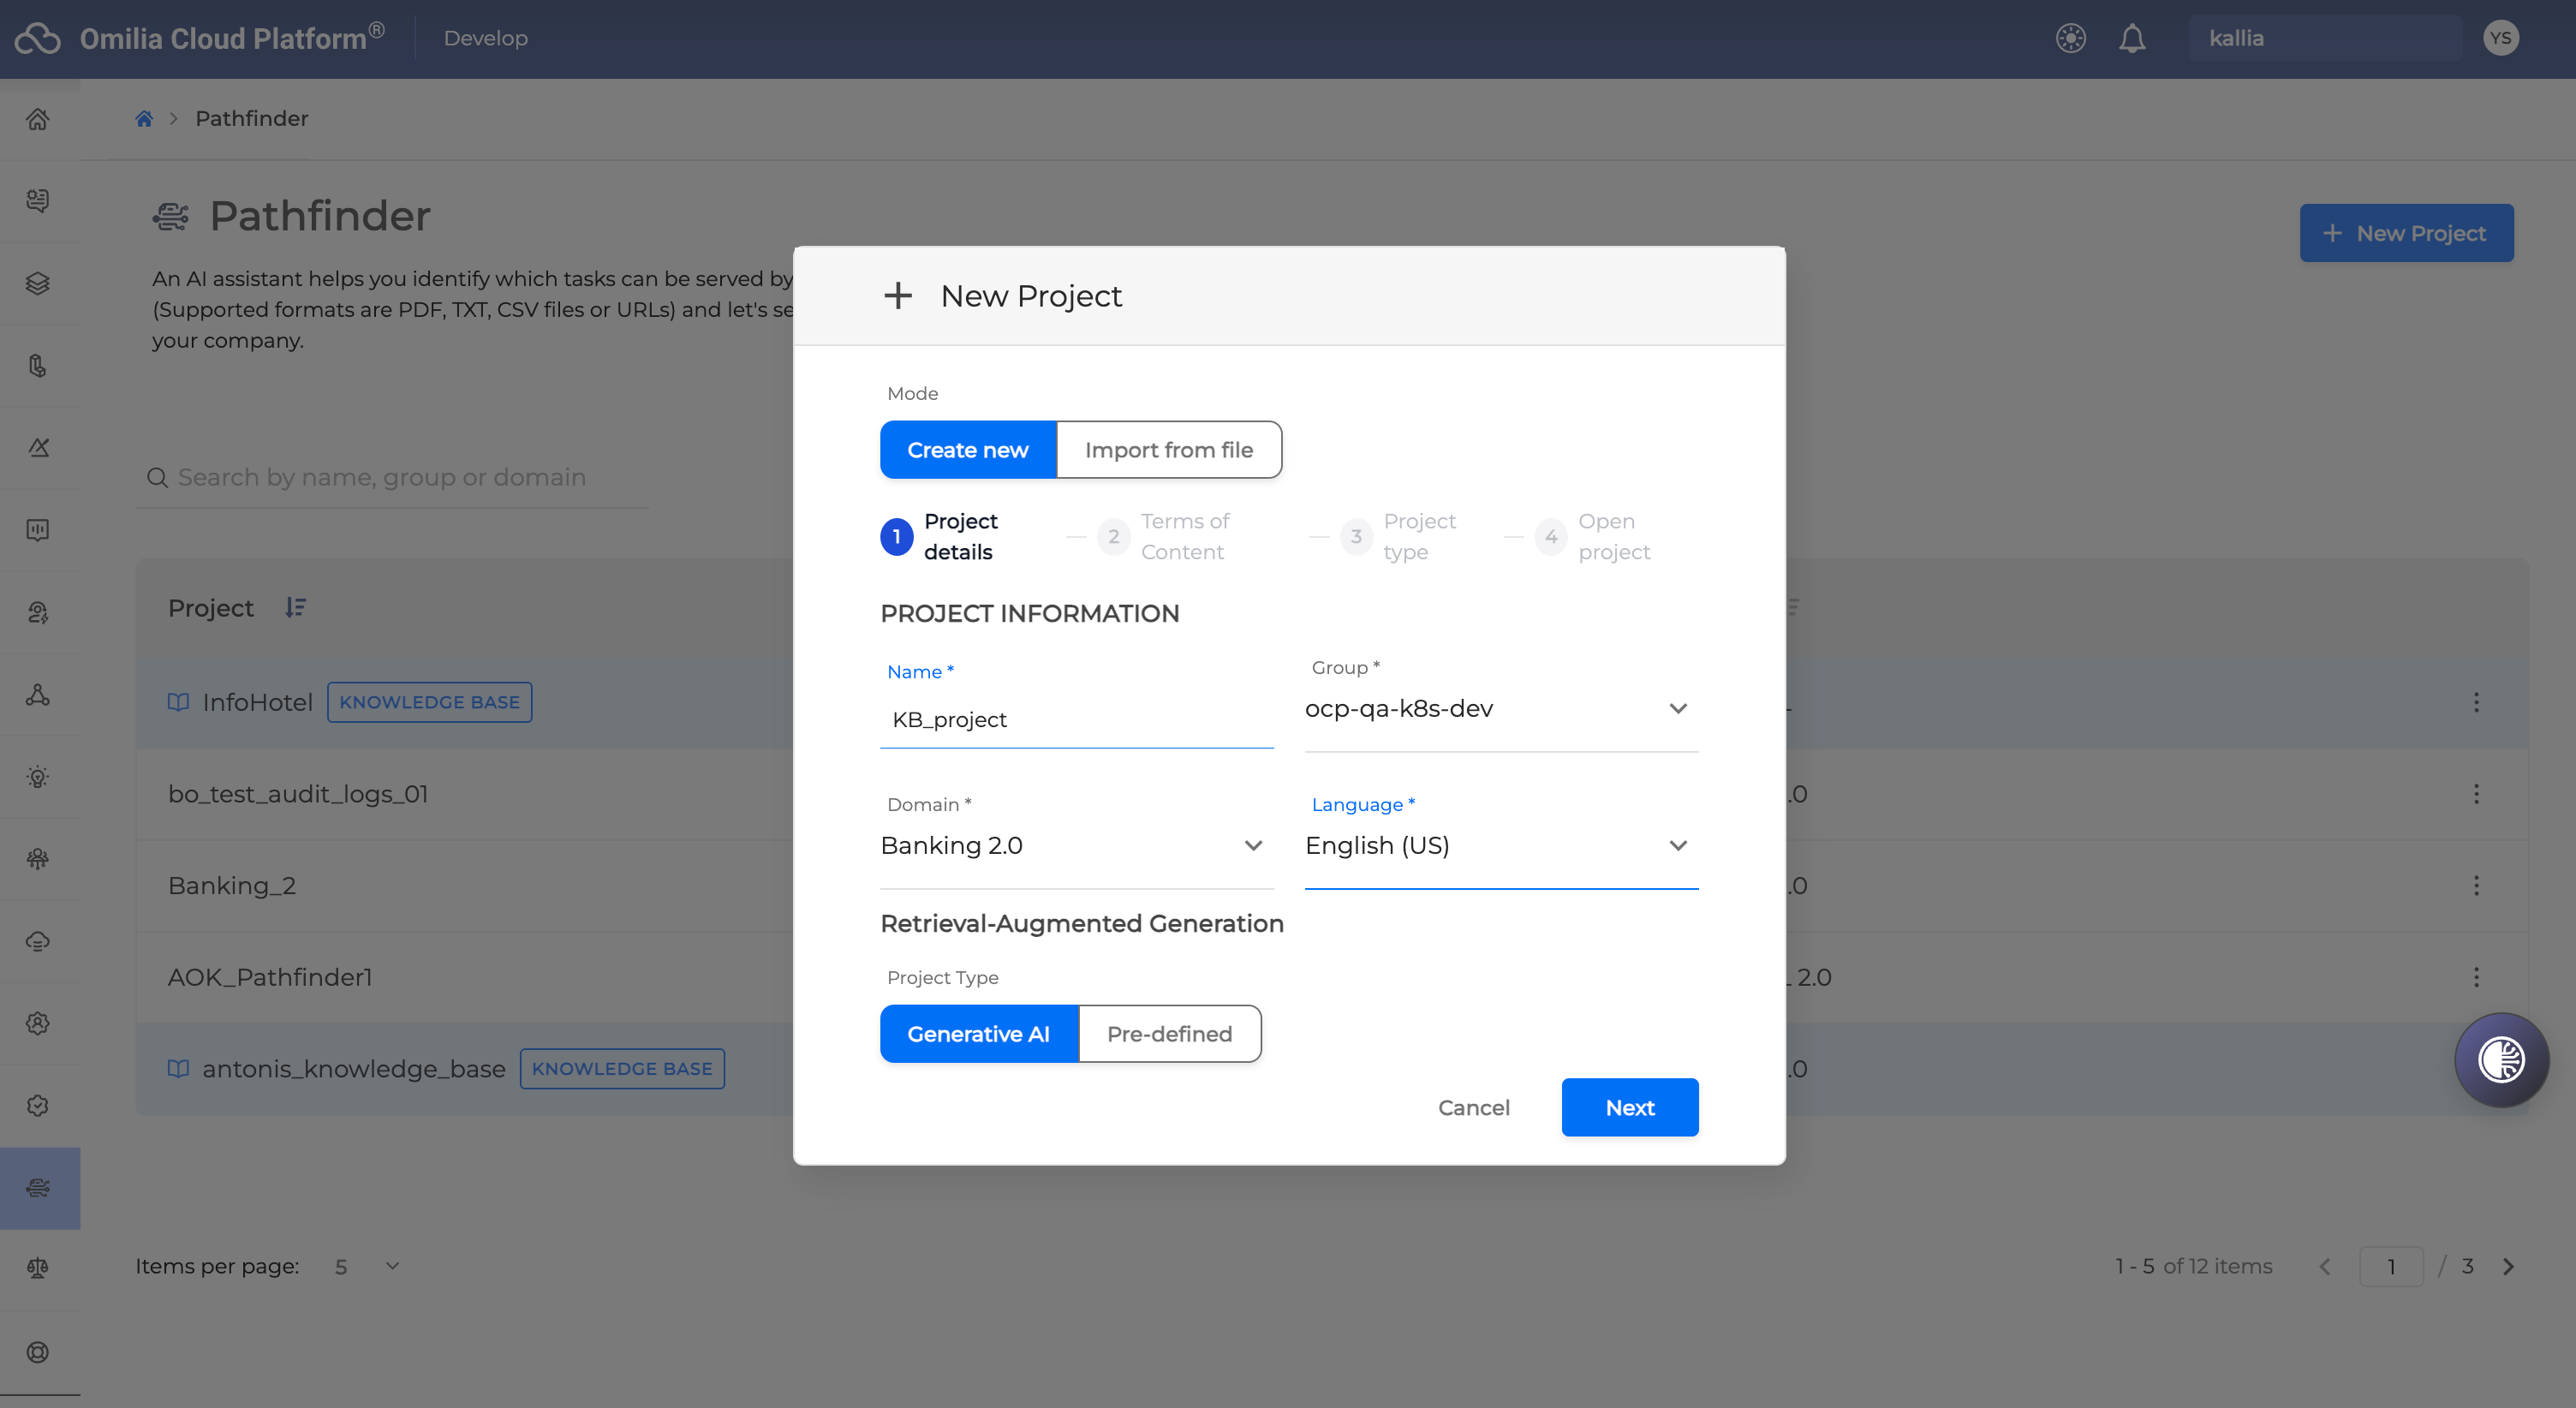
If you select Create new, you need to provide the Name for the project, select the Group it belongs to, choose a Domain from the dropdown options, select the Language of the data you want to process, and select a project type (Generative AI or Pre-defined; see more about project types in Retrieval-Augmented Generation).
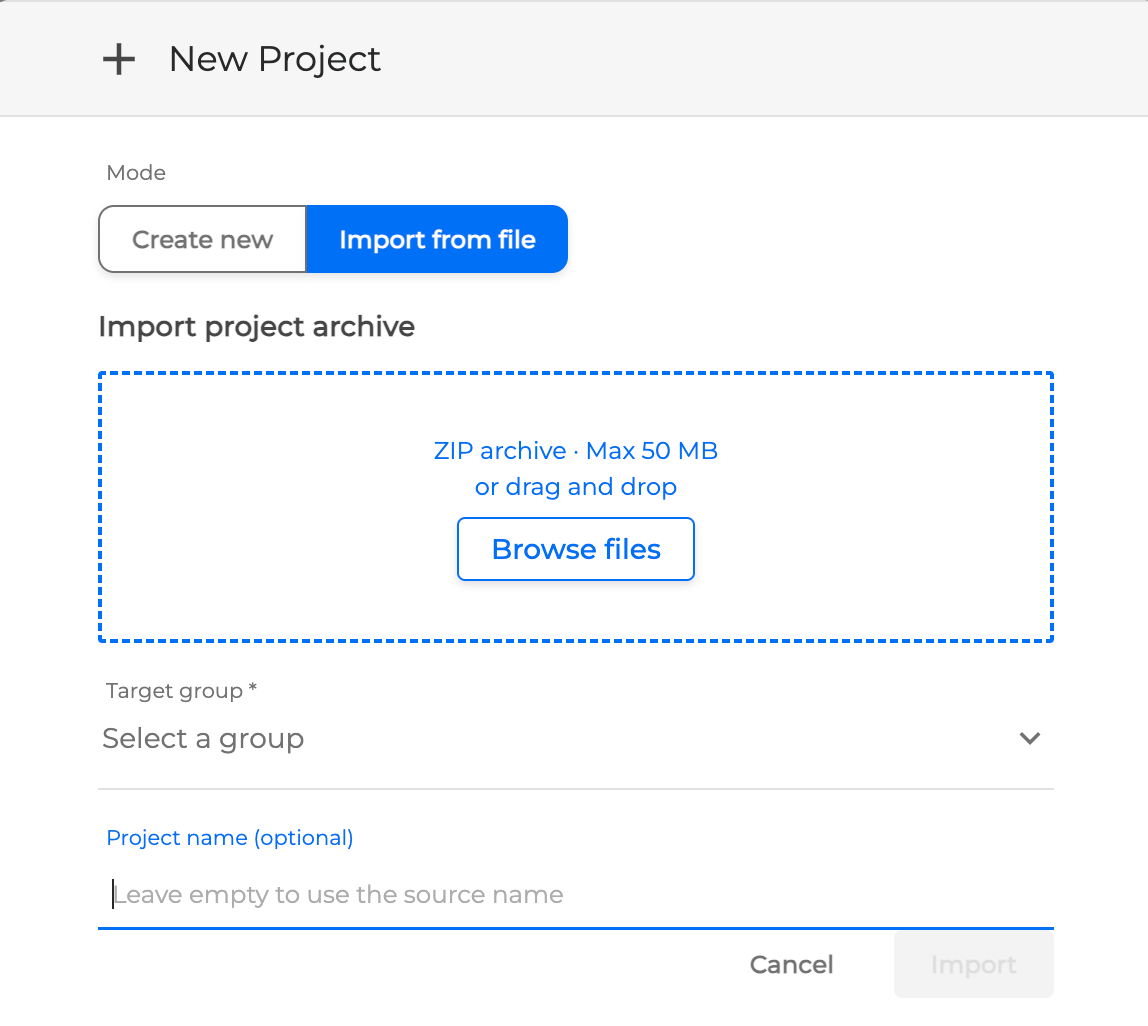
For the Import from file option, drag and drop the zip archive with the project files, select the target group for the project, and specify the project name (leave it blank to use the source project name).
Read more about importing and exporting projects below.
For the project Name, only letters, numbers, and underscores are allowed.
You can create a project only if you are assigned to a group. If you are not assigned to any group, please contact your manager or IT support.
When selecting a Domain, the list of available languages in the Language field will vary based on the chosen option. The table below outlines the supported languages for each domain.
|
Domain |
German (DE) |
Greek (GR) |
English (US) |
English (GB) |
Spanish (ES) |
French (CA) |
Portuguese (PT) |
Portuguese (BR) |
|
Banking 2.0 |
✓ |
✓ |
✓ |
|
✓ |
✓ |
✓ |
✓ |
|
Car Retail |
|
|
✓ |
|
|
|
|
|
|
Energy |
|
✓ |
✓ |
|
✓ |
|
|
|
|
Telecommunications |
|
✓ |
|
|
|
|
|
|
|
Universal |
✓ |
✓ |
✓ |
✓ |
✓ |
✓ |
✓ |
✓ |
|
Universal 2.0 |
|
|
✓ |
|
|
|
|
|
|
Custom |
✓ |
✓ |
✓ |
✓ |
✓ |
✓ |
✓ |
|
|
Generic |
|
|
✓ |
|
|
|
|
|
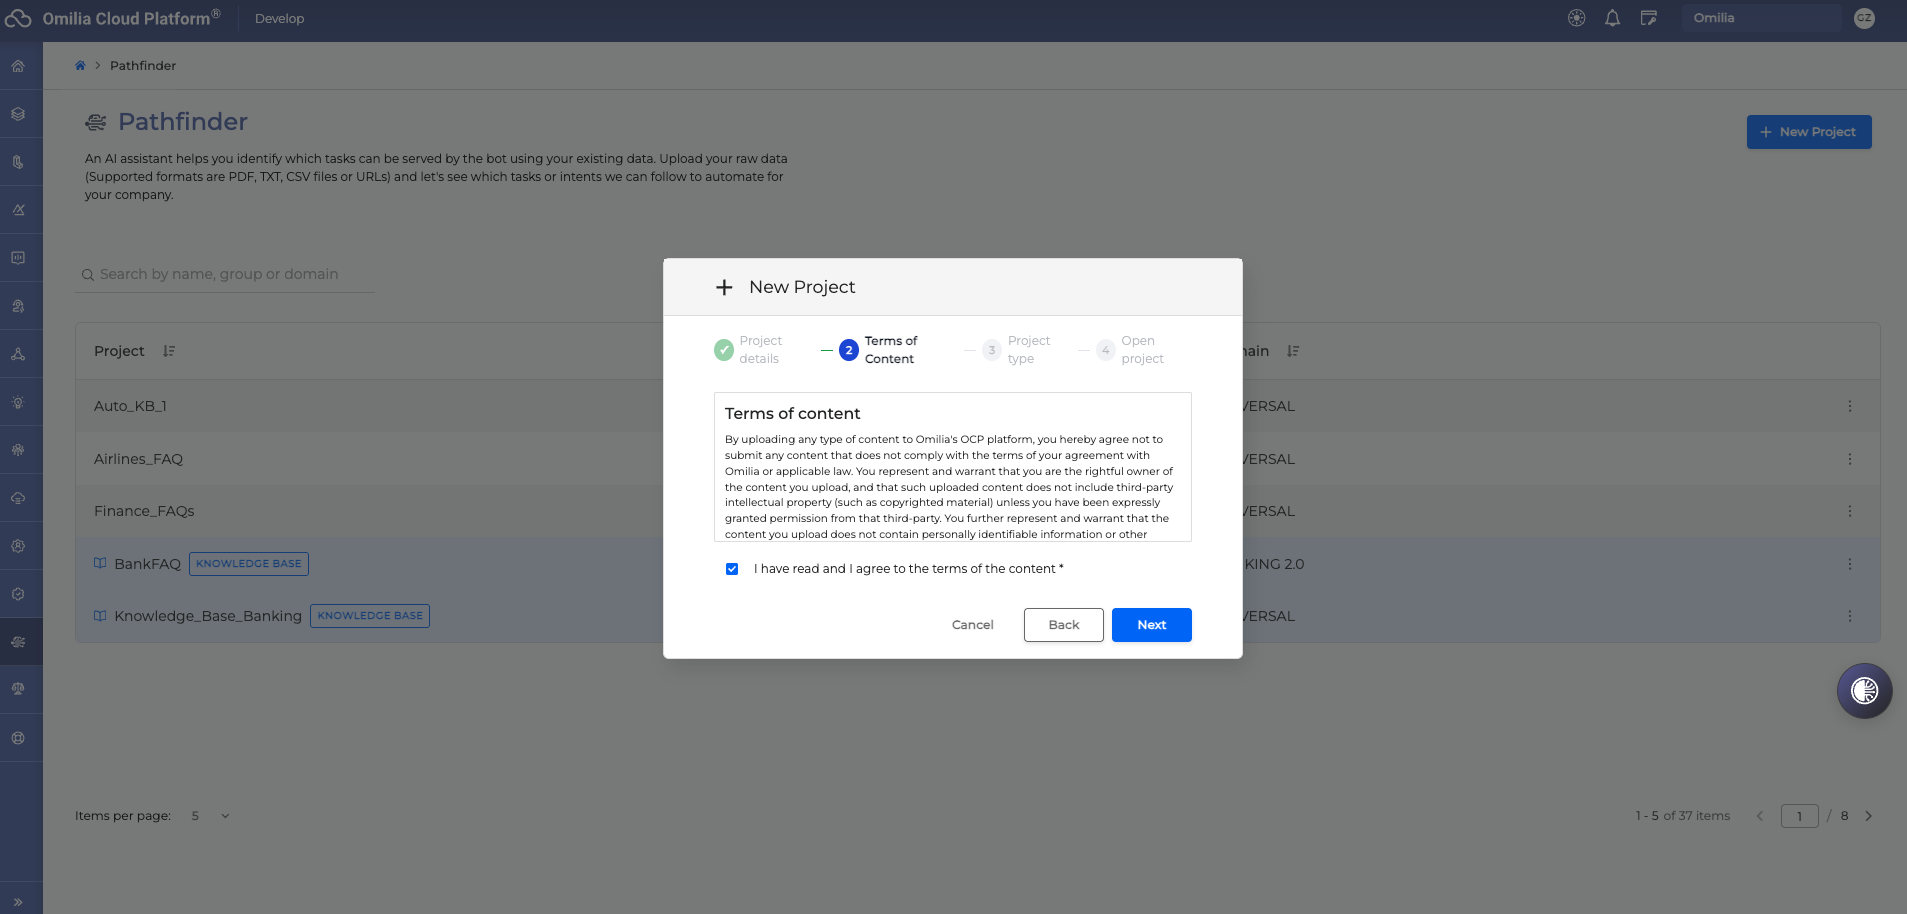
Terms of content
Read the Terms of Content and tick the agreement box to enable Next.
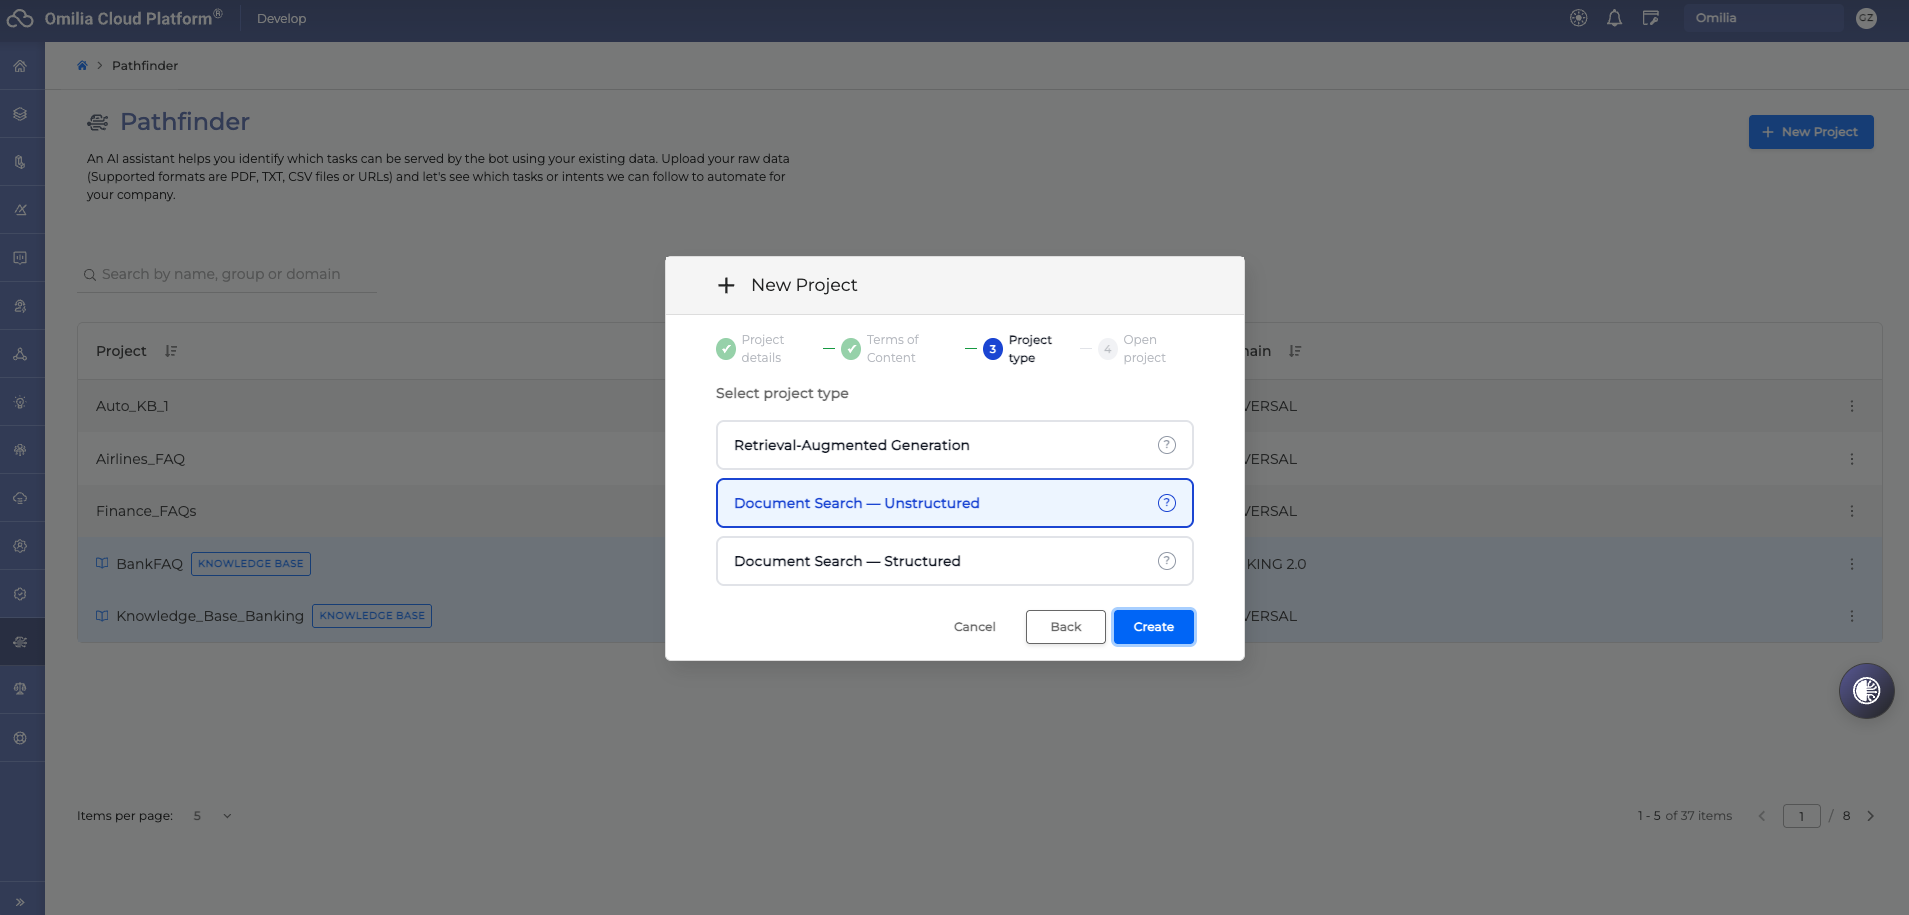
Project type
Choose one of:
-
Retrieval-Augmented Generation — grounds the agent's responses by searching over semi-structured uploads (PDFs, multi-section web pages) using hybrid (semantic + keyword) retrieval.
-
Document Search — Unstructured — knowledge base where each document represents a self-contained answer. Pathfinder auto-generates a set of paraphrased questions per document so the agent can trigger the full document response regardless of how the user phrased the question.
-
Document Search — Structured — JSON documents retrieved via exact key/value filtering (e.g., product catalogues, reference datasets) where filter accuracy matters more than semantic similarity.
Each card has a ? icon which you can hover over for a detailed description of the retrieval behaviour.
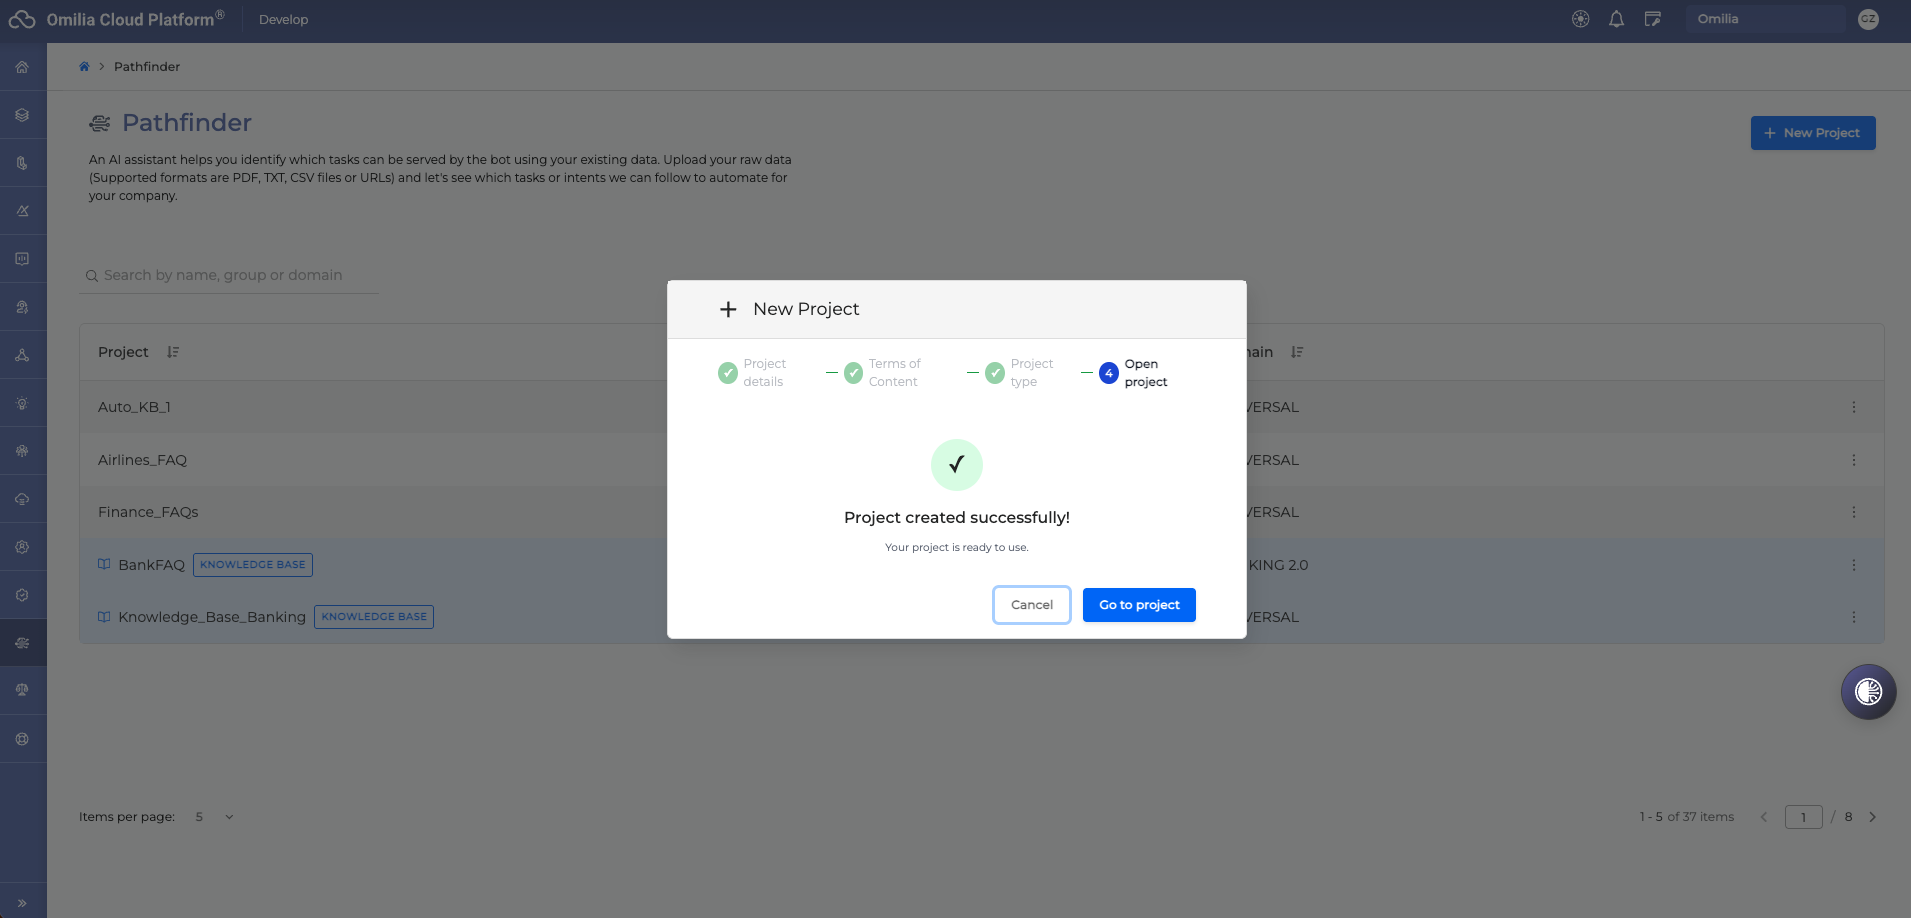
Open project
After successful creation you'll see a confirmation screen with a Go to project button. If you uploaded data during creation, the wizard shows live ingestion progress before handing you off to the project view.
Upload Your Data
Pathfinder can accept data uploaded as PDF, DOCX, TXT, MD, CSV, or JSON files, ZIP archives (for the FAQ PDF batch ingestion), or copied from a URL.
Upload Informational Data
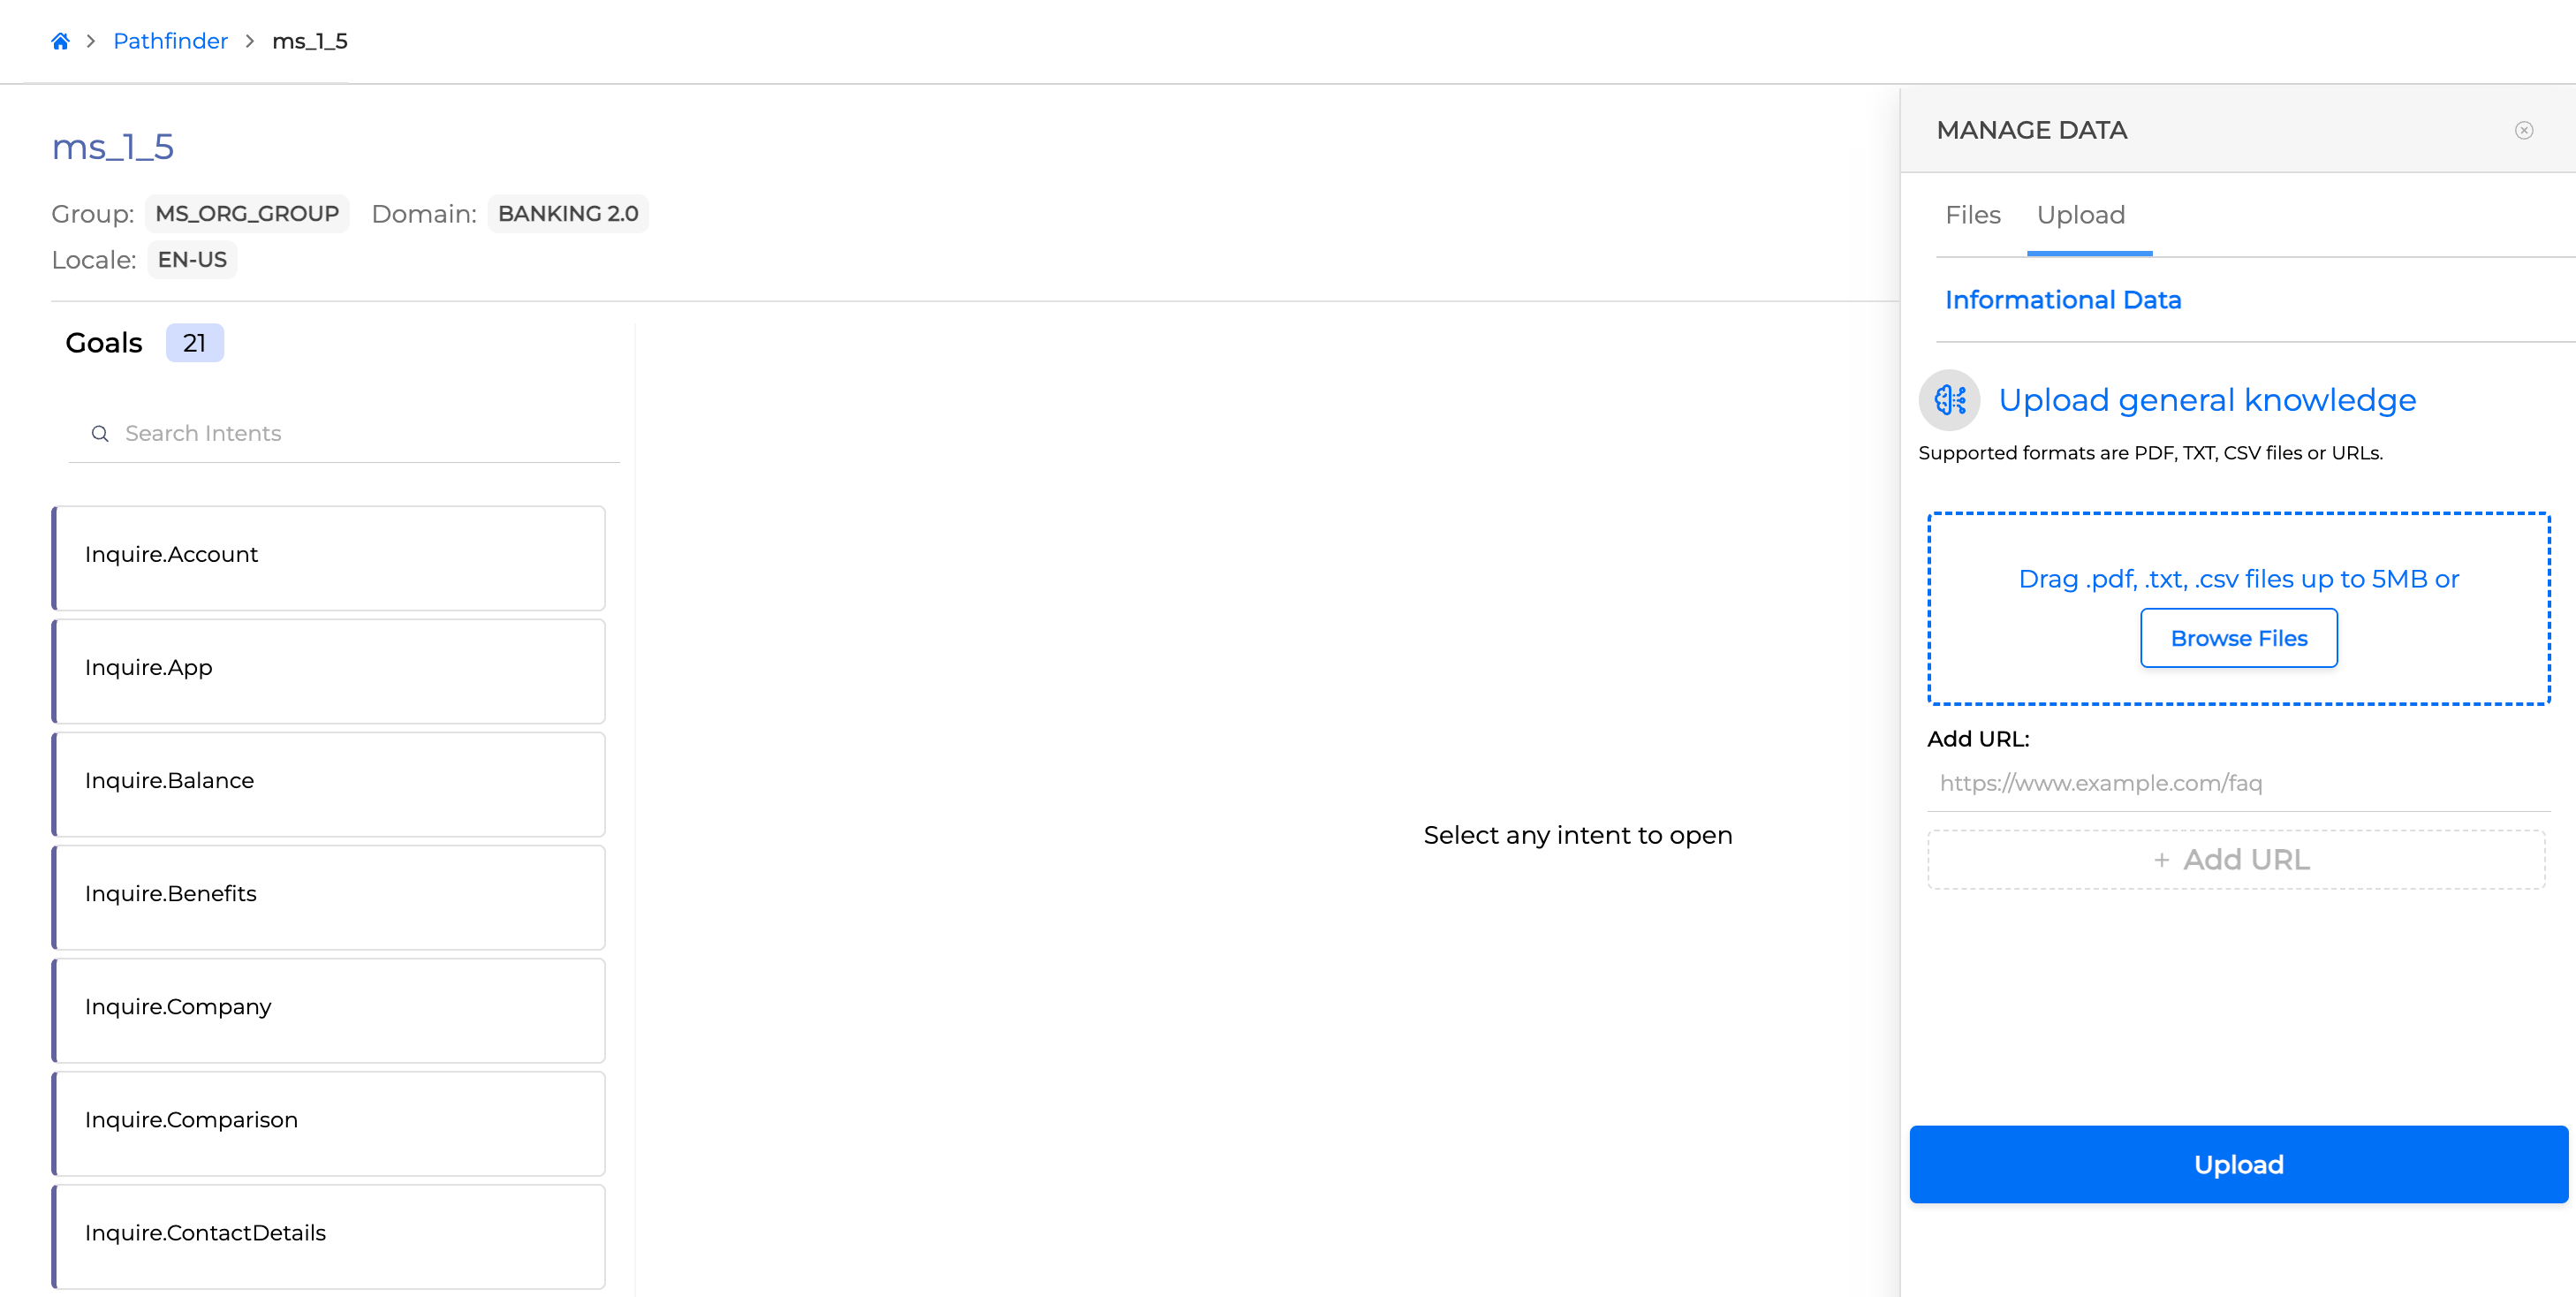
For the non-You can upload supported files by drag-and-dropping the files into the designated area on the screenshot below or by clicking the Browse Files button.
The size of your file should be up to 200 MB.
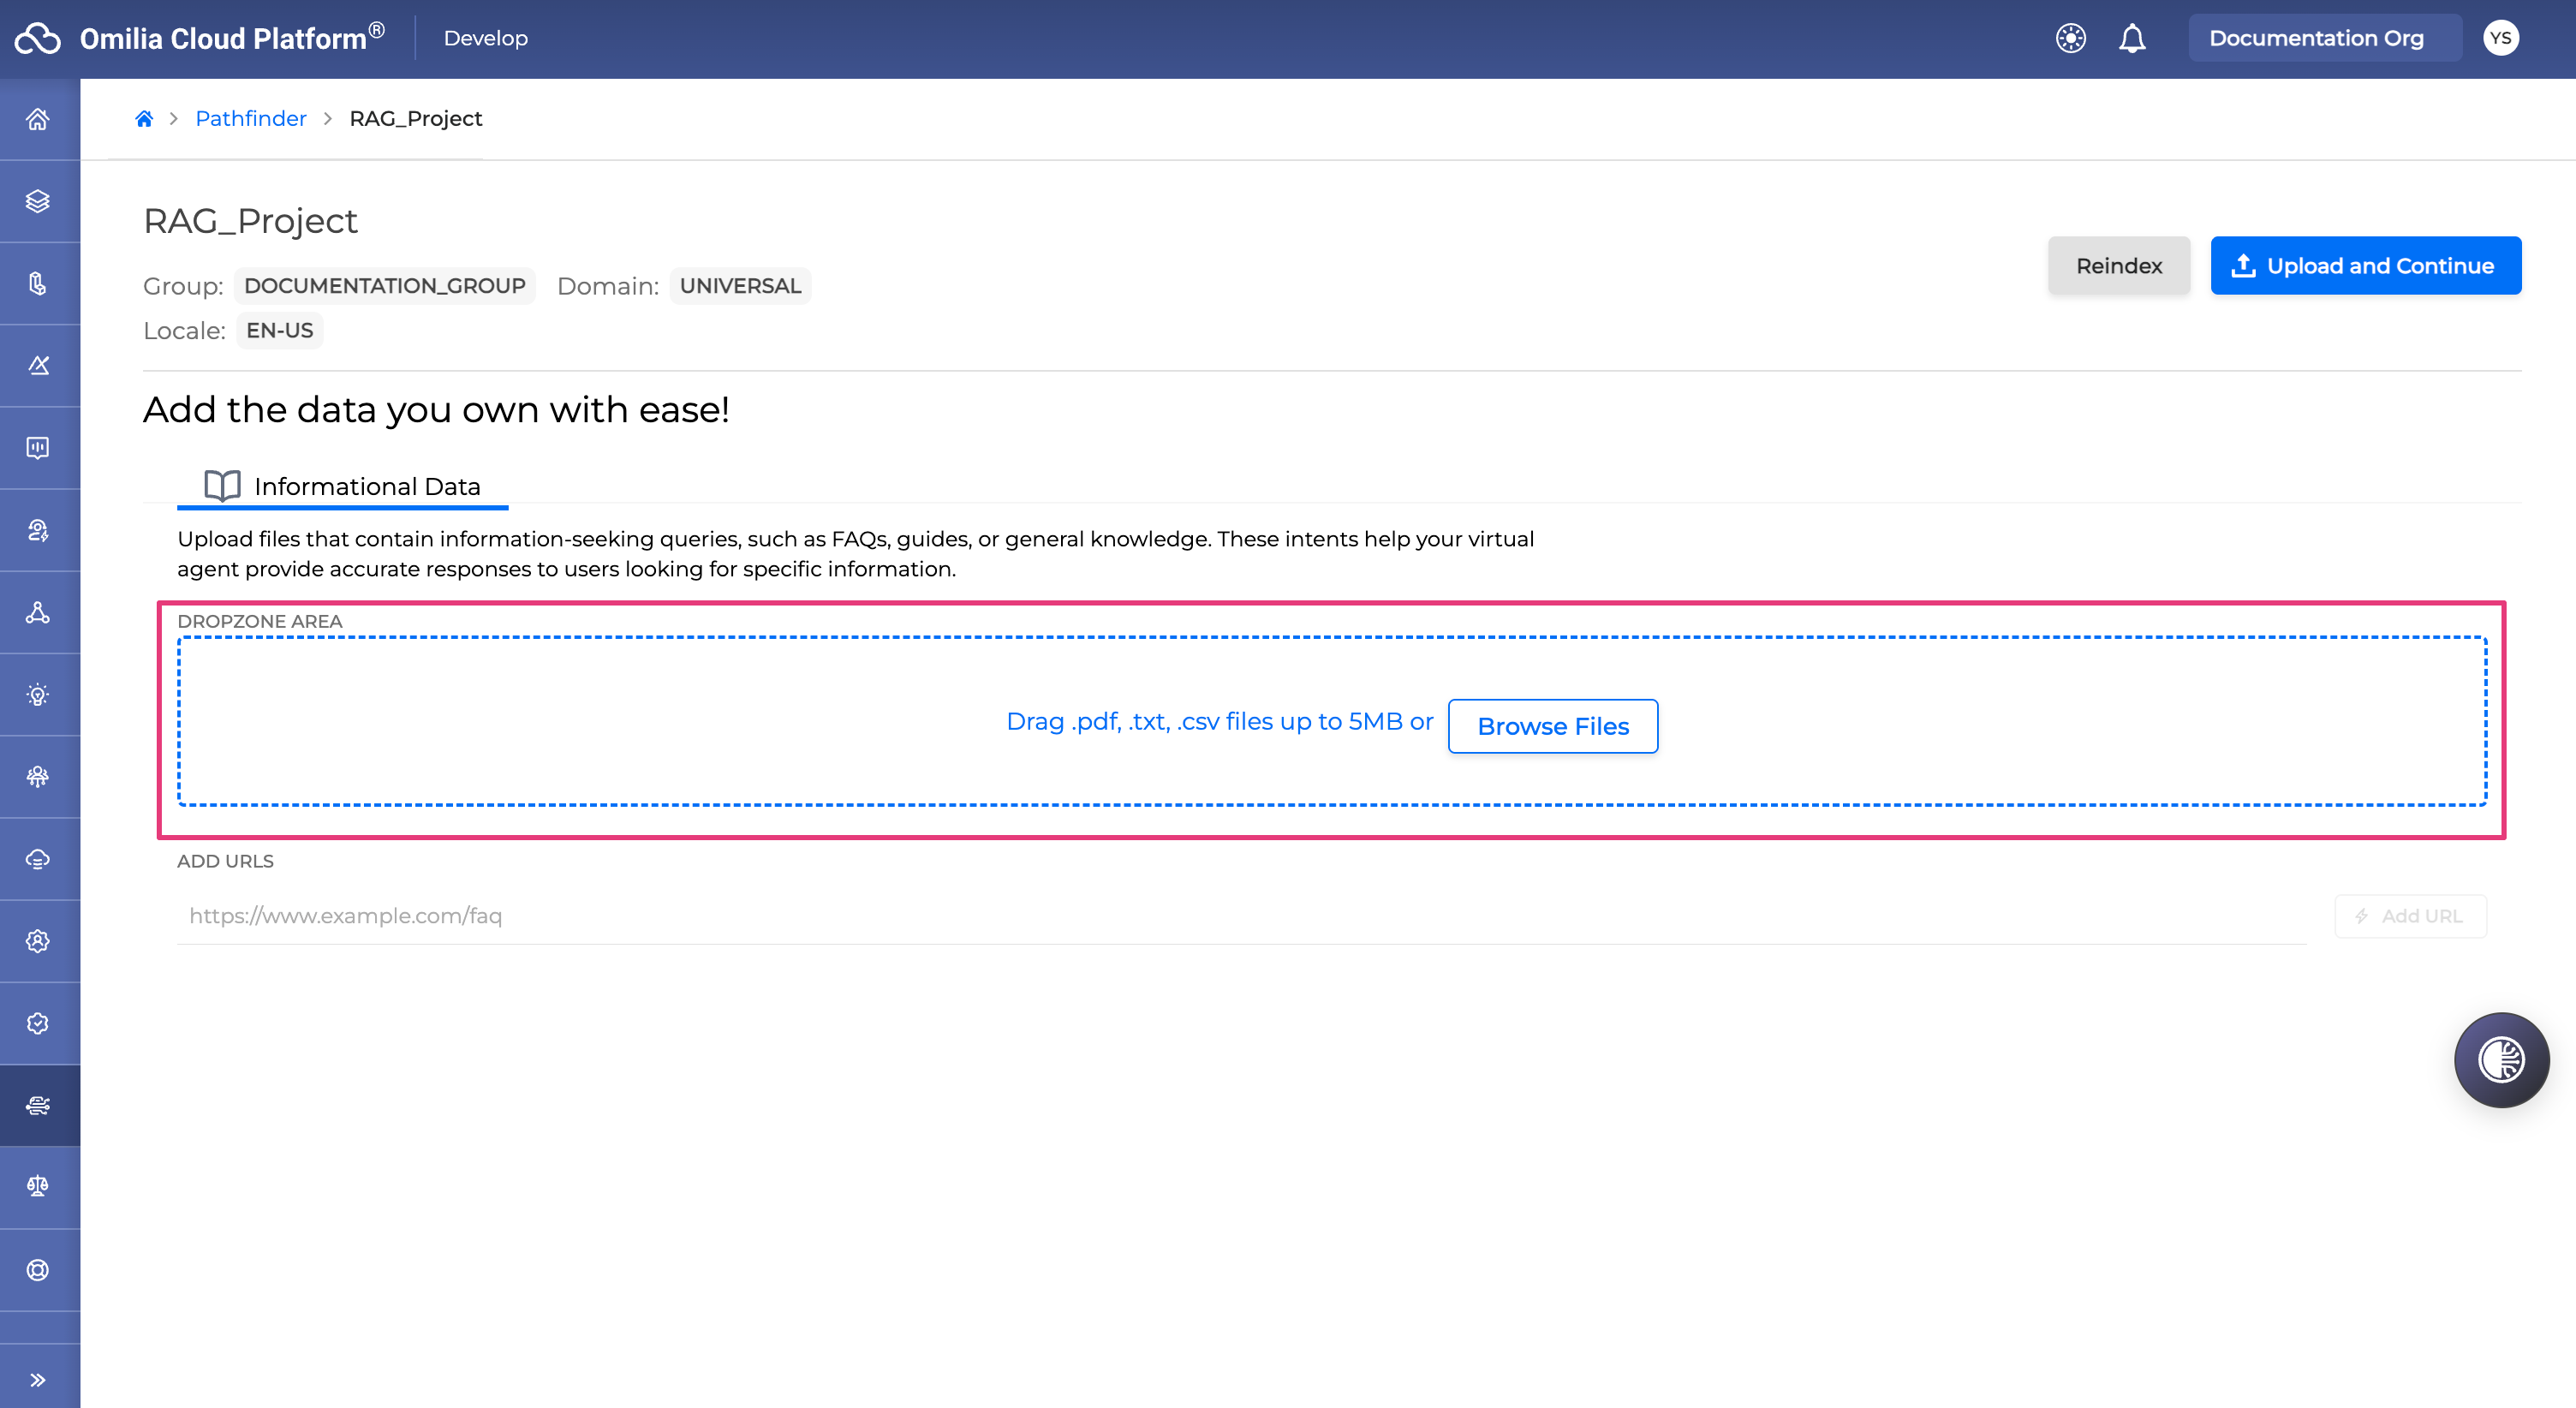
You can also provide your data from a URL. To do it, paste the URL in the field below and click +Add URL. After clicking the + Add URL button, you can optionally toggle on Follow links one level down if needed.
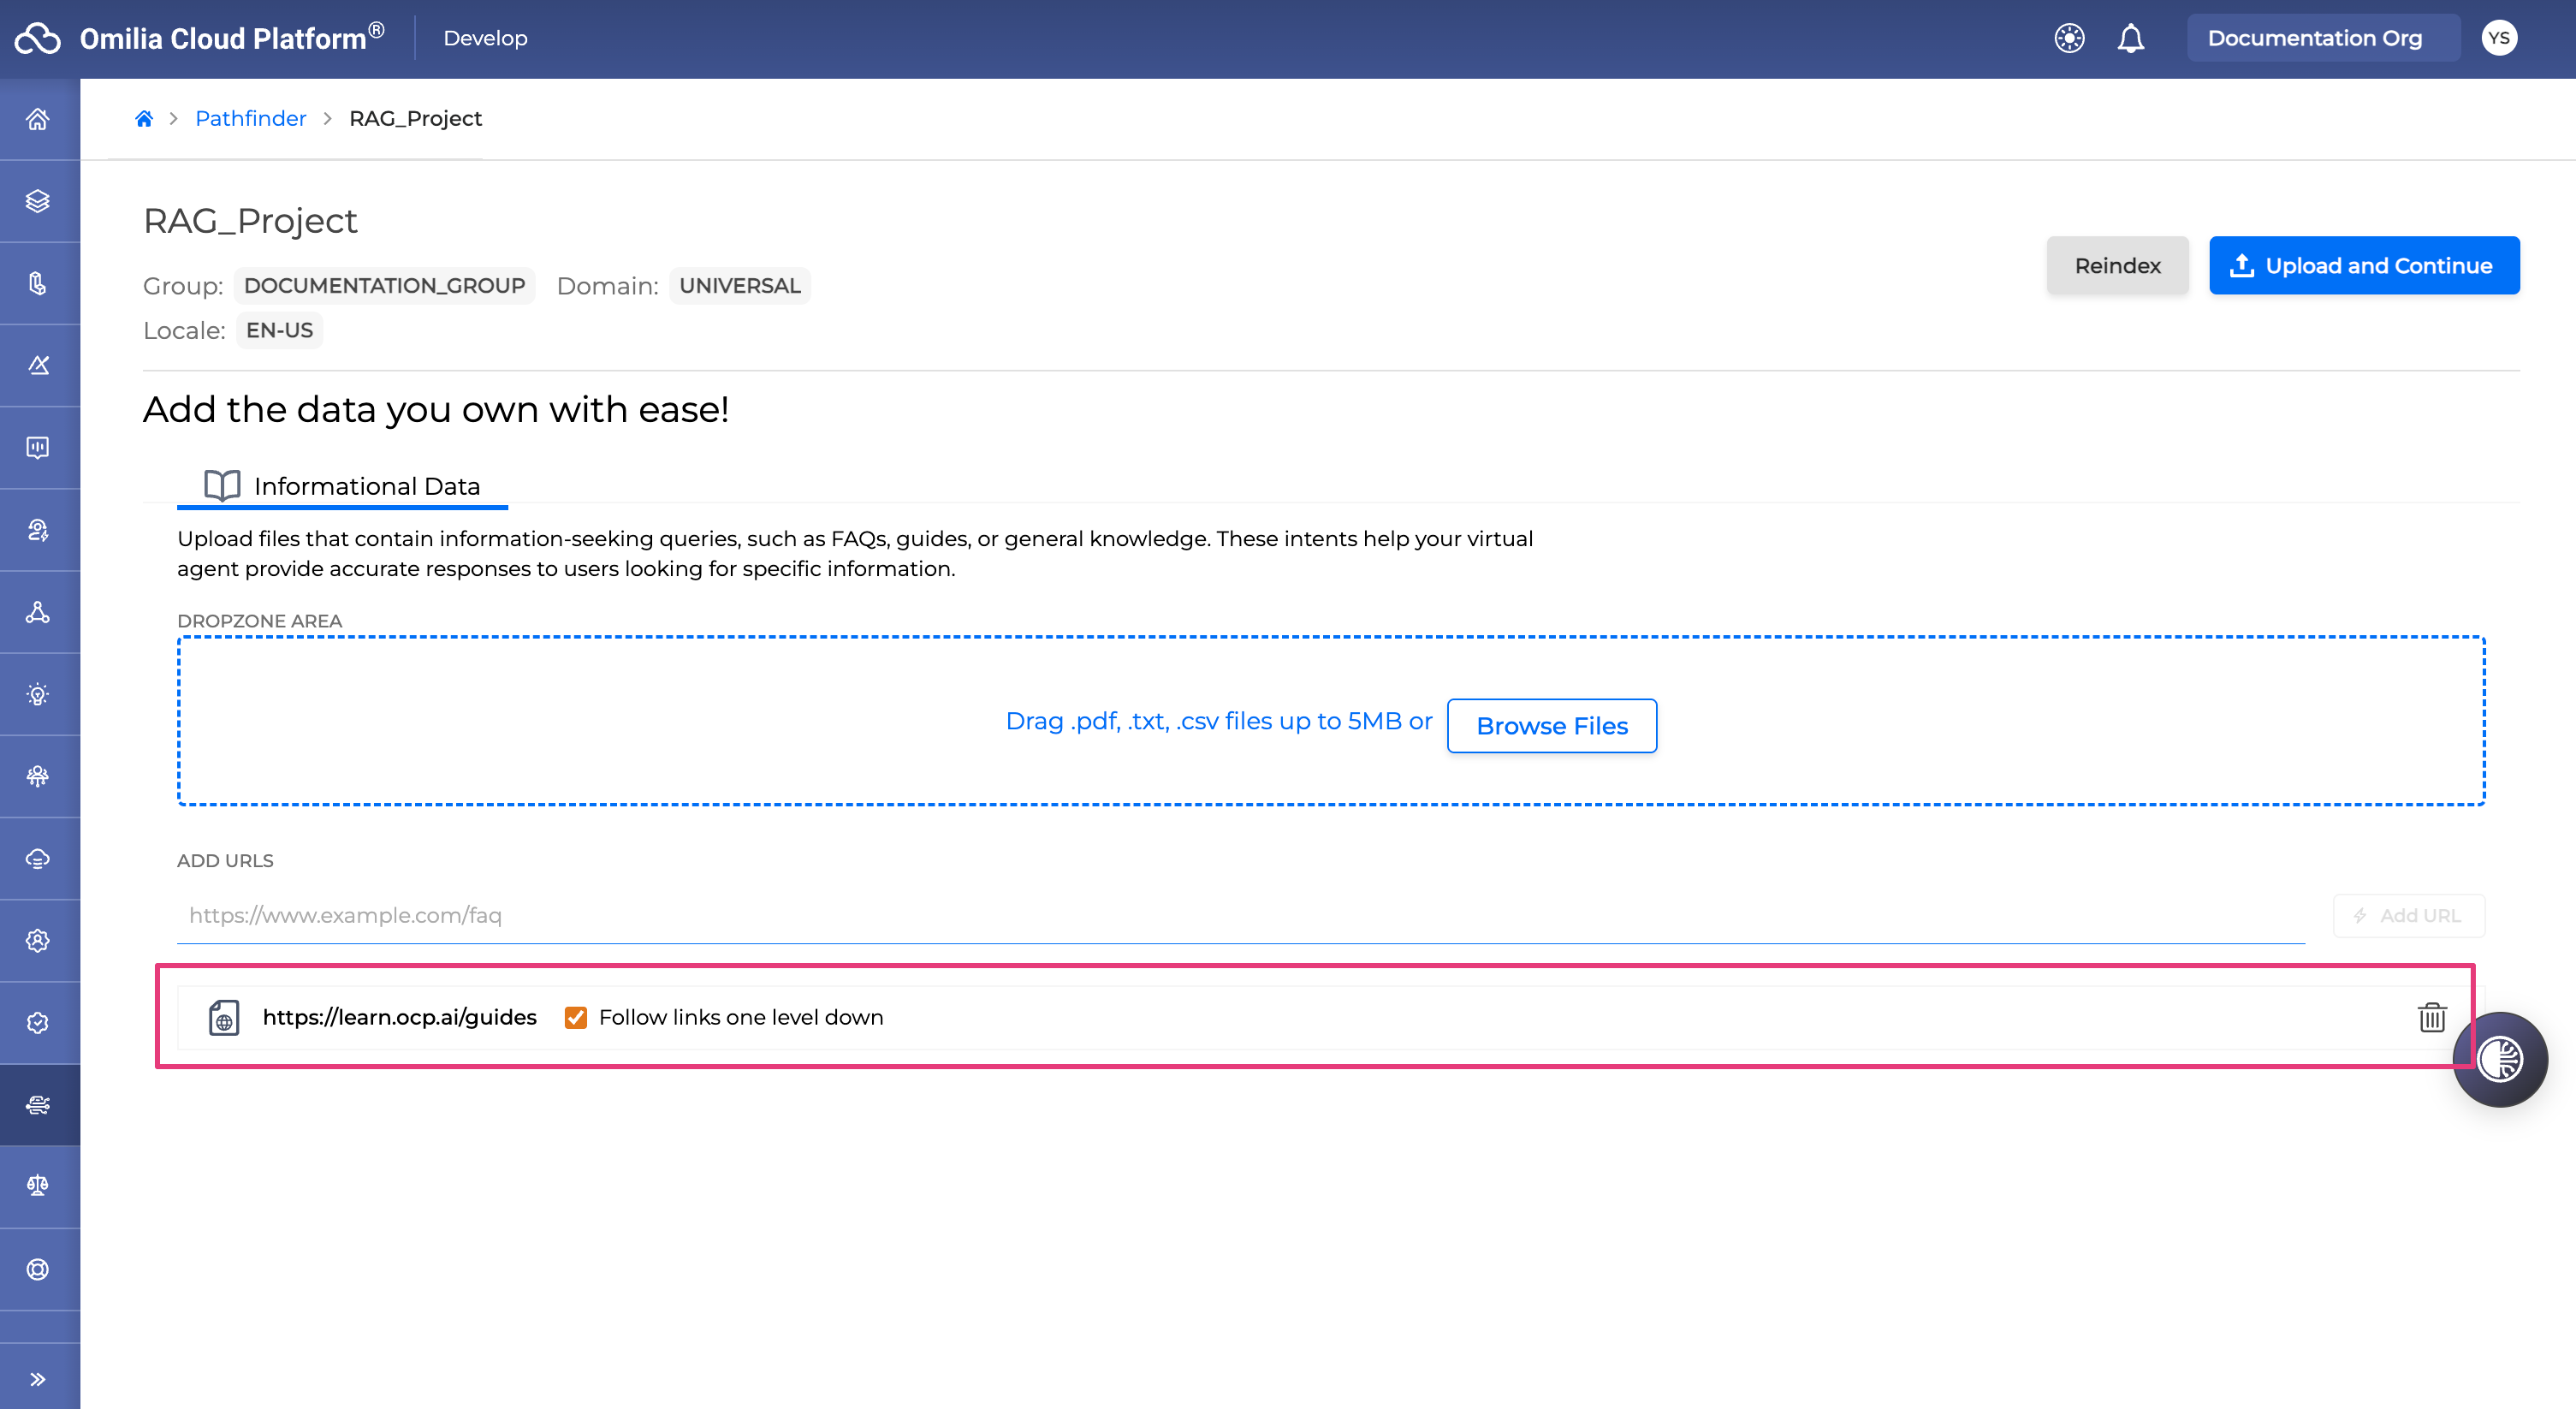
You can delete any previously added file or URL by clicking the Trash icon to the right of it.
Once you’re finished, click the Upload and Continue button in the upper right corner of the screen.
When the data is uploaded, a pop-up message saying "Resources added successfully!" will appear in the upper right corner of your screen.

You will then be redirected to the detailed view of your project.
After a successful upload, it may take several minutes for Pathfinder to analyze the data and generate a list of intents.
Retrieval-Augmented Generation
When creating a new Pathfinder project, Based on the application of your prospective project, you can choose between the generation of the FAQ that will be augmented in real time by LLM (the Generative AI option) or the FAQ with the Pre-defined answers to utterances (called Sample Inquiries) within your intents. The Pre-defined option uses less resources for deployment, and allows for the offline application of the FAQ.
Generating Responses
After your Intents were generated based on the data you uploaded, you can generate responses for all Intents or for a particular utterance within an Intent, either by clicking Generate Responses in the top right corner of the screen, or click the Generate response button underneath each utterance, respectively.
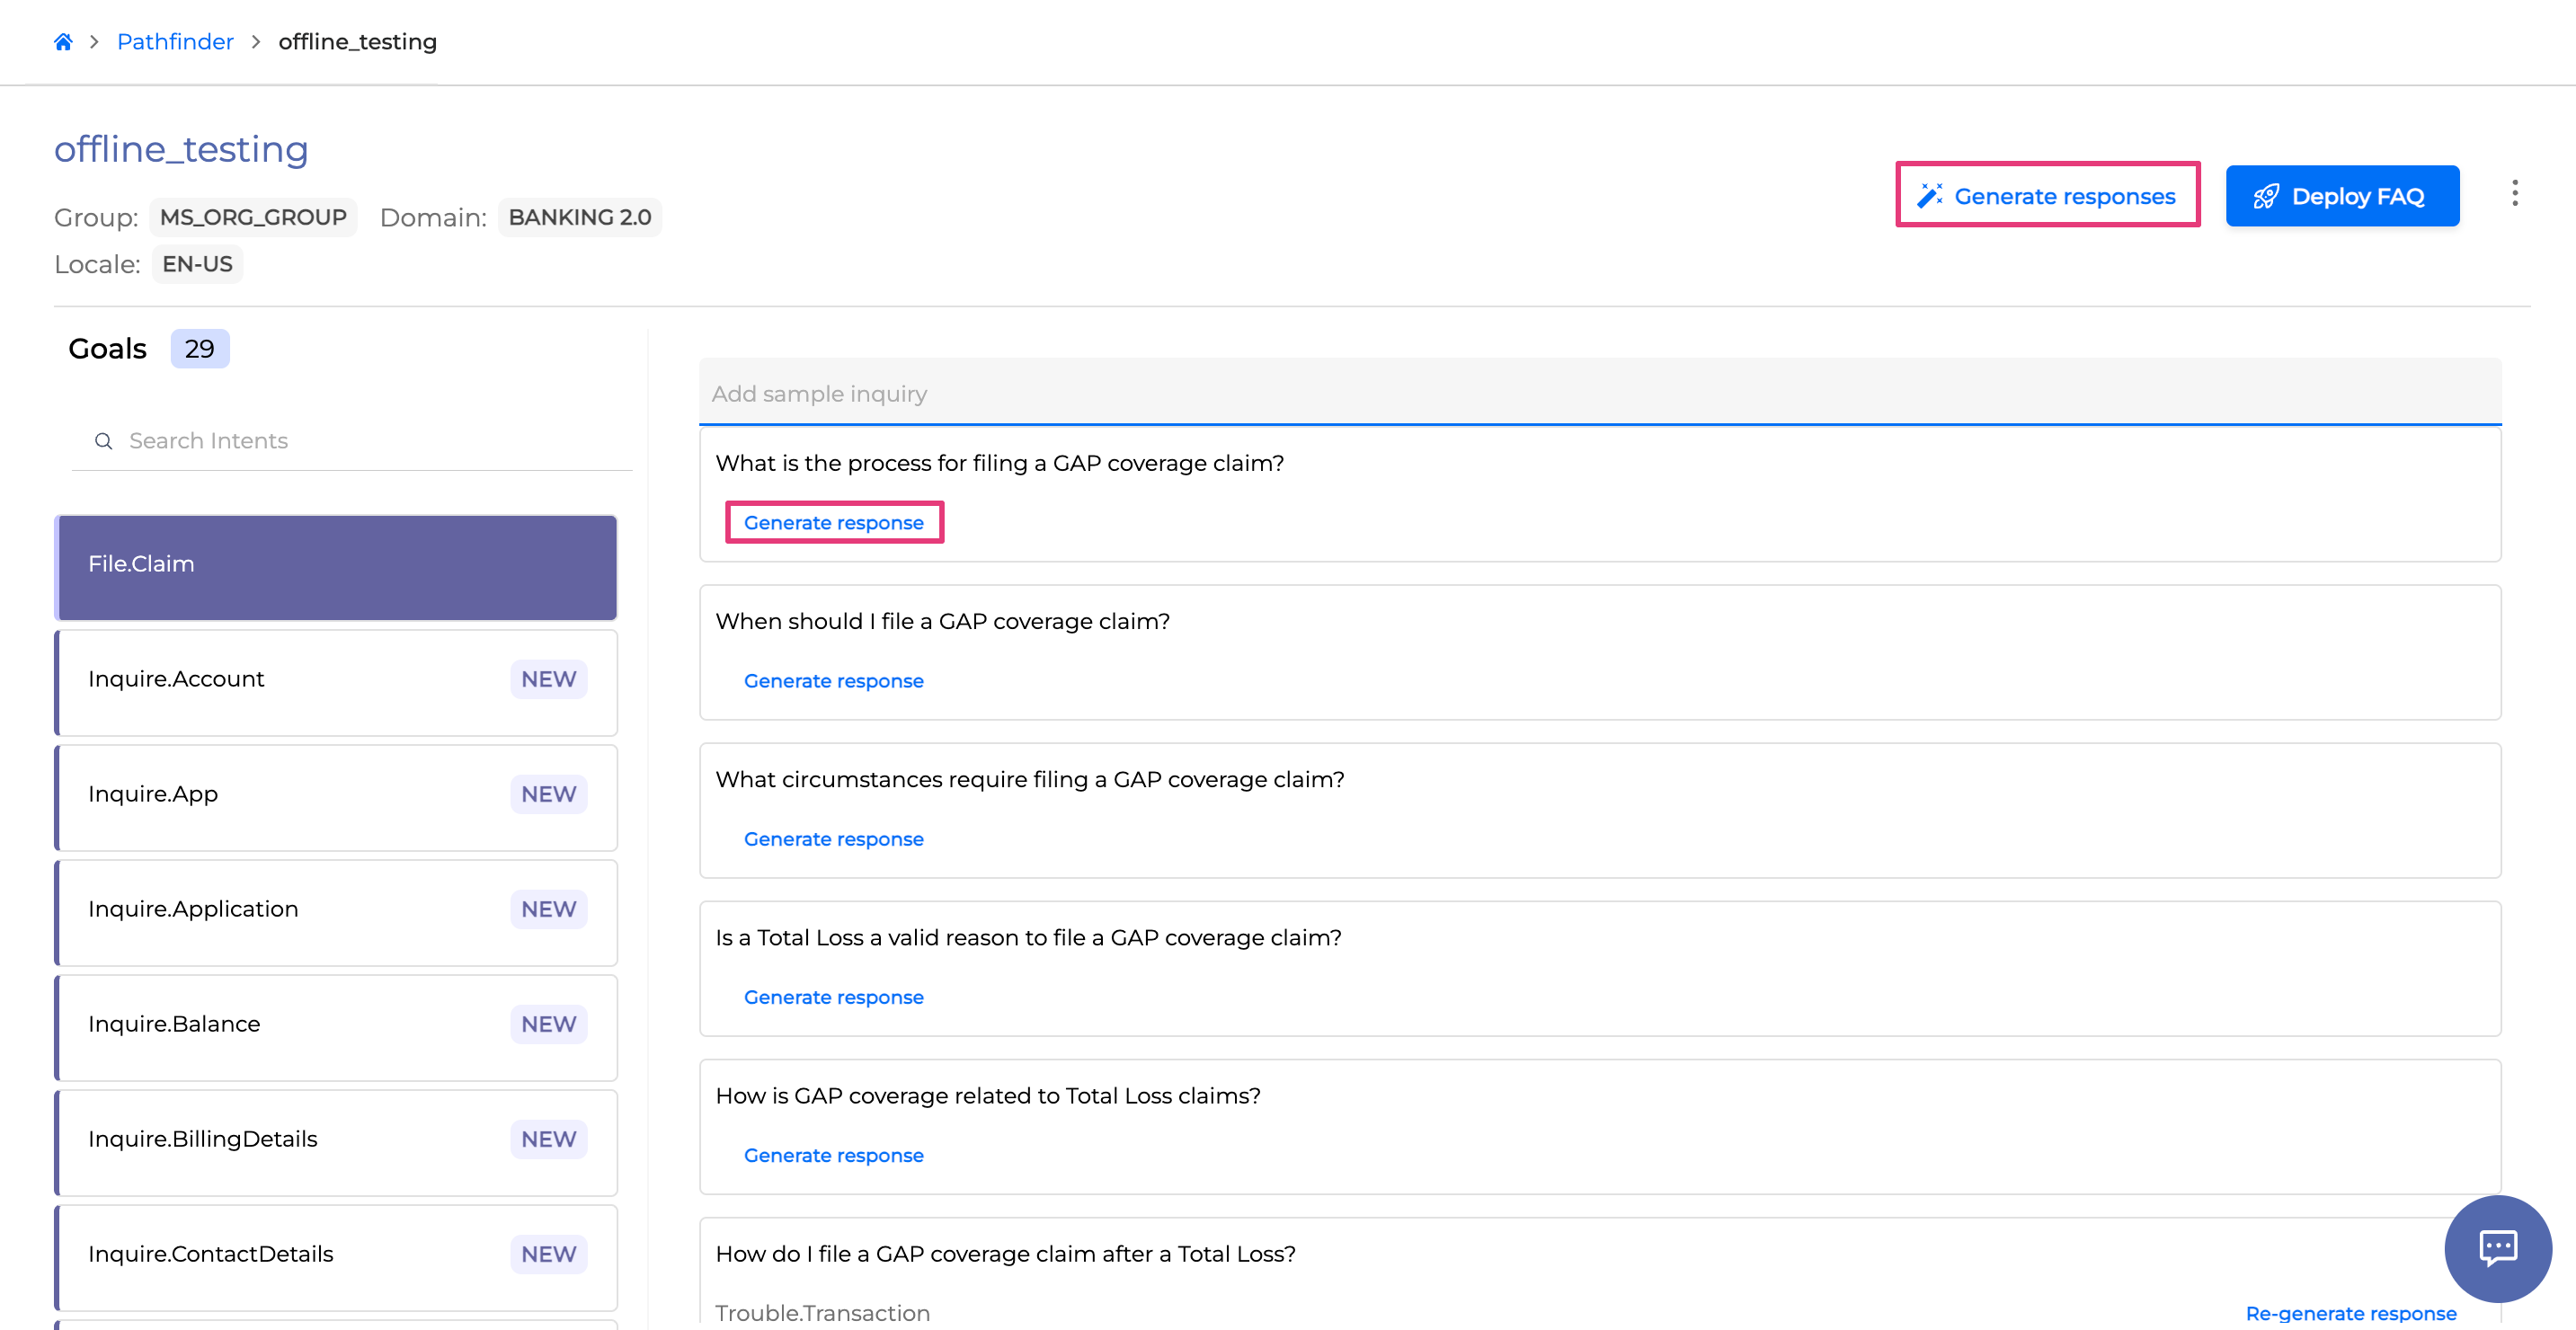
You can re-generate the response for a particular utterance, however you can only delete an utterance together with its response (which are considered a single entity in a Pre-defined type of project).

KB-Enabled Project
You can enable the Knowledge Base mode for the Pathfinder project to be used in the Q&A Agent in Orchestrator. When enabled, it allows the Agent to collect certain filtered values from the user’s input, and answer users’ question from the uploaded document based on the matched metadata.
For example, you can upload the JSON file with the information on the hotel accommodations and services and the Q&A Agent will use this file to provide specific information to the customer based on the values matched in the document.
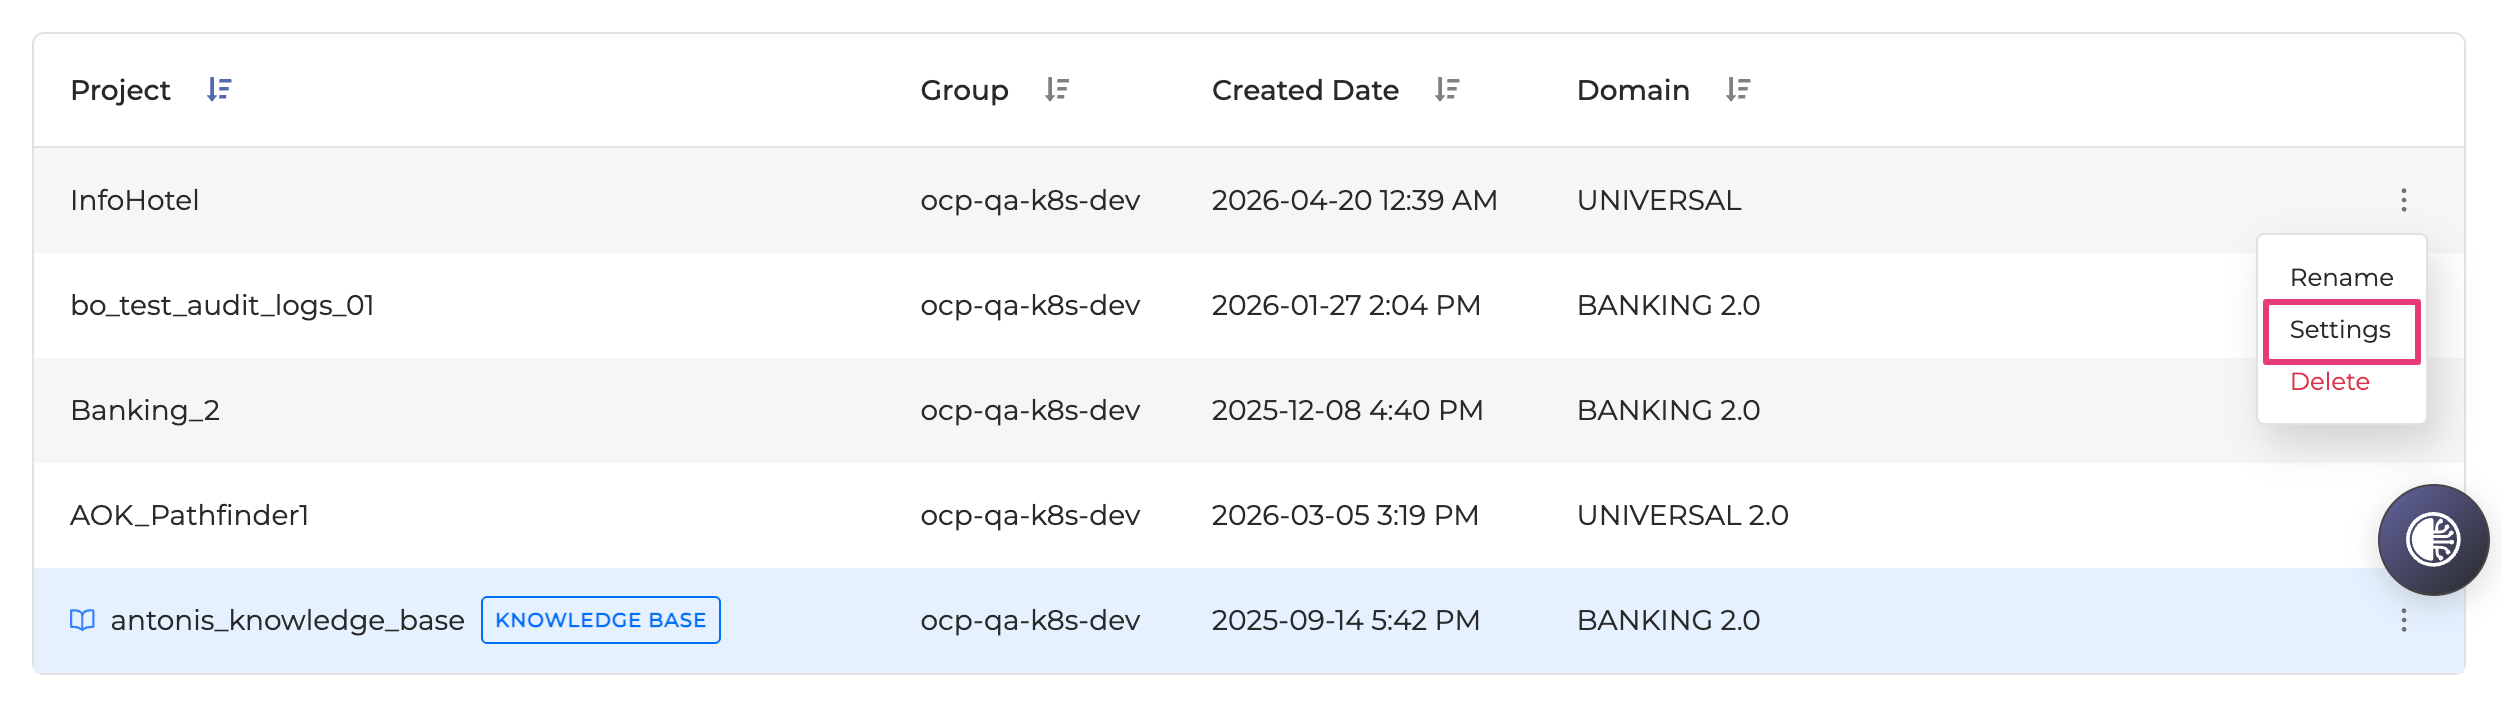
Go to the options menu of the Pathfinder project and click Settings.
Toggle the Knowledge Base enabled option, and select the KB type of retrieval:
Chunk Retrieval (corresponds to "Document Search — Unstructured") — files in the PDF format are split into chunks and indexed for hybrid search.
Document Retrieval (corresponds to "Document Search — Structured") — JSON files with metadata, matched whole-document via key/value pairs.
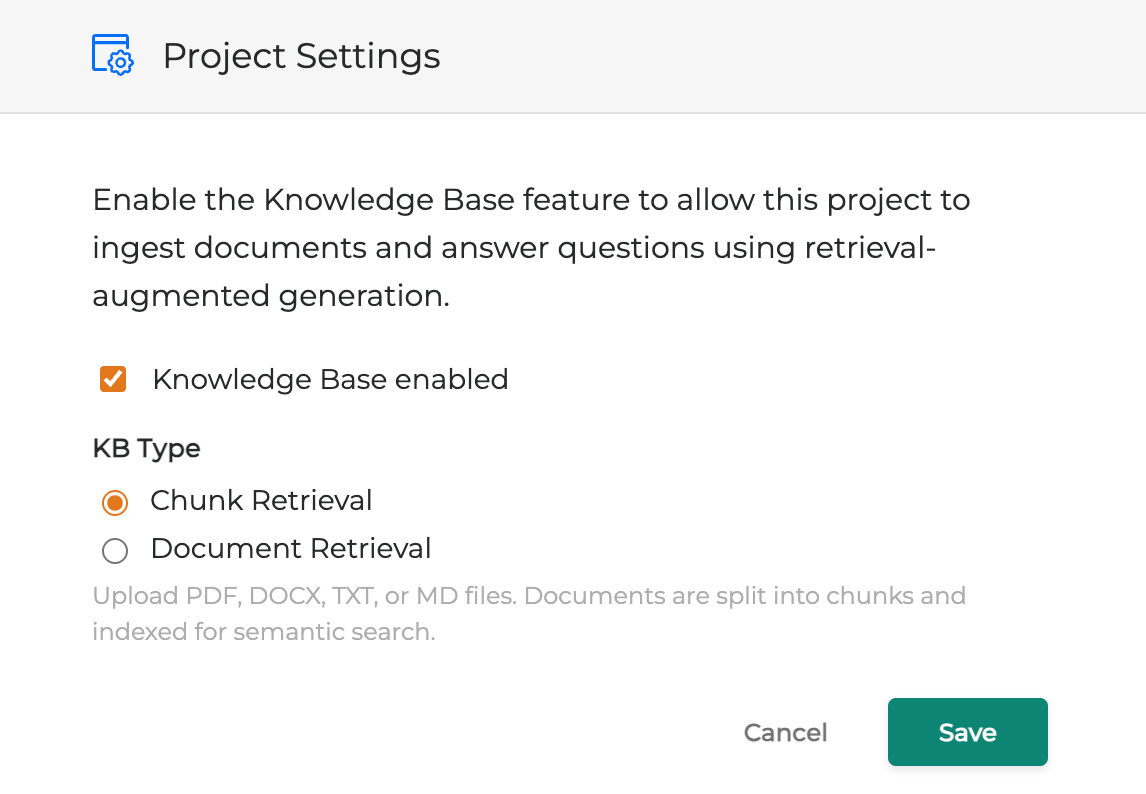
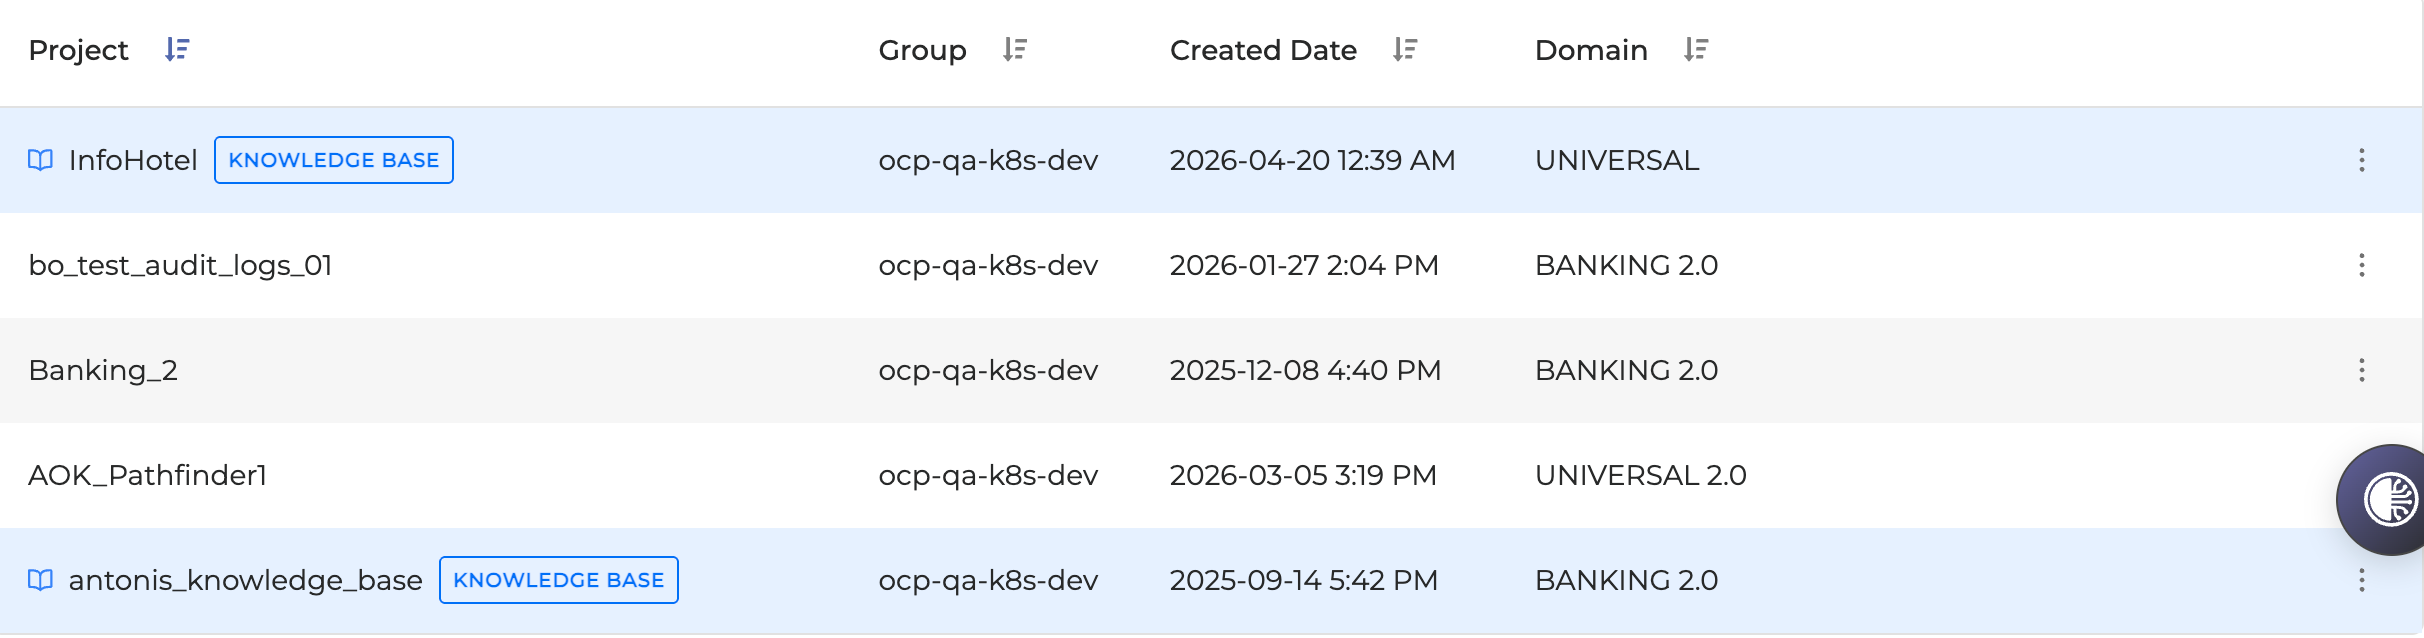
Press Save. The projects with the Knowledge Base enabled are shown with the corresponding icon.
Chunk Retrieval
Go to the KB-enabled project and click Upload in the top right corner. In the menu that appears select to upload either a single file in the PDF format or a ZIP archive with multiple files (they will be unzipped and uploaded and indexed separately).

For both a single file and a ZIP file upload, two processing modes are available: Standard and FAQ PDF.
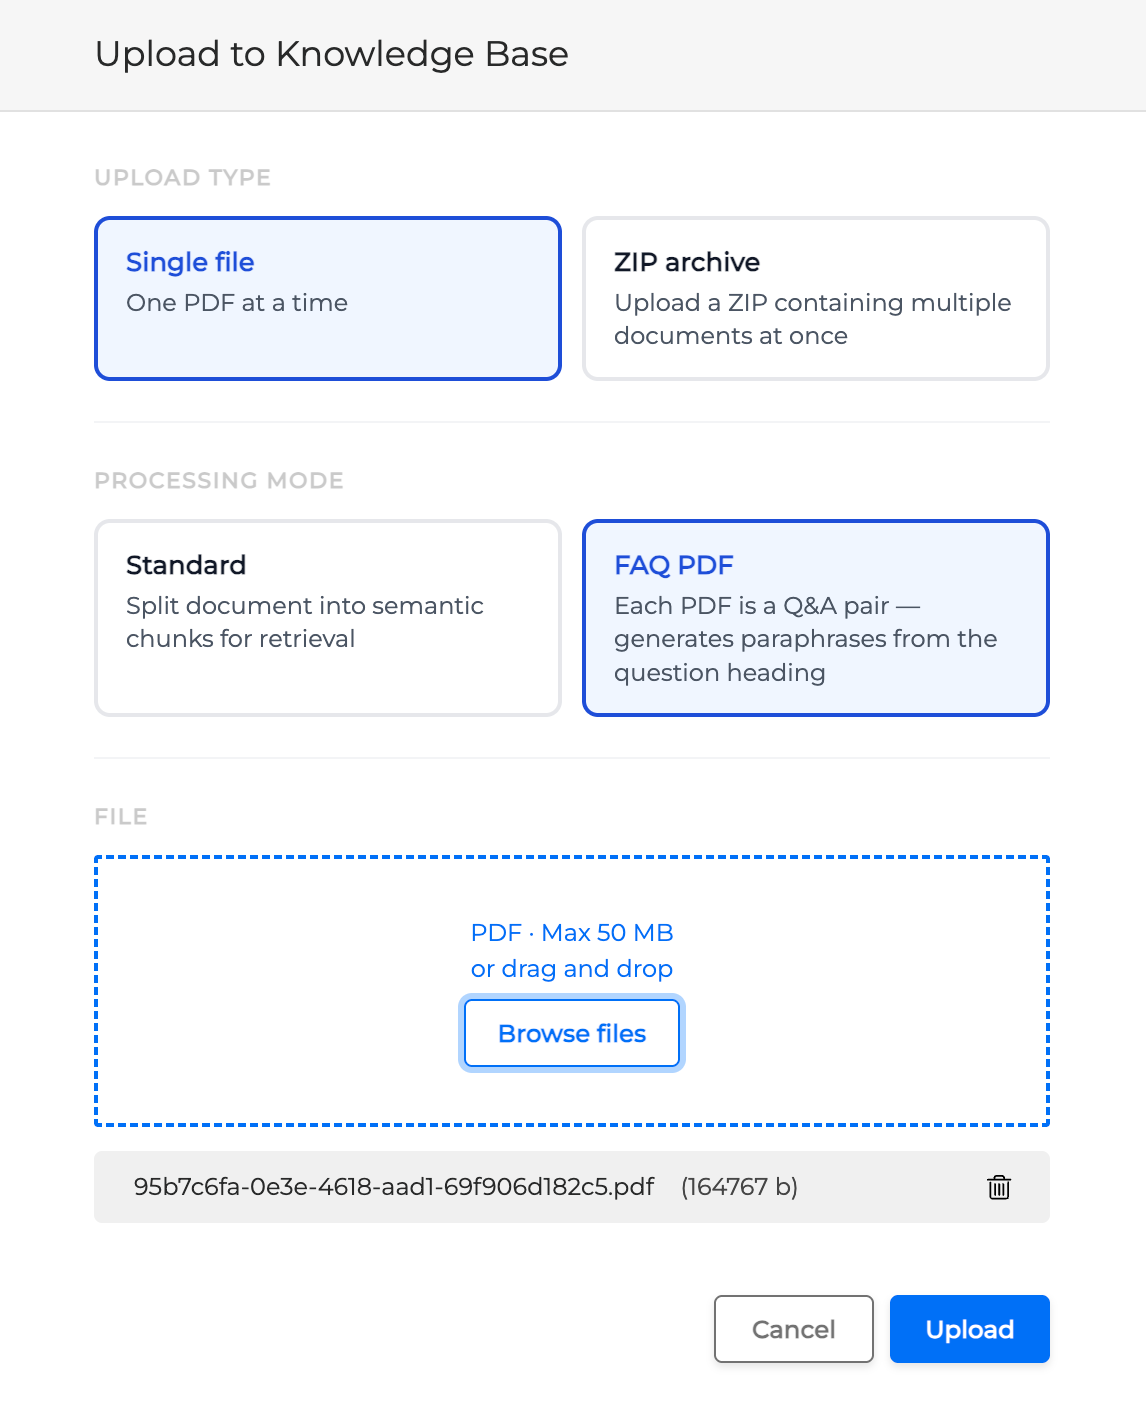
Use the FAQ PDF mode when you upload a PDF as an FAQ document. In this case, the content is automatically processed into distinct Q&A entries, each with a canonical question and a set of answer paraphrases rather than raw text chunks. This makes retrieval more accurate for document-heavy knowledge bases and gives you control through an inline review and approval workflow before content goes live.
After the upload is completed, your files will appear as a list in the project. You can filter out the file by its status, tags or the document ID (UUID).

Use the options menu on the right of each row to do the following:
-
View — open the document detail page.
-
Edit — change the display name, tags, or category.
-
Retry Processing — only for documents with the
errorstatus. -
Unpublish — revert a published document back to ready/pending review.
-
Delete / Restore — soft-delete or restore a document.
When you open a document, the detail page provides the following tabs:
-
Chunks (default for Standard ingestion) — review the chunks generated from the document.
-
Paraphrases (replaces Chunks for the FAQ PDF documents) — see the canonical question and the paraphrases per FAQ entry. Add via the full-width text field (Enter to commit), edit by double-clicking, delete via the trash icon (on hover).
-
Document — renders the uploaded PDF inline. An Open in new tab ↗ link is always available.
-
Version History — past versions with diff and rollback. For the FAQ PDF documents, also shows the paraphrase count per version with row expand to see the full paraphrase set.
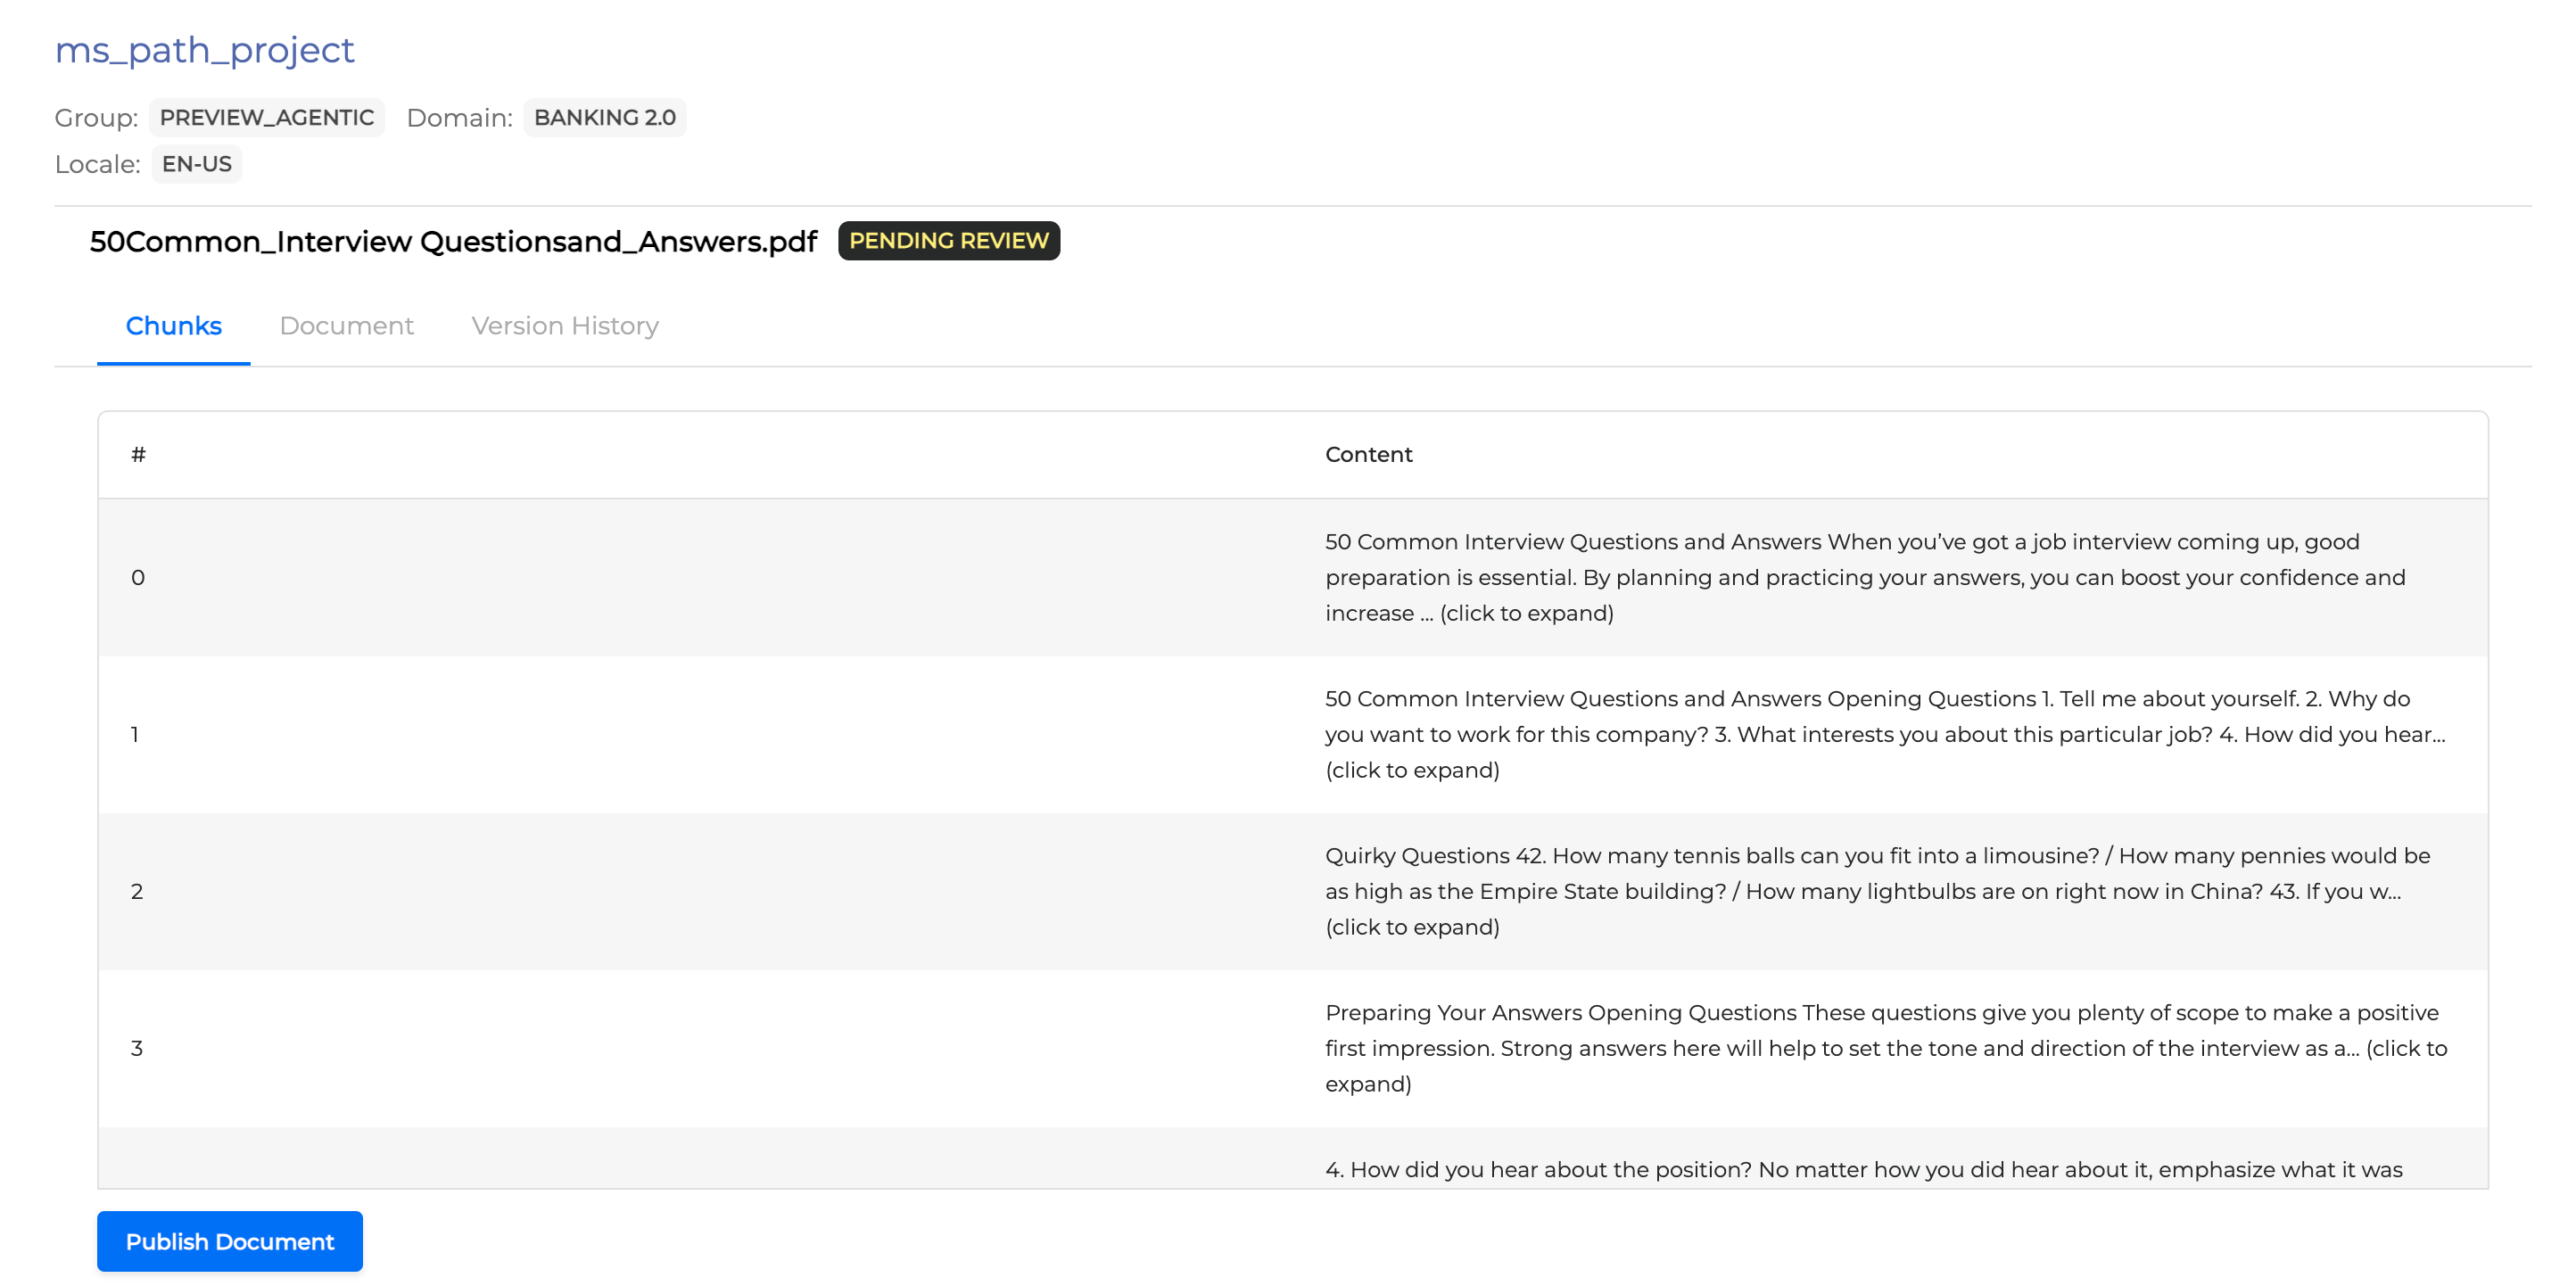
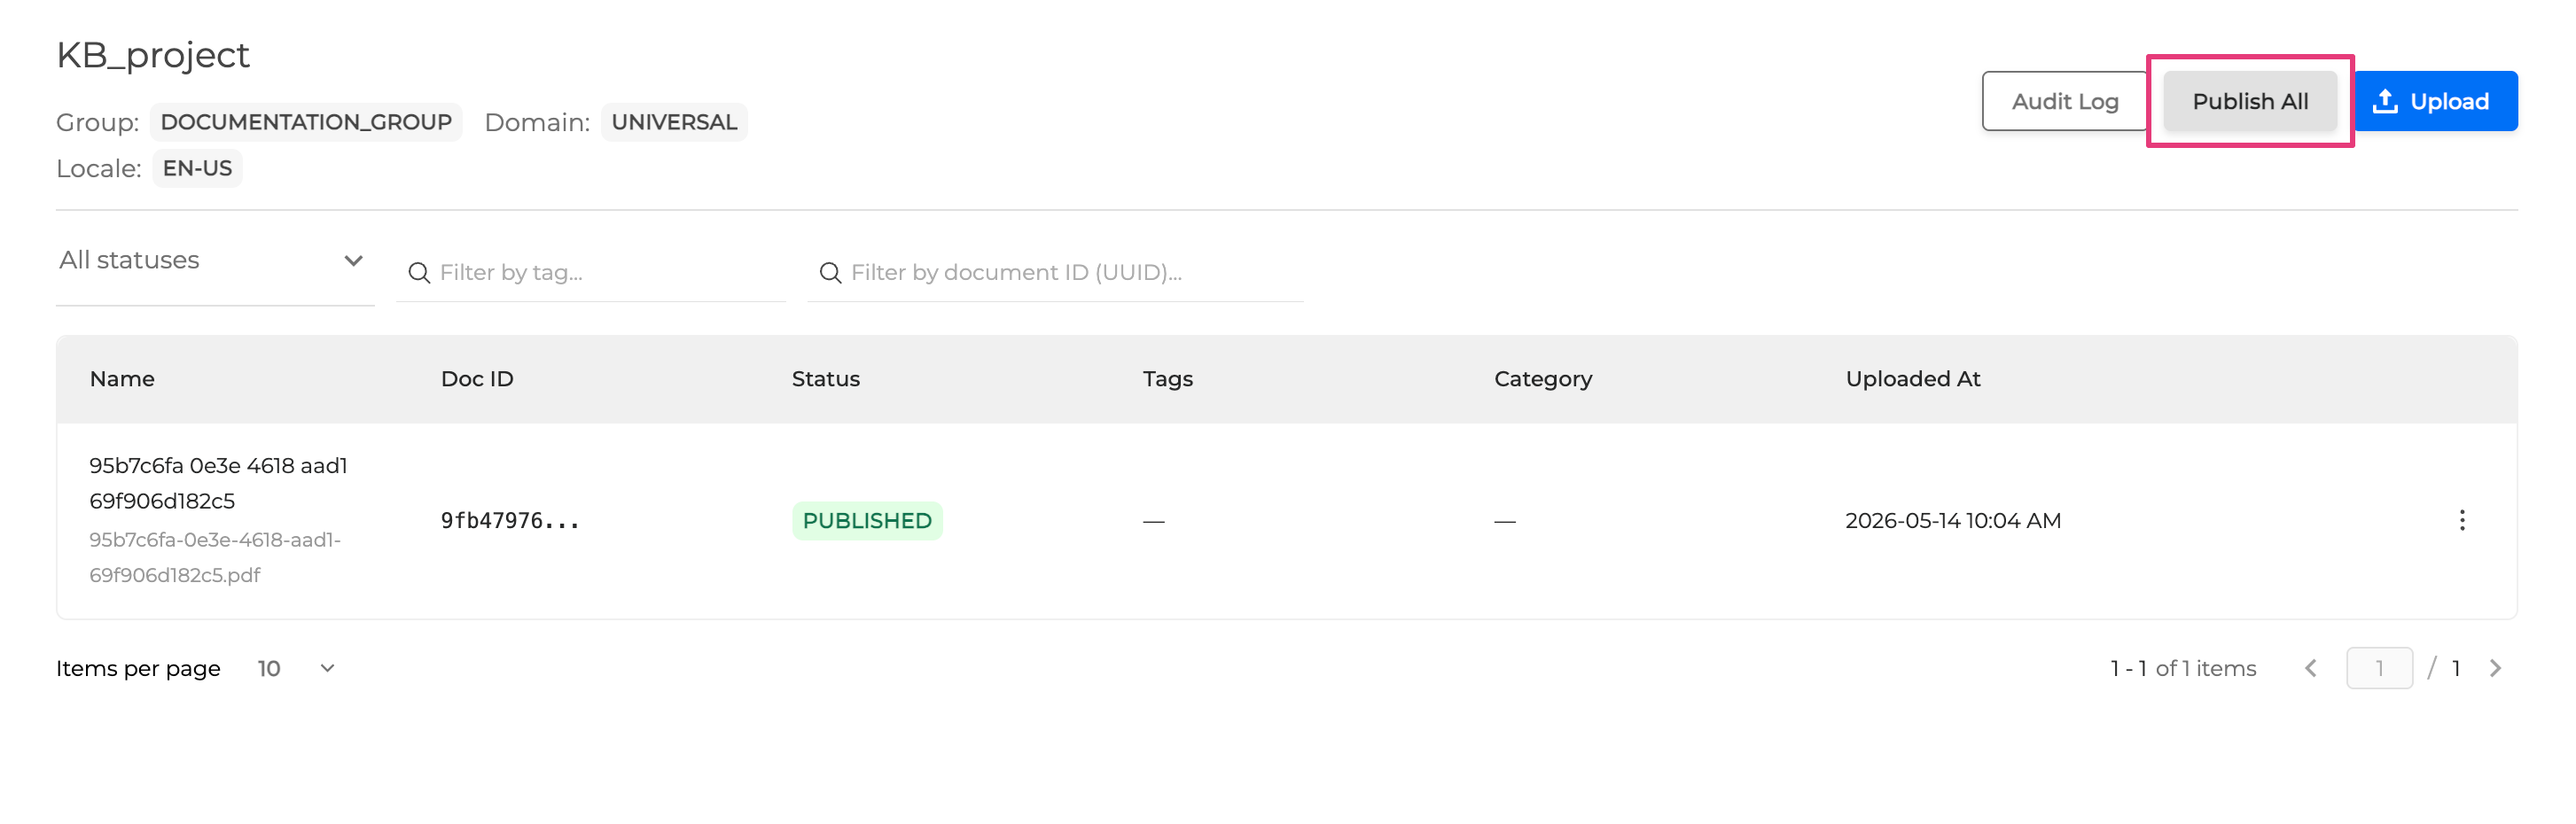
After you add the documents, you can publish them all simultaneously through the Publish All button in the project page.
Document Retrieval
Go to the KB-enabled project and click Upload in the top right corner.
Add the file with the information and specify the metadata key-value pairs (you can add them later using the Schema menu):

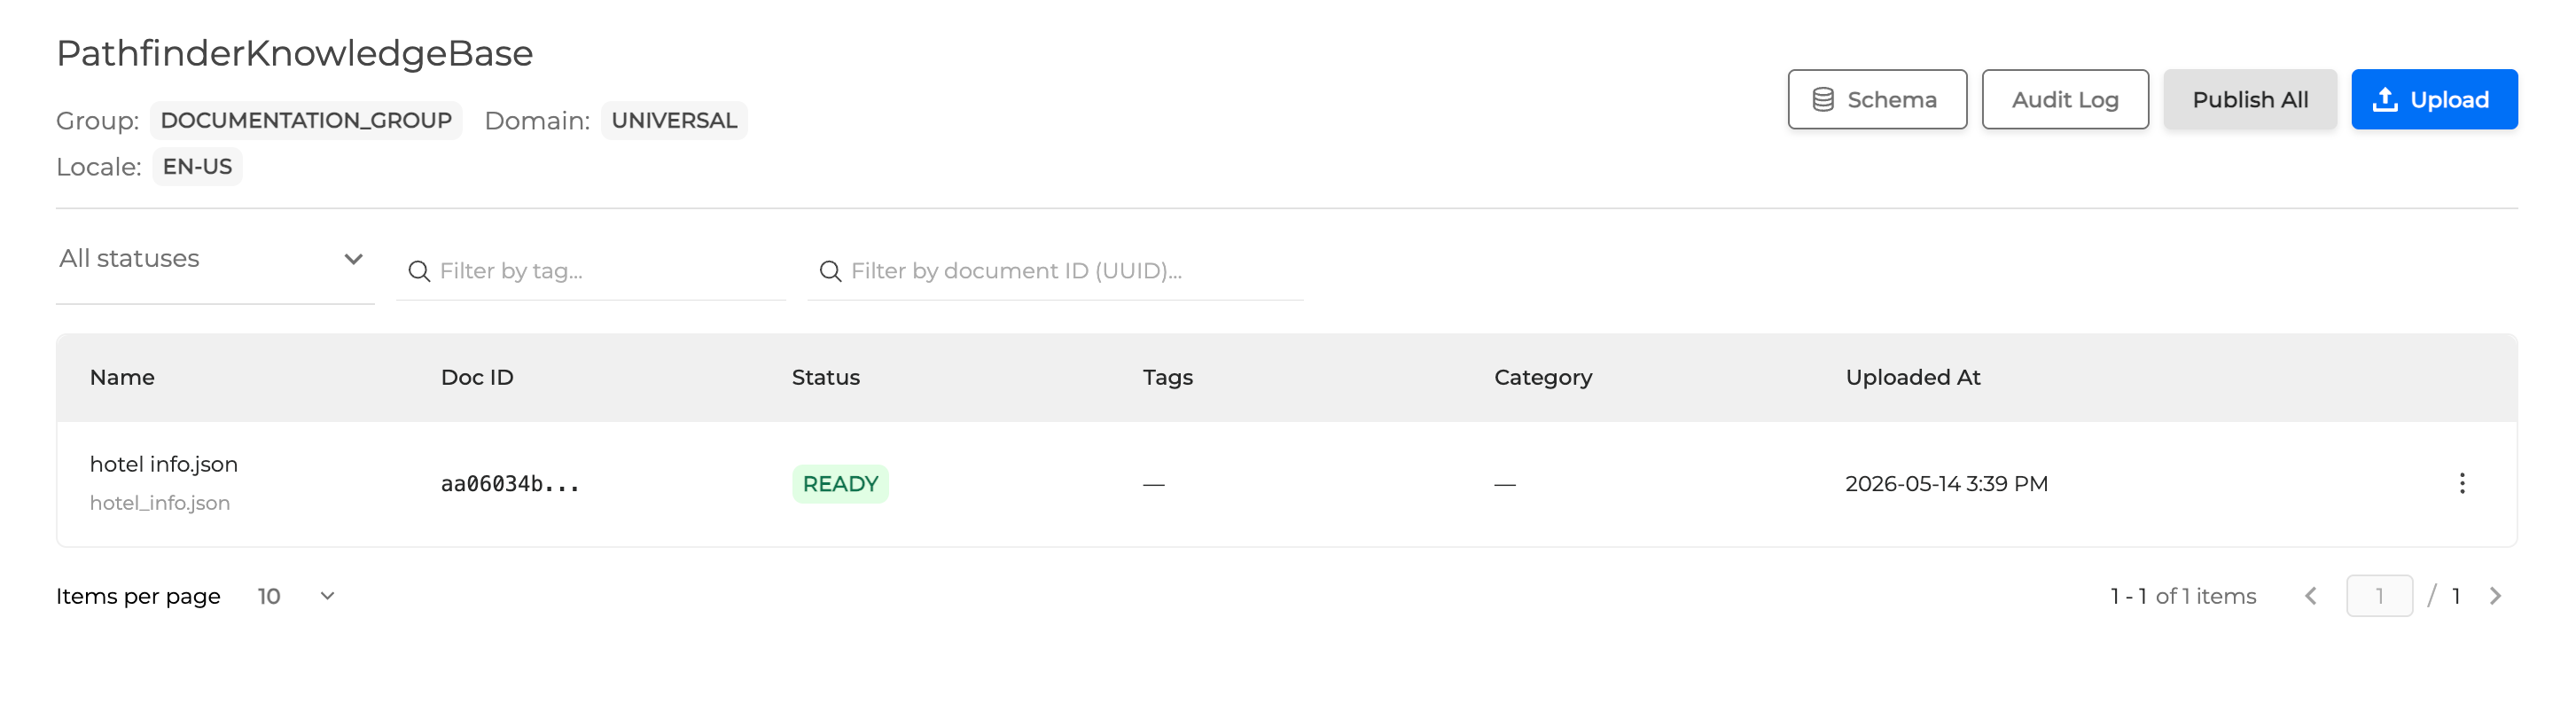
After the upload is completed, your files will appear as a list in the project. You can filter out the file by its status, tags or the document ID (UUID).
Use the options menu on the right of each row to do the following:
-
View — open the document detail page.
-
Edit — change the display name, tags, or category.
-
Delete / Restore — soft-delete or restore a document.
When you open a document, the detail page provides the following tabs:
-
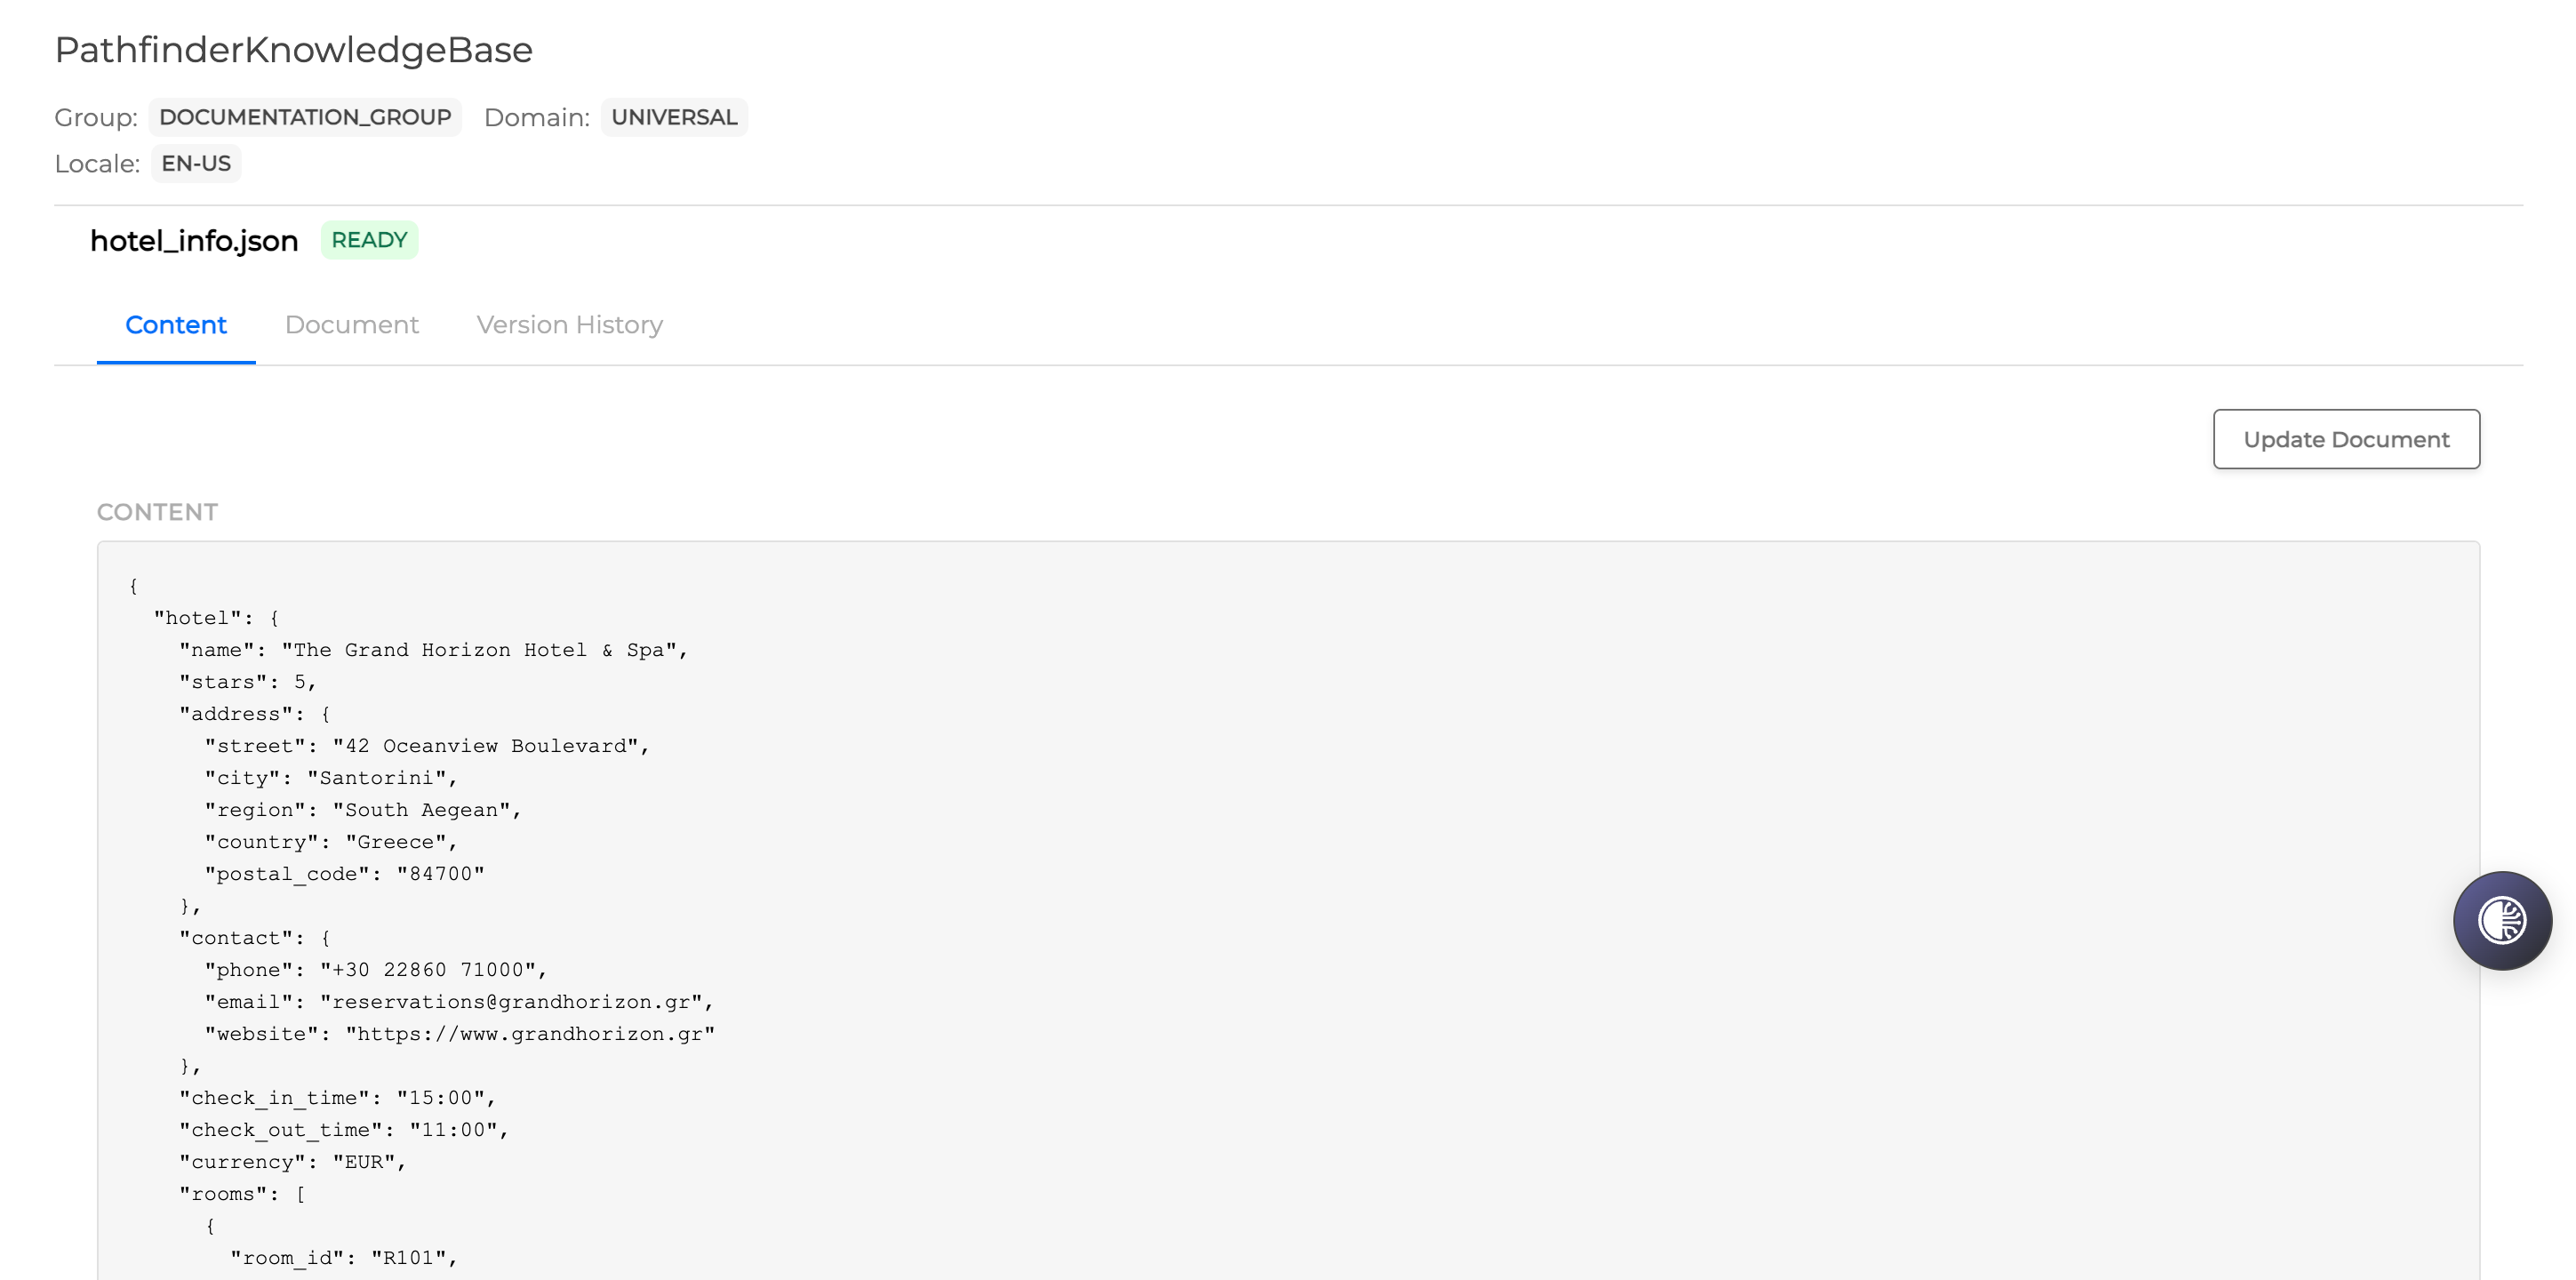
Content (Document Retrieval only) — see the JSON content as ingested.
-
Document — renders the uploaded JSON file inline. An Open in new tab ↗ link is always available.
-
Version History — past versions with diff and rollback.
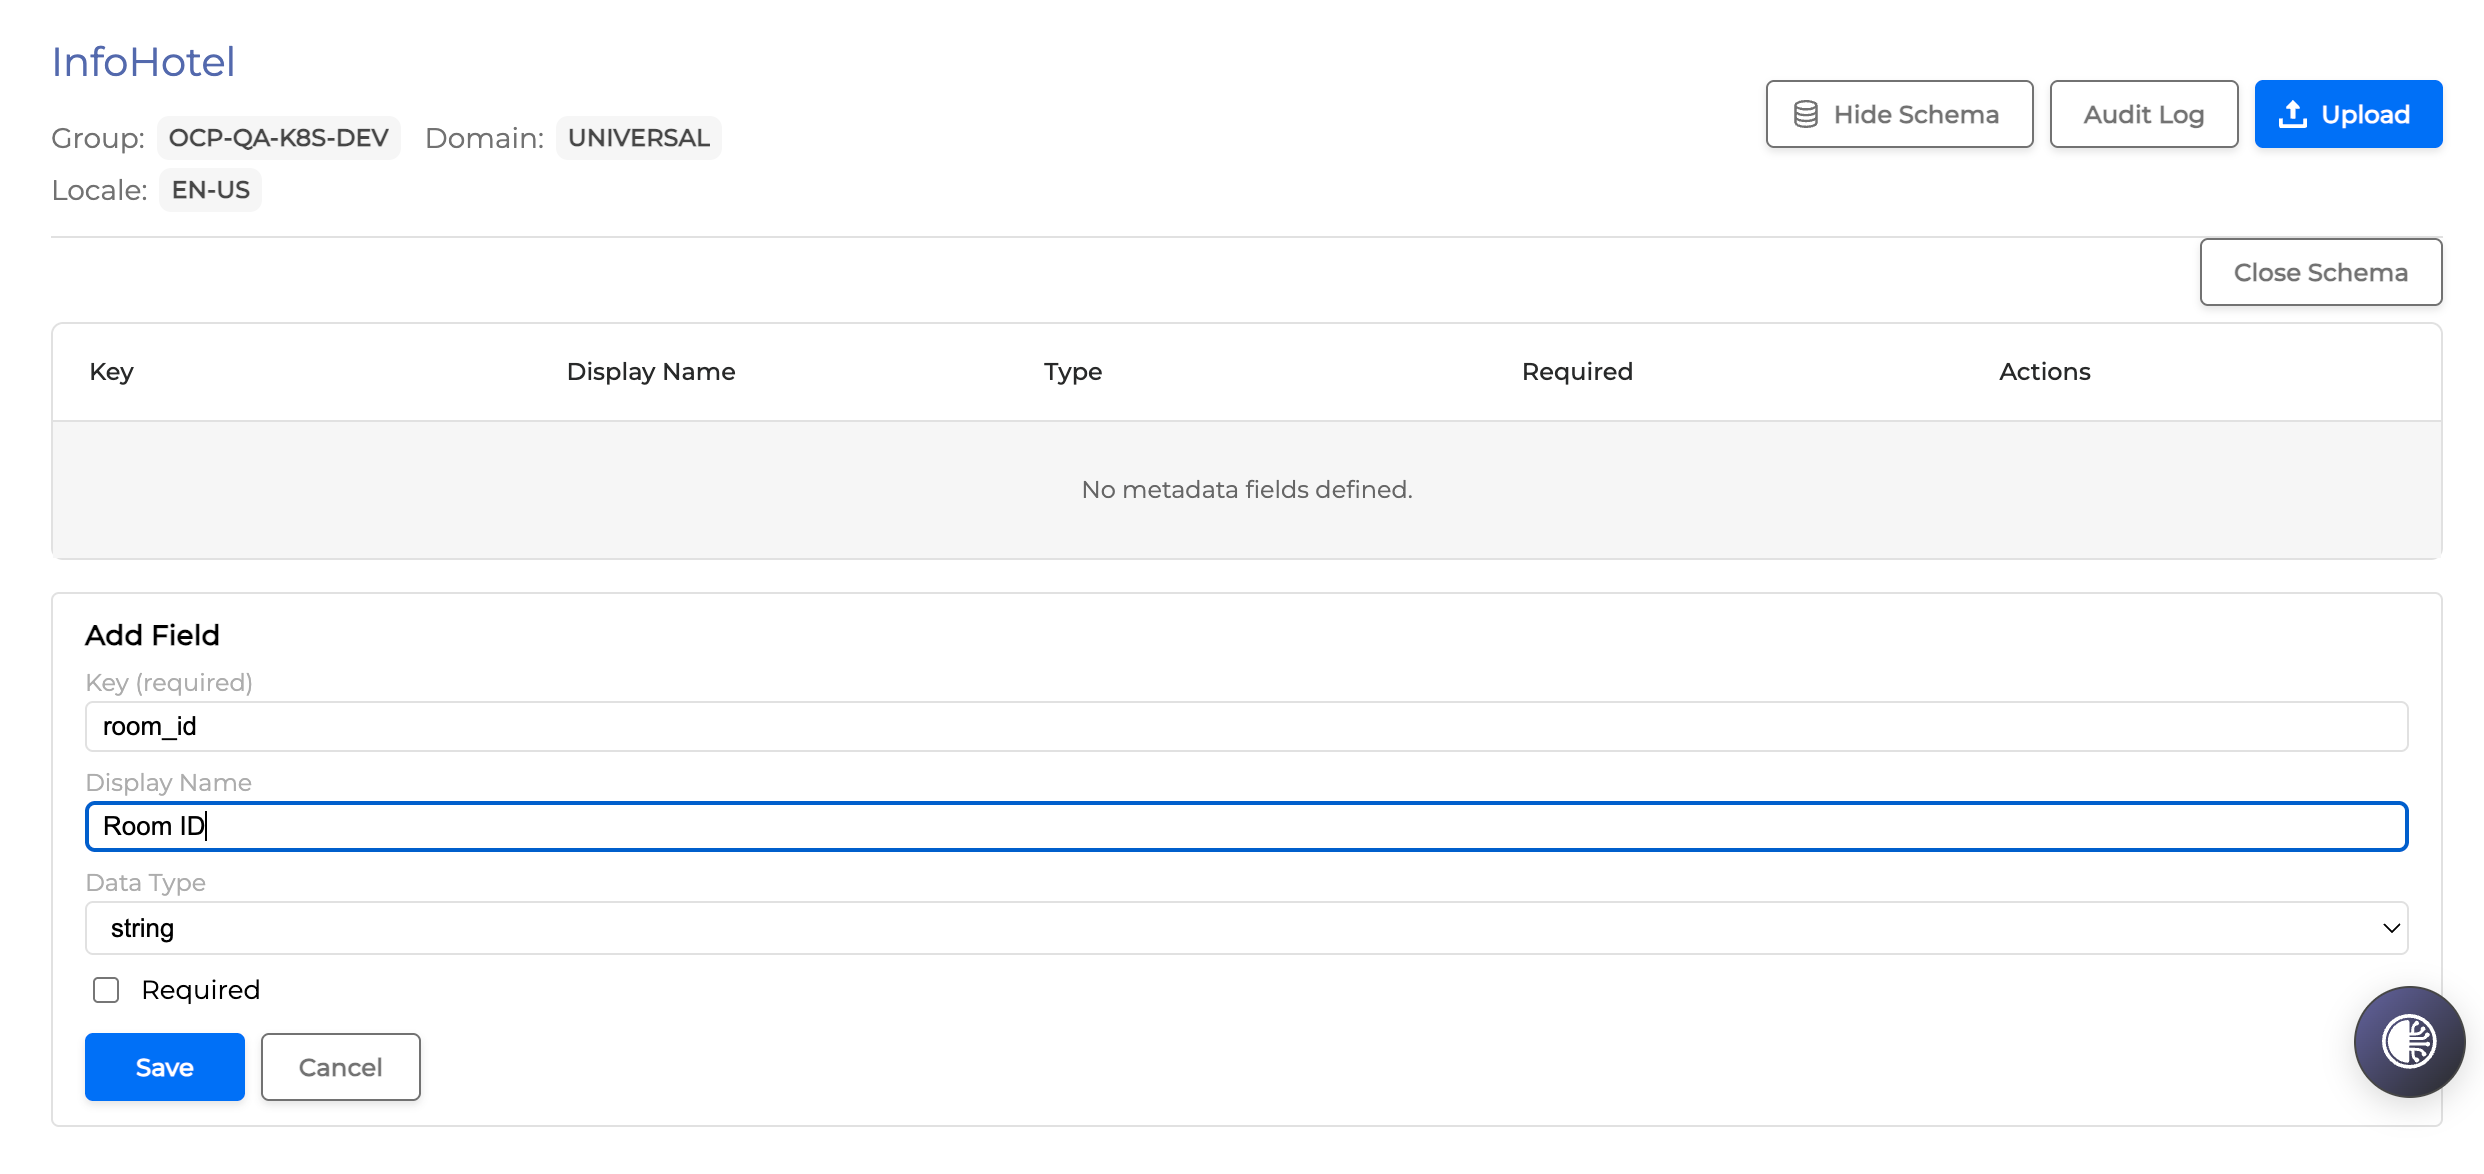
Schema
For the document retrieval mode, use the Schema menu to set up the metadata fields that will be used in the Q&A Agent:
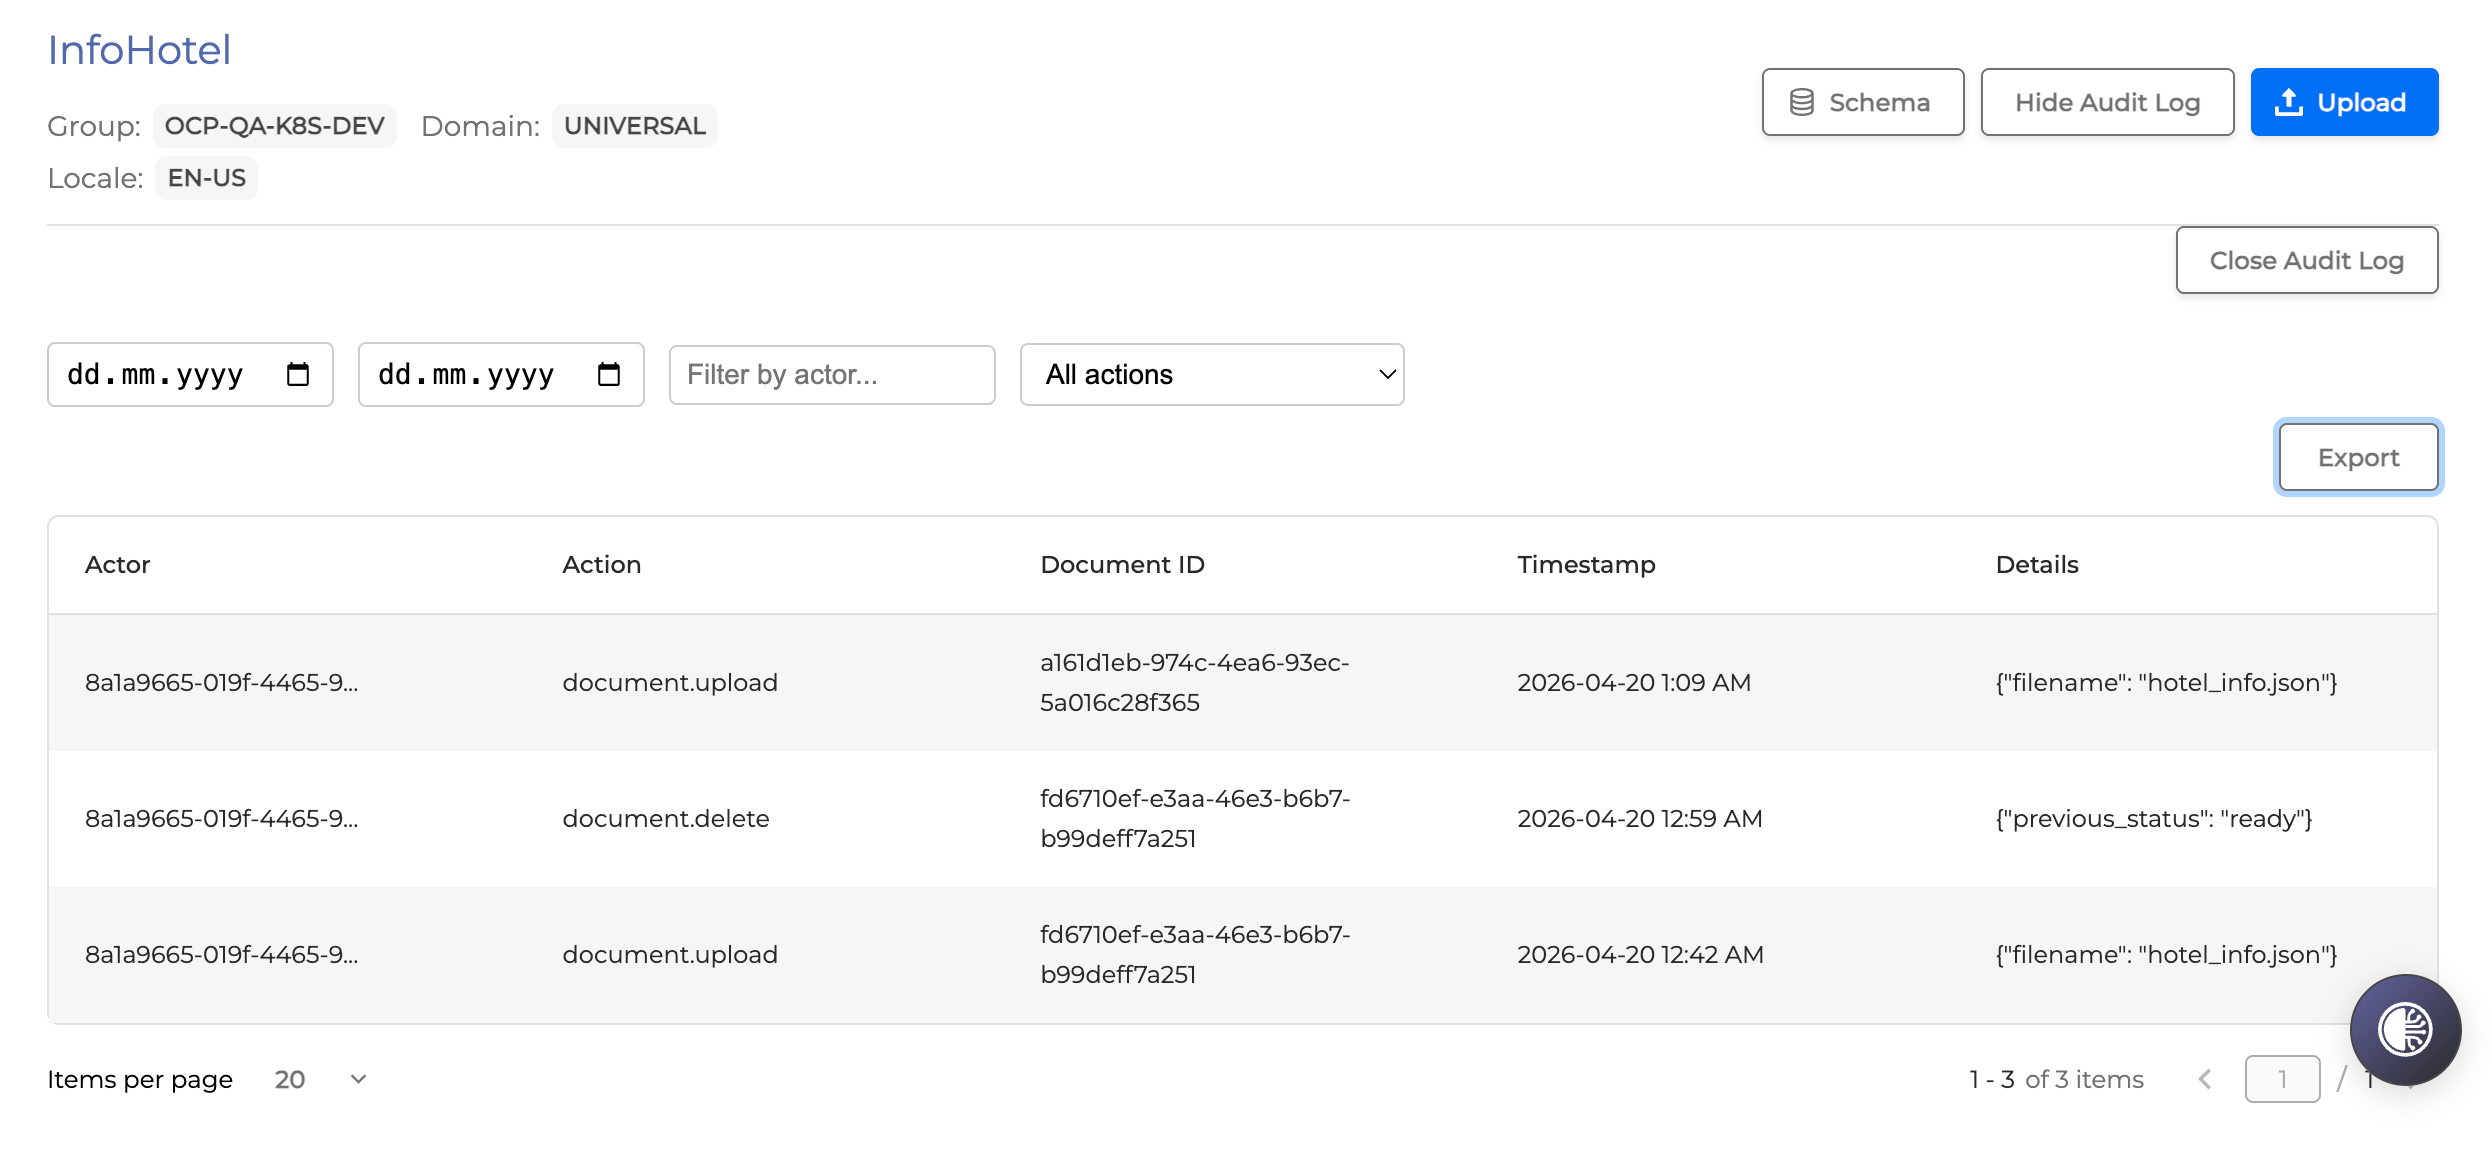
Audit Log
Use the Audit Log menu to view and track the changes pertaining to the project. You can filter the changes by date, actor and change type. You can also export these changes as the NDJSON or CSV file.
Project Import & Export
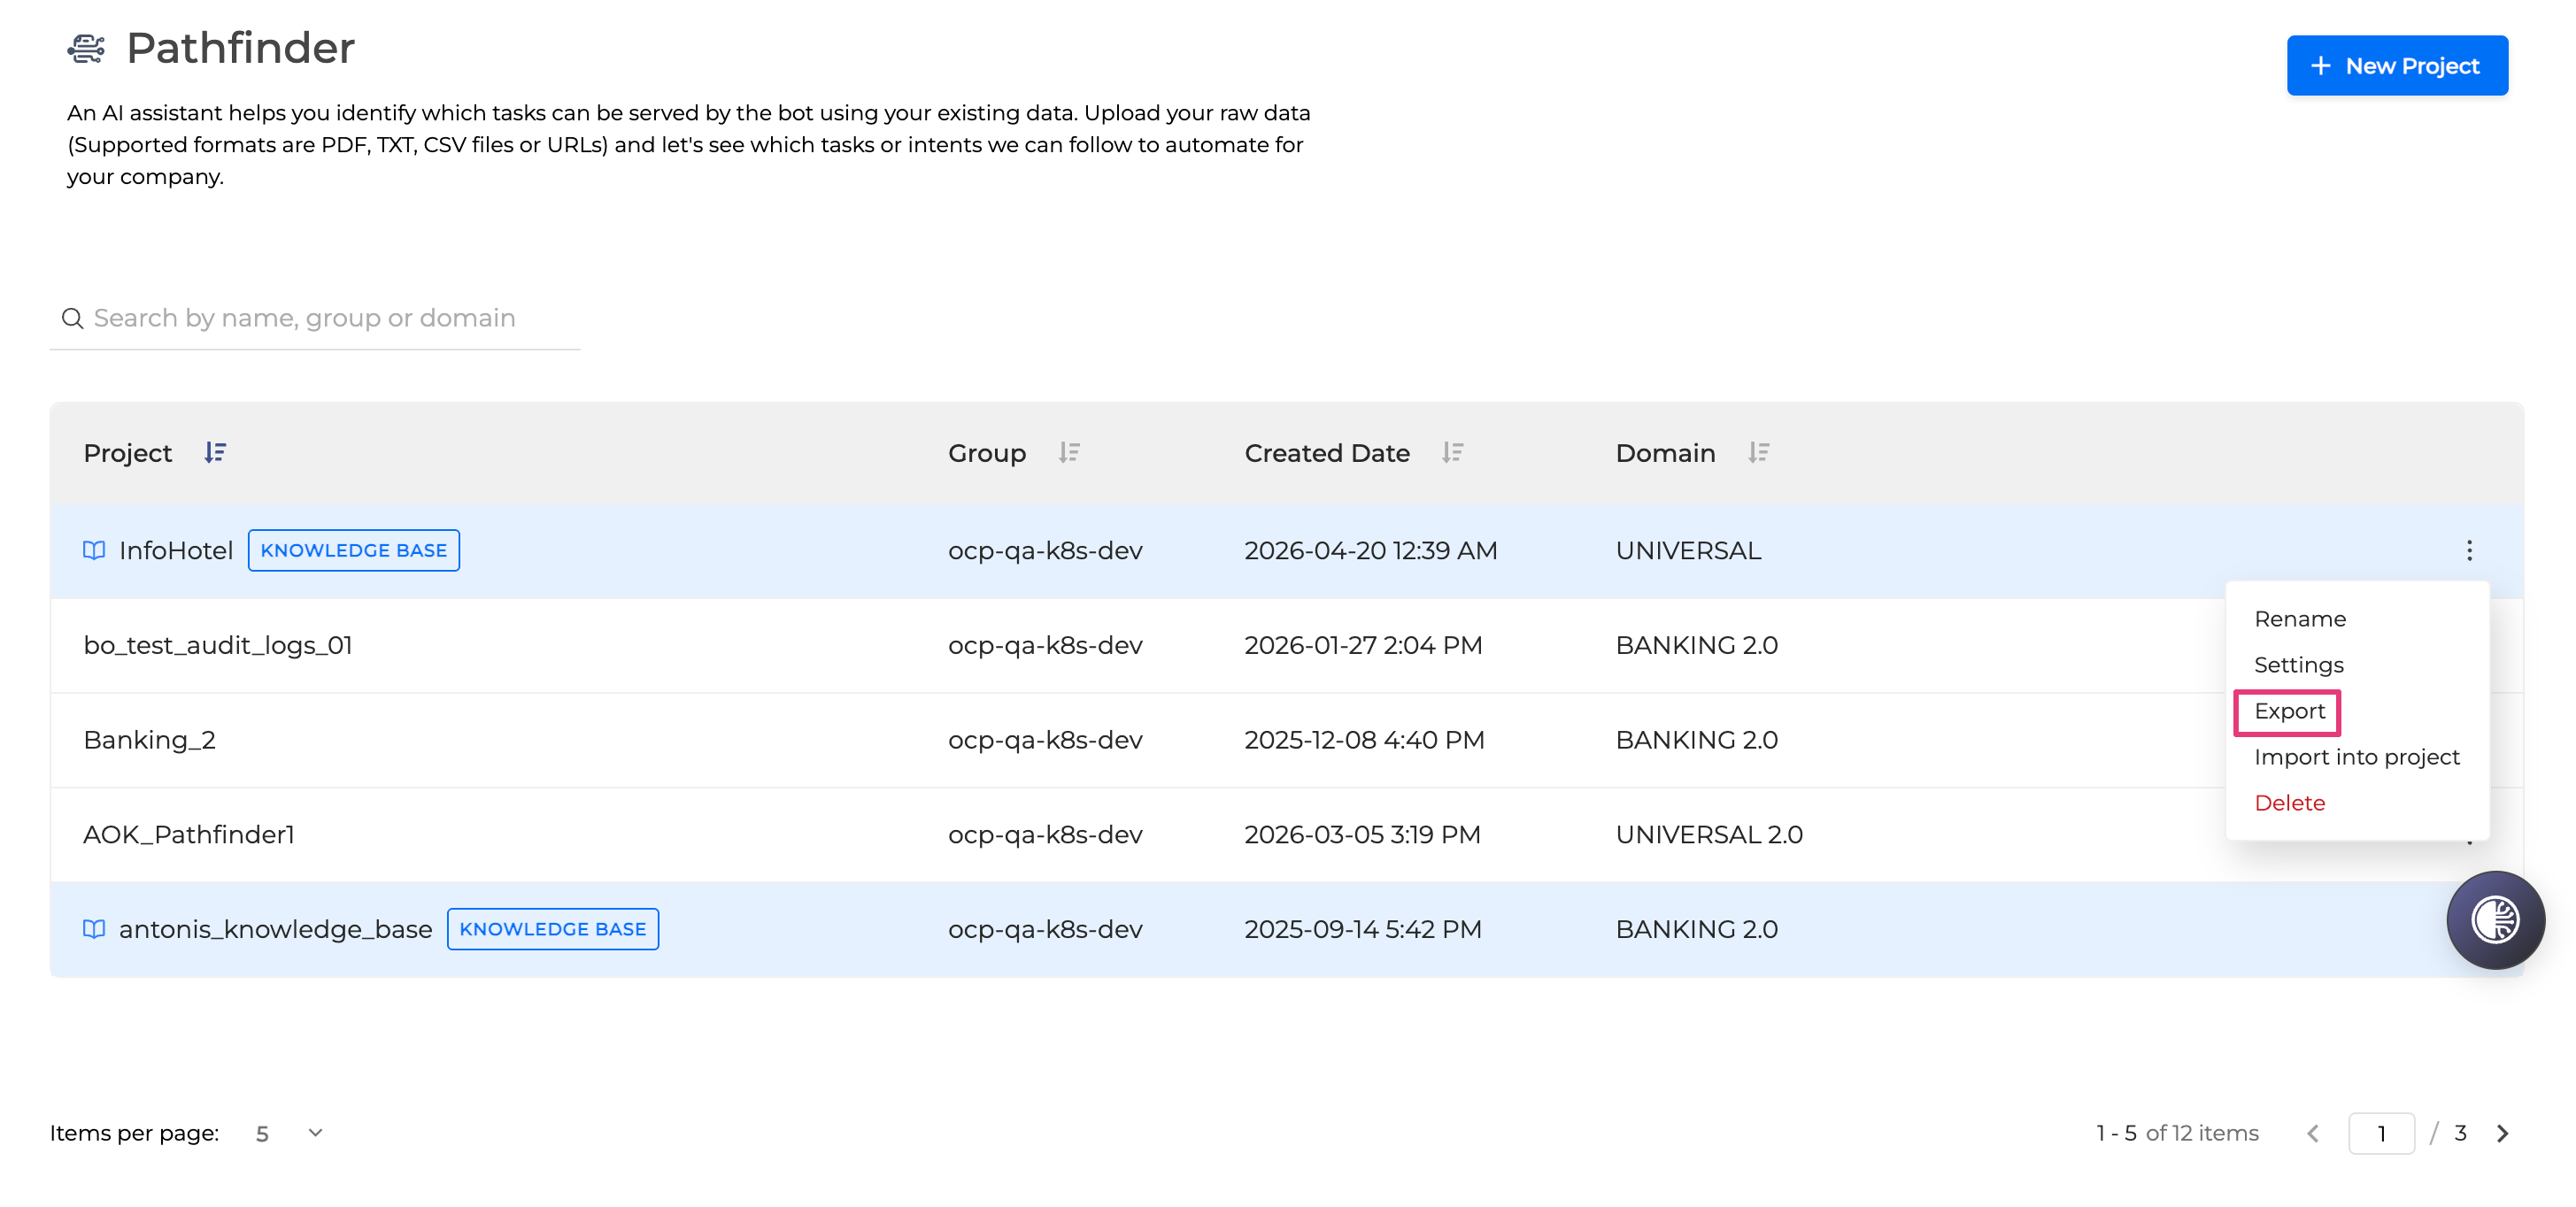
You can export the existing project as a zip file, to be used later for creating a new project from the file import or for merging of two existing projects.
In the projects list, select a project and go to the options menu on the right to select Export. The project will be downloaded as the ZIP file.
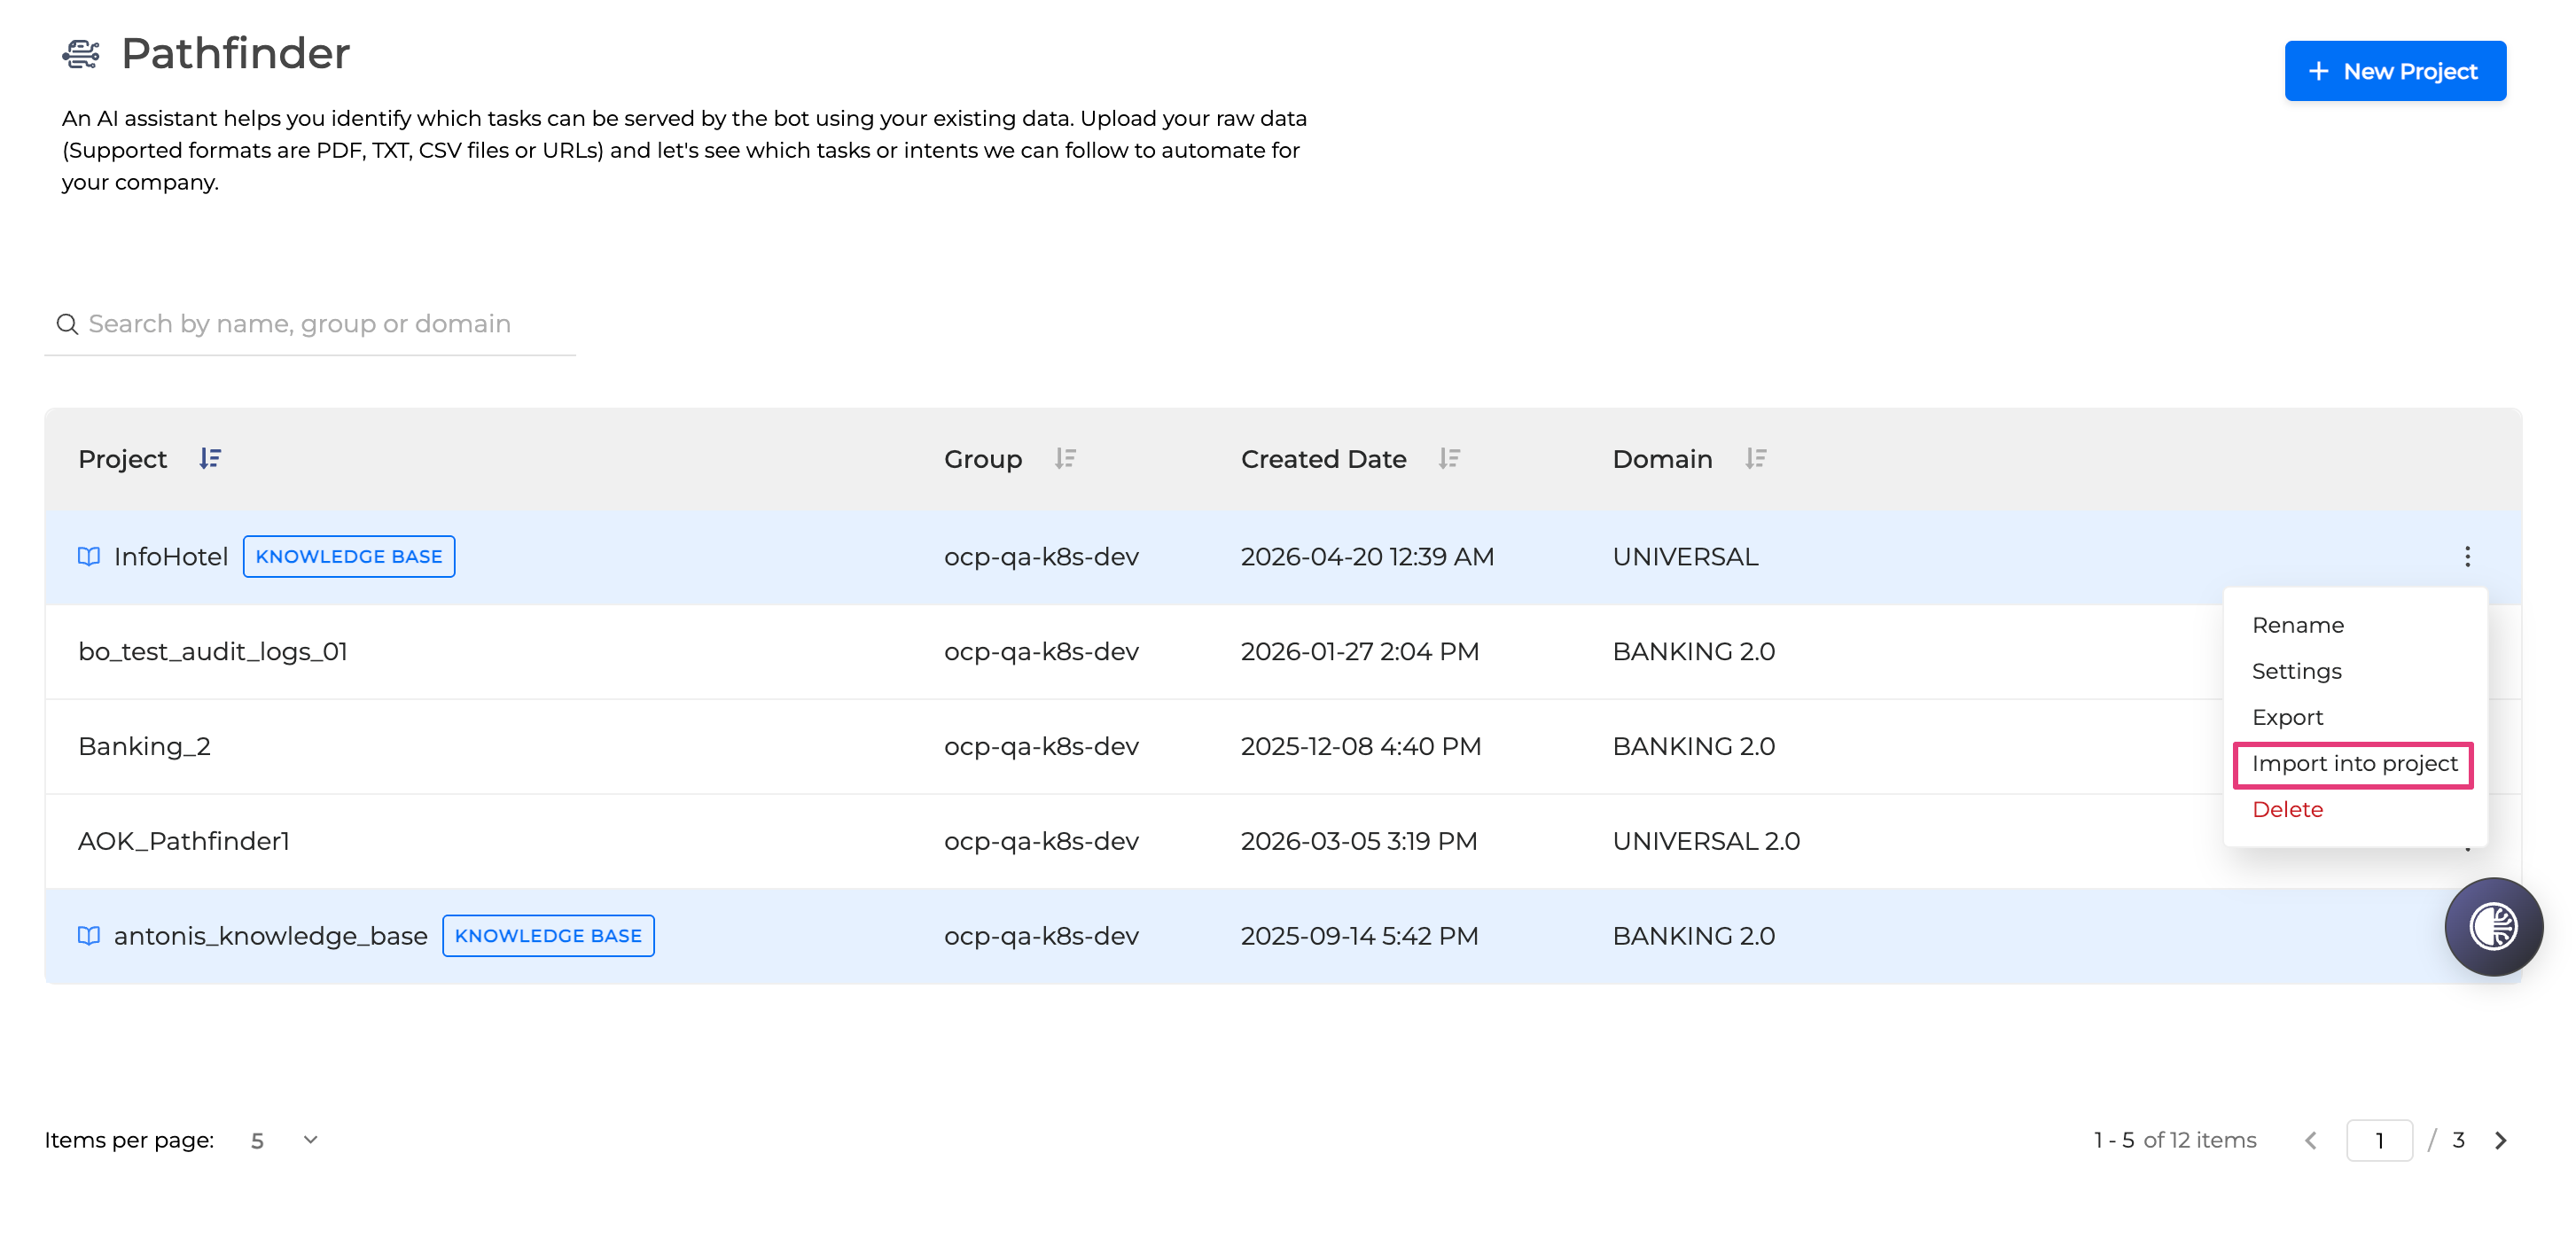
To merge a previously imported project with the existing one, select a project in the list, go to the options menu on the right and click Import into project.
Drag and drop the ZIP file onto the canvas and click Import:
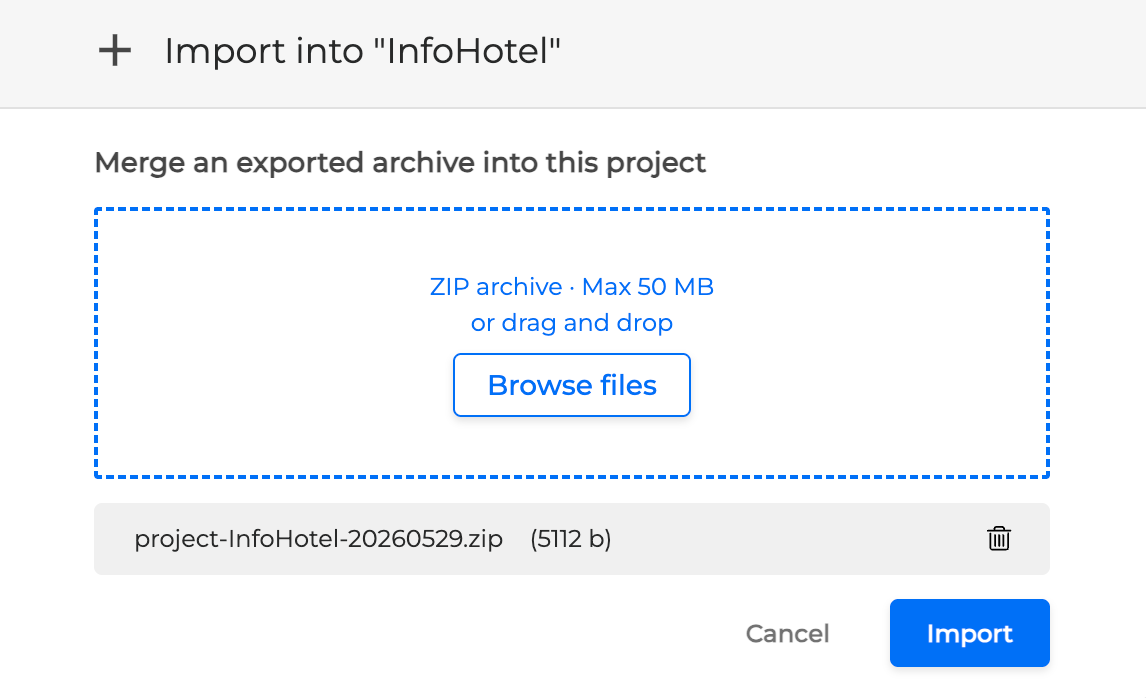
After the the file is successfully uploaded, click Go to project to view the files added to the project.
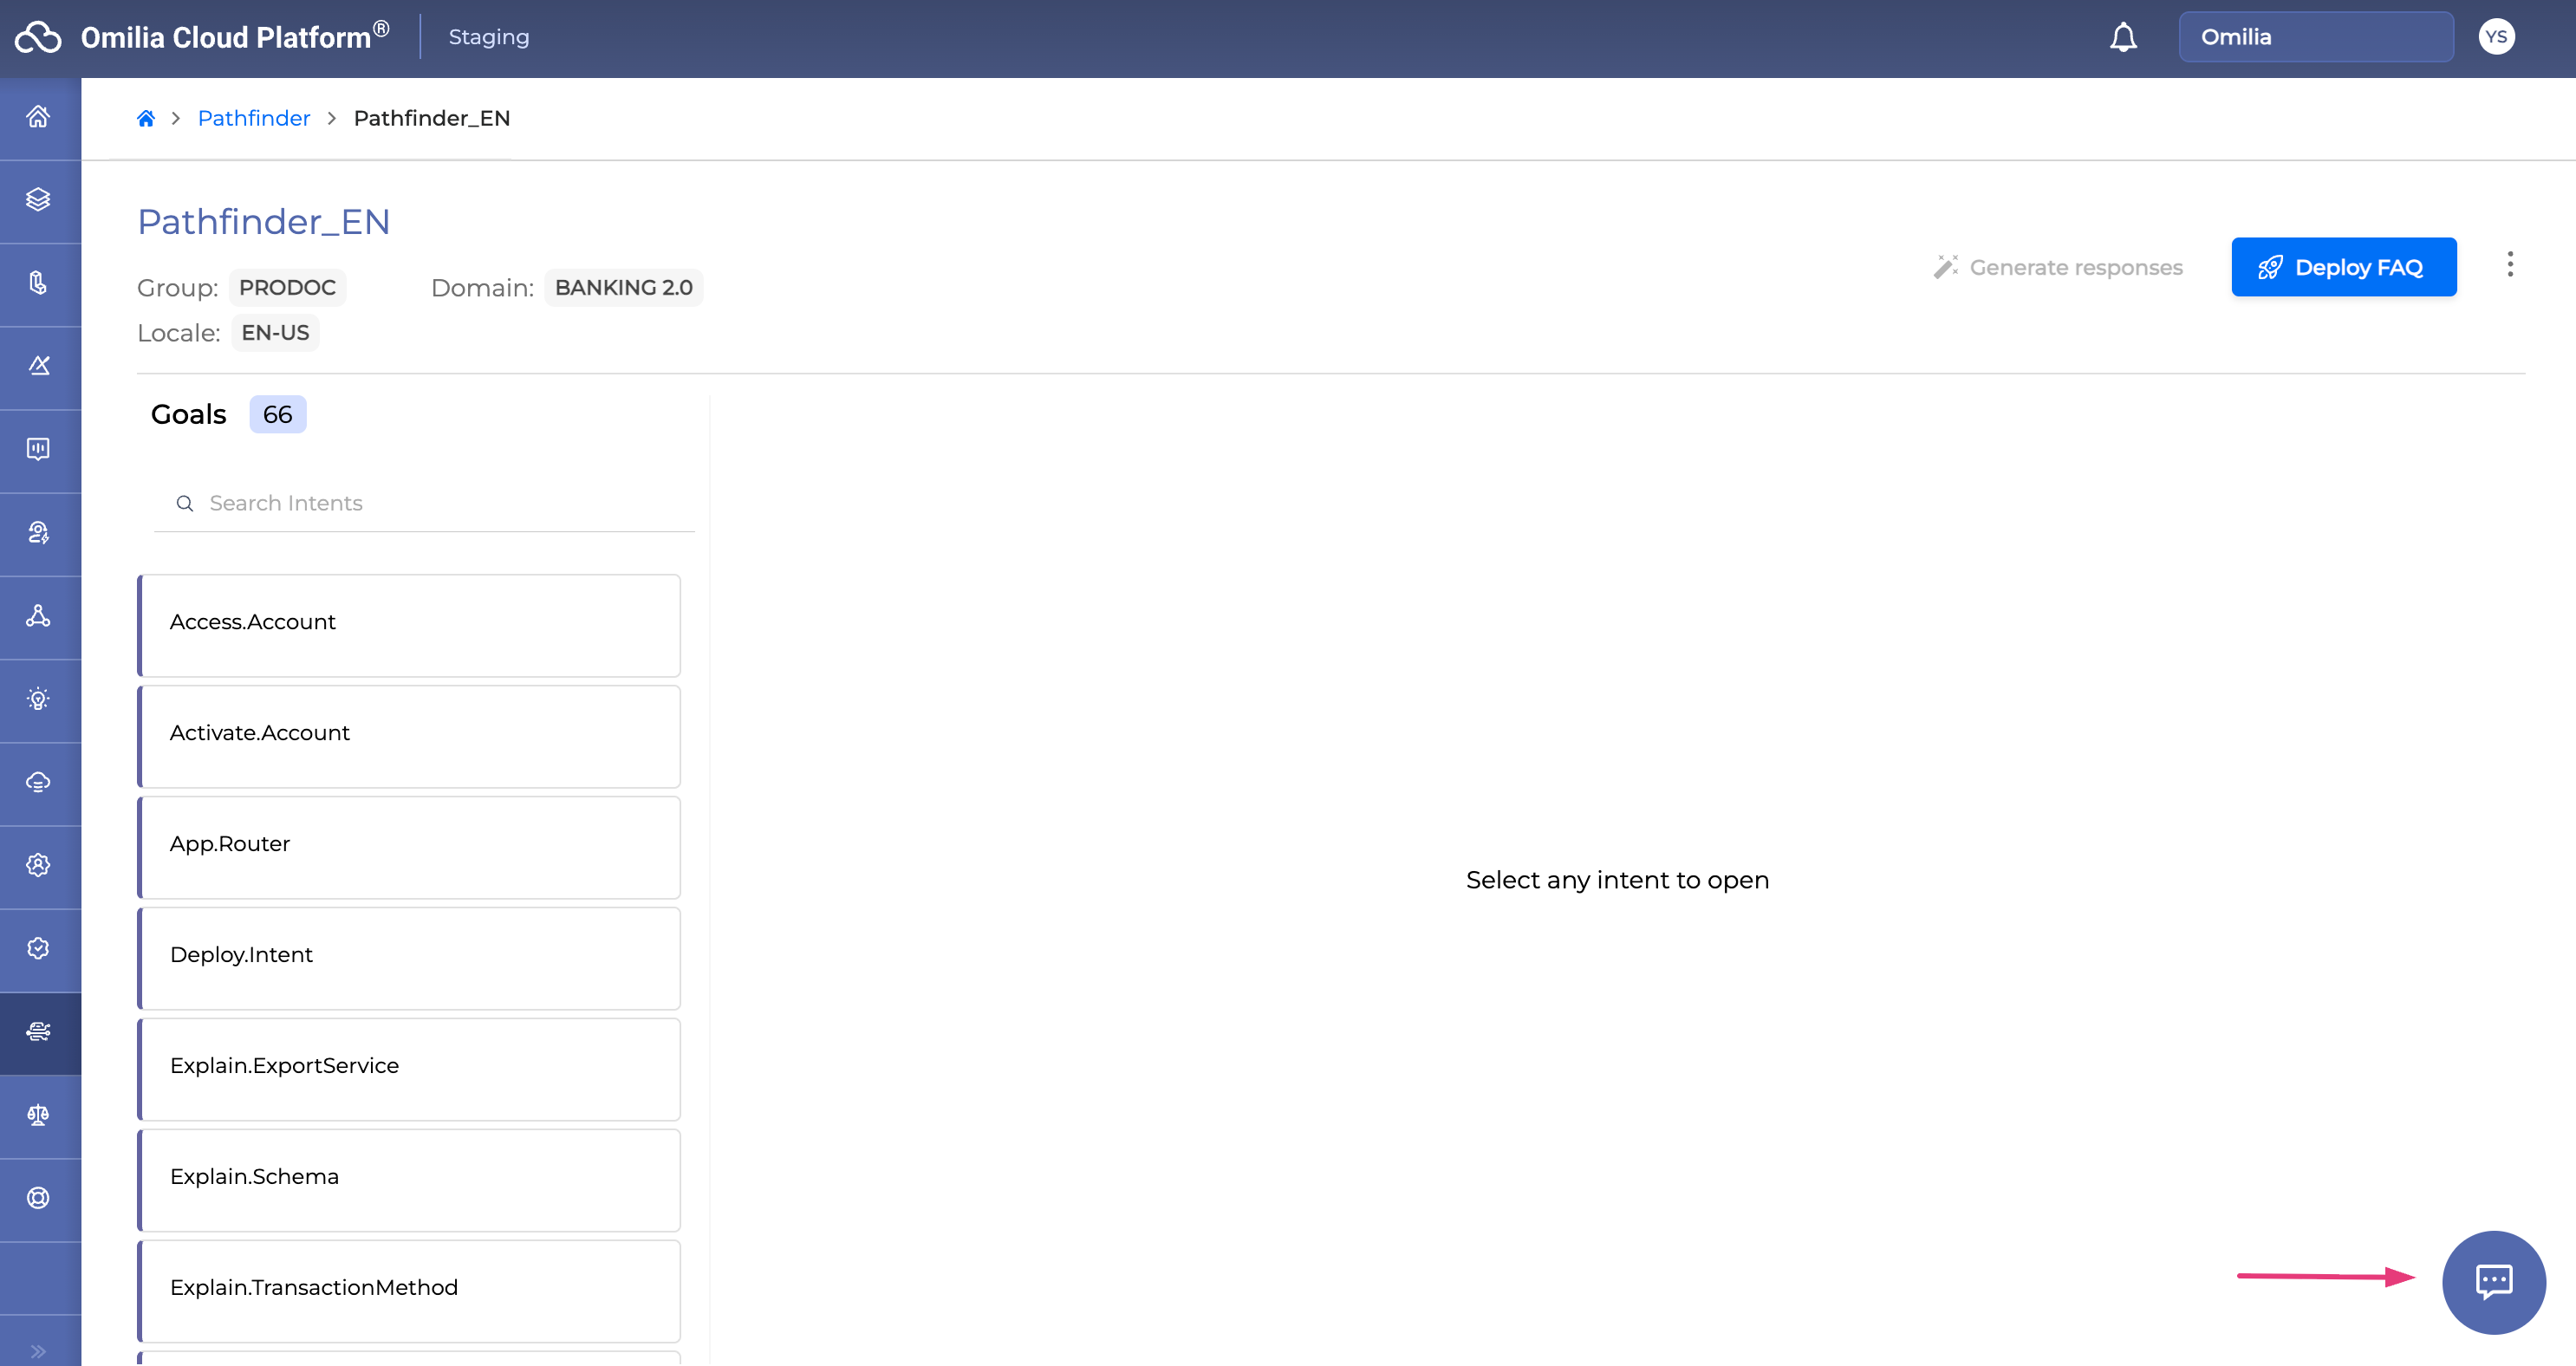
Project View
Within the detailed view of the project, the intents are displayed in the Goals list on the left. You can use the Search Intents field to look up specific Intents added.
You can also manually add intents by accessing the options menu to the right of the Deploy FAQ button and selecting + Add Intent.

Manage Data
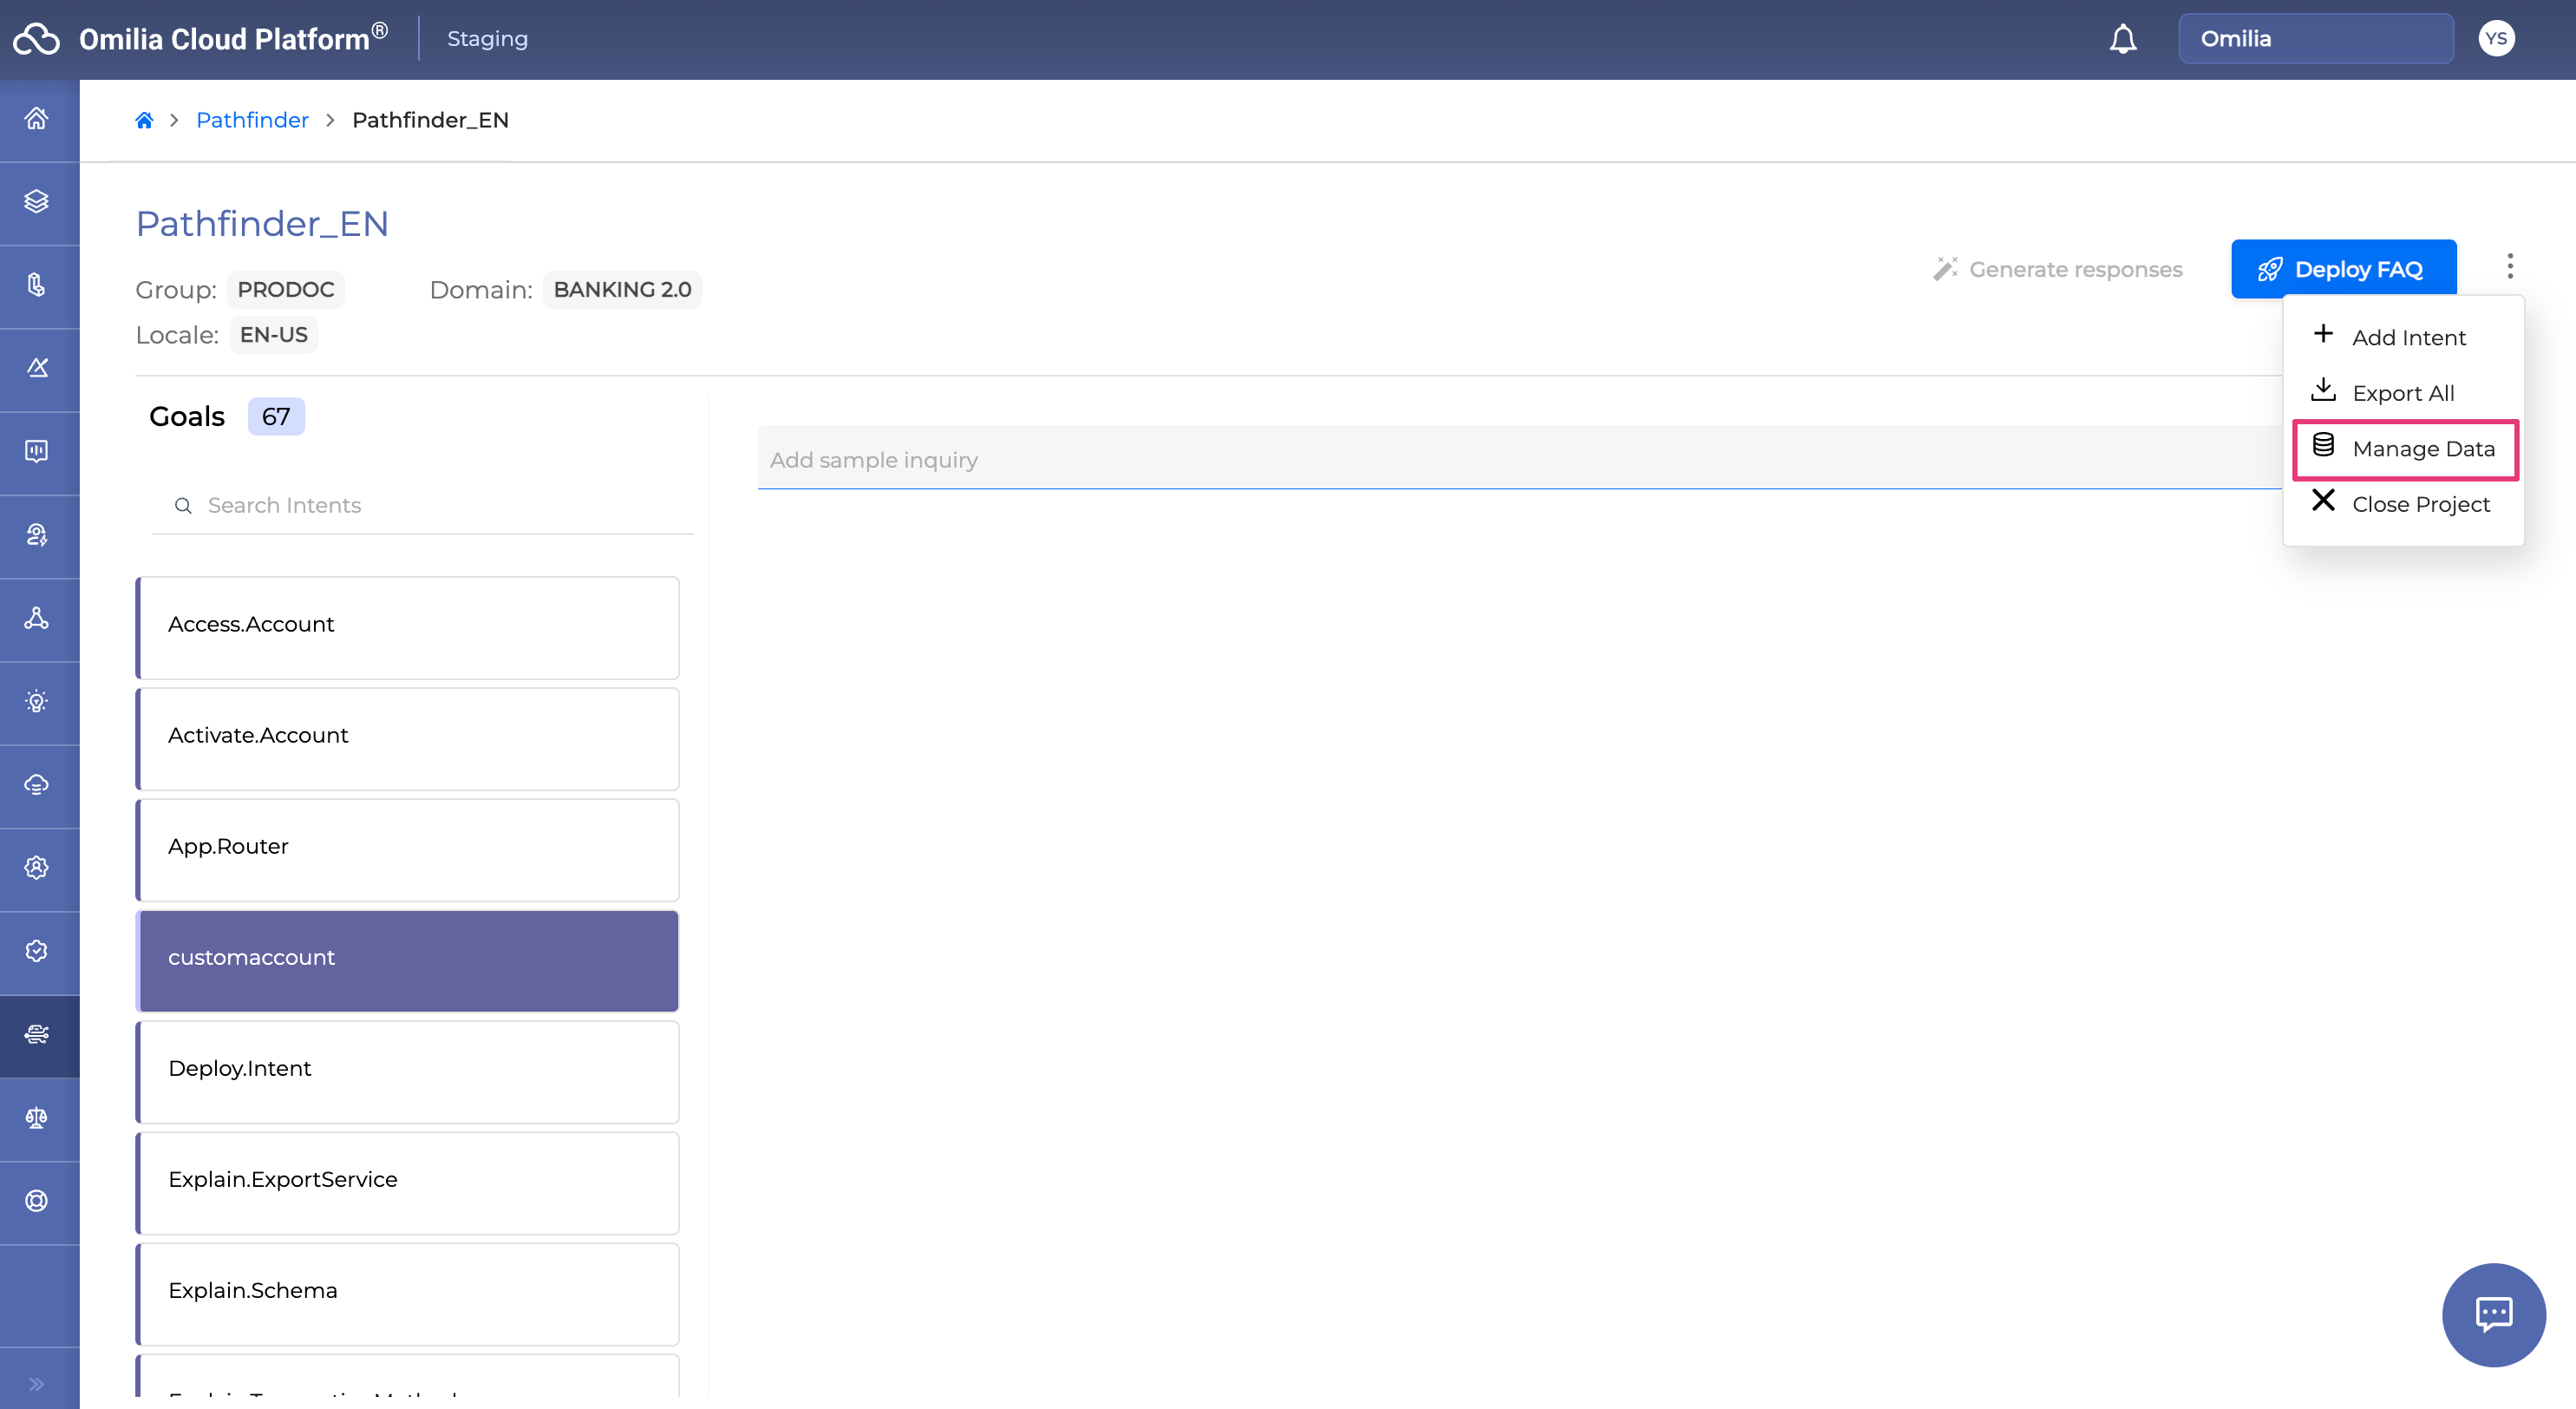
Go to the options menu to the right of the Deploy FAQ button and select Manage Data to access two tabs :
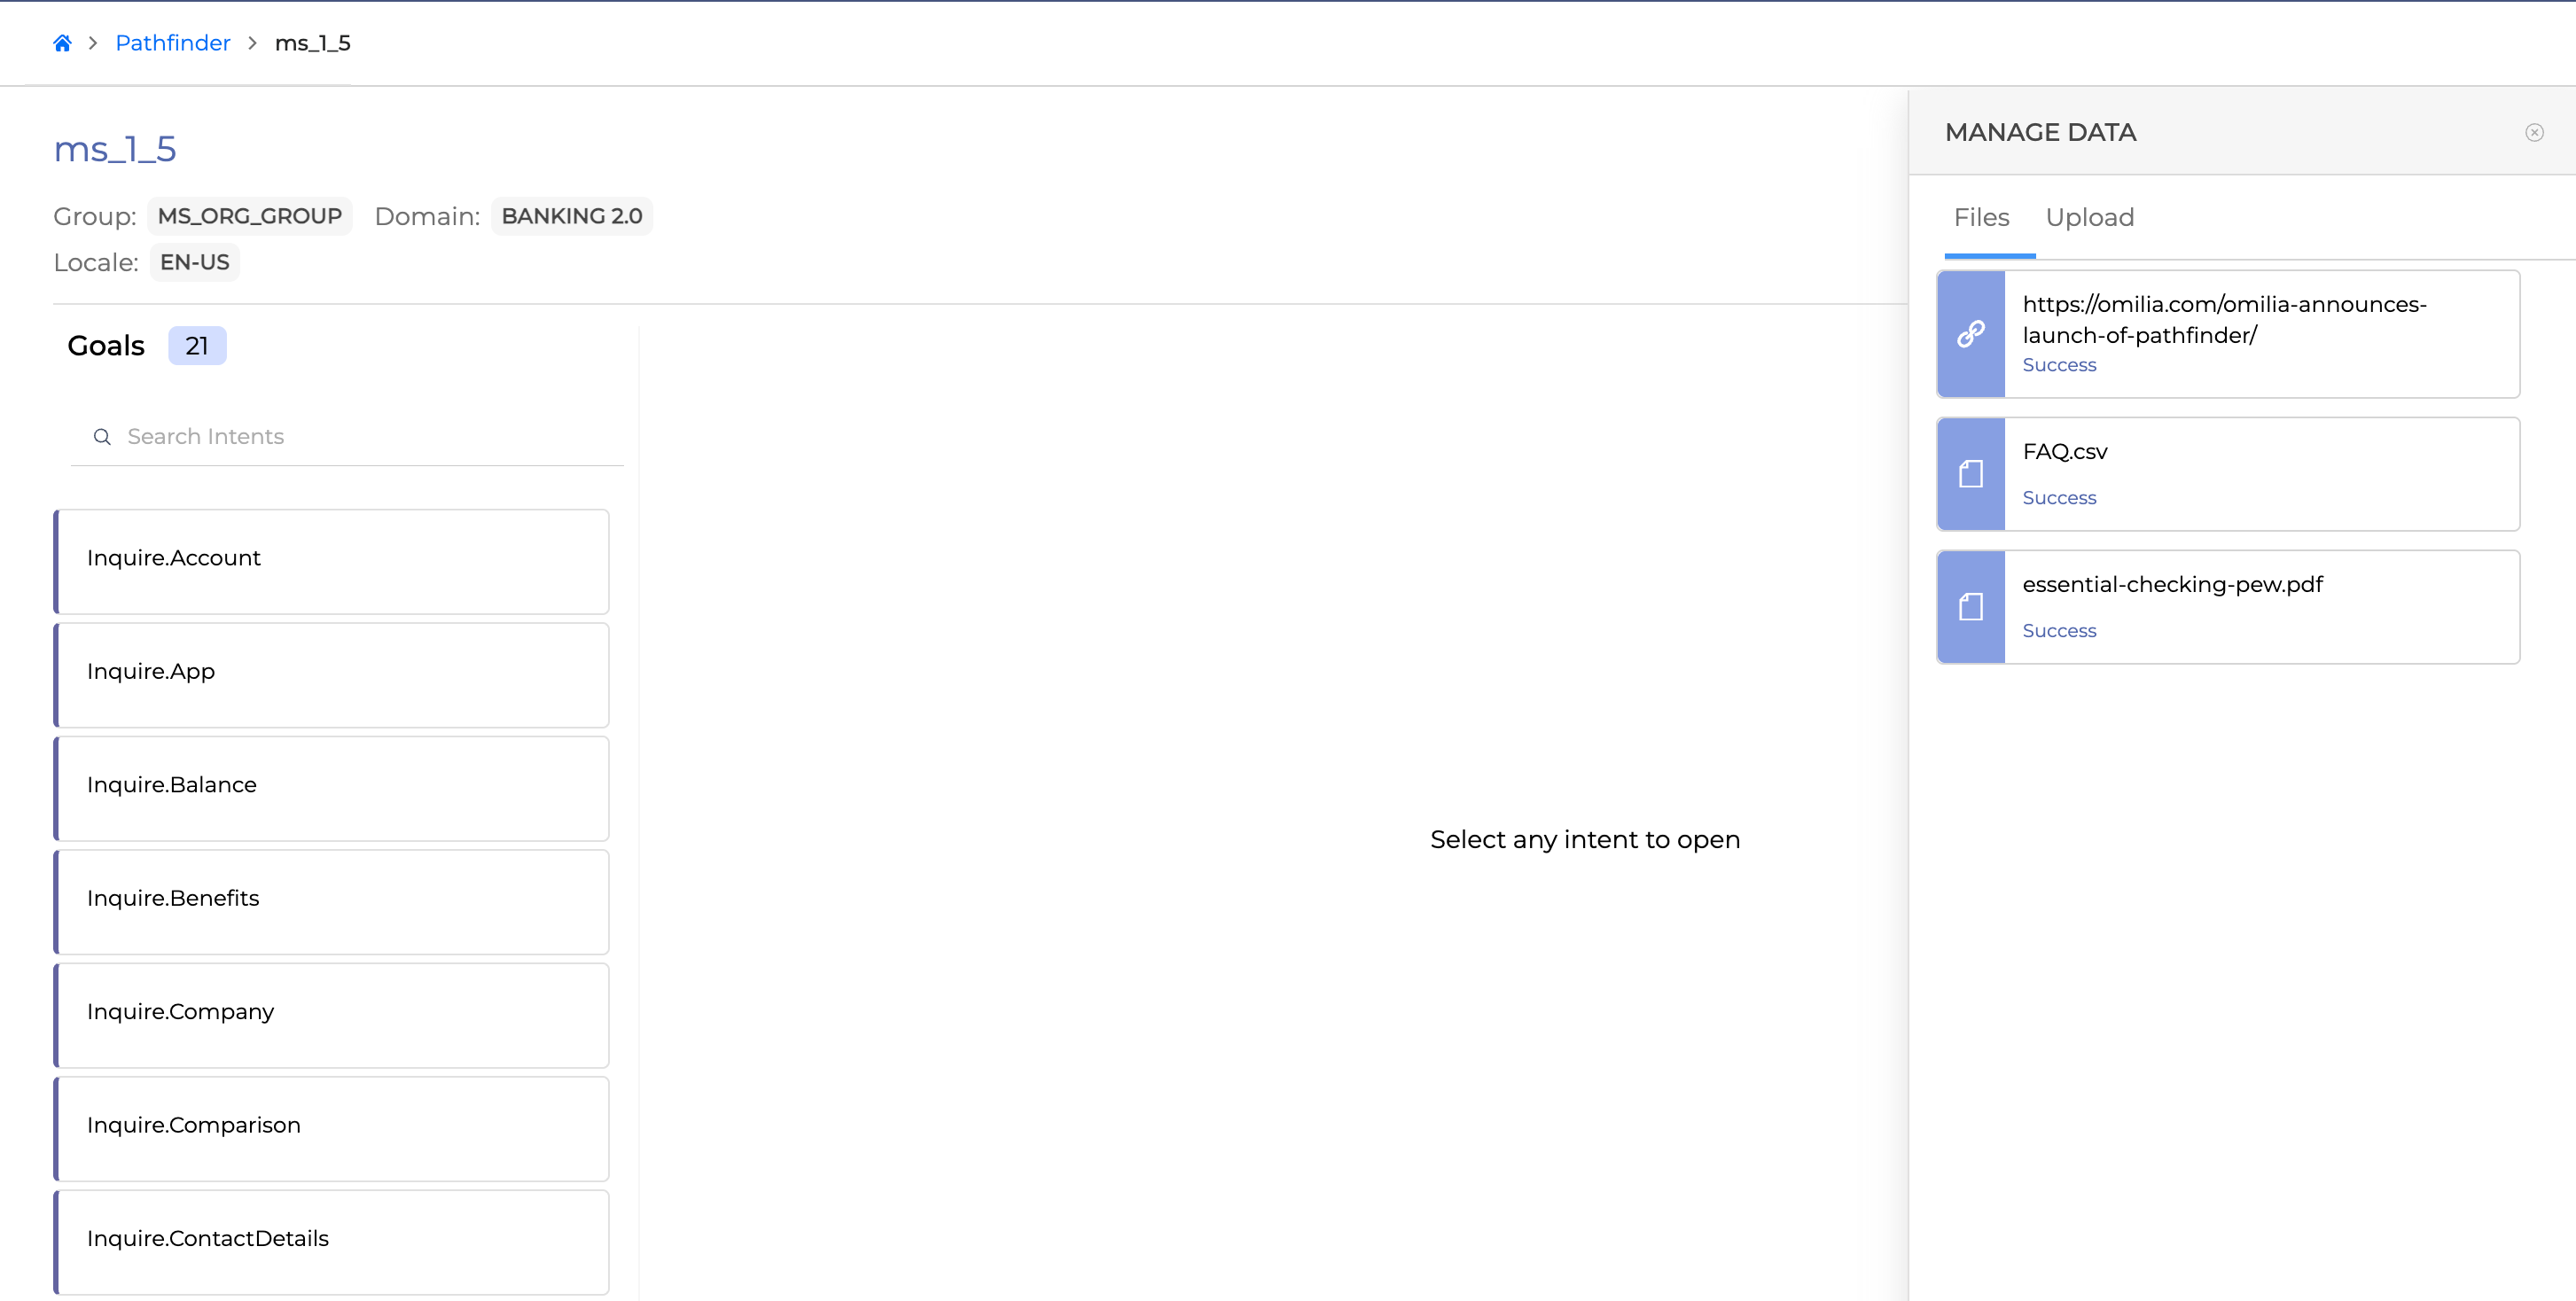
-
Files: Displays the files/URLs you've uploaded and their status.
-
Upload: Allows you to upload more data to the current project from all possible categories.
The Upload tab contains the same data uploading options as were available when creating the project:
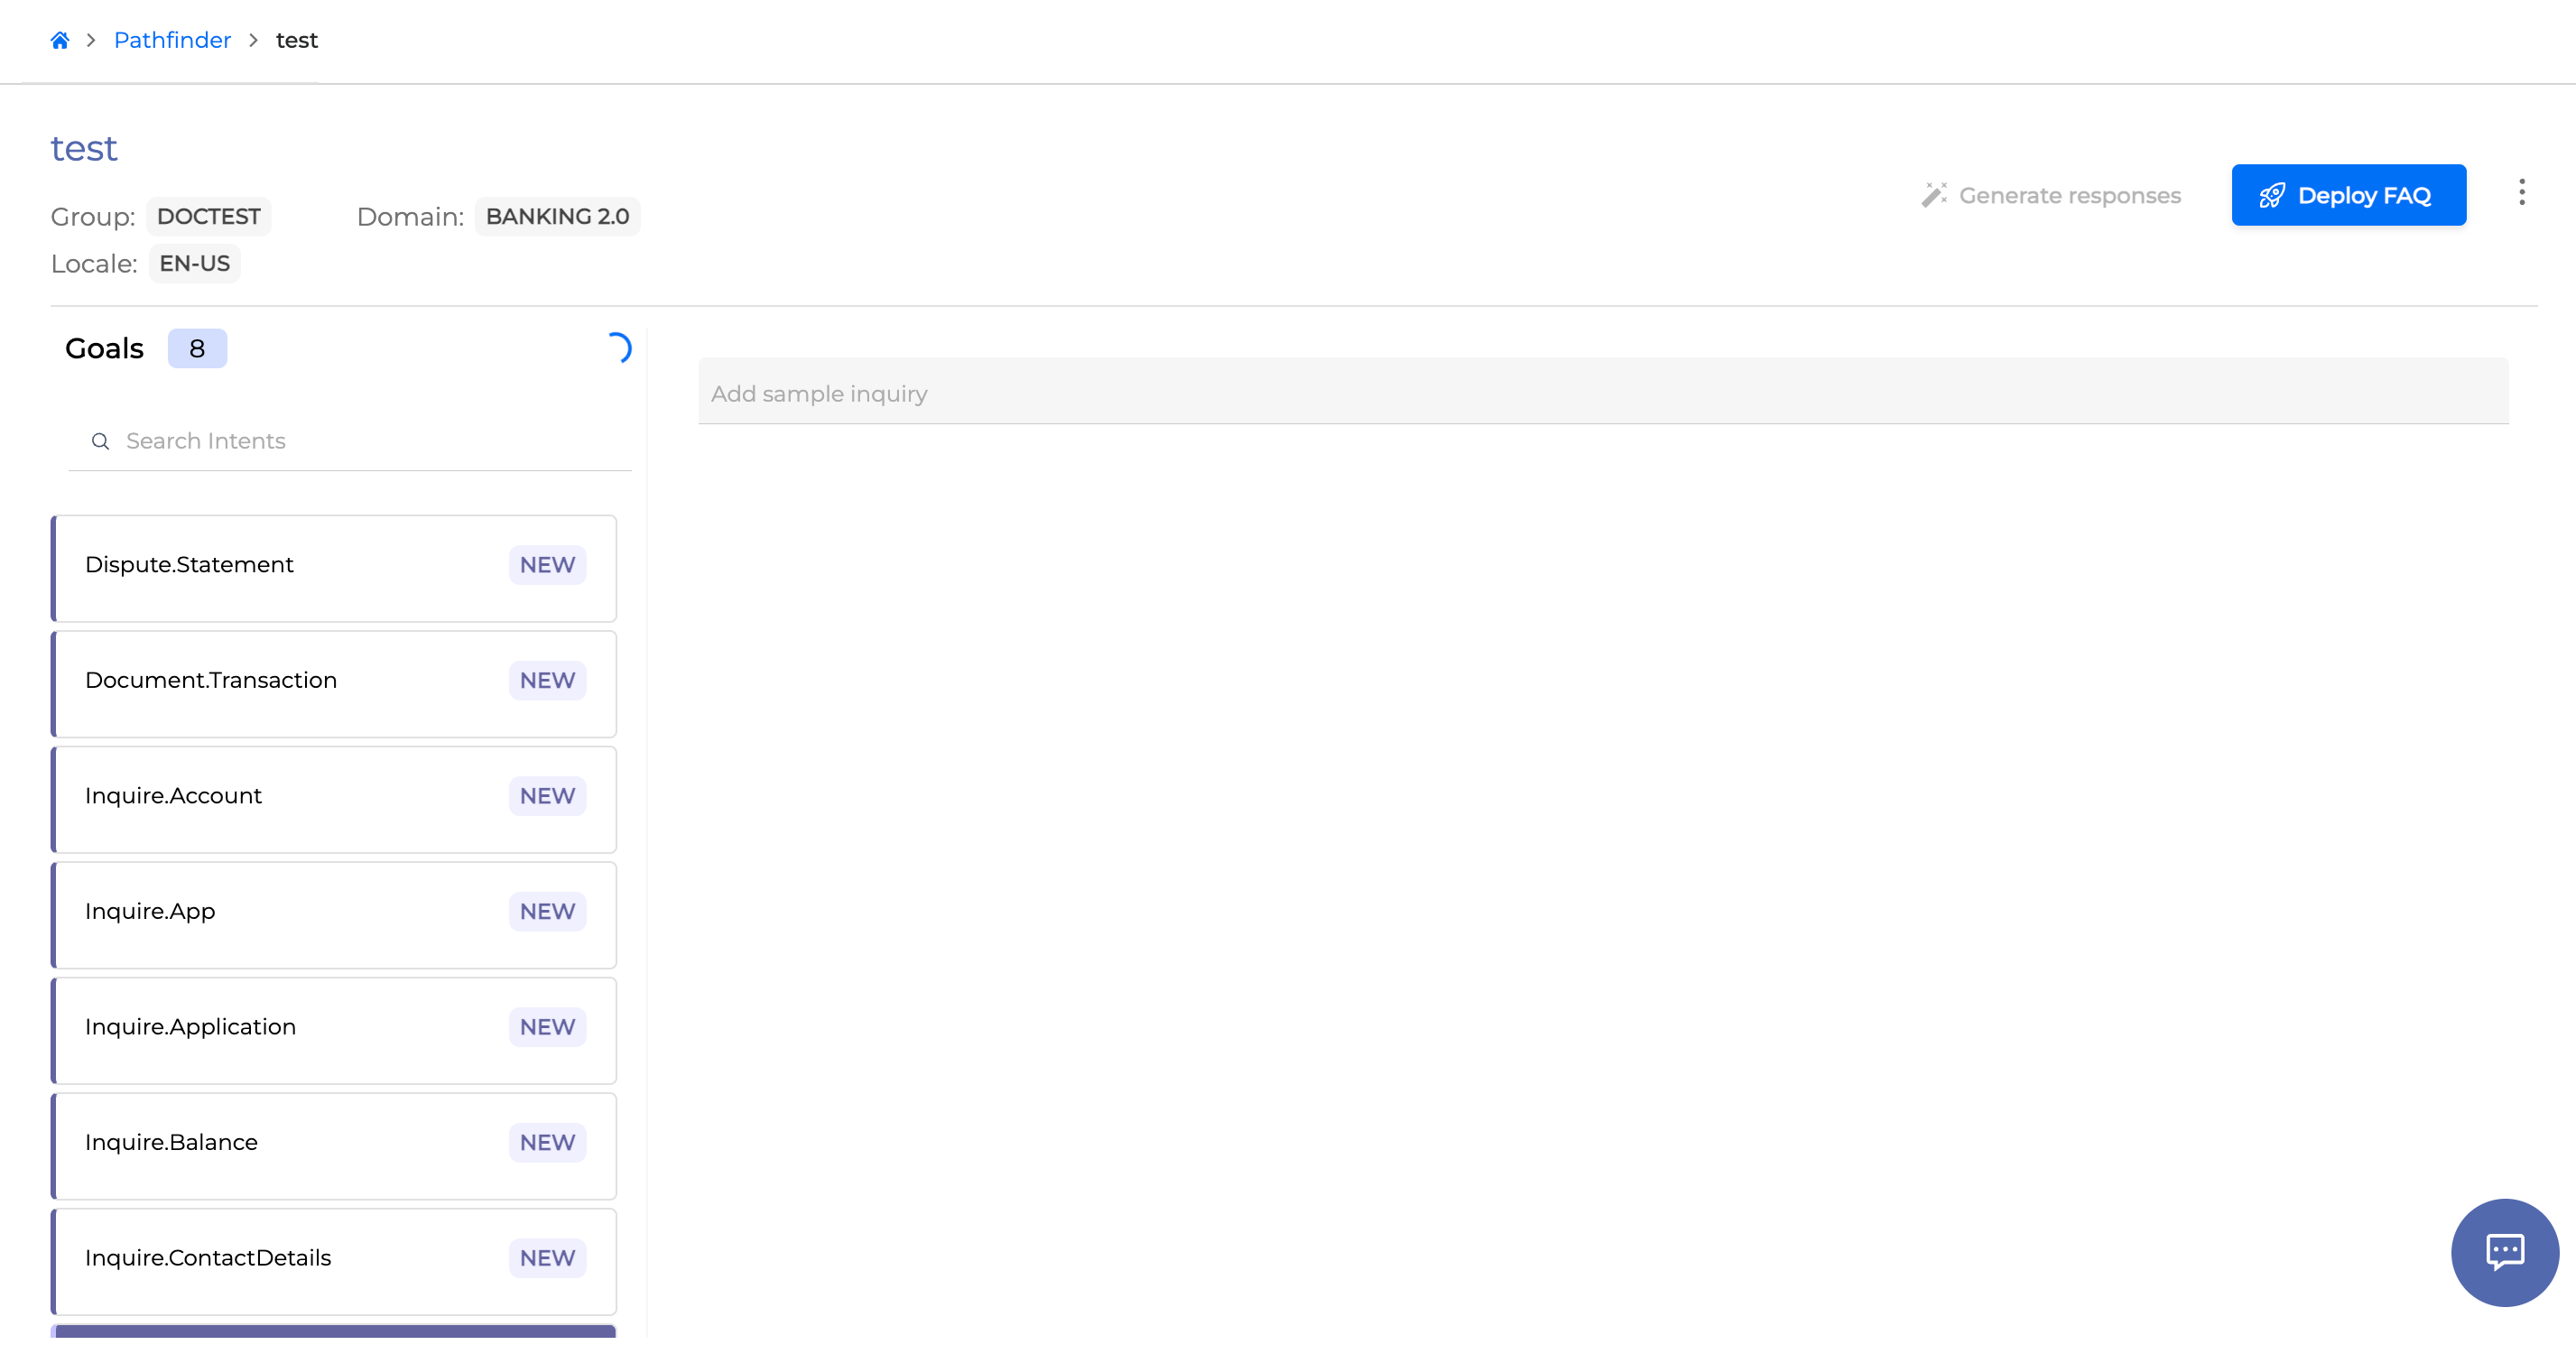
The intents created by the upload, will appear at the top of the intents' list marked as New:
Work with Intents
The intents are displayed in the Goals list on the left. You can use the Search Intents field to look up specific Intents added. To view details of a specific Intent (whether generated from the data you uploaded or created manually through the Pathfinder interface) along with its Sample Inquiries, click the Goal name.
.png?cb=1372881755985b4c5ace229eaf57ea6c)
Create Custom Intent
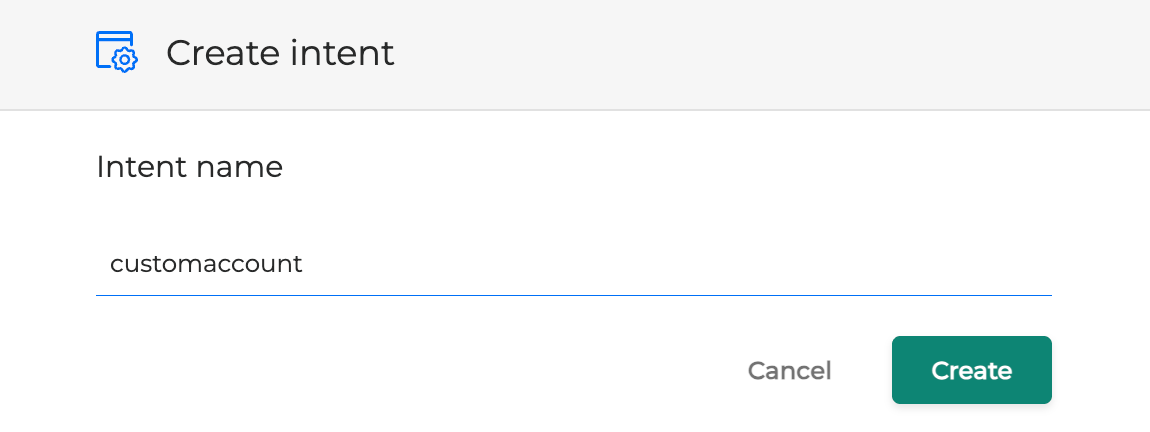
To manually create an Intent for a project, click the Options menu and select + Add Intent.
Write the name of the Intent and press the Create button.
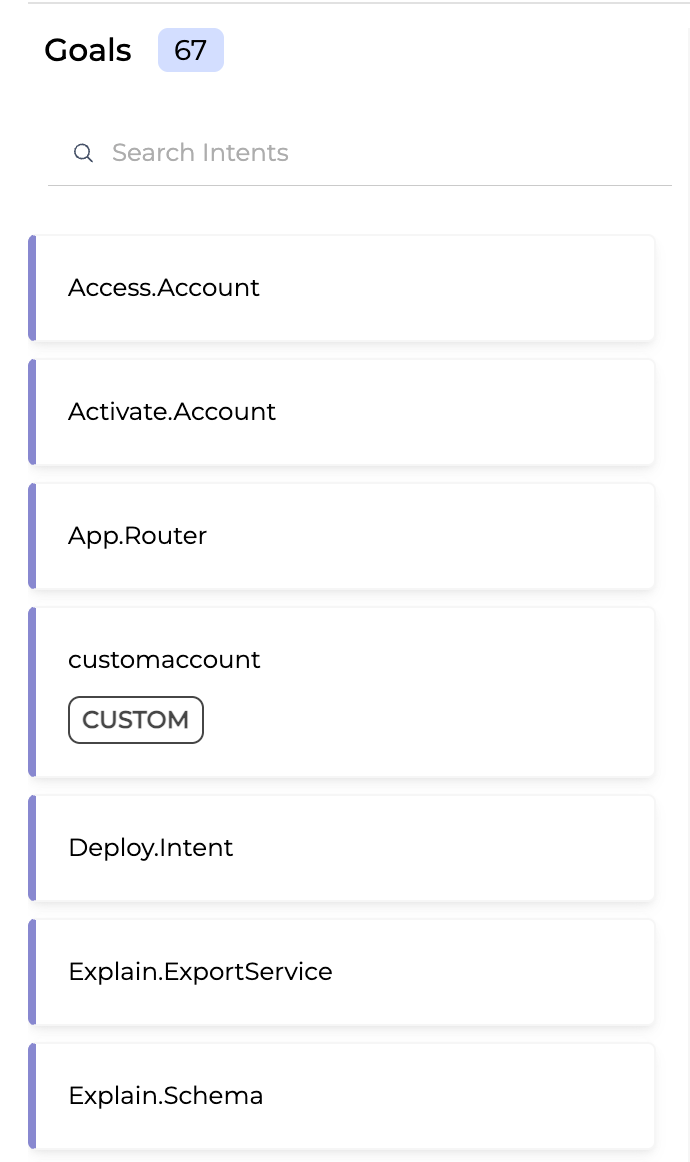
The Intents created manually will be labeled as Custom for convenience:
Goal's Sample Inquiry
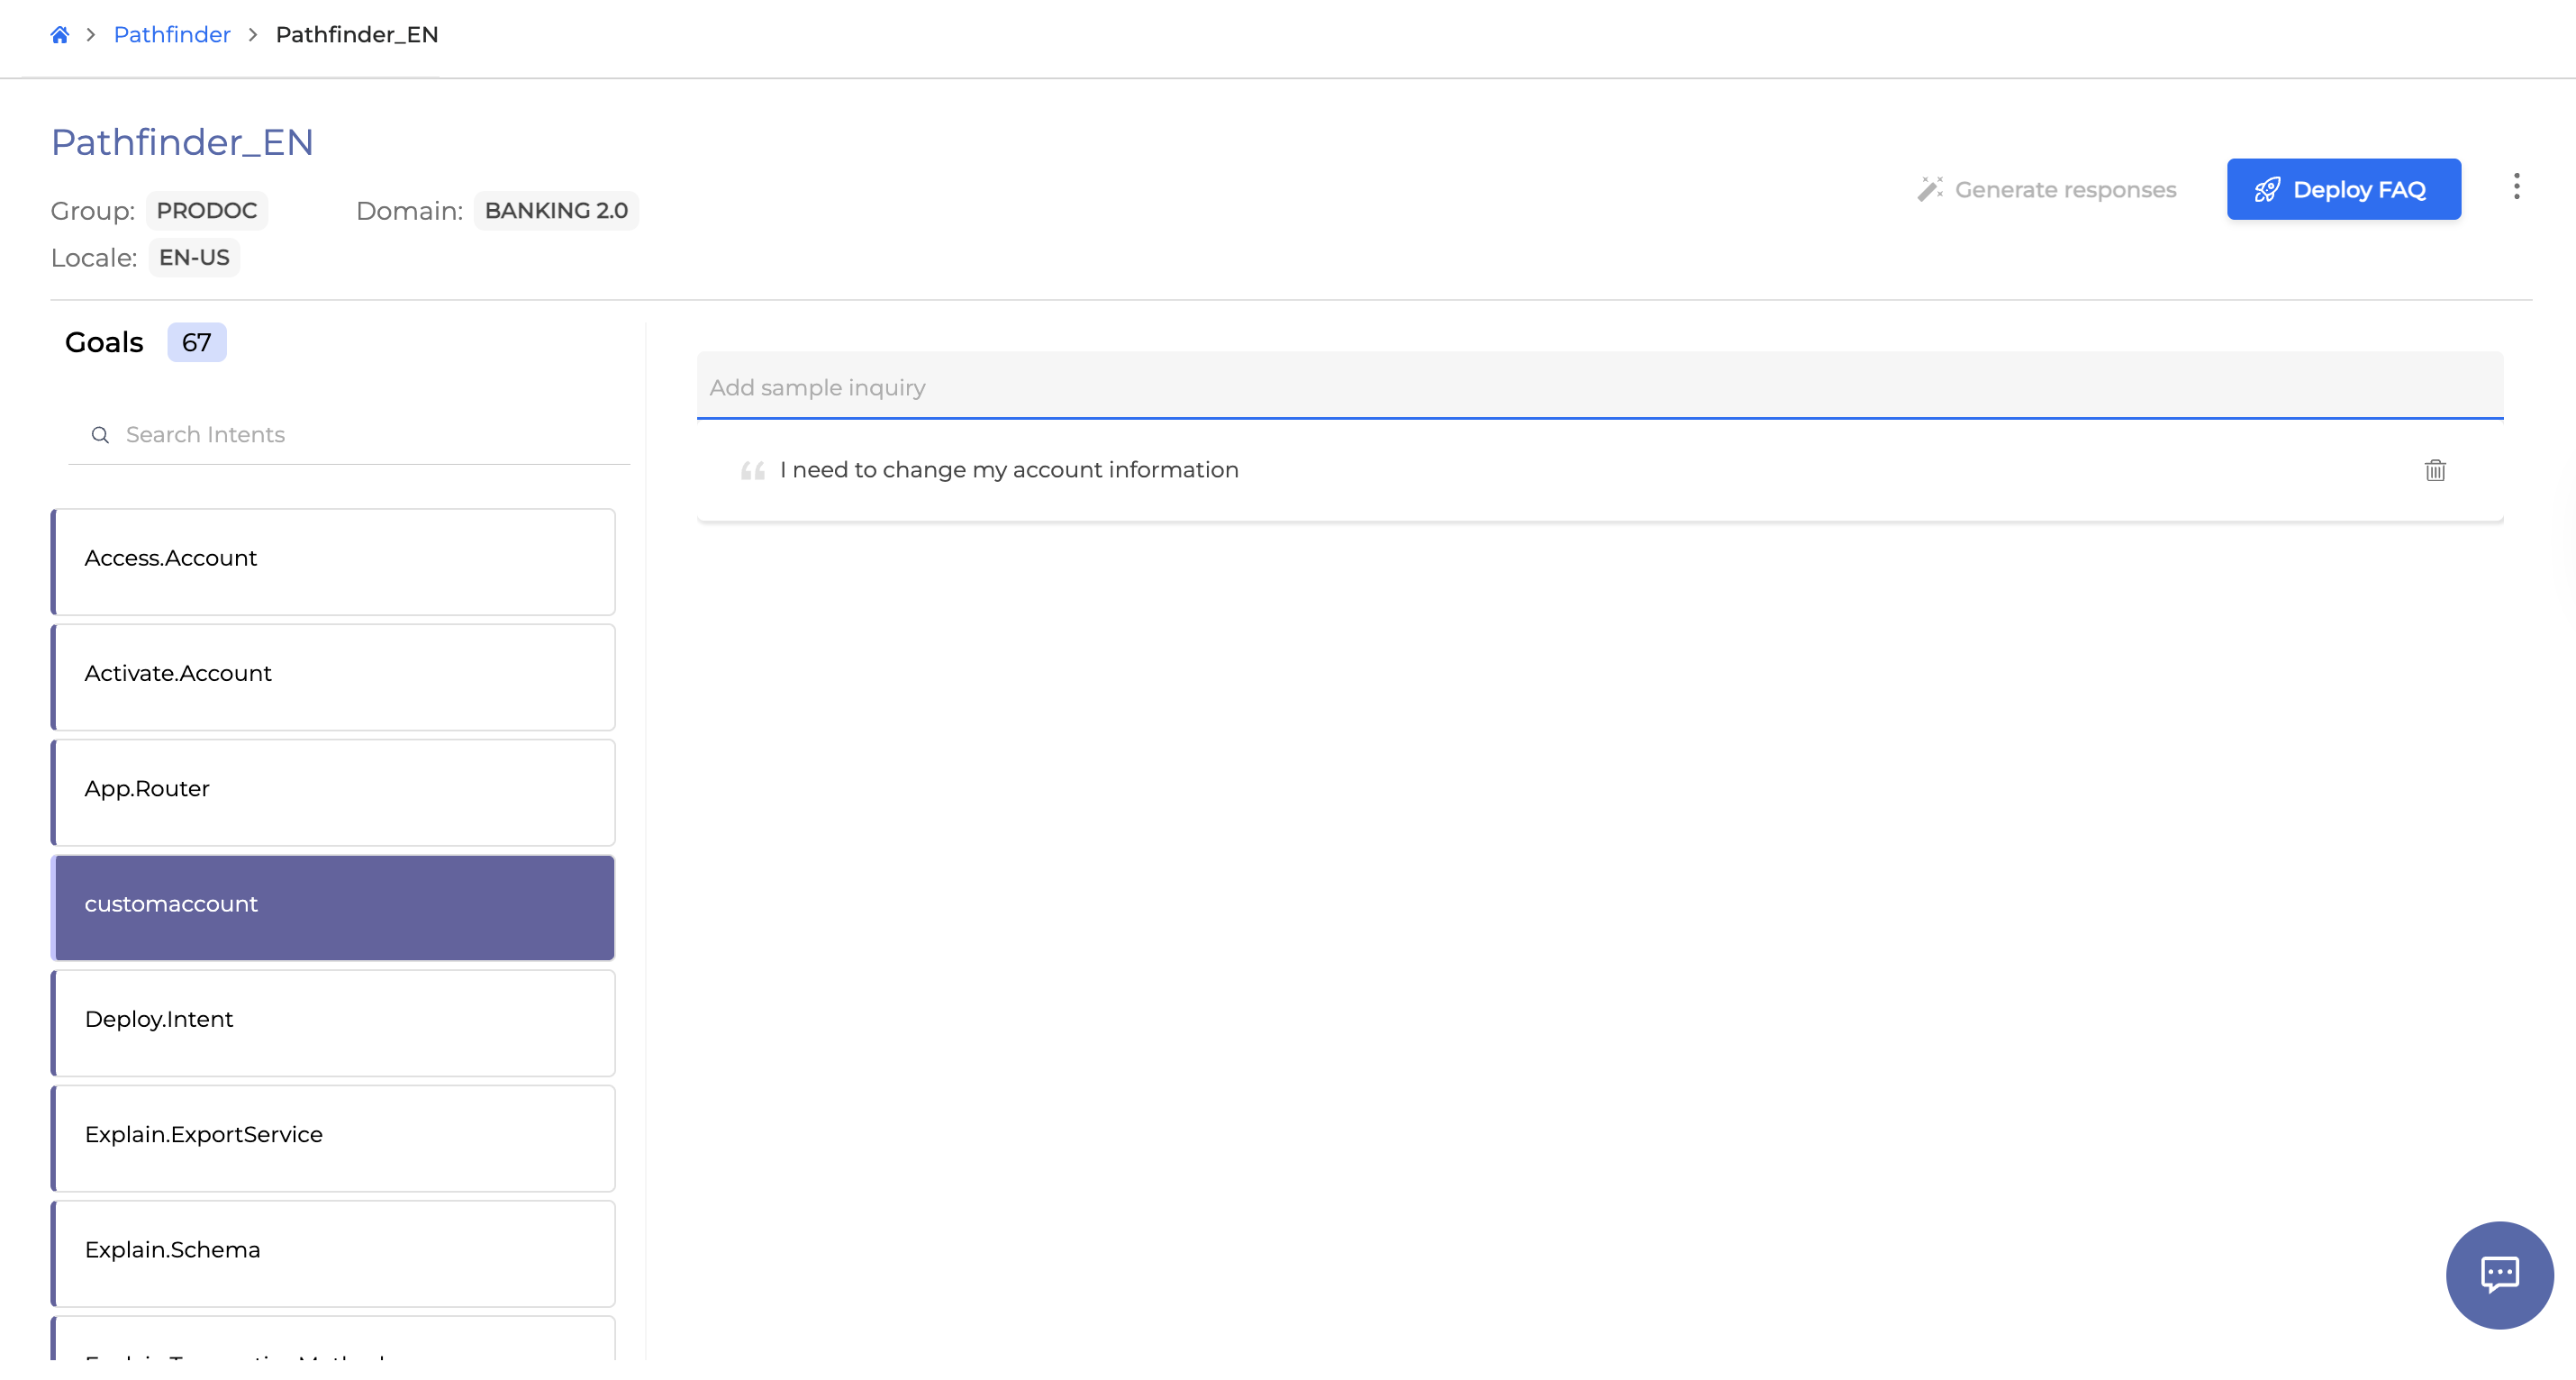
It’s possible to add, edit, and delete Sample Inquiries both for Intents generated based on the data you uploaded or created manually.
After Intents were created, you can still add more utterances to them if needed. To do so, click the preferred Intent and type in your utterance in the Add Sample Inquiry field. Press Enter to add the utterance to the Intent.
.png?cb=387754c1b4cb458135f559cf3201335c)
To edit a specific Sample Inquiry, double-click on it to activate the editing mode. Press Enter when finished to save changes. You can also delete a Sample Inquiry by hovering over the utterance in question and clicking the Trash icon to the right of it (appears on hover).
You can add, edit, and delete utterances for a specific Goal, but you can’t edit or delete the Intent itself once added.
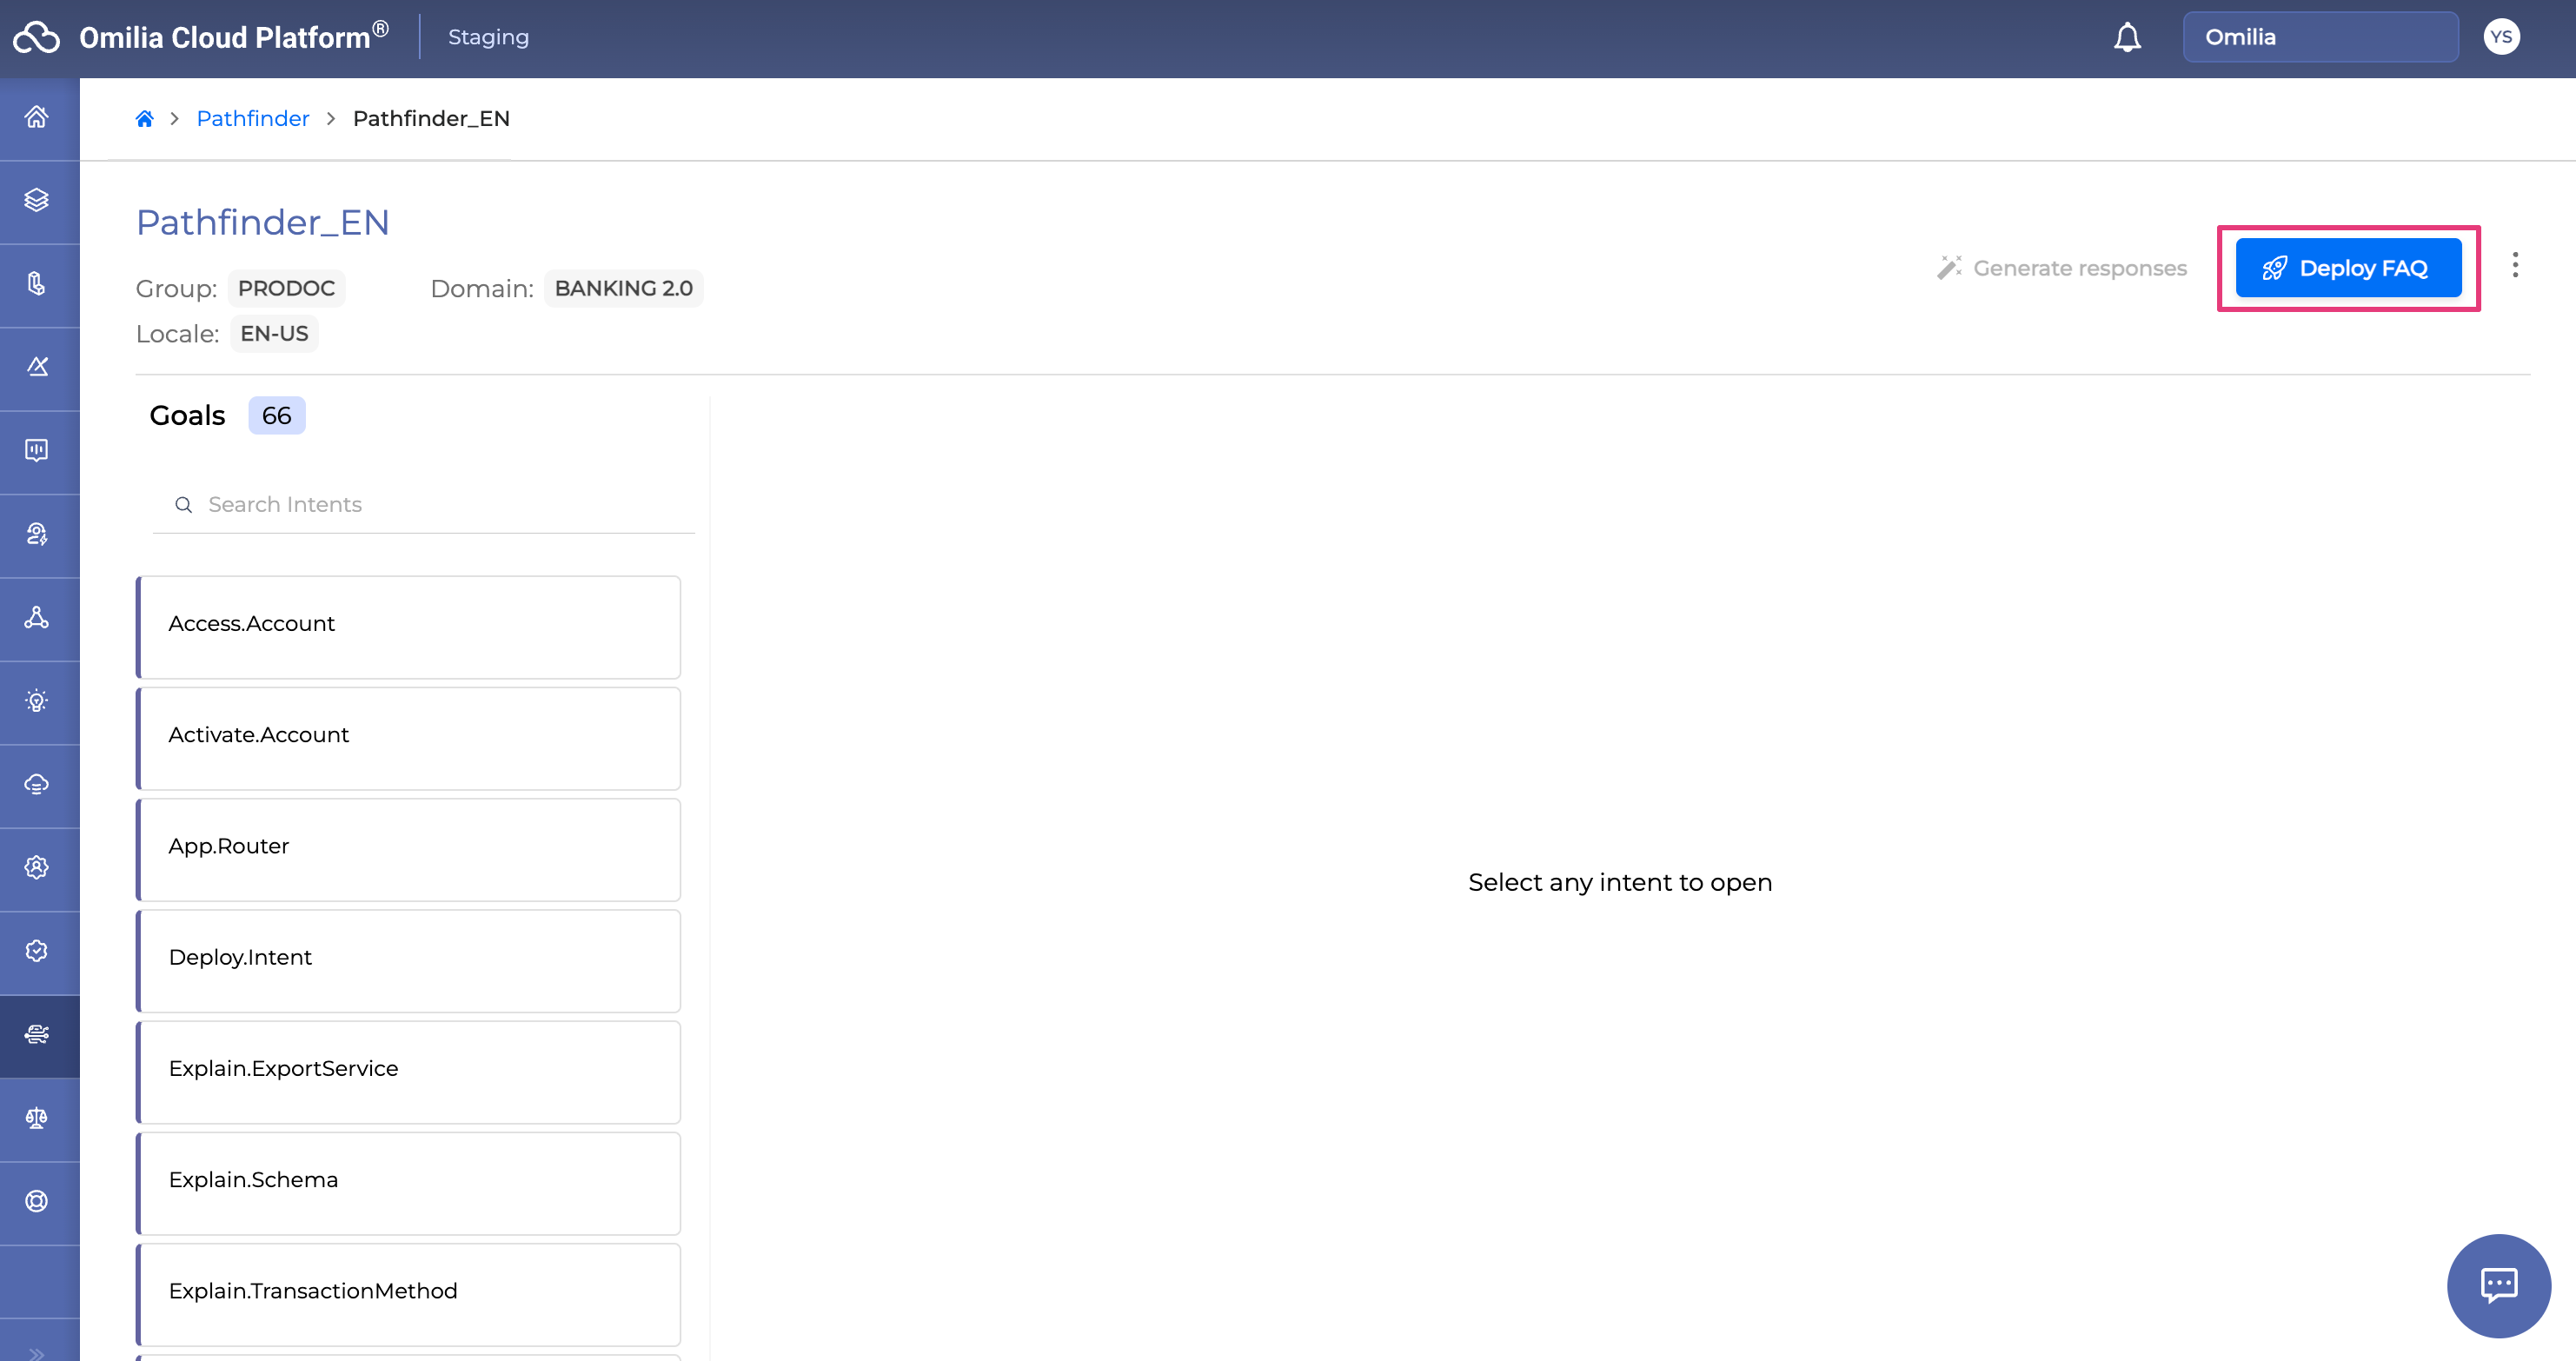
Deploy FAQ
Once you create all Intents and edit them as needed, and your FAQ is ready to go, click the Deploy FAQ button to publish the current state of your Pathfinder project.
Once you click the Deploy FAQ button, you can do further changes to your Intents and add any additional data safely without worrying about changes automatically going live. For example, edit Intents or create new ones without these new items appearing right away in the project version you currently have in use.
When you’re done adding changes, click the Deploy FAQ button again to publish these changes and use the newest version of your Pathfinder project.
After deployment, your project will appear in the list of Pathfinder projects when selecting a knowledge base during the creation of an announcement. For more information, see Intent OCP miniApps.
Chat Simulator
To test your Intents and Sample Inquiries, you can use a Chat Simulator feature available in the bottom right corner of your detailed project view. Click the violet chat icon as shown on the screenshot below to expand the Chat Simulator.
You can copy one of the existing Sample Inquiries and paste the text in the Chat Simulator. To send your message, either click the Send icon or press Enter. You can then add a follow-up question to continue the session. To restart the conversation, click the Restart icon.
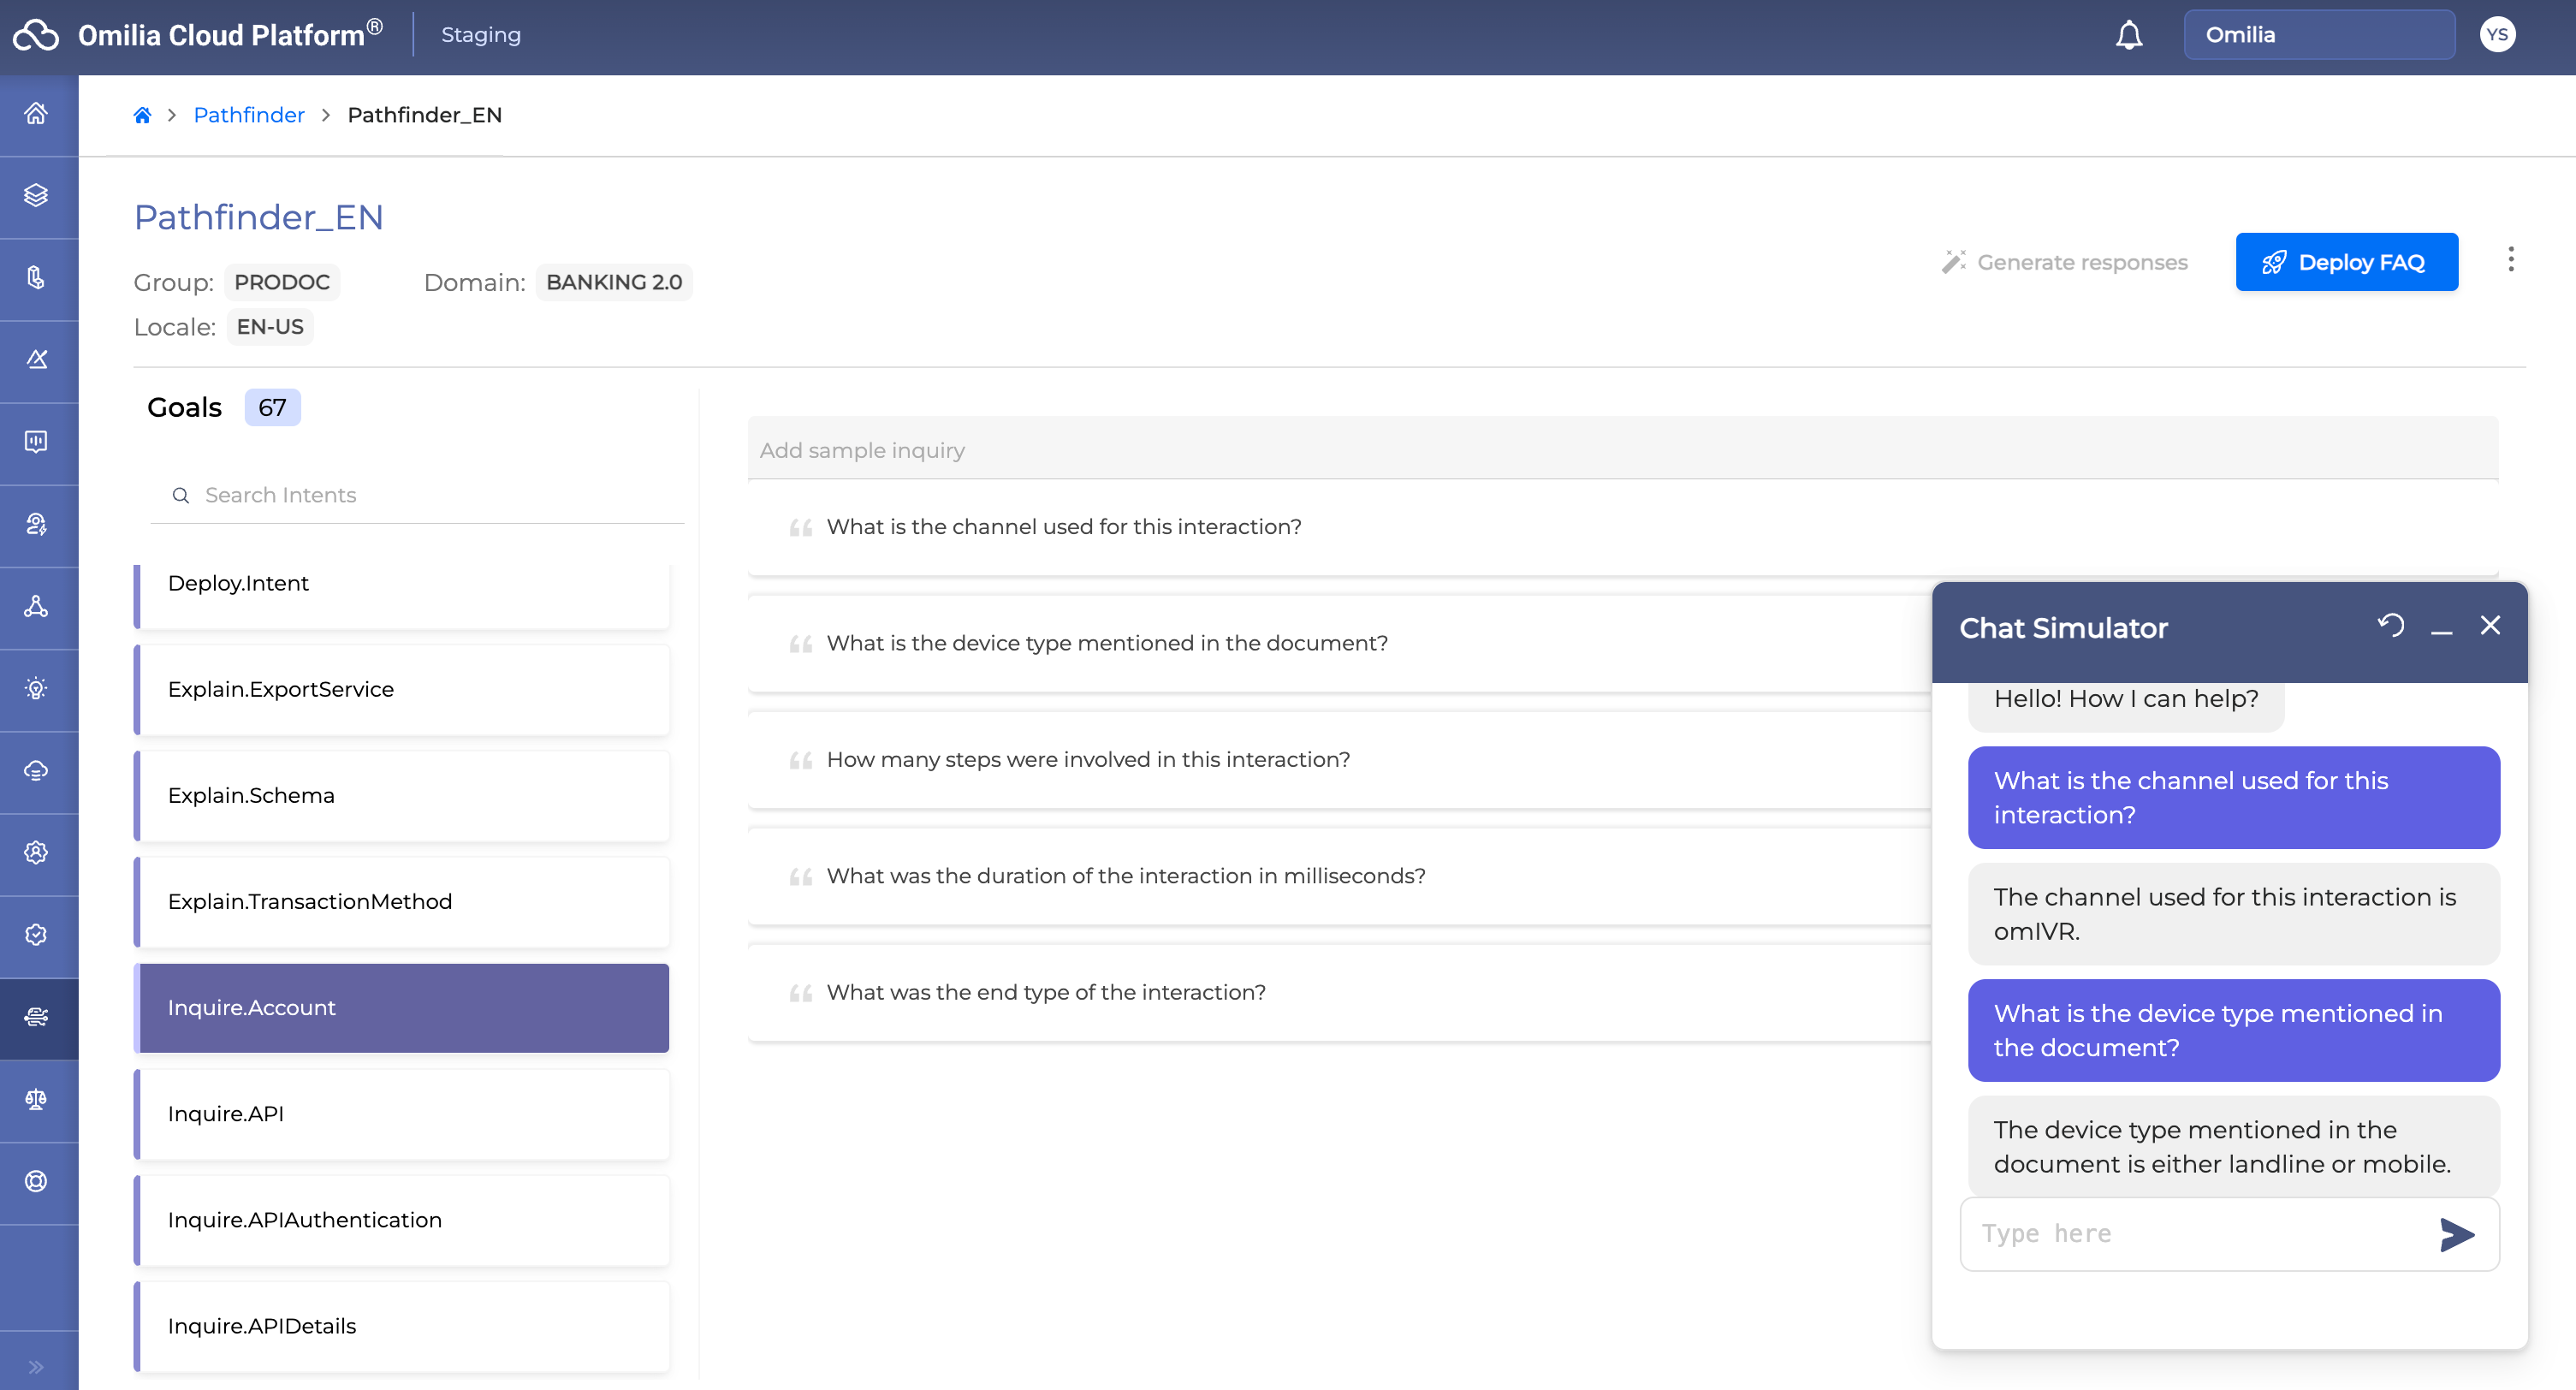
To collapse the Chat Simulator window, click the _ icon. To close the Chat Simulator, click the X icon. Collapsing the tool will not delete the current test conversation, and you can view it again after clicking the Chat Simulator icon. Closing the Chat Simulator window will erase the current test conversation and bring you to the starting point when you open the chat next time.
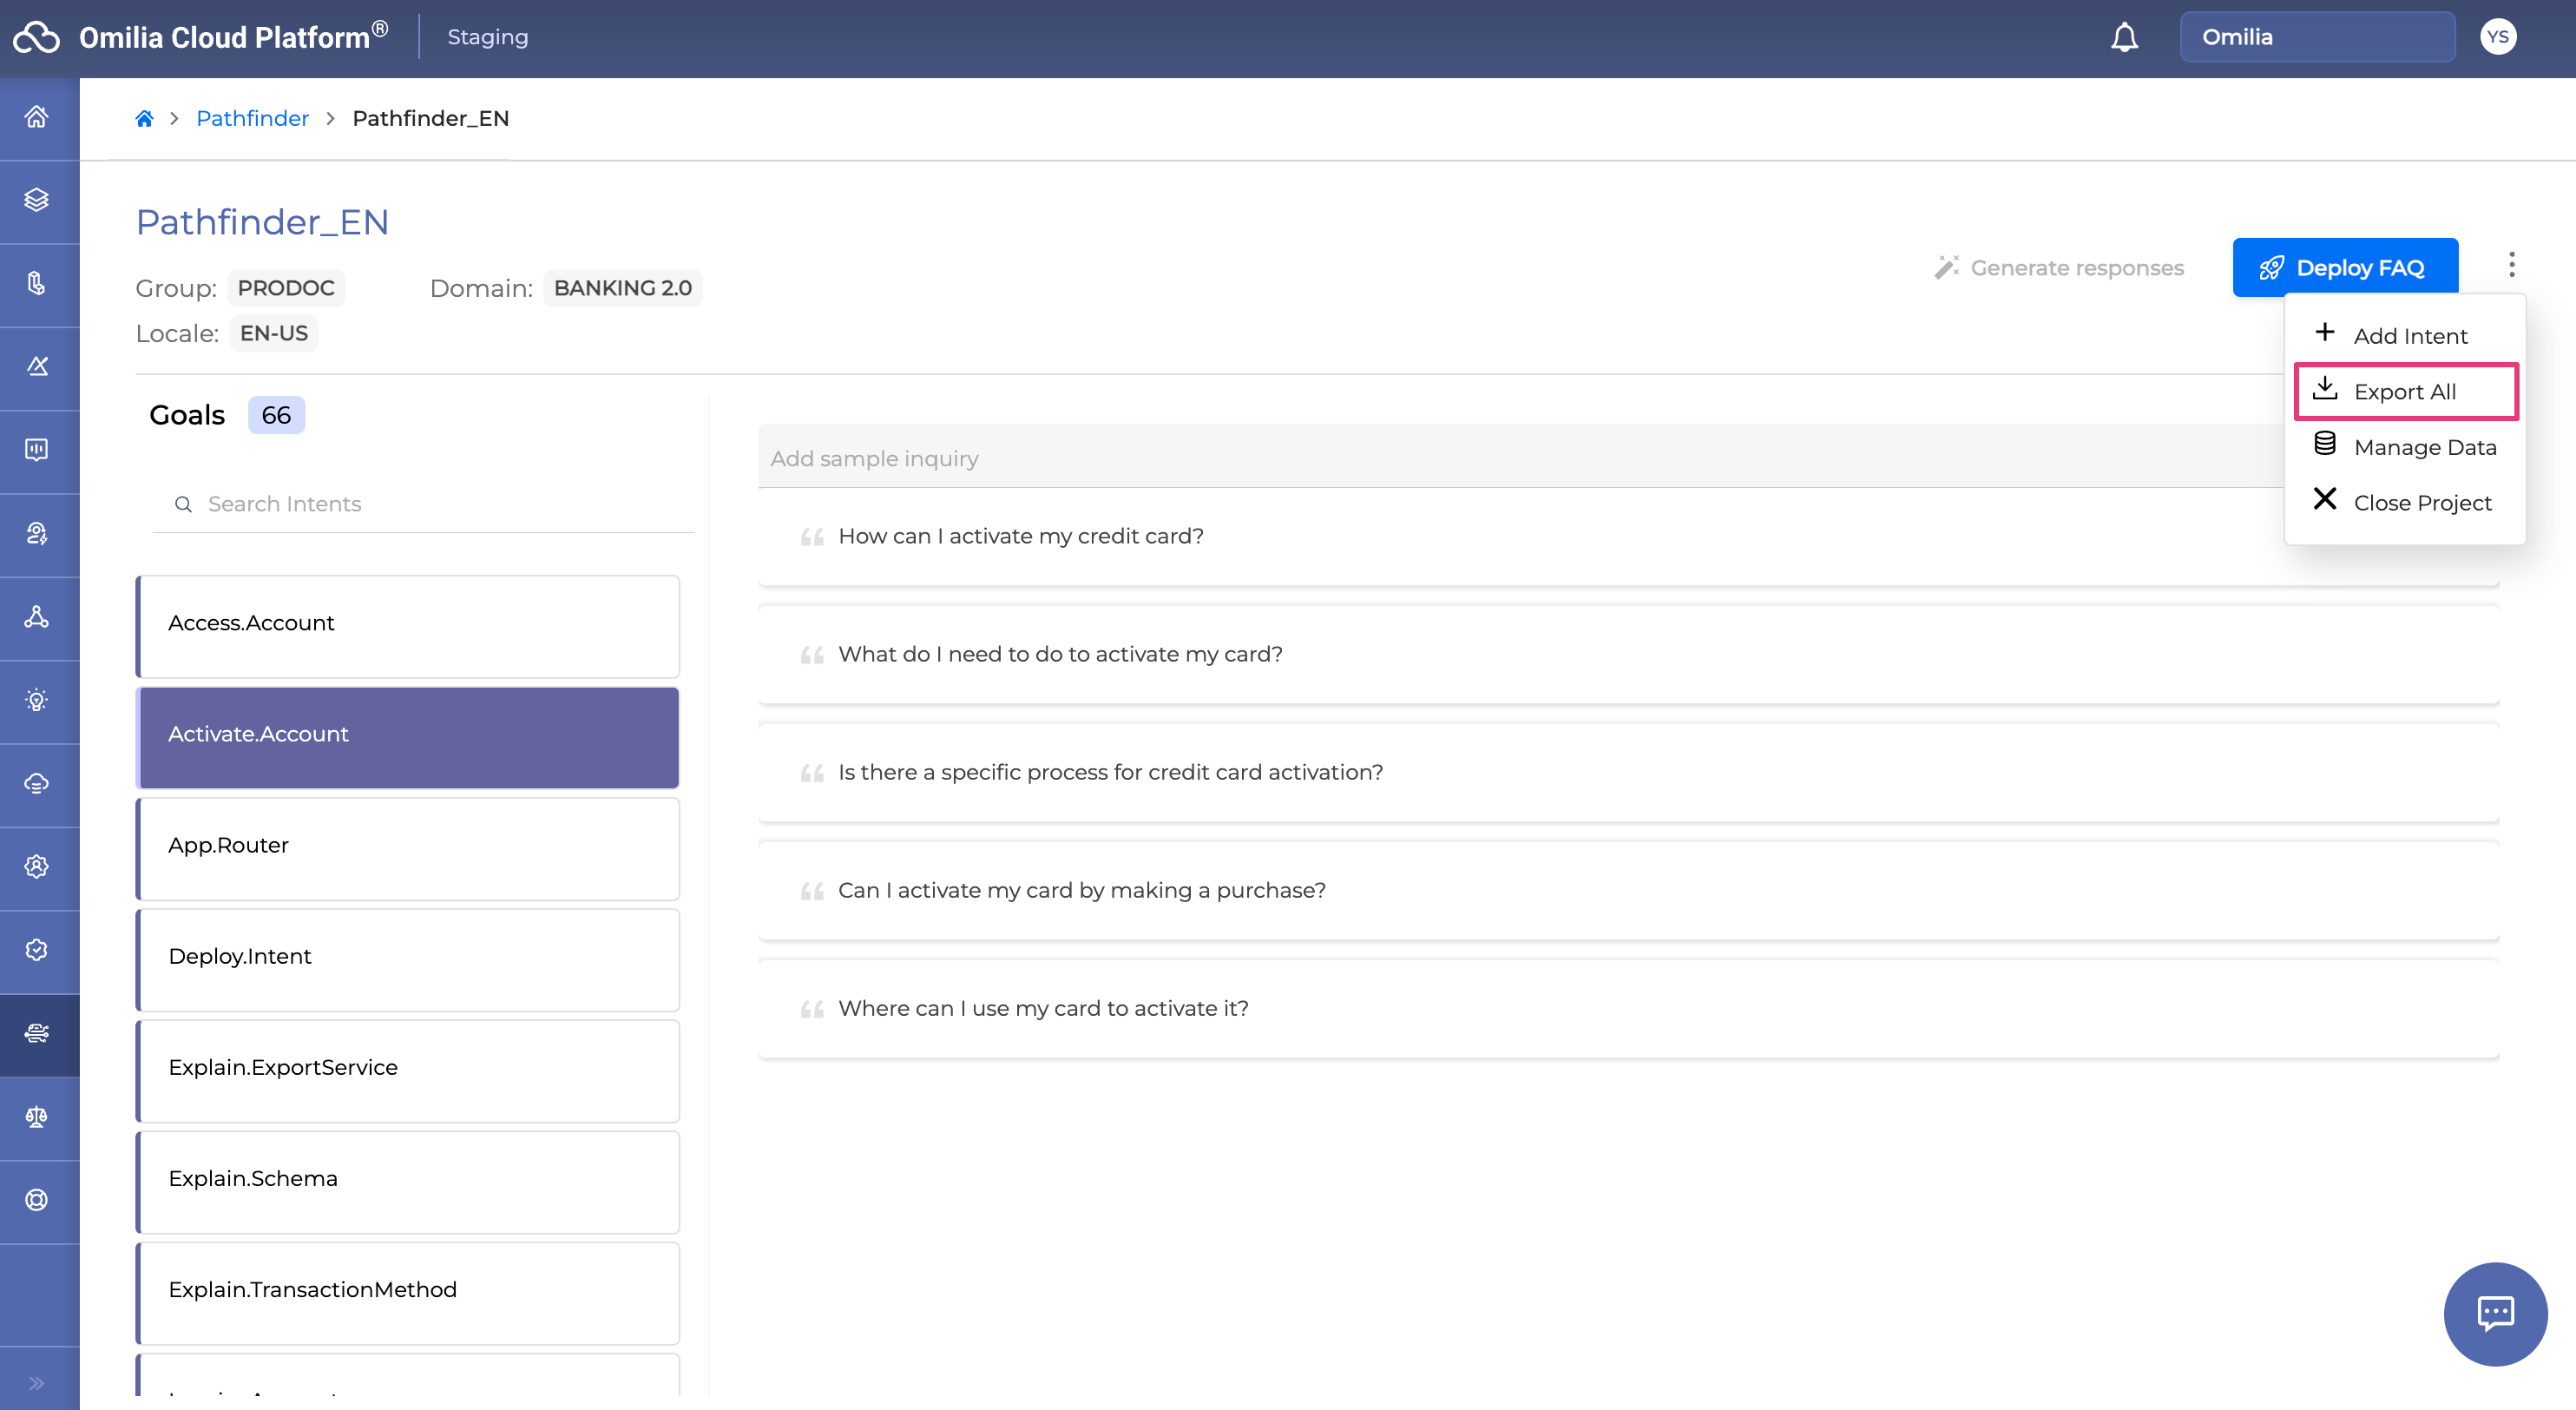
Export Project Data
You can export all the intents and their utterances to a CSV file. This allows you to examine, share, and analyze the conversational data outside Pathfinder and add this data to a custom NLU model.
To export this data, click the Options menu and select Export All. Once the export is processed, a CSV file will be generated and made available for download. Save the file to your desired location on your computer.
Manage Projects
You can view all your created projects in the Pathfinder tab. To rename or delete a project, click the Options menu to the right of the specific project and select Rename or Delete.
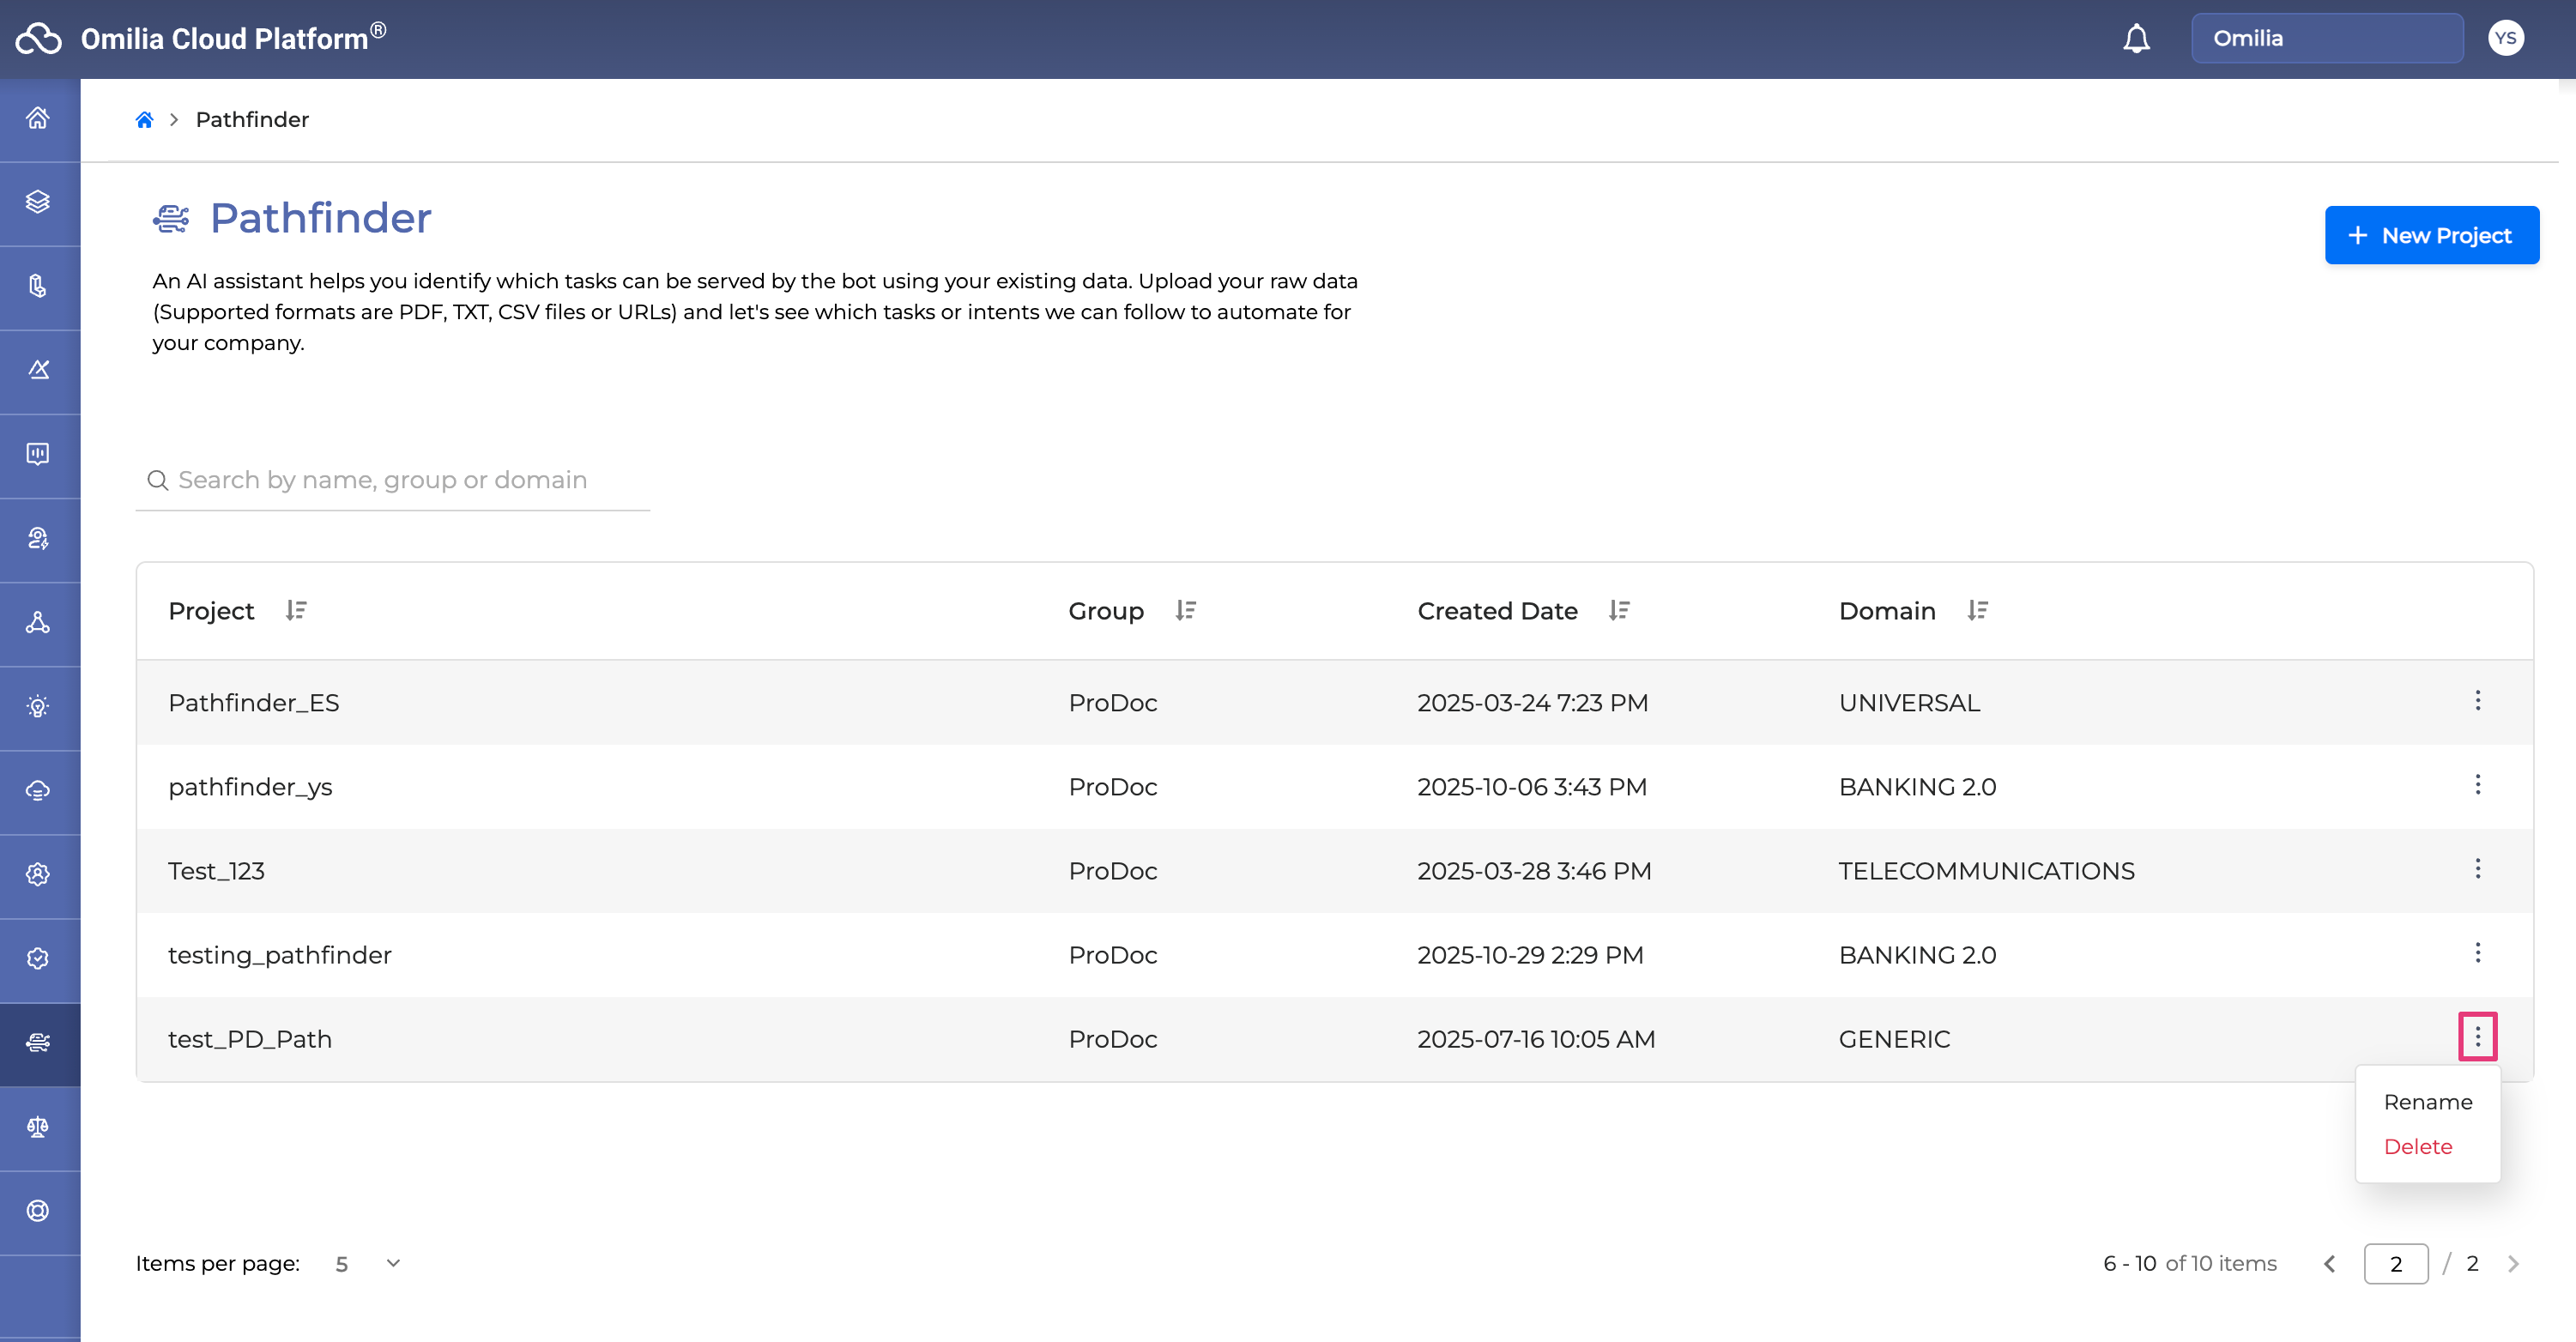
Deleting a project doesn't remove it from Pathfinder entirely; it archives the project instead. As a result, if you delete a project, you won’t be able to create a new project with the same name.
If you attempt to do so, you’ll see the following error: “Found an archived project with the same name and group. The combination of project name and group should be unique.”
It’s also not possible to rename an existing project to match the name of the project that was previously deleted.
In such cases, you’ll get the following error: “Found an existing project with the same name and group. The combination of project name and group should be unique”.