This document explains how to build and deploy a simple Dialog Application in Orchestrator.
The Dialog Application is a sequence of combined miniApps and other building blocks for running a conversation according to the predefined logic.
The progress is saved automatically at any point in the development.
To log in to Orchestrator, follow the steps below:
-
Log in to OCP® as described in Logging in and logging out.
-
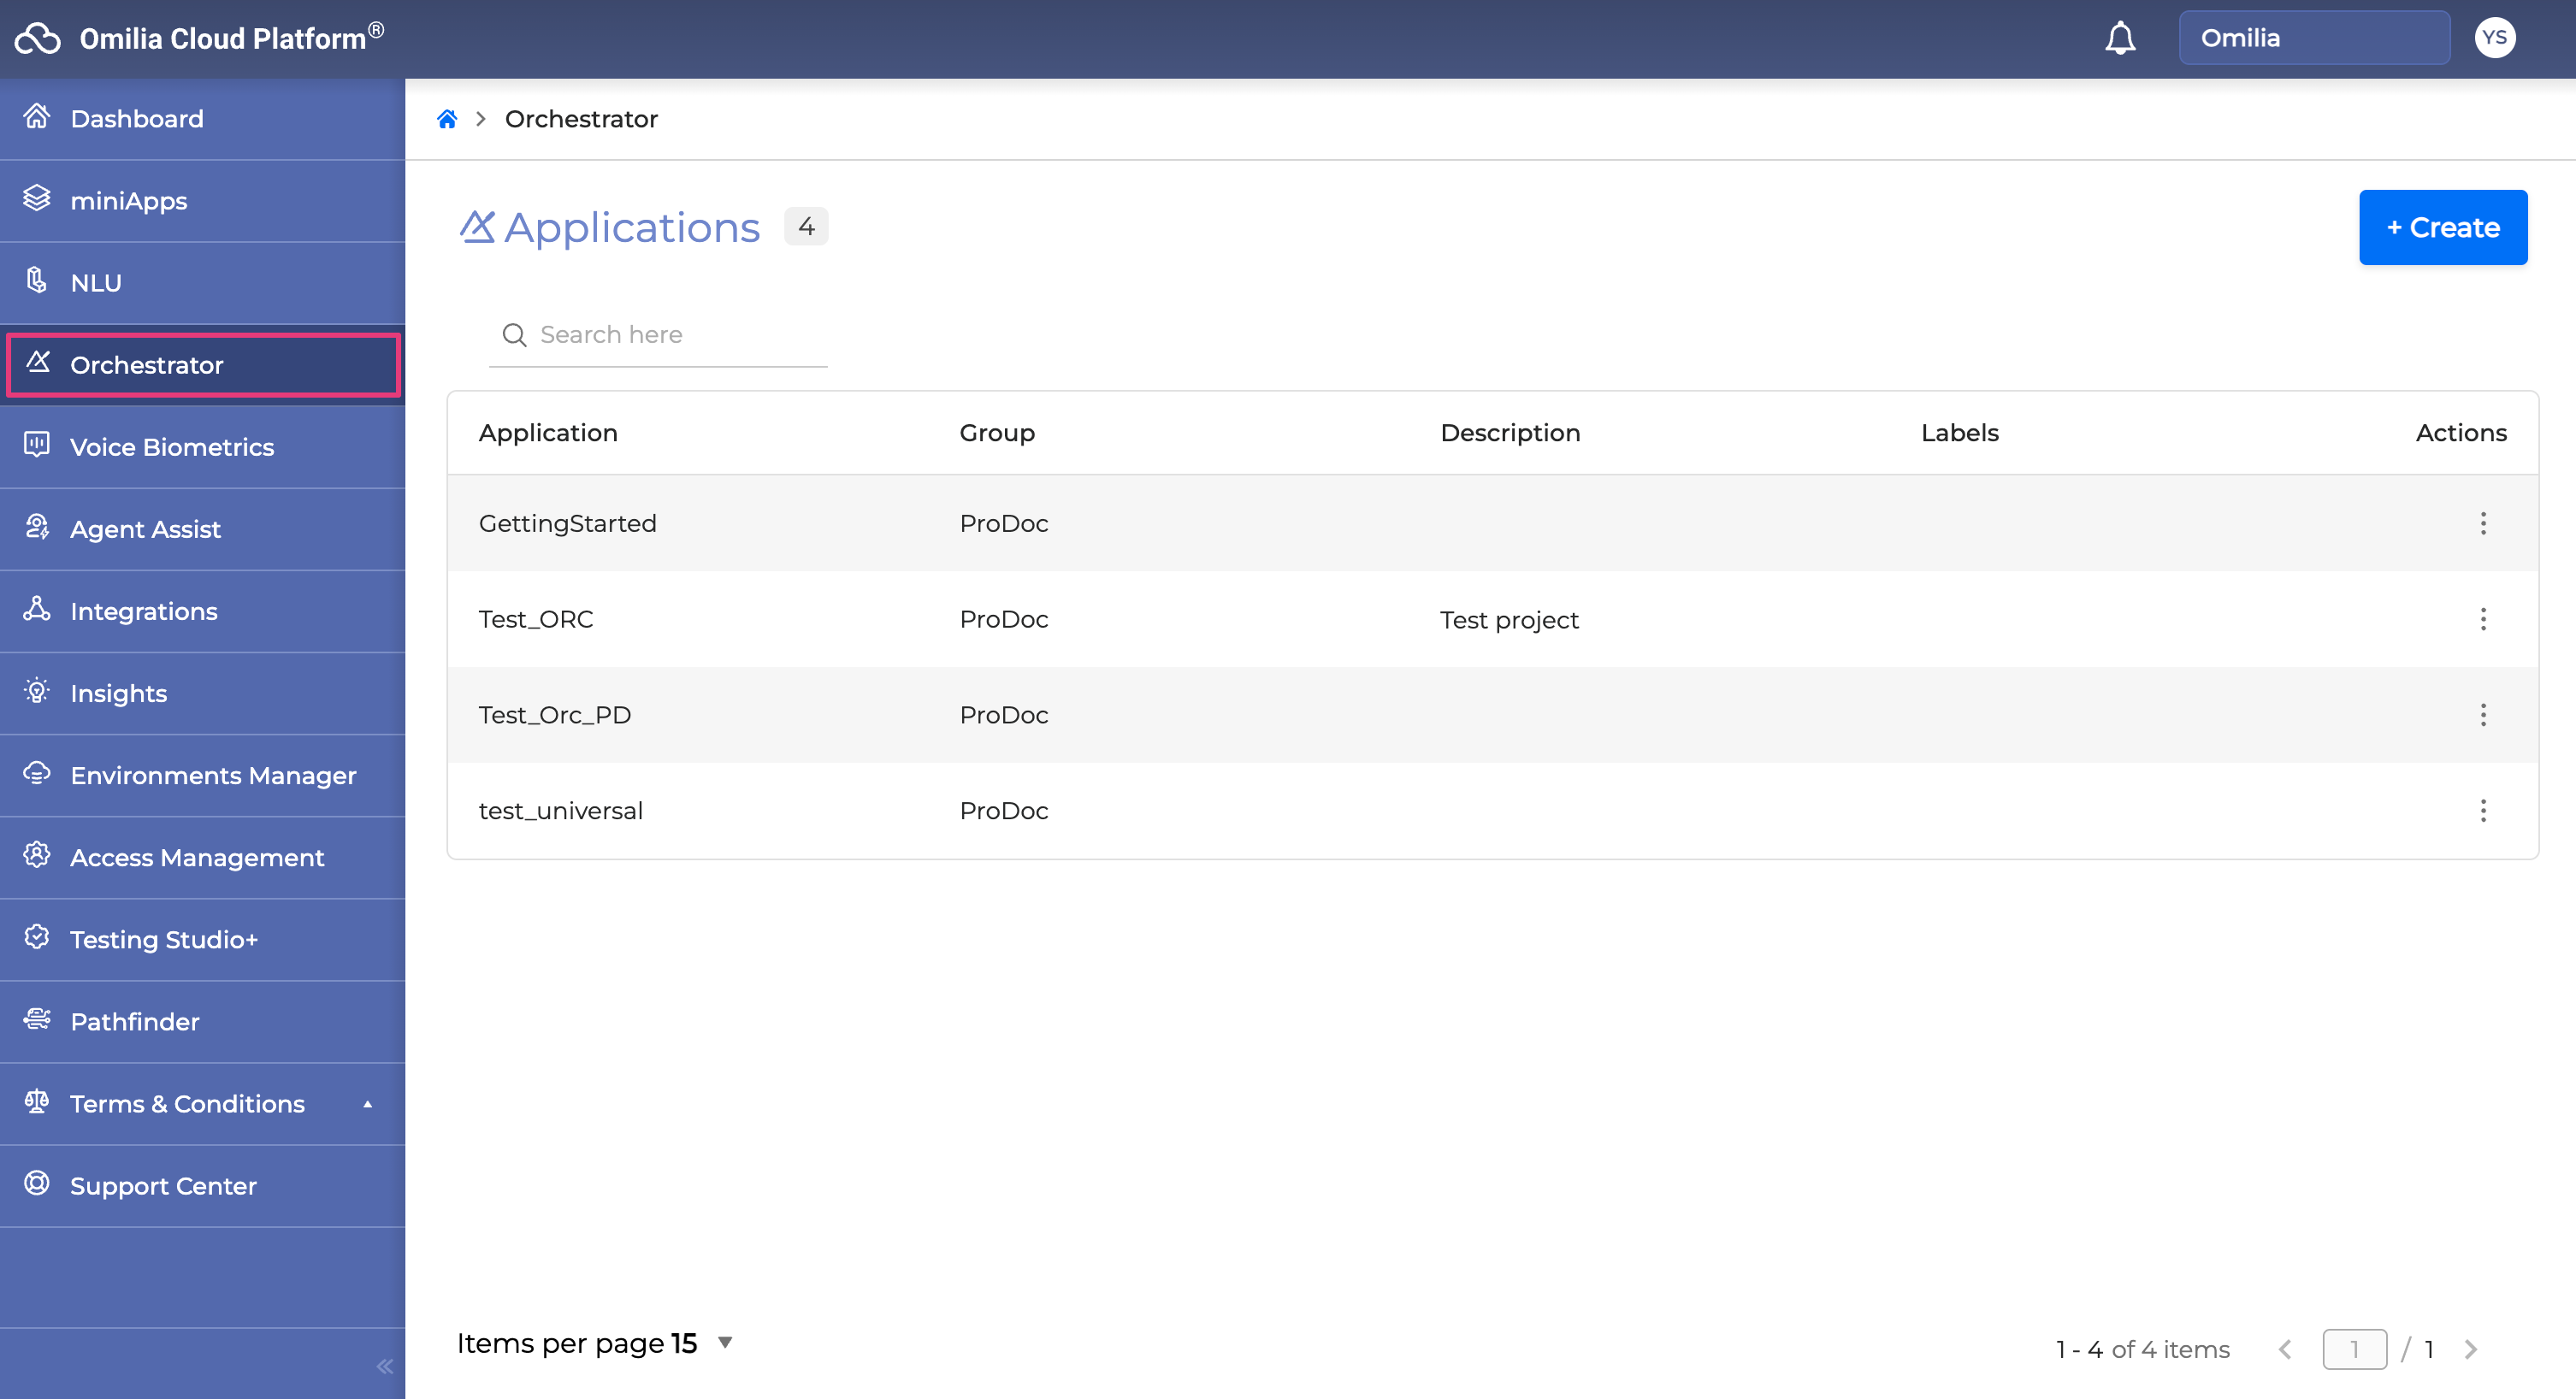
Select the Orchestrator tab in the left sidebar.
-
You will be forwarded to the landing page of Orchestrator:
-
If this is your first time using Orchestrator, you will be prompted to create a new application automatically.
-
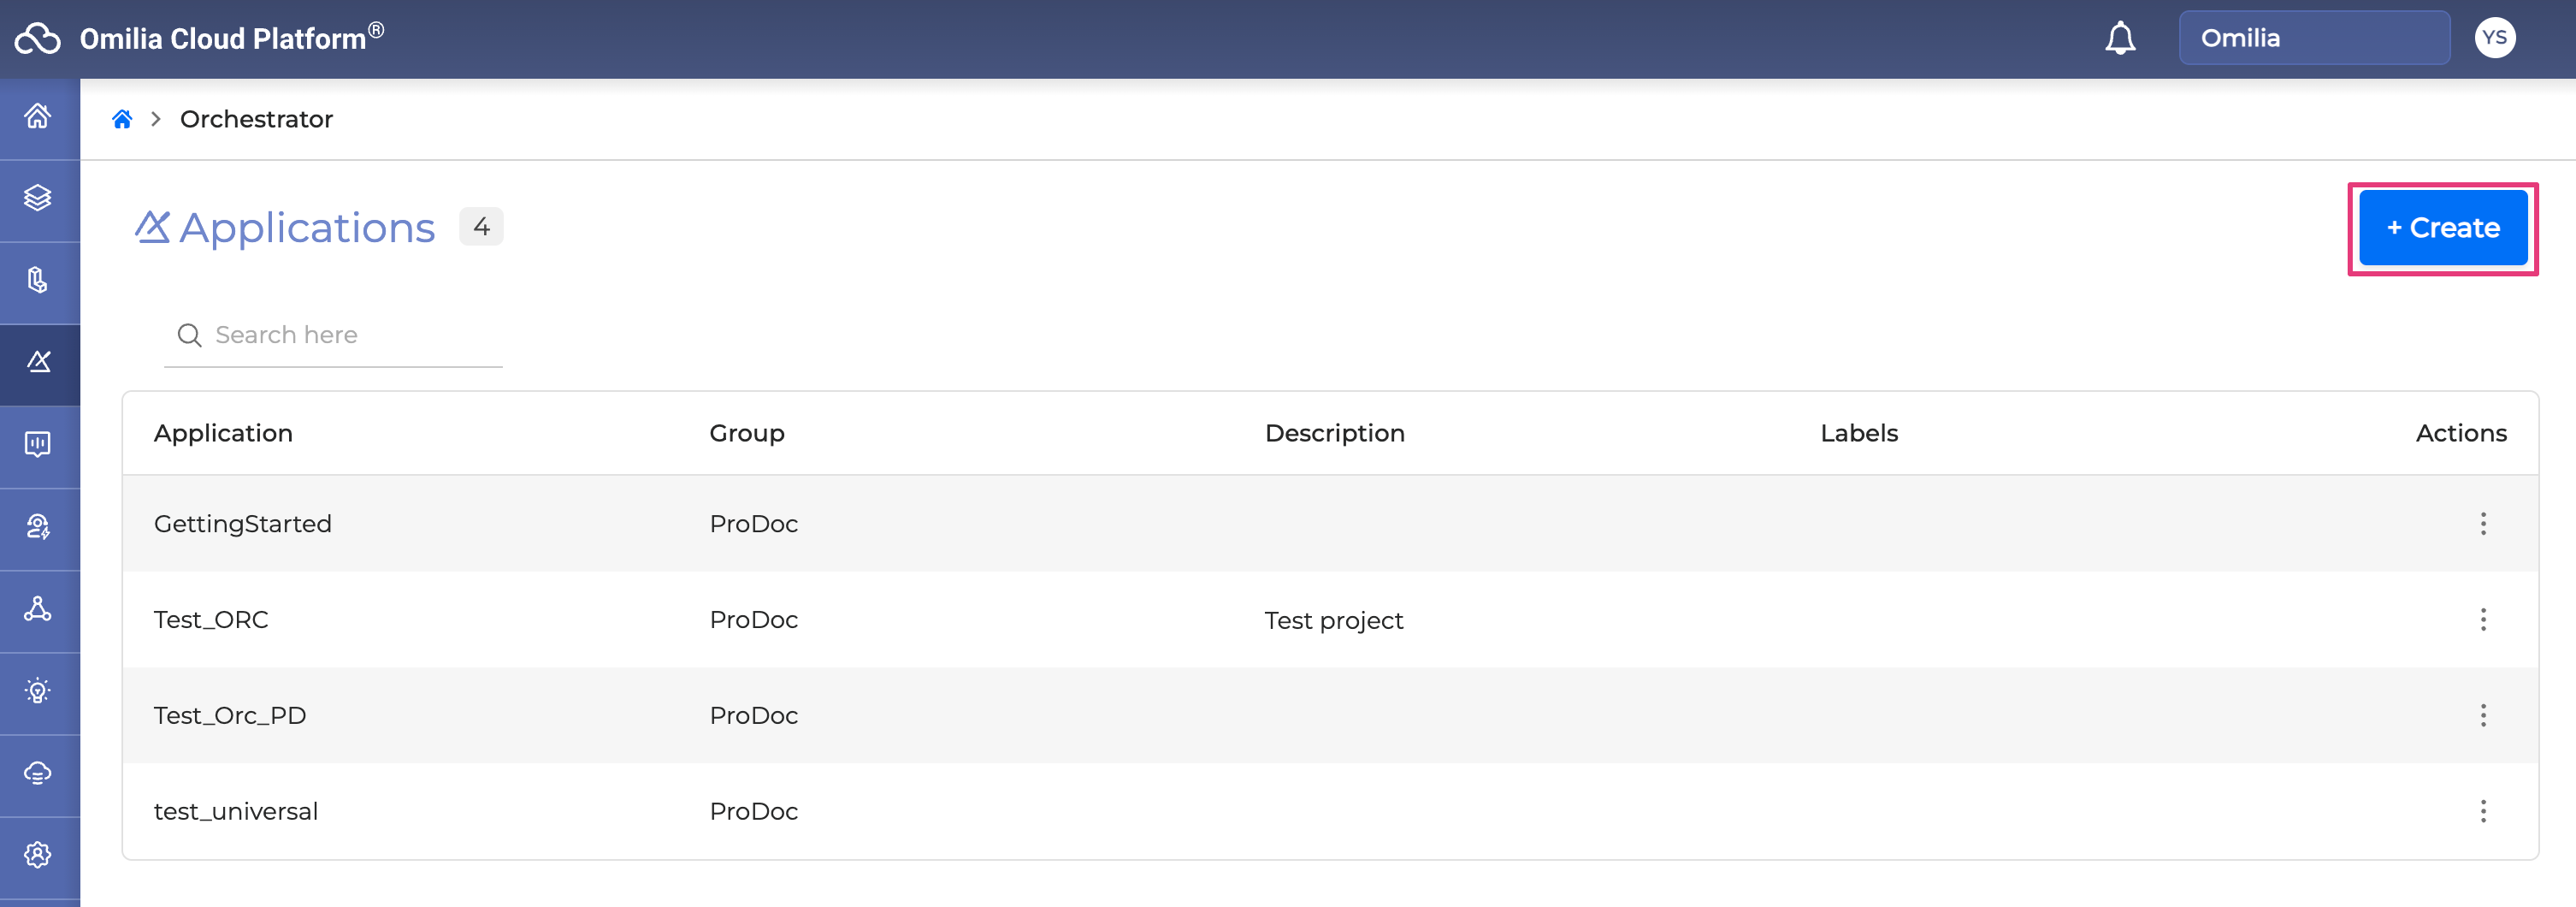
If you already have applications, click + Create in the upper‑right corner of the page.
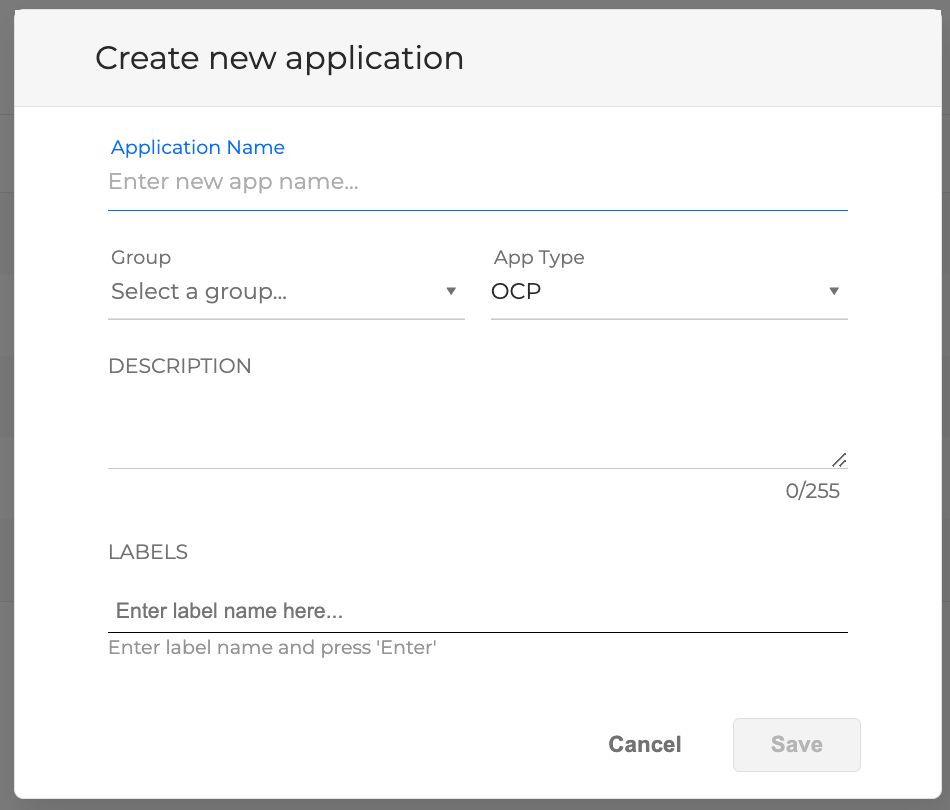
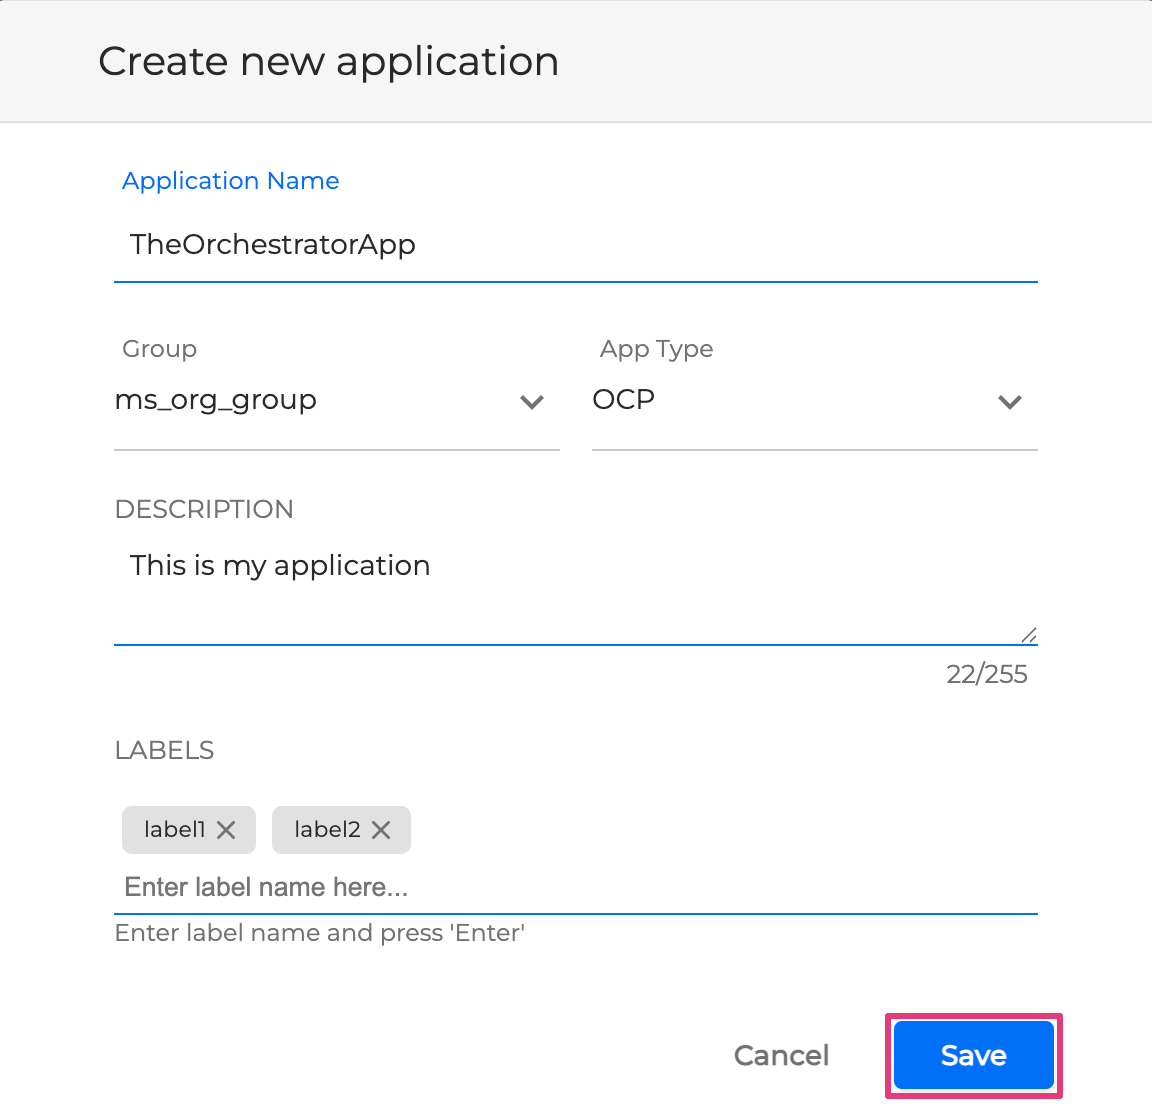
Fill in the fields of the Create new application form that pops up:
-
Application Name: Enter a name for your Dialog Application.
-
Group – Select a group from the dropdown list. The application will be accessible to all members of this group.
-
App Type – Choose one of:
-
Agentic – Build an application using agentic applications combined with standard Orchestrator components.
-
OCP – Build an application using the standard Orchestrator functionality and OCP miniApps®.
-
Legacy – Upload a manually created application without using the Orchestrator interface.
-
For Legacy Apps, see Working with Legacy Apps.
To learn more about the Agentic Application creation, see the Agentic Flows.
-
Description (optional) – Add a short description (up to 255 characters).
-
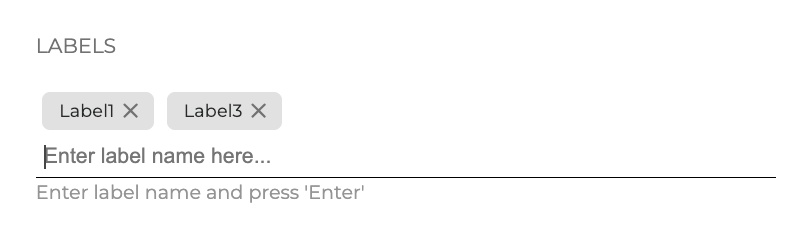
Labels (optional) – Type a label name and press Enter to add it. Click the X to the right of a label to remove it.
Click Save. You will be redirected to the Orchestrator board.
You can edit your labels and description later if needed.
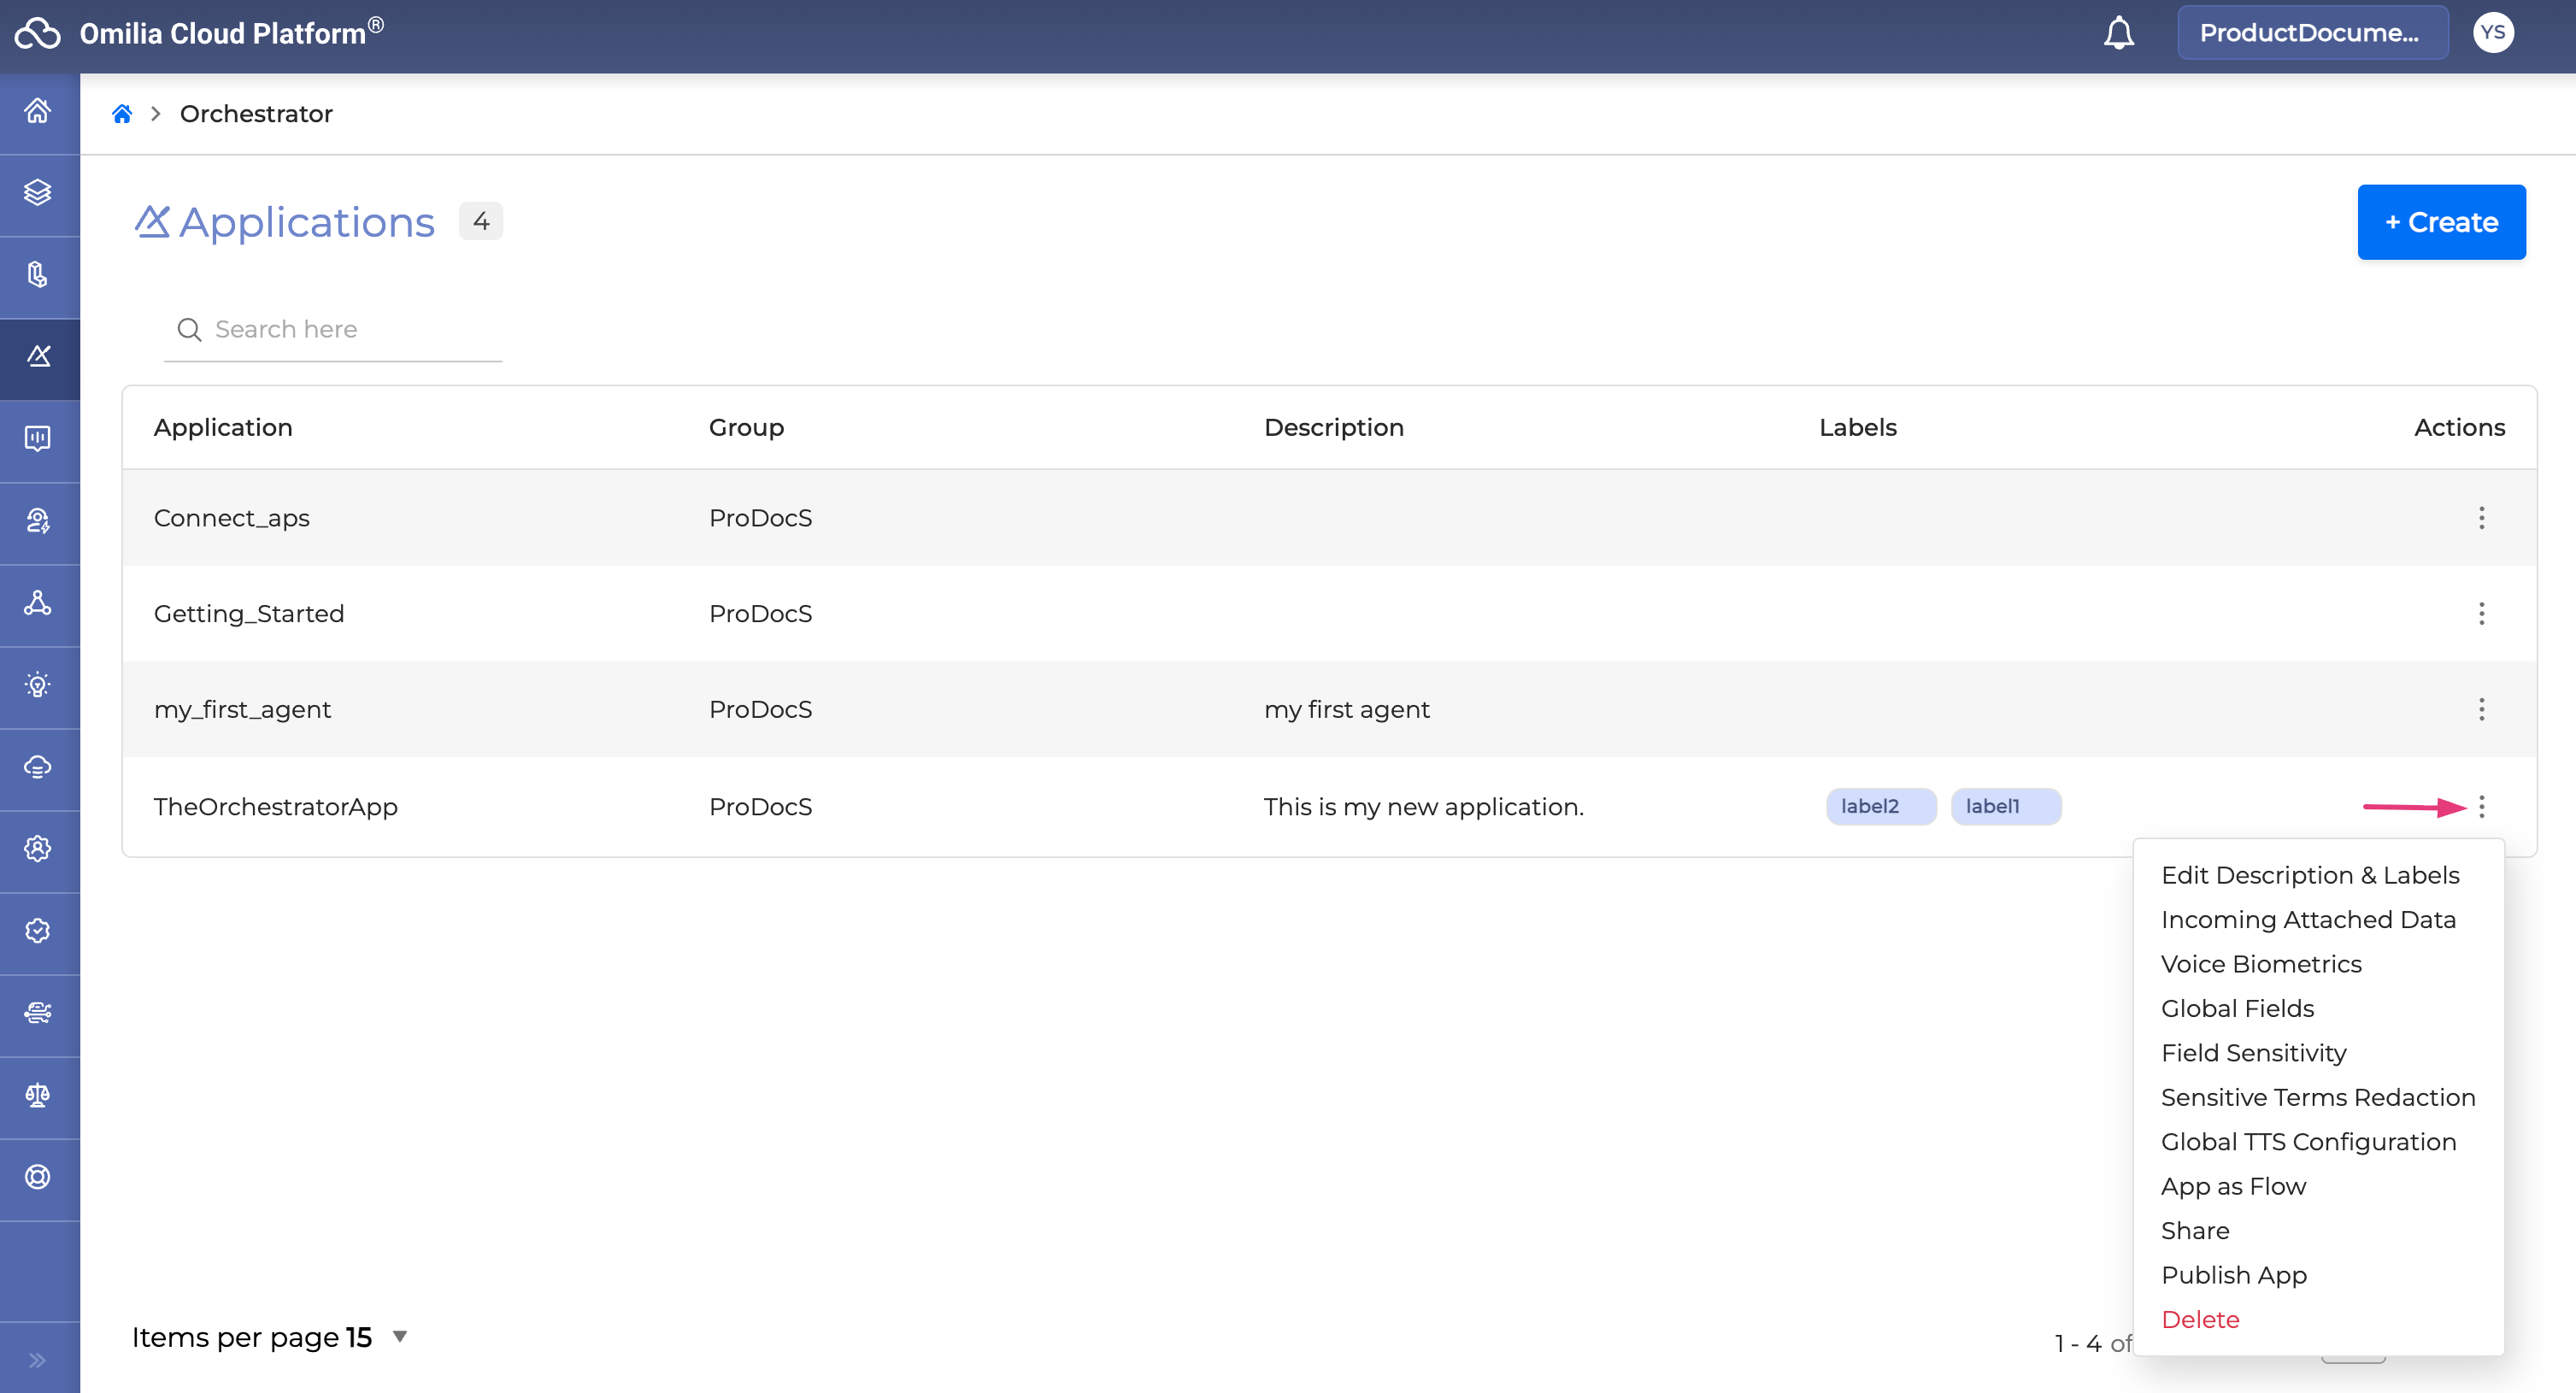
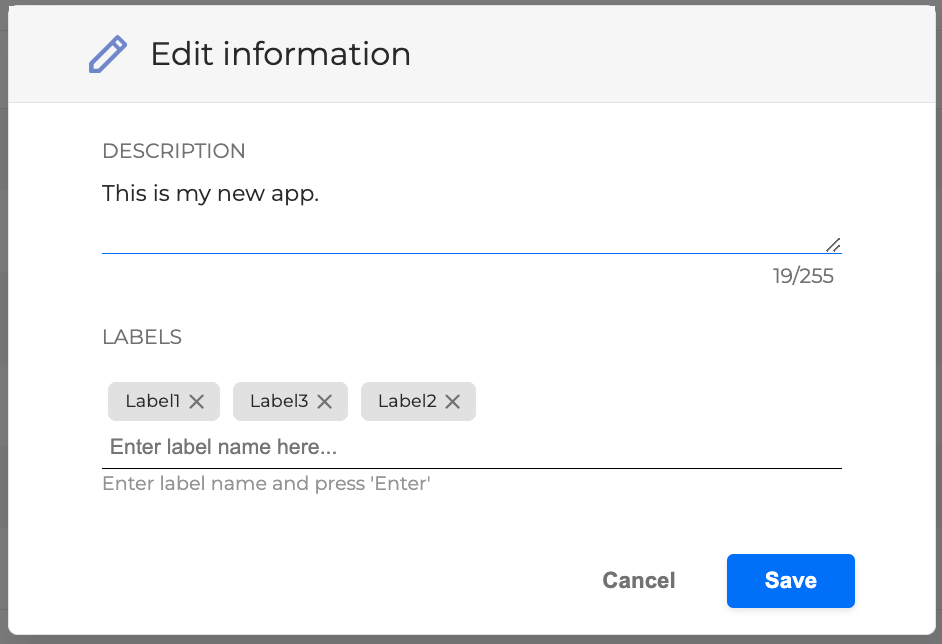
To edit an application’s description or labels:
-
On the Orchestrator page, find the application in the list.
-
Click the menu icon to the right of the application name.
-
Select Edit Description & Labels.
-
Update the fields and click Save.
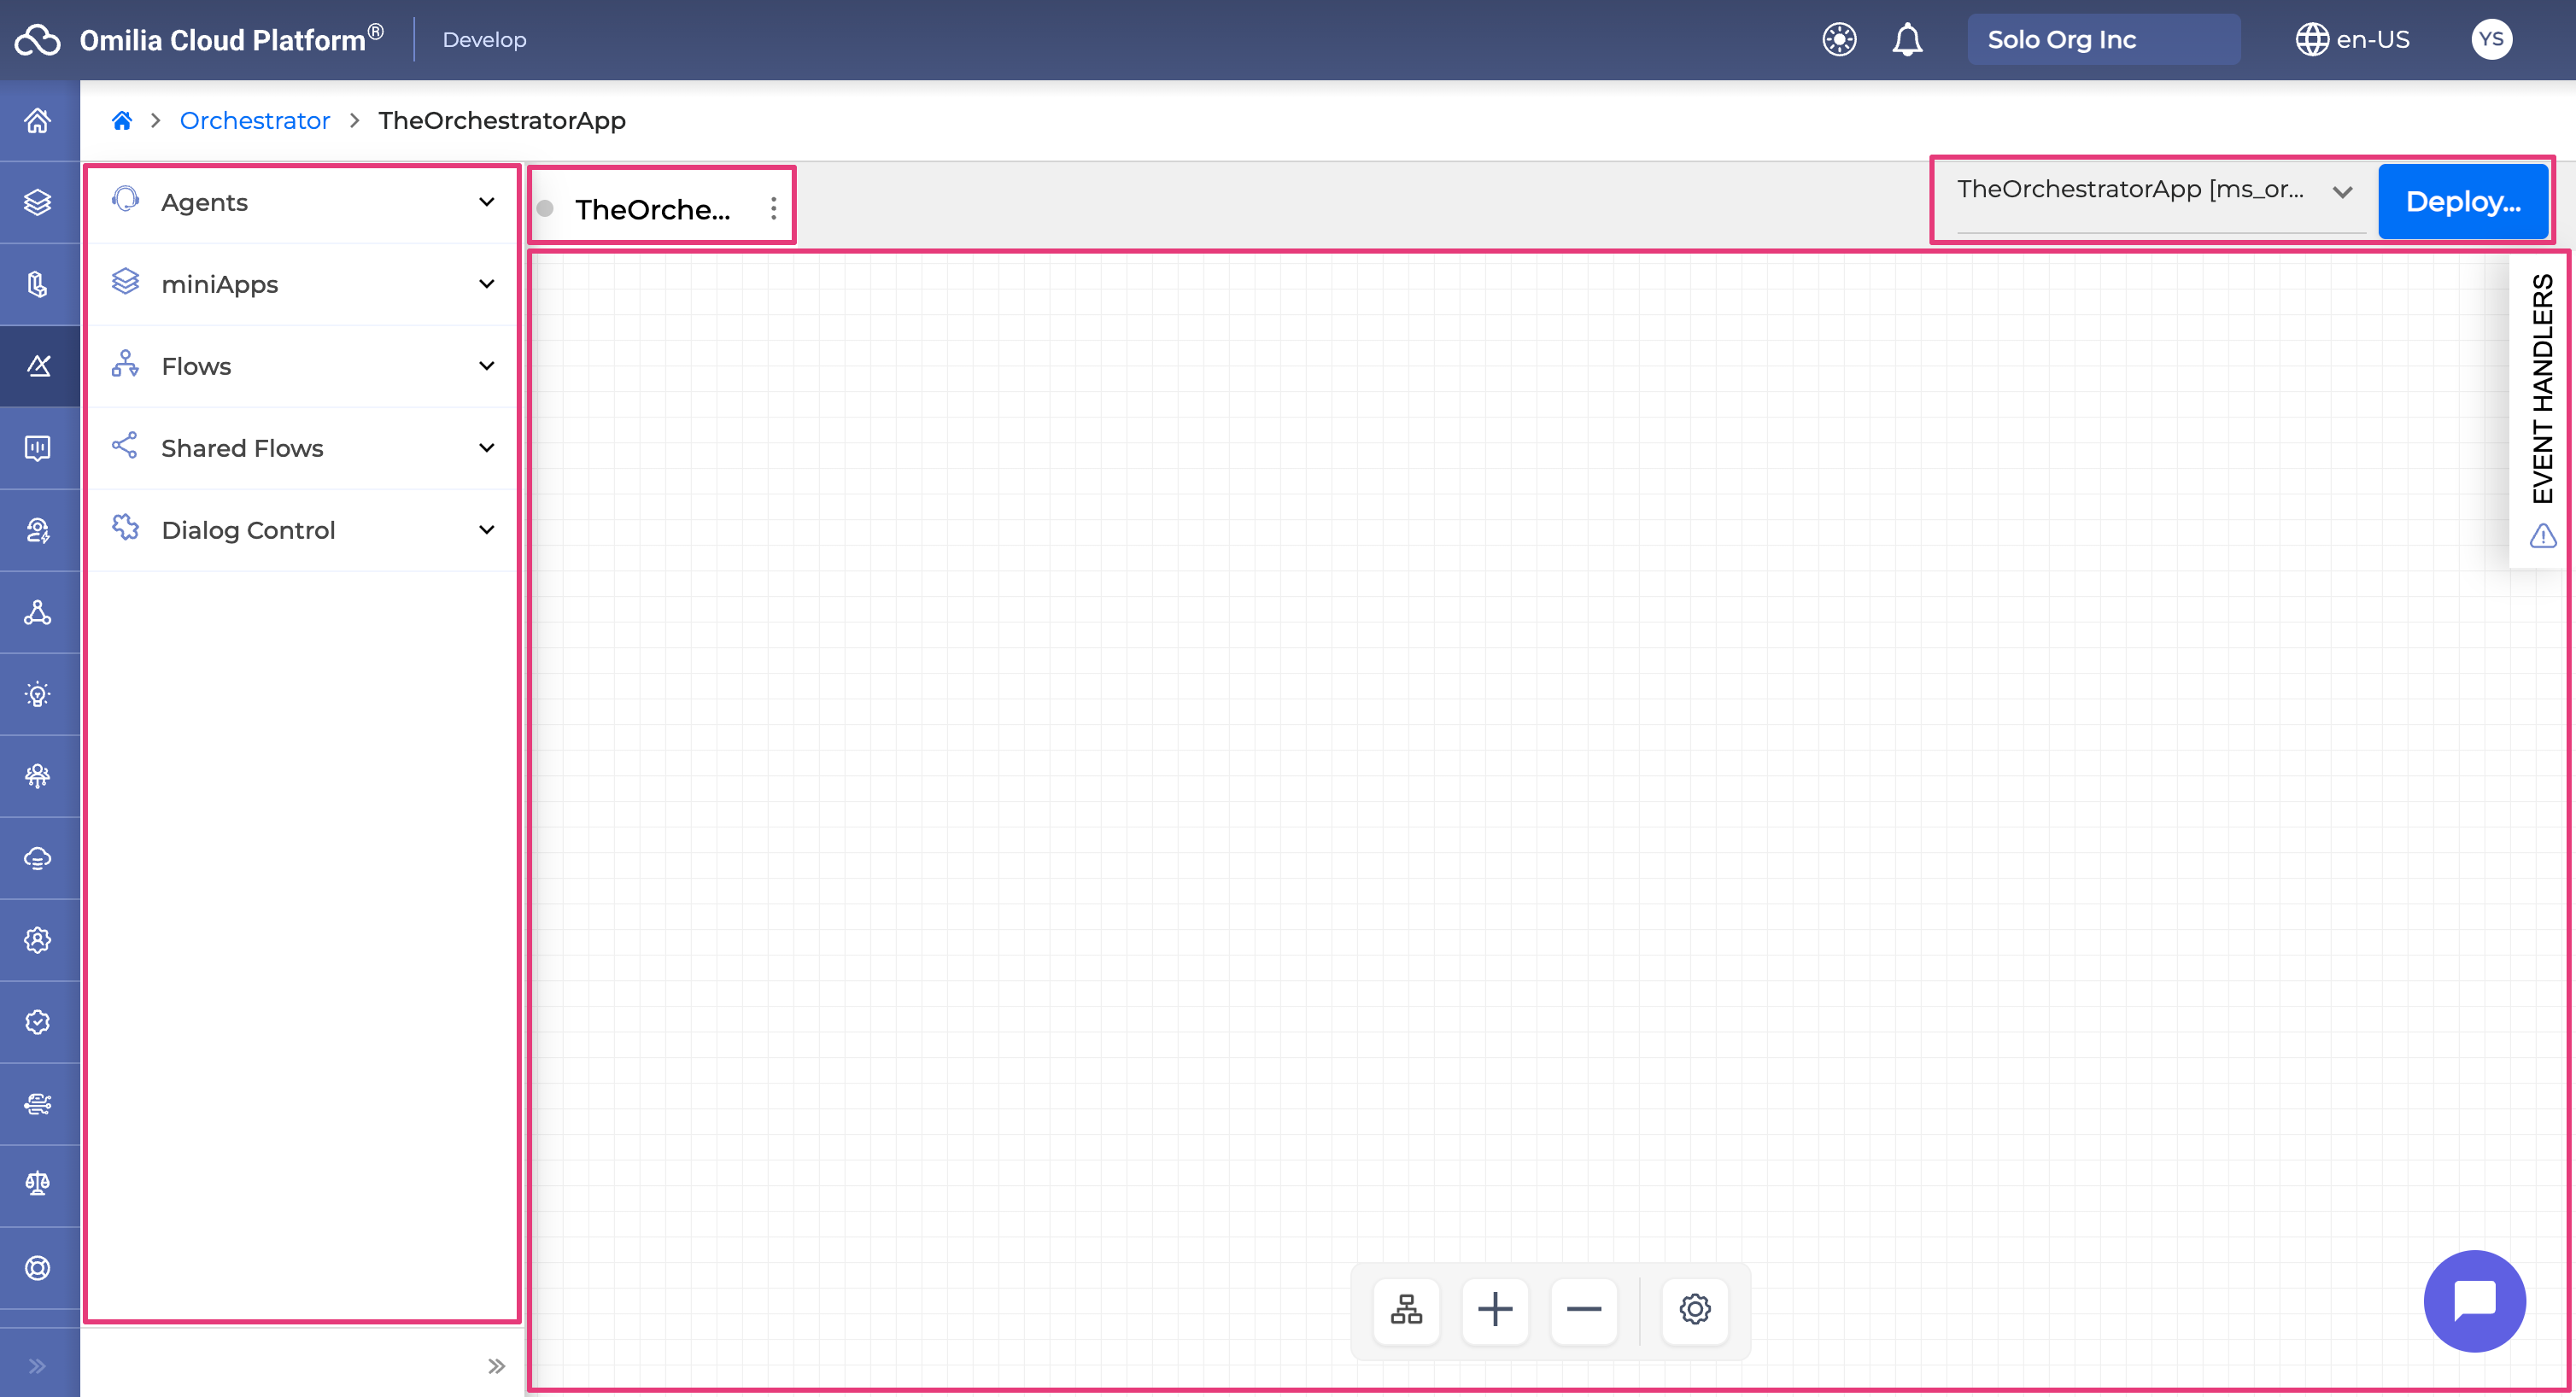
Explore Orchestrator Board
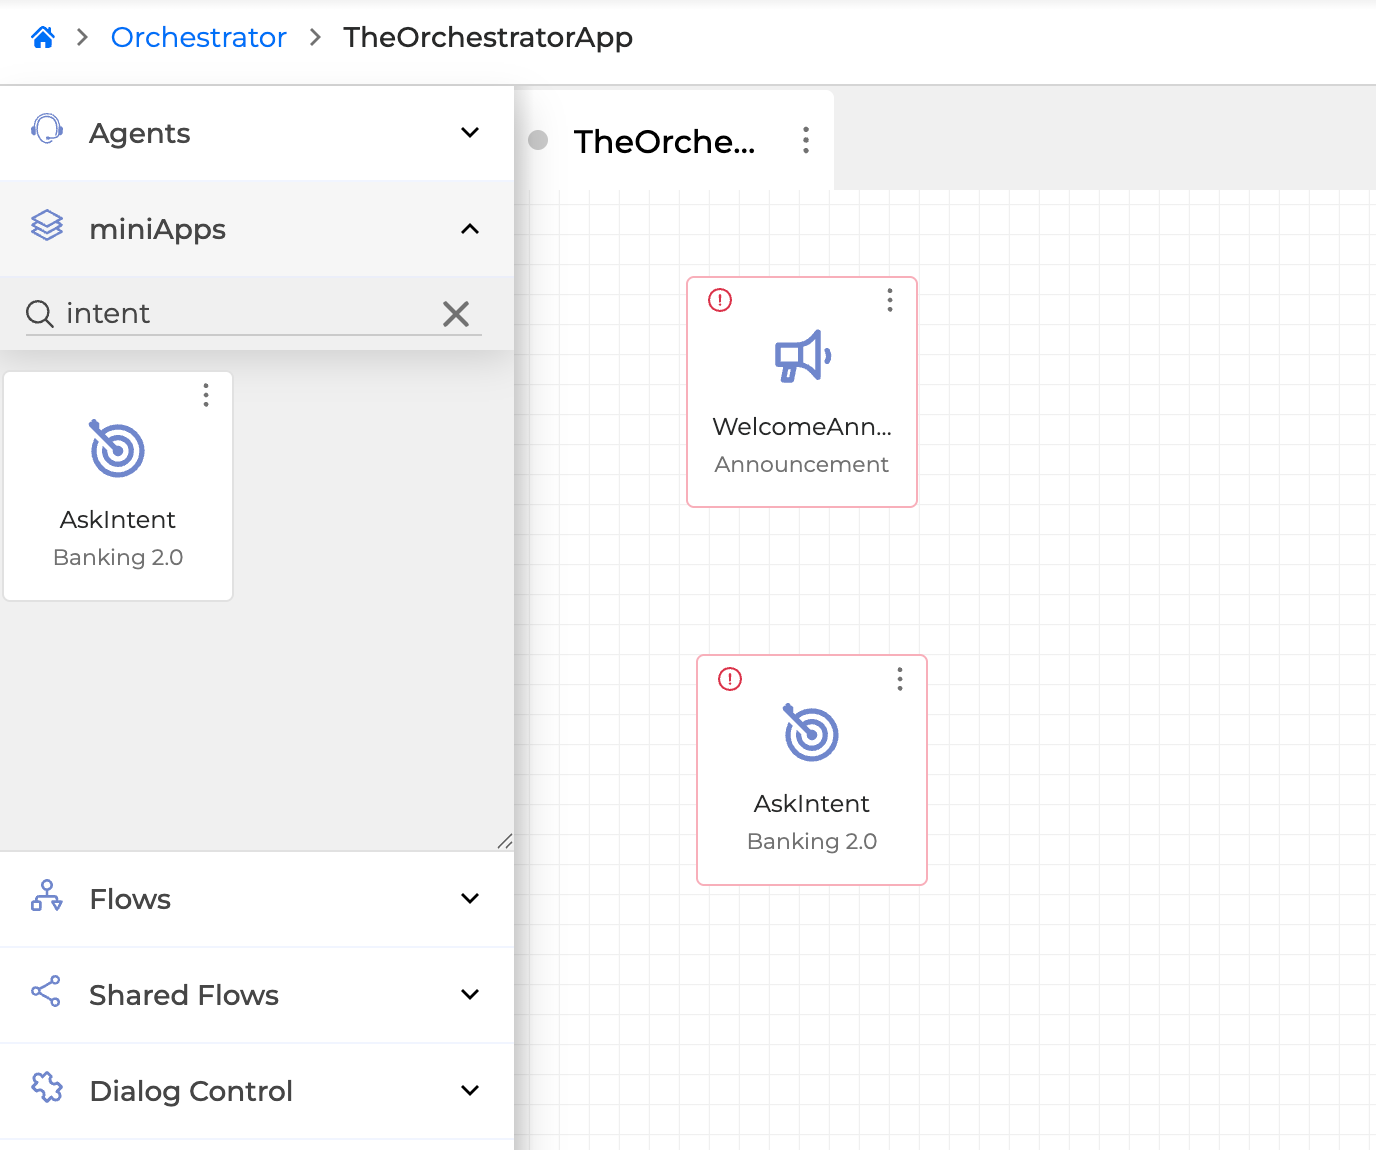
The Orchestrator board consists of:
-
Left sidebar – Contains the building blocks:
-
Agents
-
miniApps
-
Flows
-
Shared Flows
-
Dialog Controls
Click a block type to expand or collapse the list of available components.
-
-
Canvas (main area) – Drag and drop building blocks here, connect them, and visually design your Dialog Application.
-
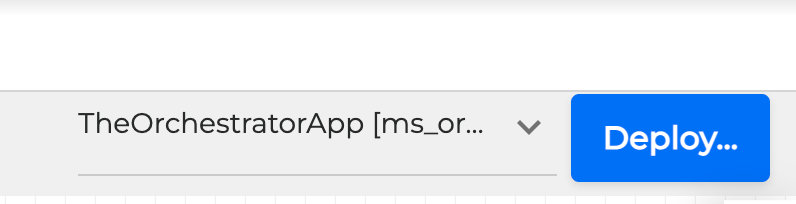
Top panel – Shows a tab for the current Dialog Application (for example,TheOrchestratorApp).
-
The dot to the left of the application name indicates deployment status (green = deployed, grey = not deployed).
-
In the upper‑right, use the application dropdown to switch between Dialog Applications and click Deploy to deploy the current one.
-
-
Chat icon – Click the Chat icon in the lower‑right corner of the canvas to open Orchestrator Chat and simulate a deployed Dialog Application.
-
Event Handlers drawer – On the right side of the board, configure how the application should behave in error or exceptional scenarios.
Build Dialog Application in Orchestrator Board
To create a simple Dialog Application:
-
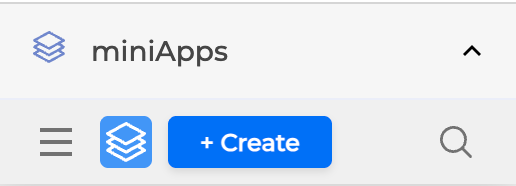
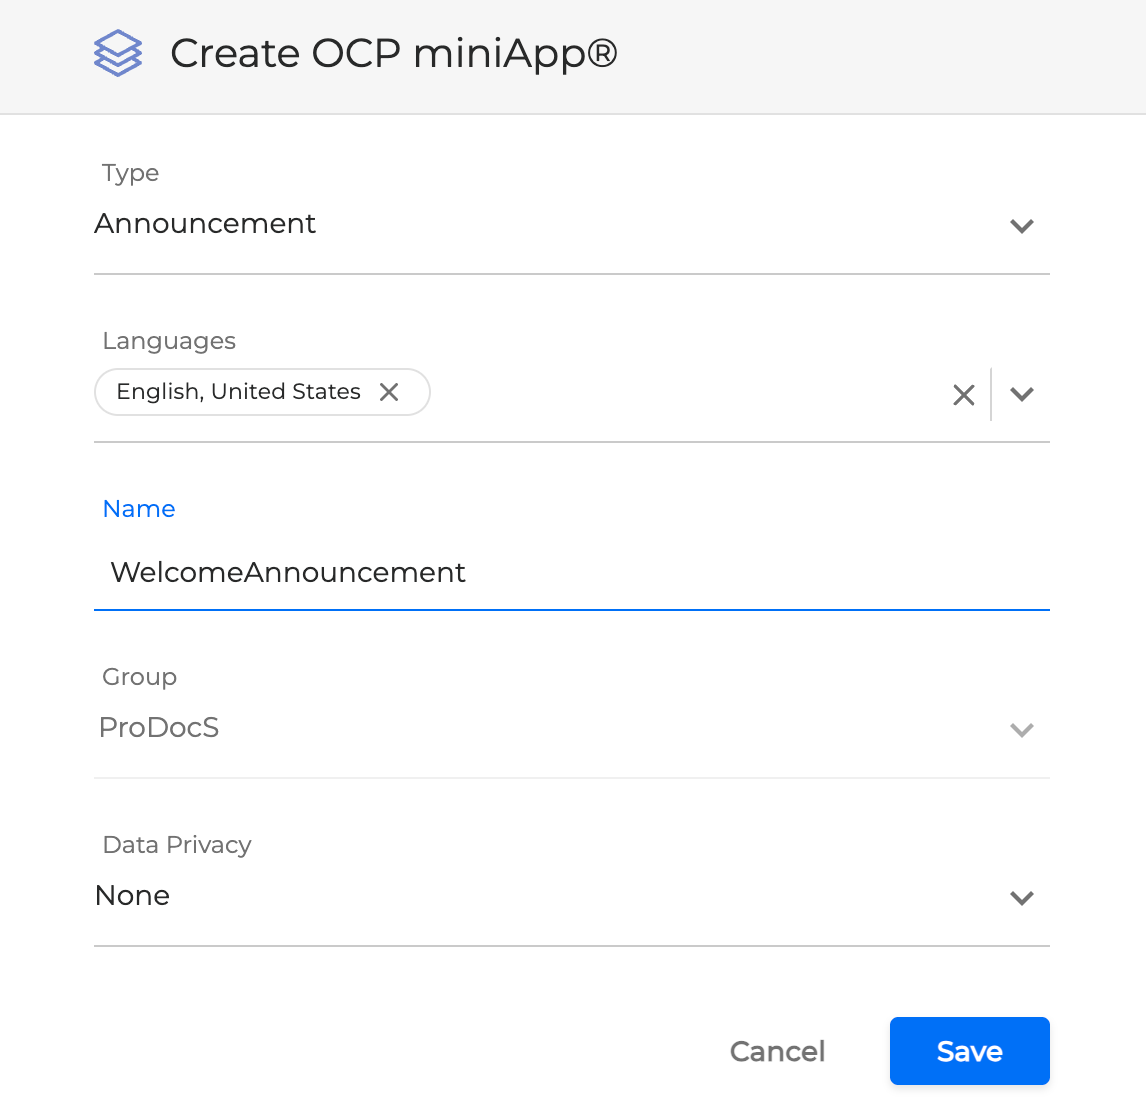
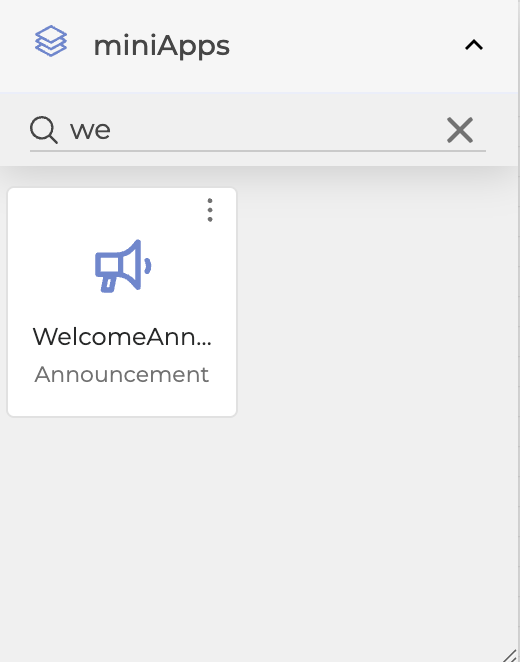
In the left sidebar, open the miniApps panel and click + Create to create a miniApp of any type. For details on miniApps types, see Types of OCP miniApps®.
-
Fill in the form to create a miniApp directly from Orchestrator, and click Save.
For more information, see How to manage your miniApps®
-
(Optional) To open the miniApps section of the platform, click the Console icon. This takes you to the miniApps tab of the platform, where you can view and manage your miniApps.
-
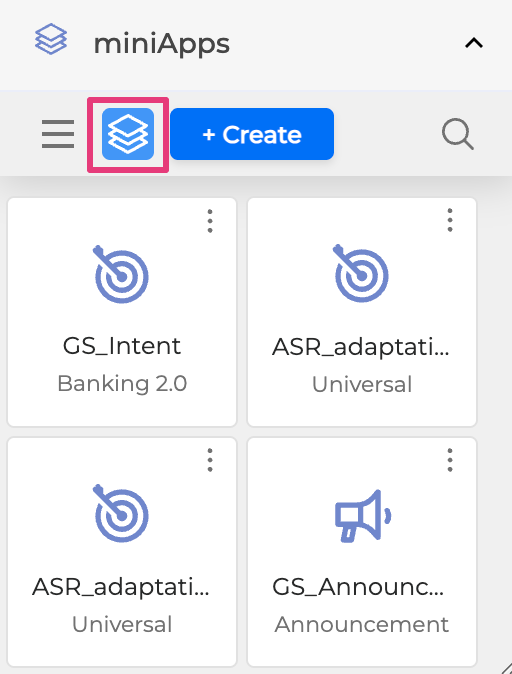
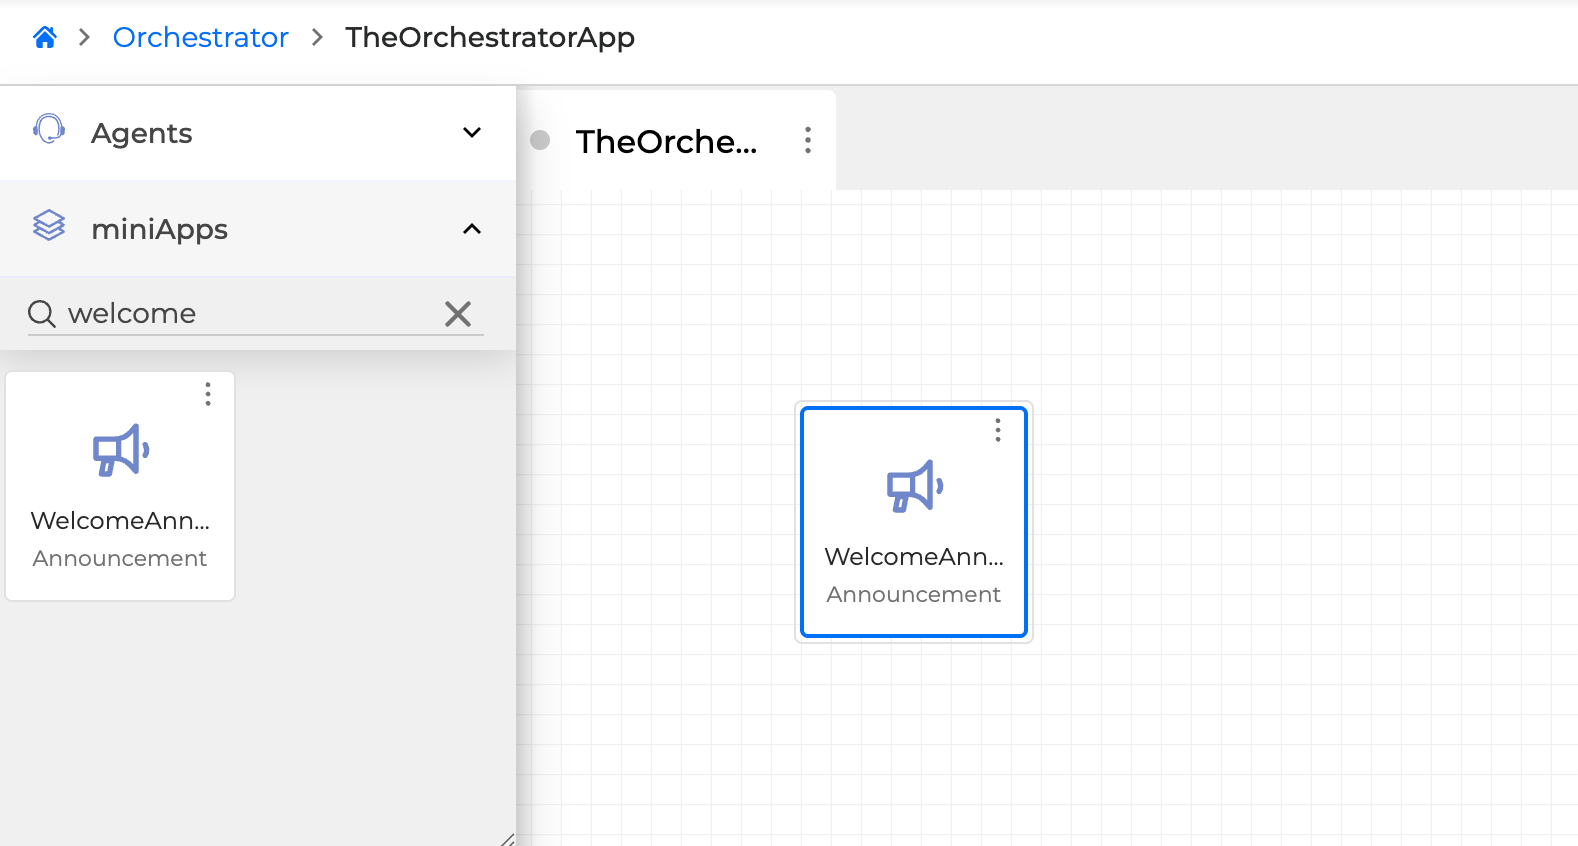
Once created, the miniApp appears under miniApps in the building blocks panel in Orchestrator.
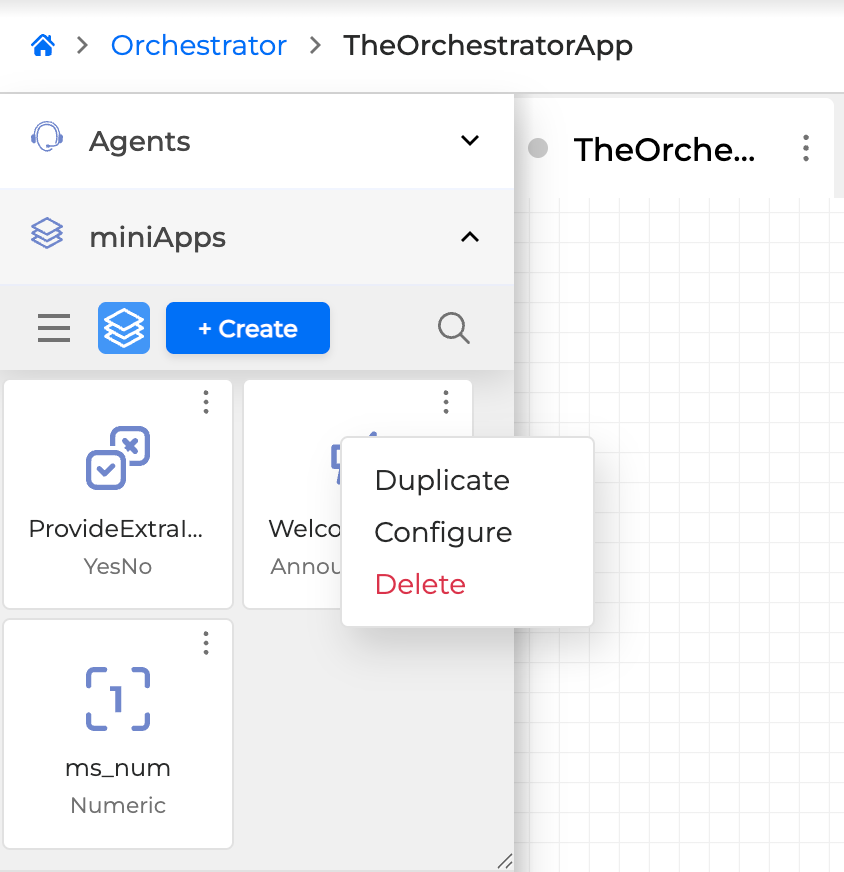
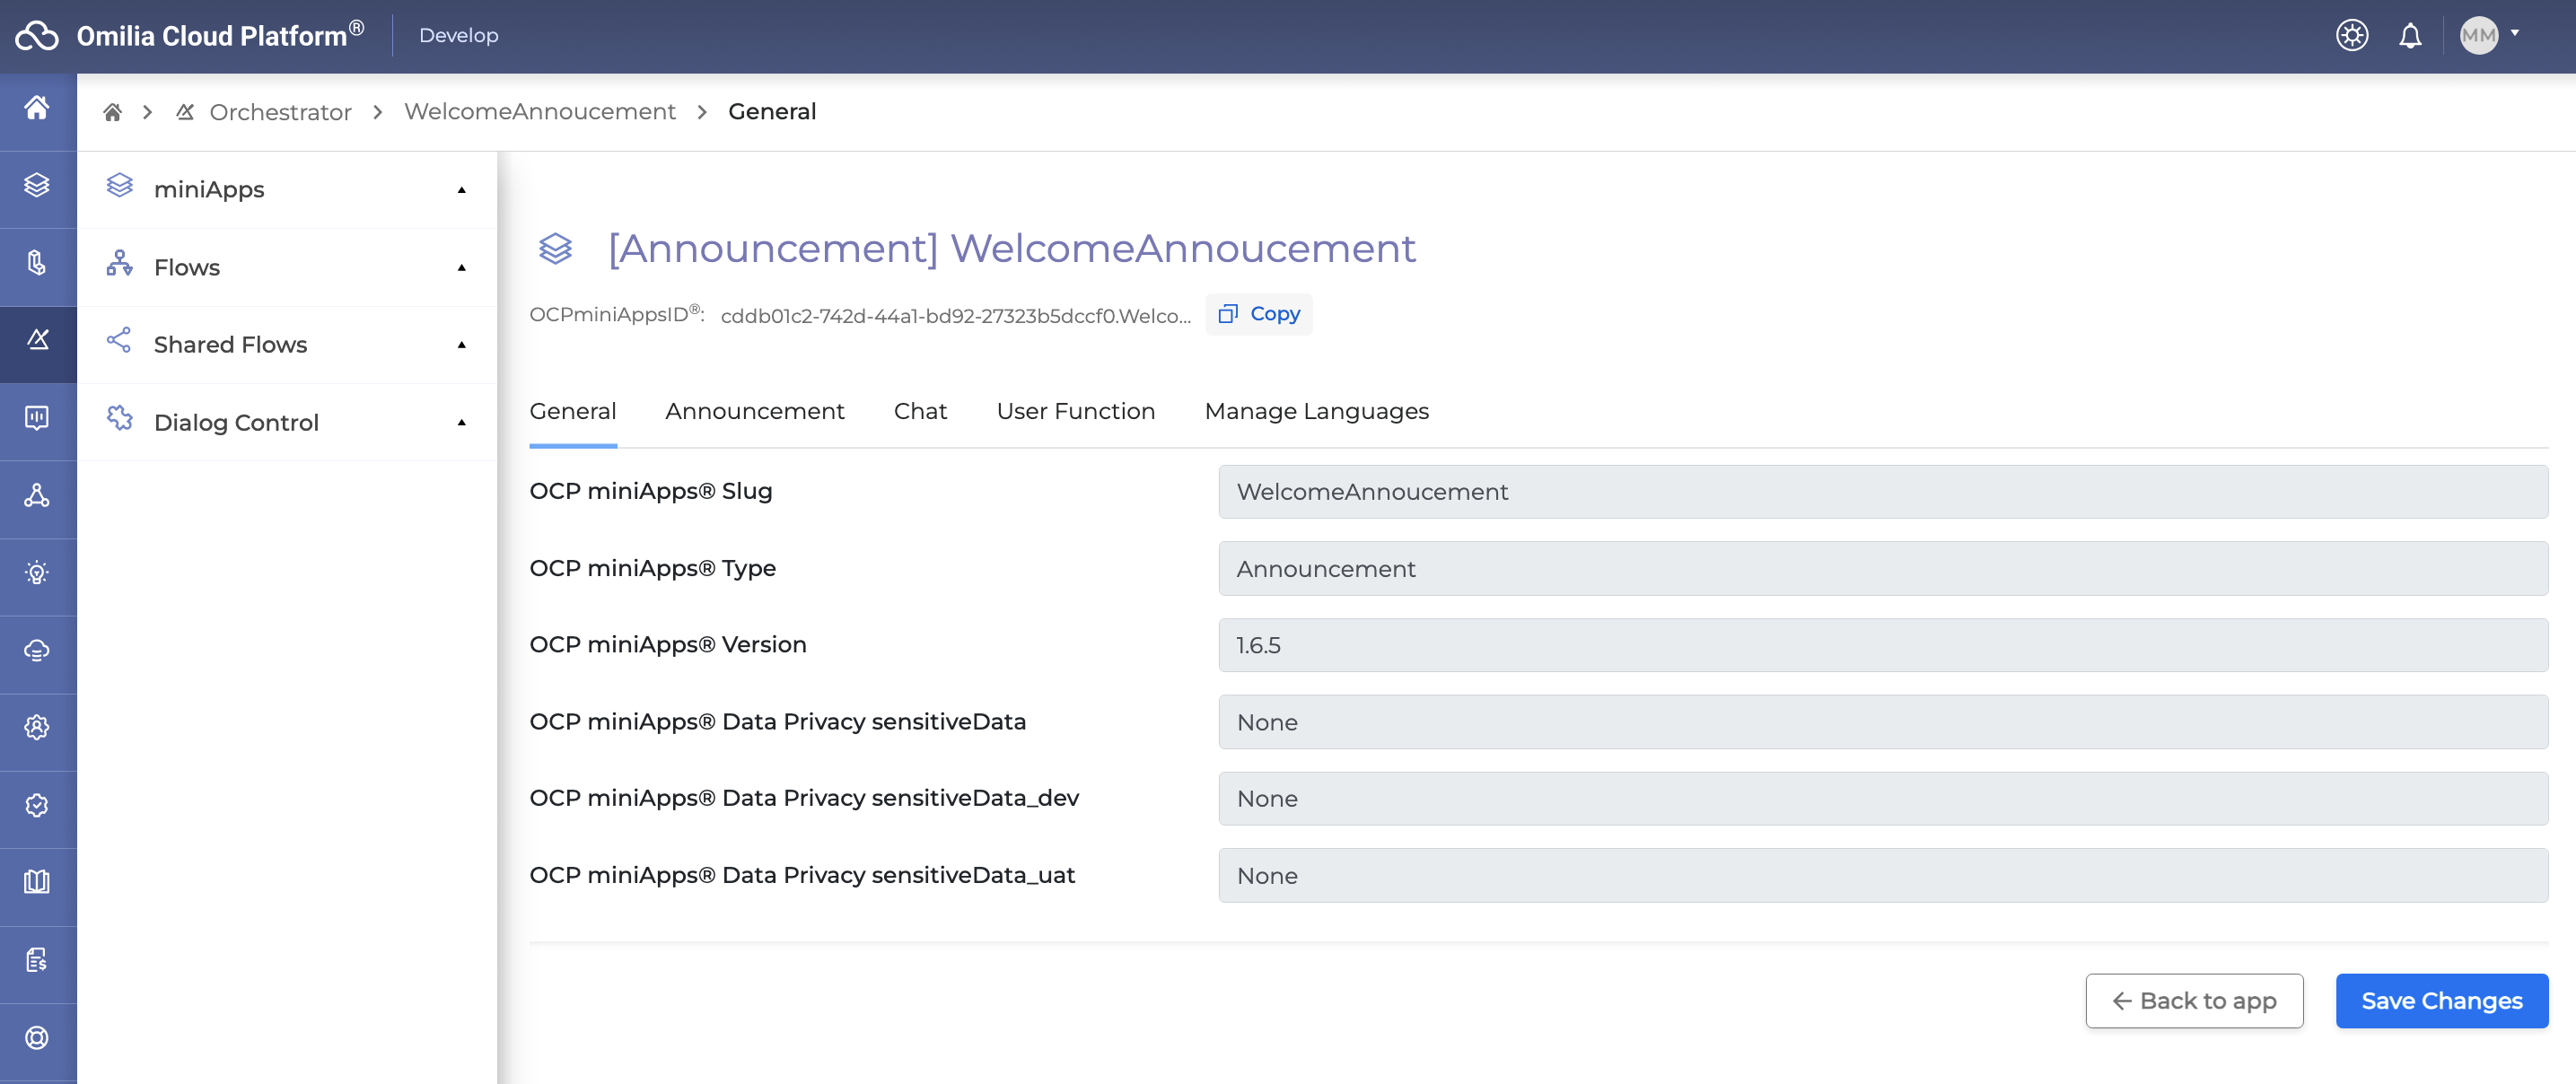
To change the settings of a miniApp from Orchestrator:
-
Click the Options menu button in the upper‑right corner of the miniApp tile.
-
Select Configure.
-
You are redirected to the miniApp configuration page within Orchestrator.
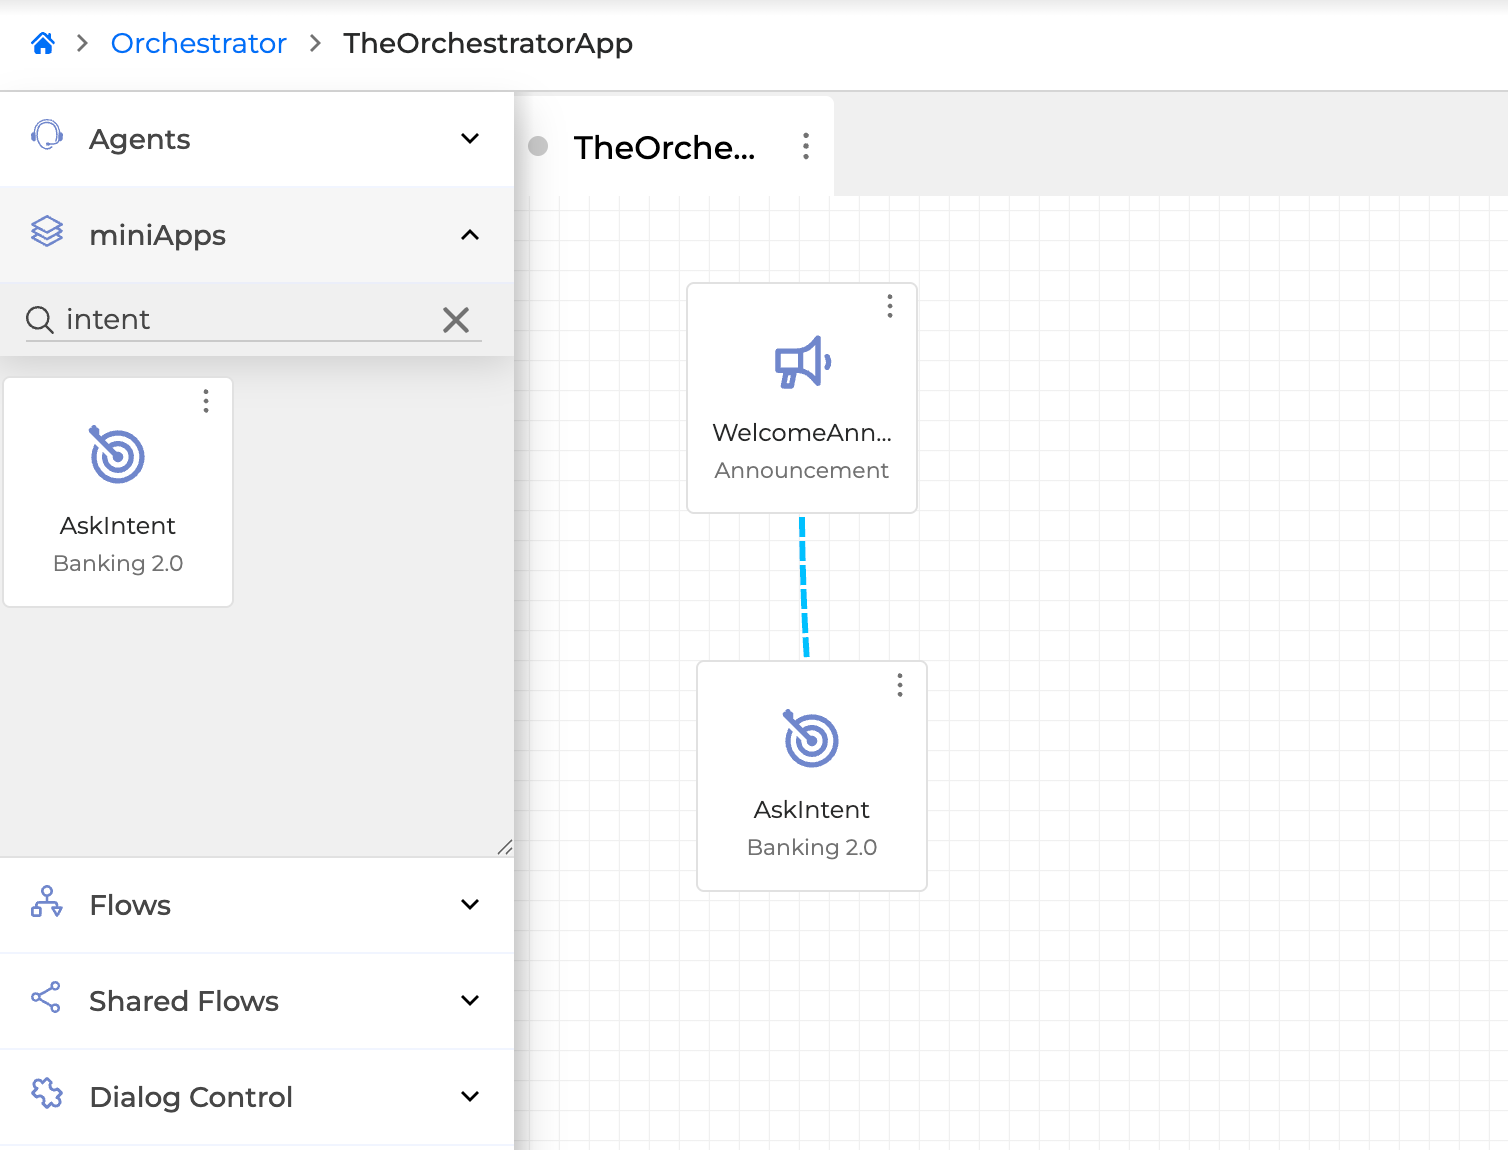
To use a miniApp in the Dialog Application, drag and drop it onto the canvas.
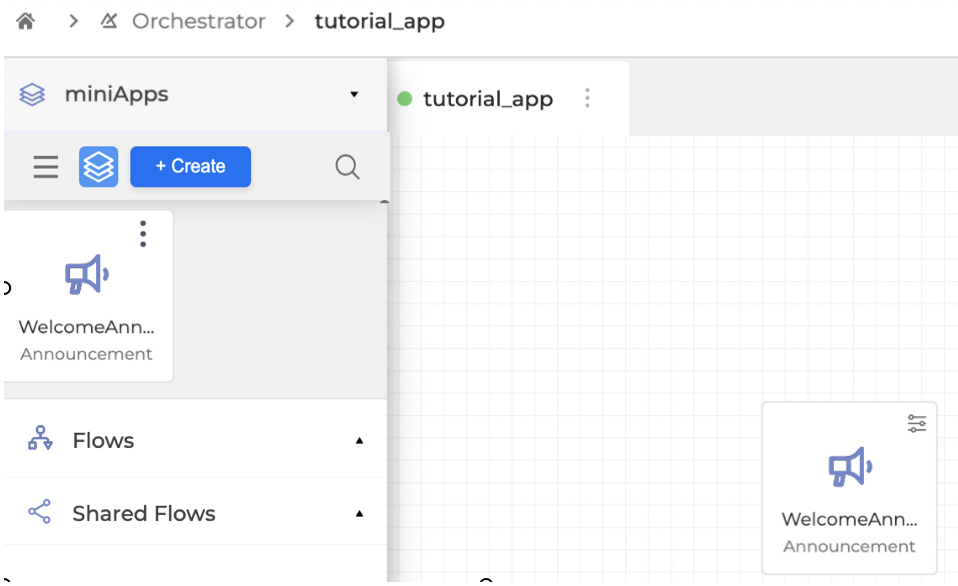
At this point, you have a basic Dialog Application. The Dialog Application that contains this miniApp is invoked when it receives a call or when a chatbot session starts.
To deploy and test the Dialog Application:
-
Click Deploy in the upper‑right corner to deploy the Dialog Application. The Dialog Application becomes ready to accept calls and handle chatbot sessions.
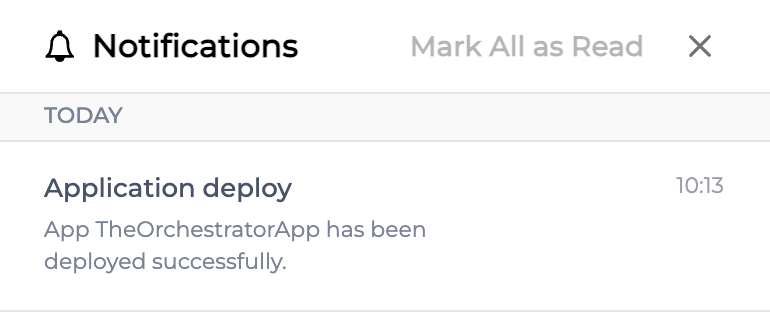
-
A message in the notification panel appears when the deployment is completed successfully.
-
To test the Dialog Application, click the Chat icon in the lower‑right corner to open Orchestrator Chat. Orchestrator Chat simulates a conversation using the deployed Dialog Application shown on the canvas.

Connect Building Blocks
To connect building blocks on the canvas:
-
Ensure the required miniApps are available:
-
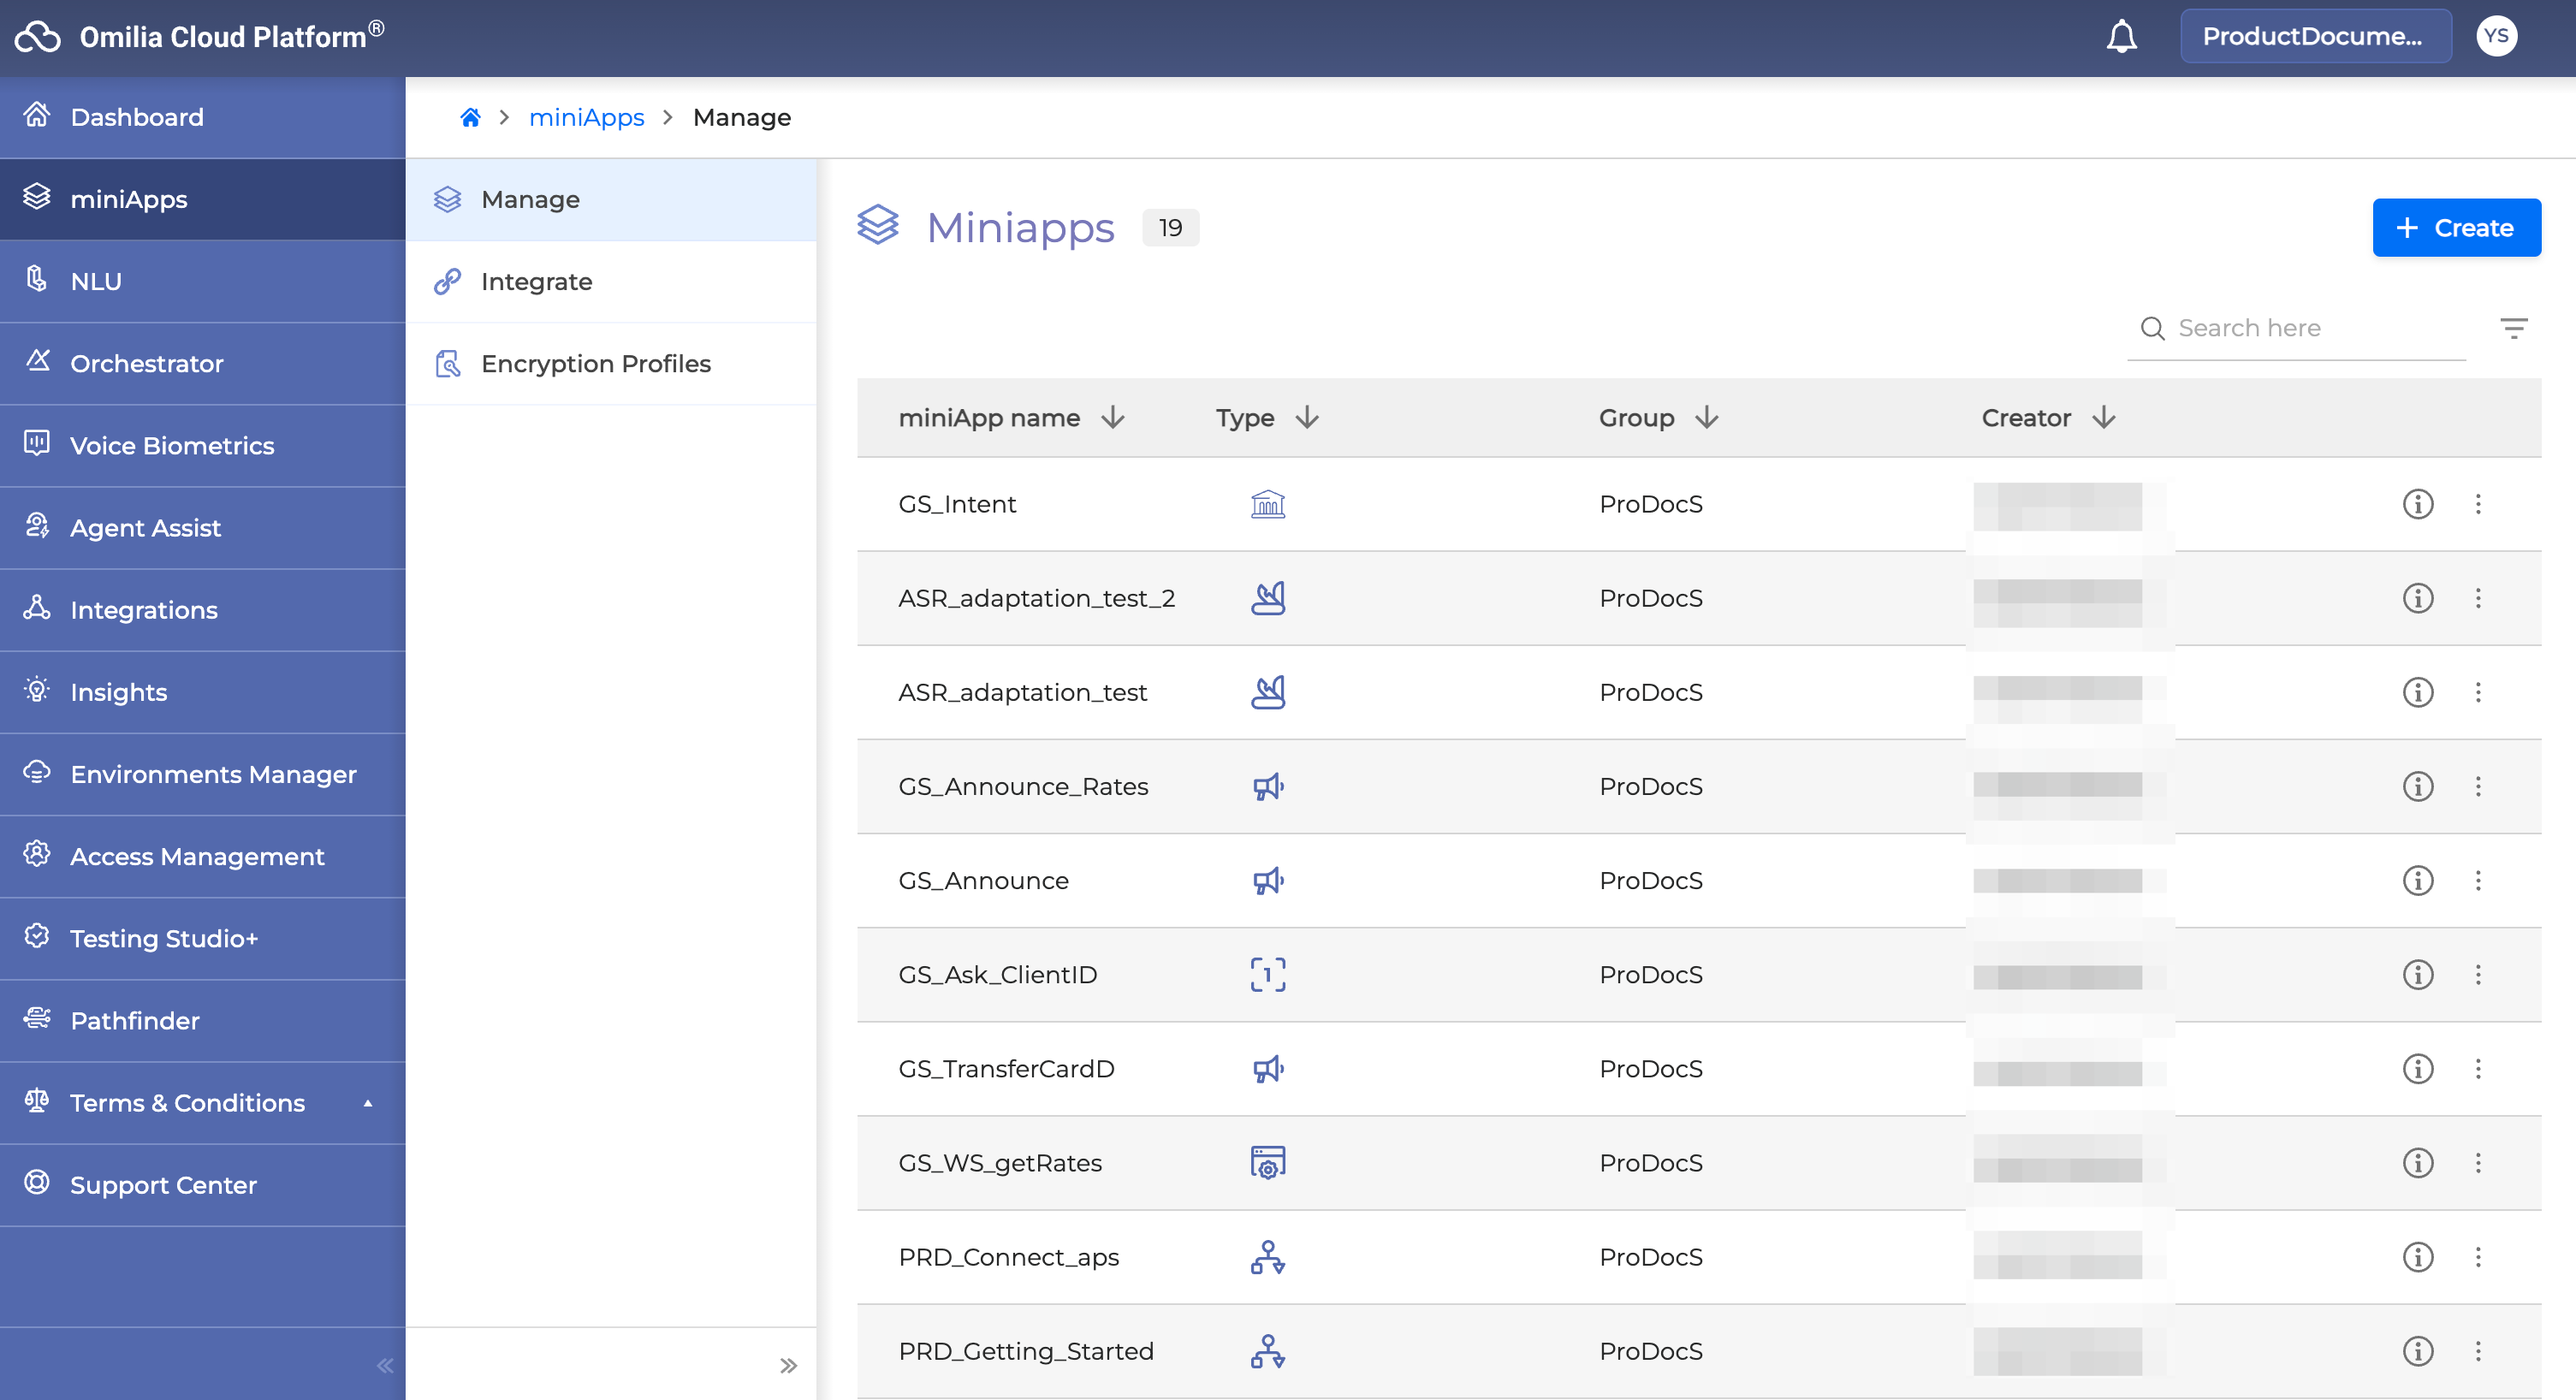
In the miniApps panel in the left sidebar, you can click Manage to open the OCP miniApps® web application and create or configure a miniApp according to its purpose (for example, collecting information, detecting intent, or playing an announcement).
-
Once created, the miniApp is listed in the miniApps section in Orchestrator.
-
-
Select the desired miniApp and drag and drop it onto the canvas.
-
To create a connection:
-
Hover the cursor over a building block on the canvas. Connection dots appear.
-
Click and hold on a connection dot, then drag the connection line to the building block you want to connect to (for example, a second miniApp).
-
Release the mouse button to create the connection between the two building blocks.
-
Building Block Annotation
You can add notes to the building blocks on the Canvas to provide any additional information you may want to pass to application users and builders.
Go to the options menu of a building block and click Edit Notes:
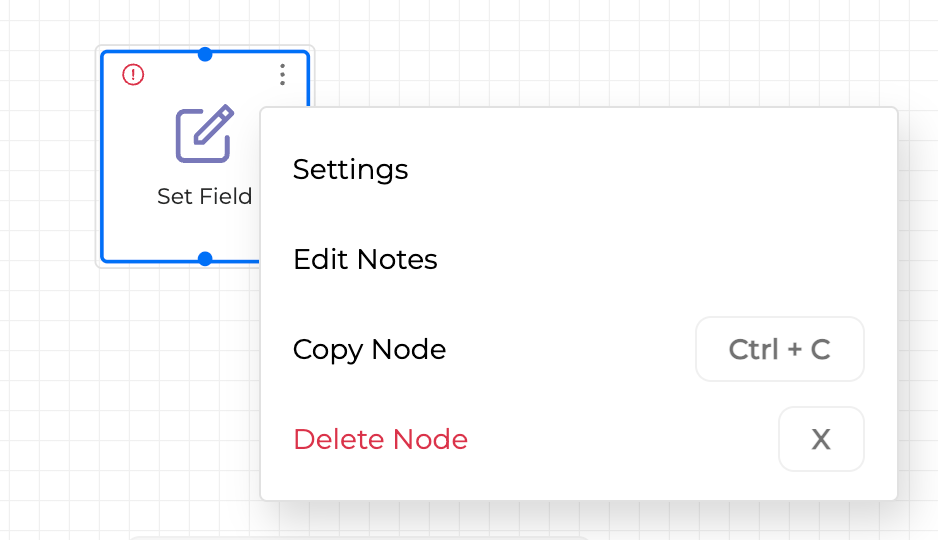
Add the note and click Save to close the menu:

Orchestrator Keyboard Functions
For more information on keyboard functionality, see OCP Keyboard Navigation | Orchestrator Keyboard Navigation .
Orchestrate Advanced Dialog Application
For advanced Orchestrator features, see:
-
How to configure applications by passing values to Configure Settings of miniApps and Flows
-
How to create and use Conditions.
-
How to configure Transfer Conversation.
-
How to Manage Flows.
-
How to handle errors with Event Handlers.