miniApps and Flows Values Configuration
OCP miniApps® are used to present information to callers and to collect their responses. The information collected from a caller is passed to subsequent miniApps in the Dialog application by configuring the miniApps and Flows accordingly.
Every miniApp or Flow building block in Orchestrator has:
-
Input Fields – for data coming into the miniApp/Flow
-
Output Fields – for data produced by the miniApp/Flow
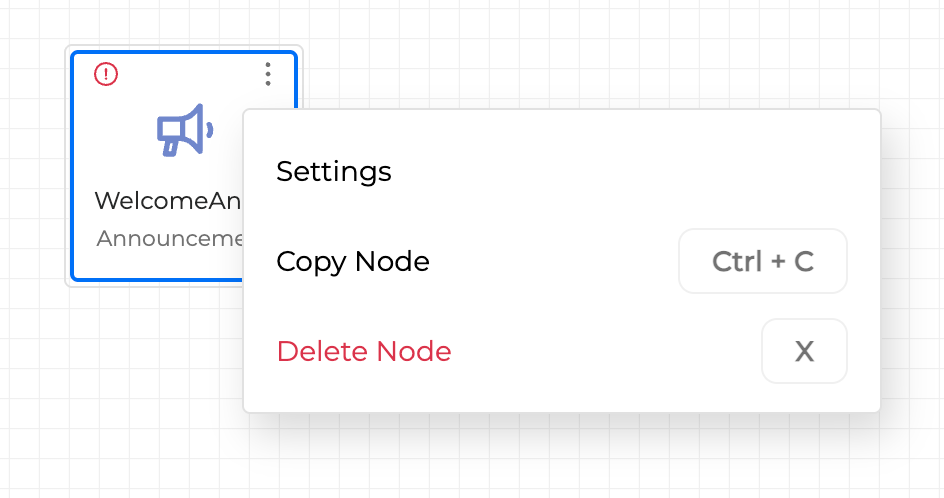
To configure these fields, click the Options menu in the upper‑right corner of the miniApp and select Settings.
Input fields
The Input Fields section contains information that can drive the conversation. This can be:
-
Data that identifies the caller (phone number, region, etc.)
-
Values that were previously provided by the caller and extracted as Output Fields of another miniApp
The type of input data depends on the miniApp type and is defined during configuration.
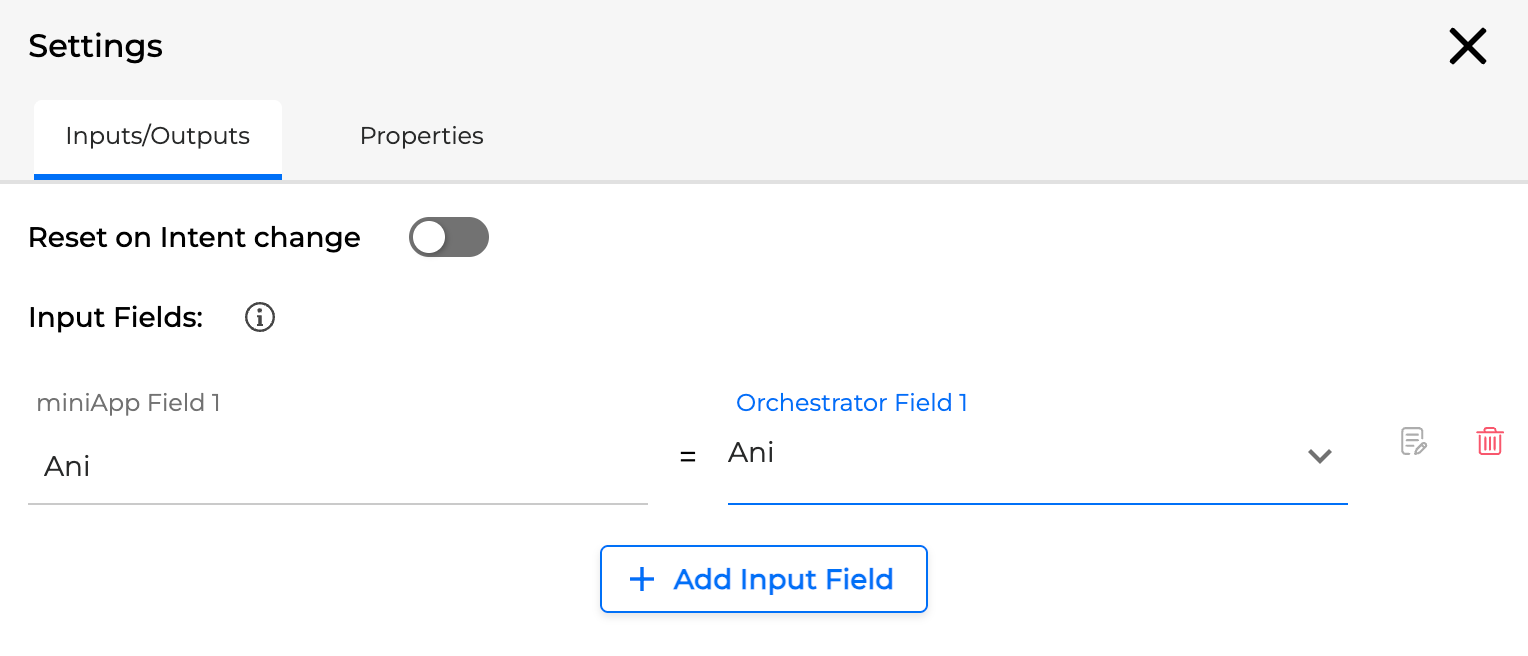
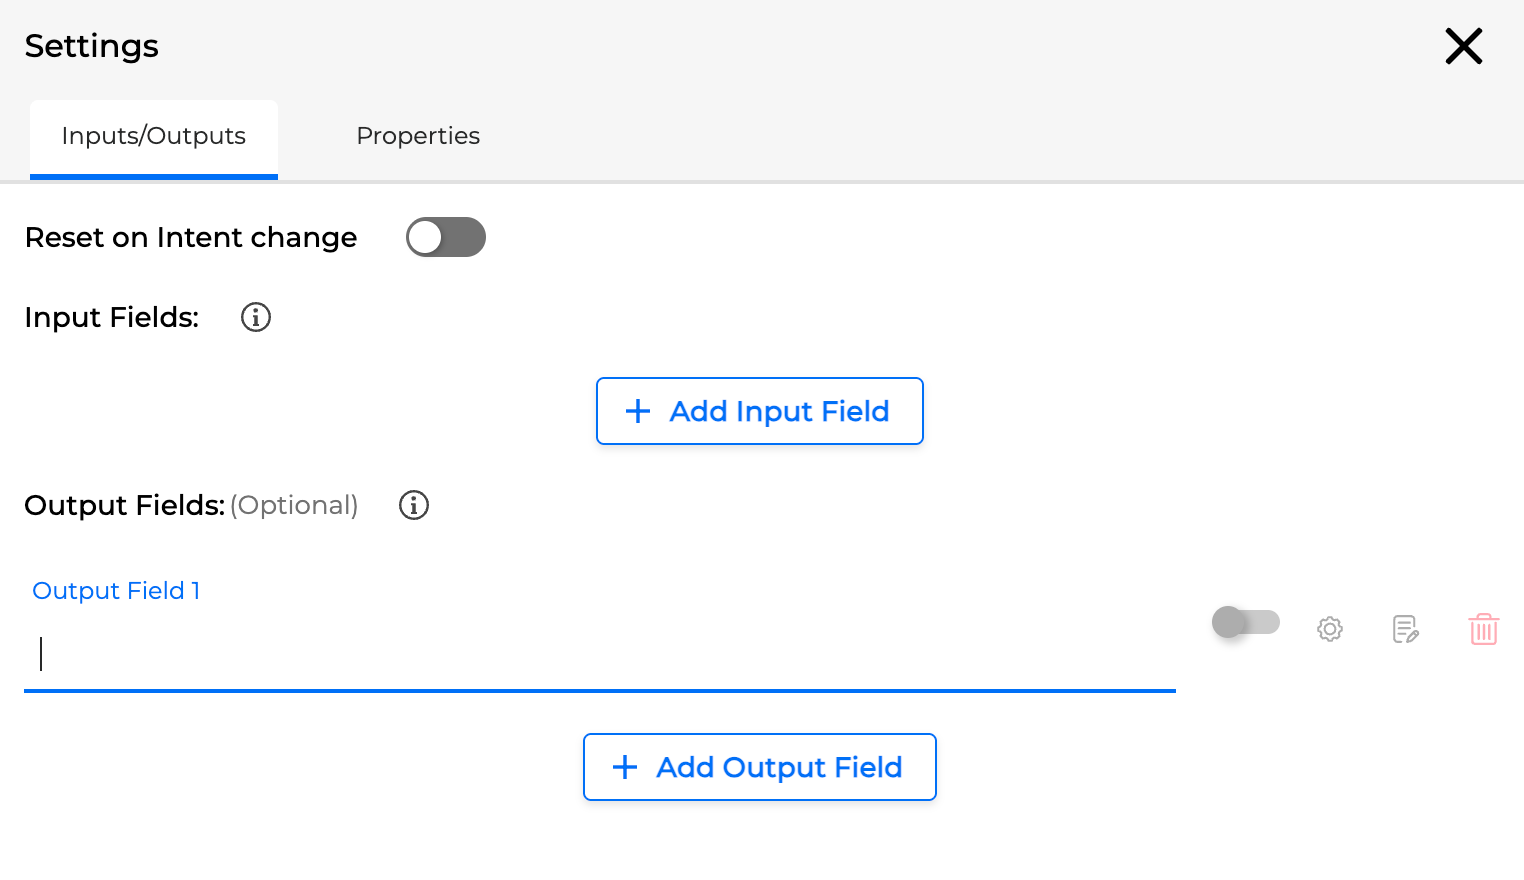
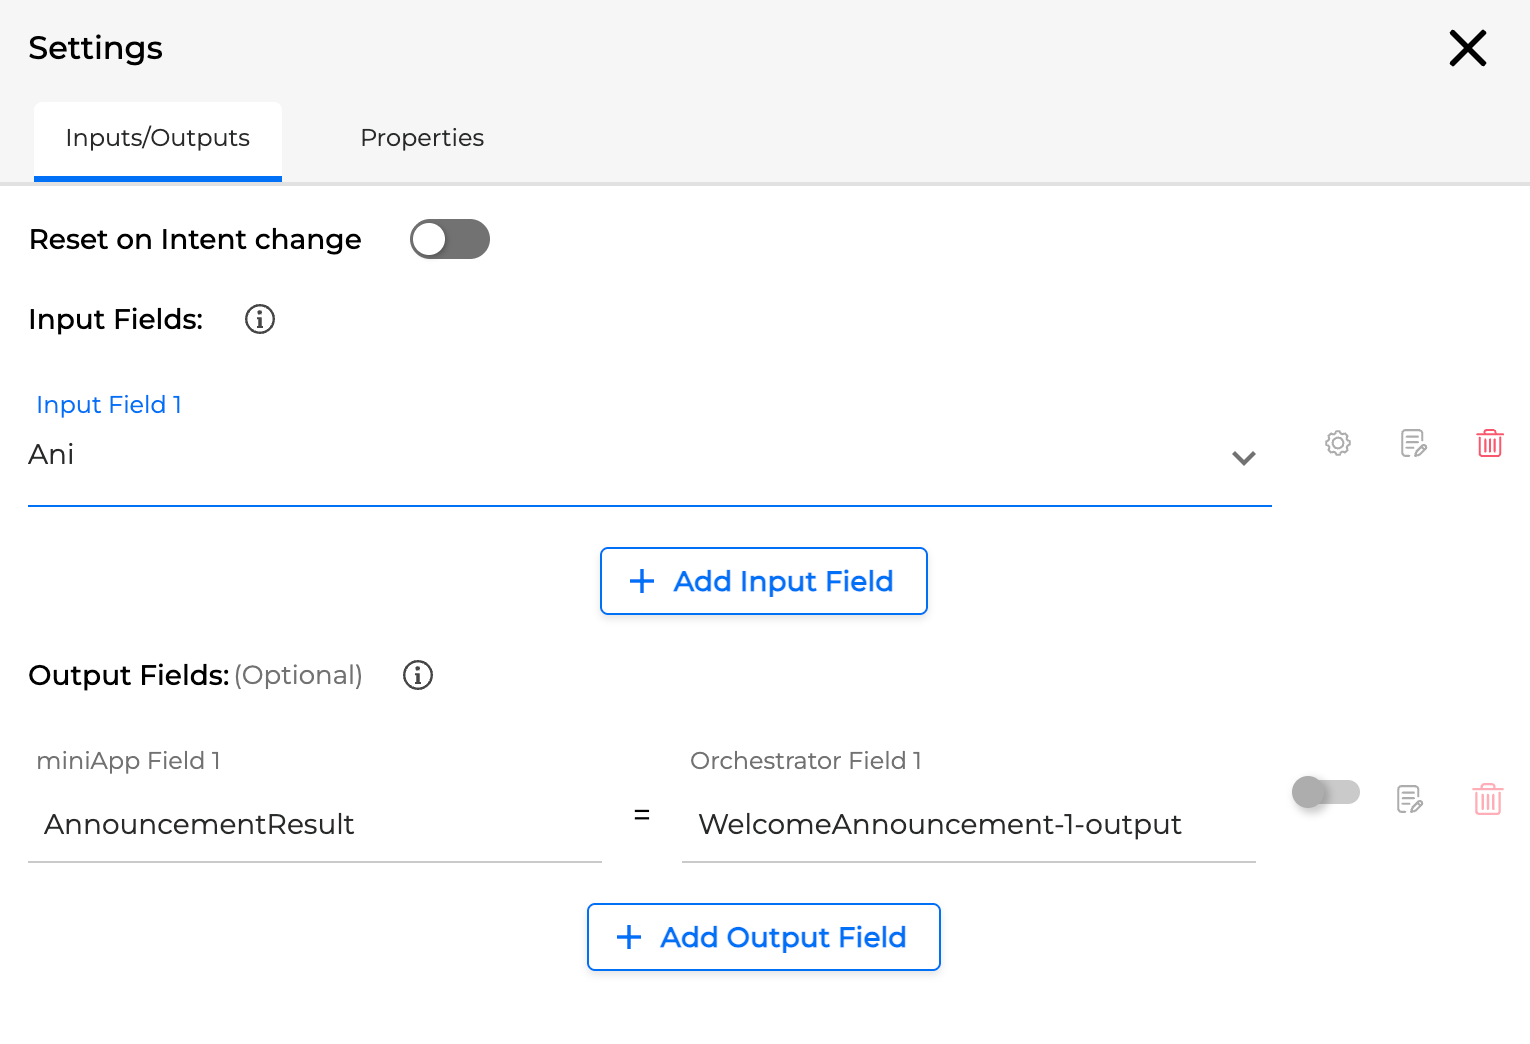
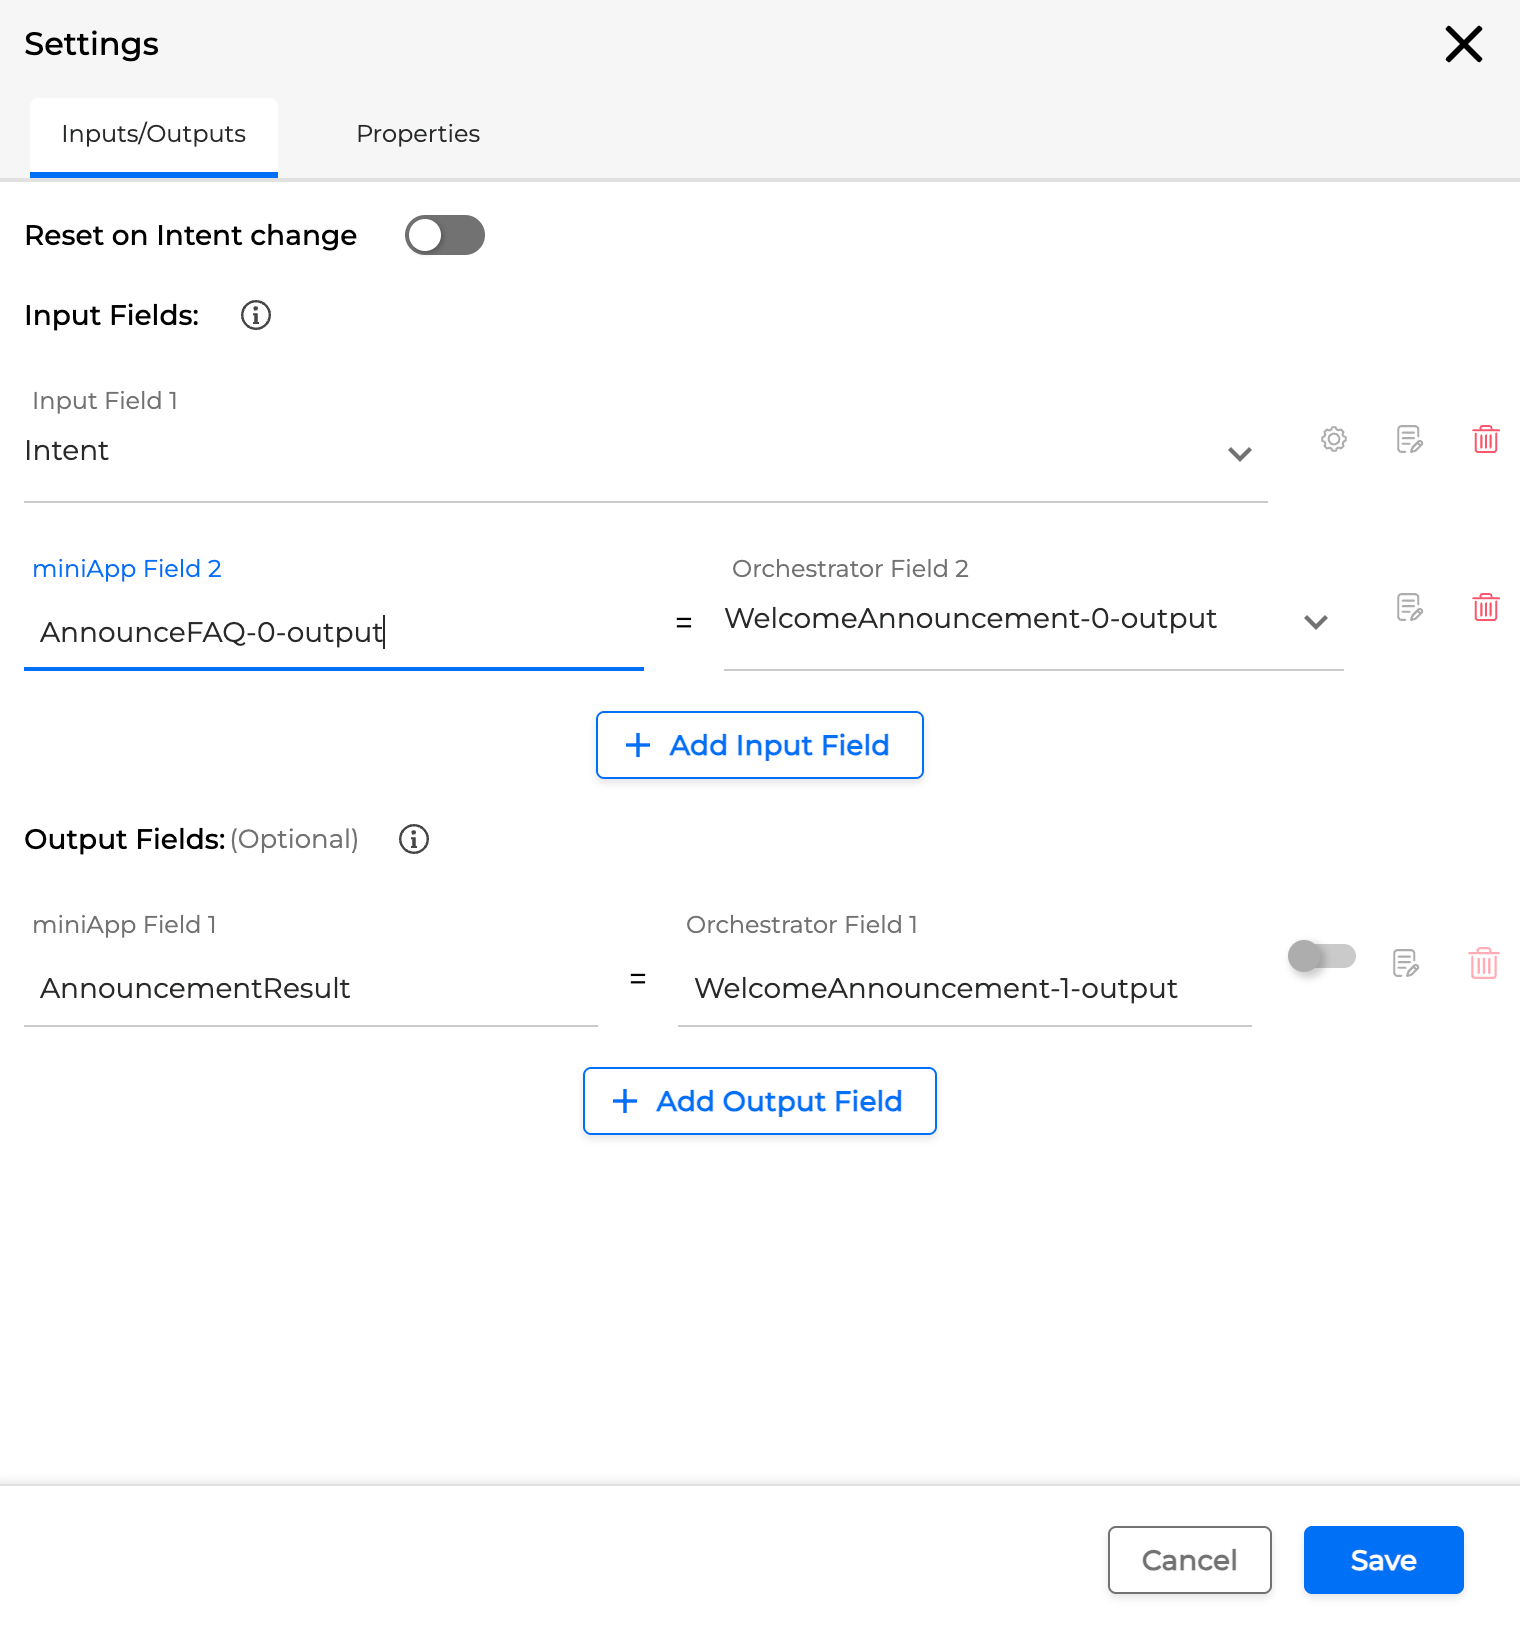
To add an input field to the miniApp, click + Add Input Field.
By default, each Input Field has the same name in both the miniApp and Orchestrator. However, you can assign a different Orchestrator Field name to any input miniApp Field if needed.
To configure a specific input field:
-
Click the Gear icon next to the Input Field to expand it.
-
Configure the miniApp Field 1 and Orchestrator Field 1 variables as explained in https://omilia.atlassian.net/wiki/spaces/OCPDOCS/pages/470286348/Configure+Settings+of+miniApps+and+Flows#configure-miniapps-fields.
In the default case, miniApp Field 1 automatically matches the name of Orchestrator Field 1 if you do not change the Orchestrator field name.
To remove an Input Field, click the red Trash can icon next to the field name.
Output fields
OCP miniApps® return values based on callers’ responses and the information the miniApps are configured to extract. The Output Fields section defines what information is extracted from the caller while interacting with the miniApp.
The available Output Fields for a miniApp or other building block depend on its type. Any Output Field can be used as an Input Field for subsequent miniApps or Flow building blocks, allowing you to drive the conversation step by step.
To add an Output Field:
-
Click the Settings icon in the upper‑right corner of the selected miniApp.
-
Under the Output Fields section, click + Add output Field.
Then
-
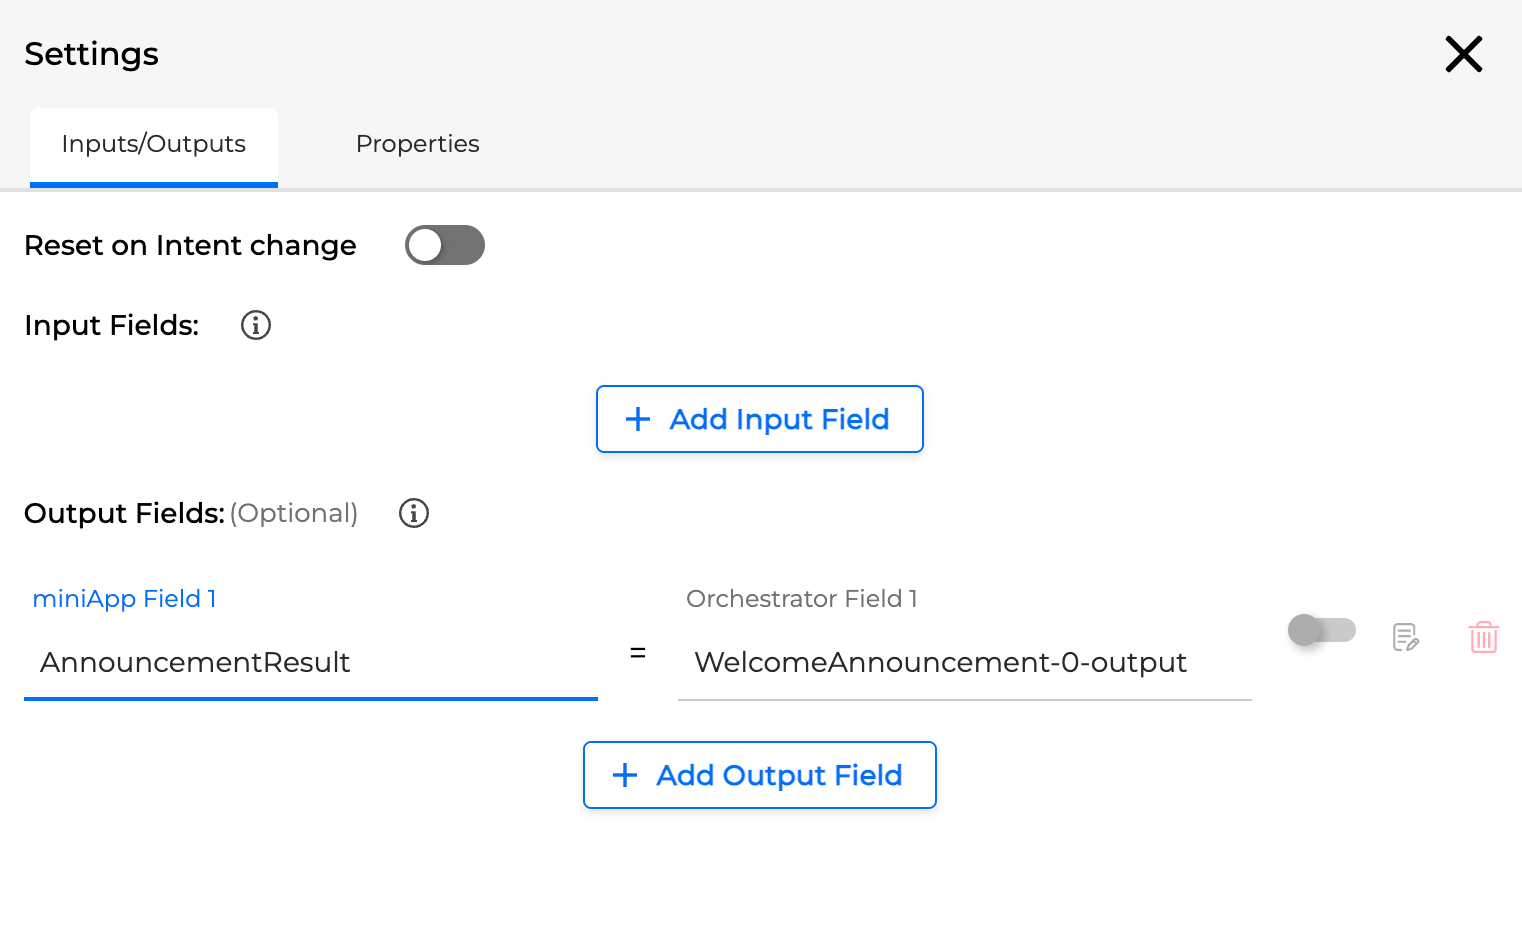
miniApp Field 1 is a parameter in Orchestrator that references the parameter configured in the miniApp that holds the caller’s response.
-
Orchestrator Field 1 stores the actual value of the caller’s response.
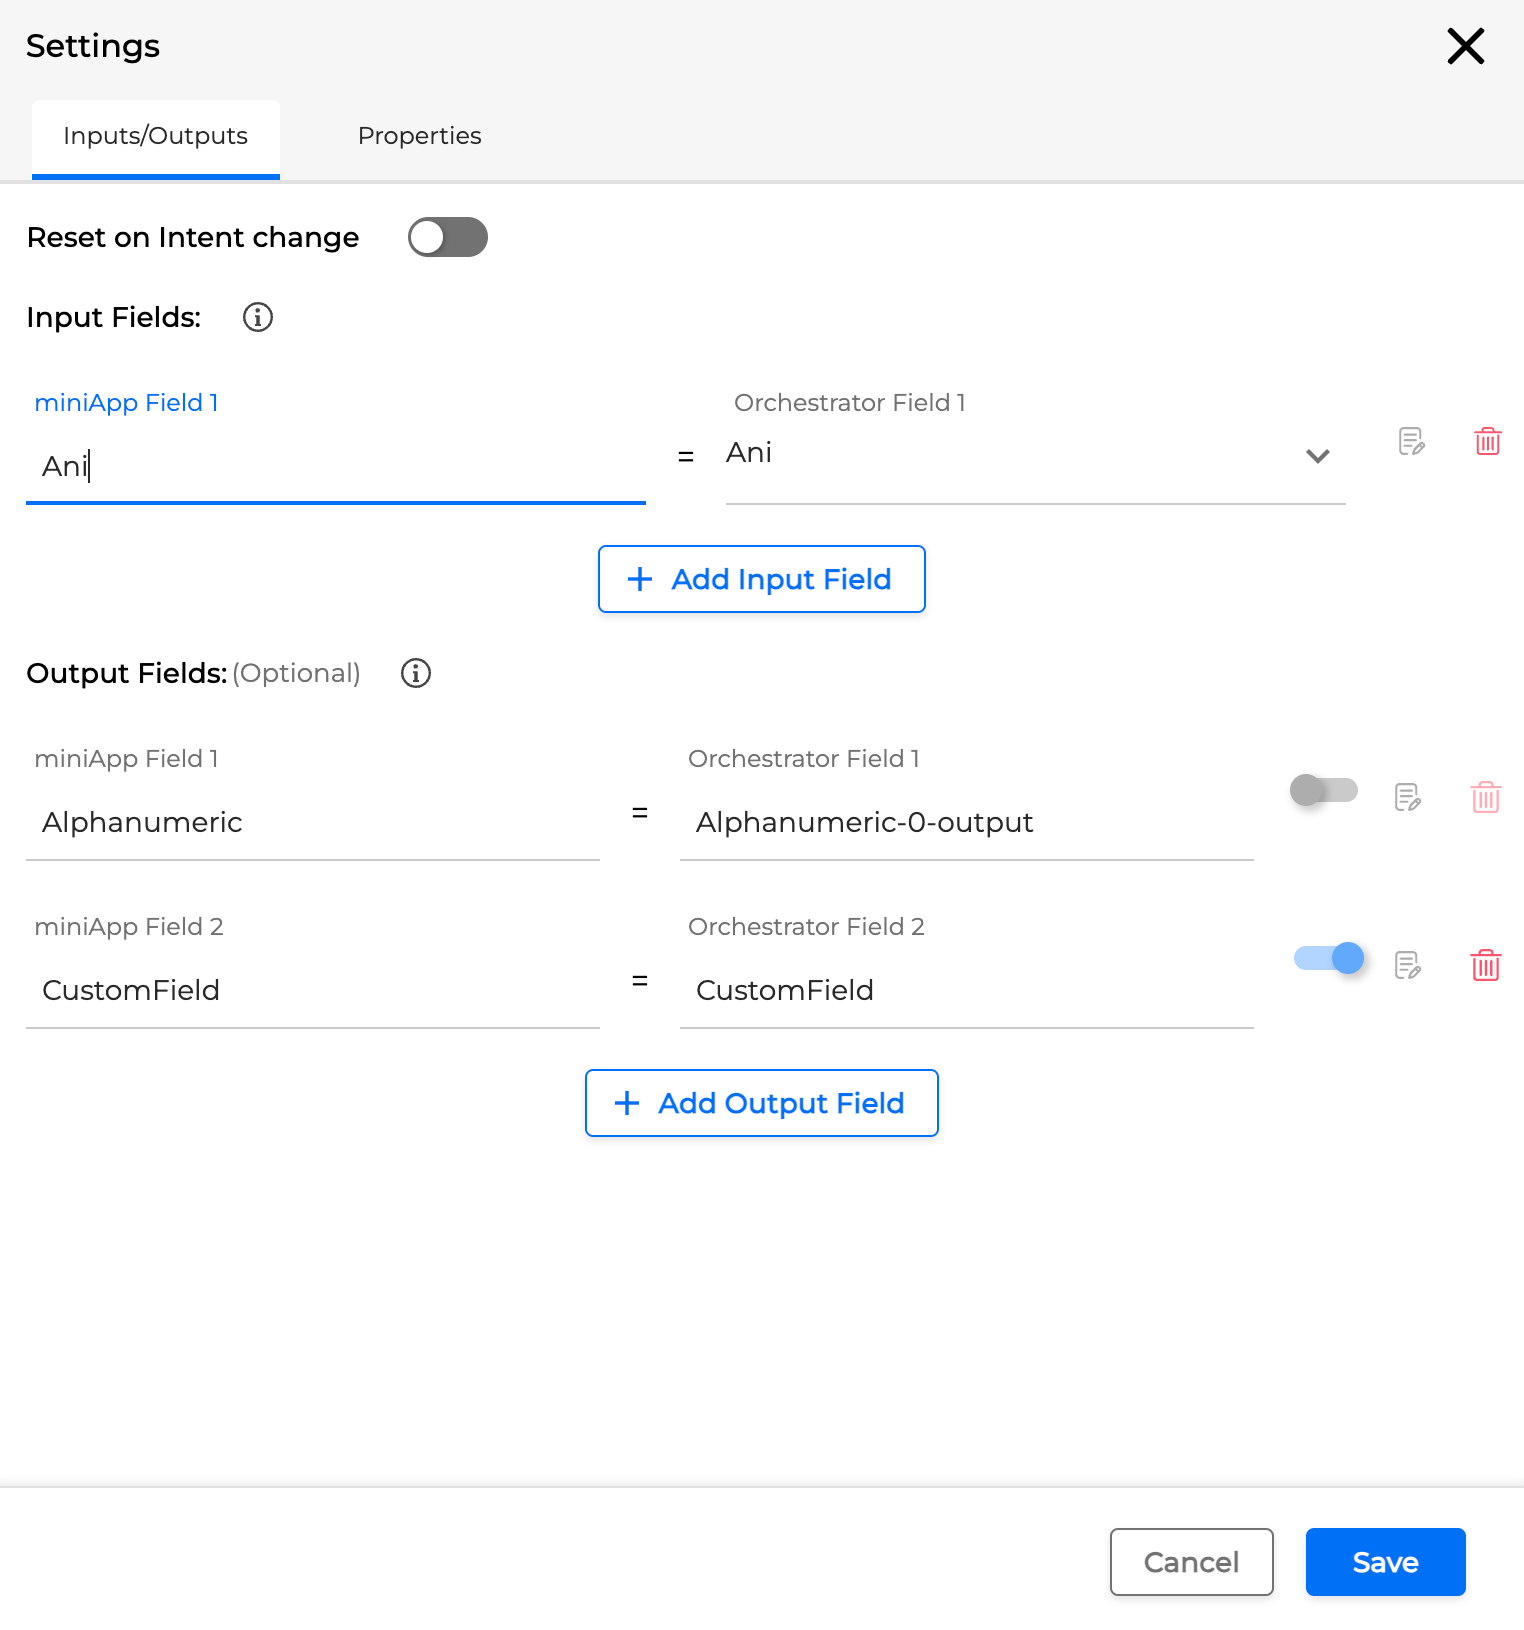
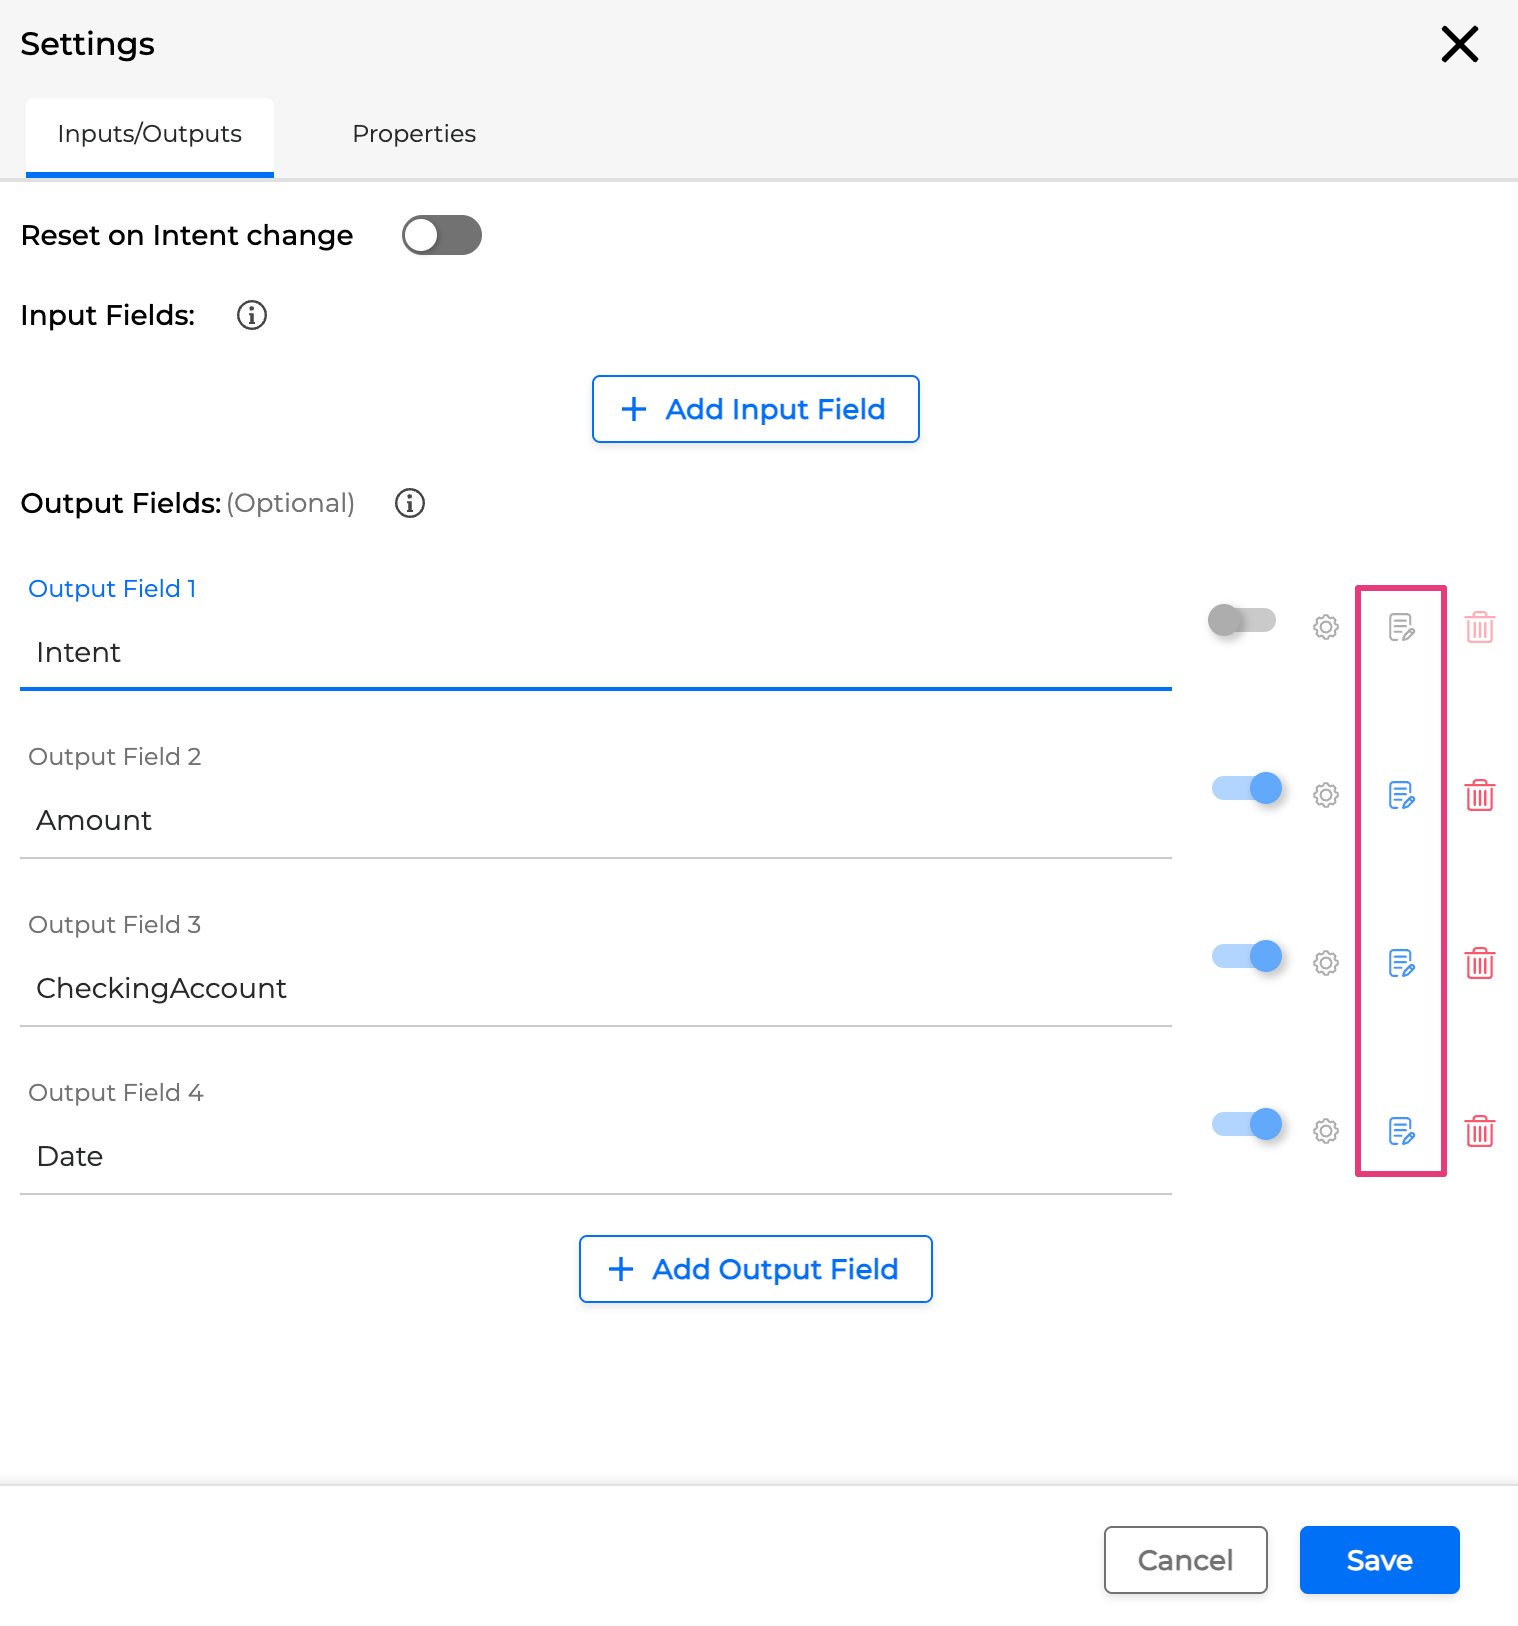
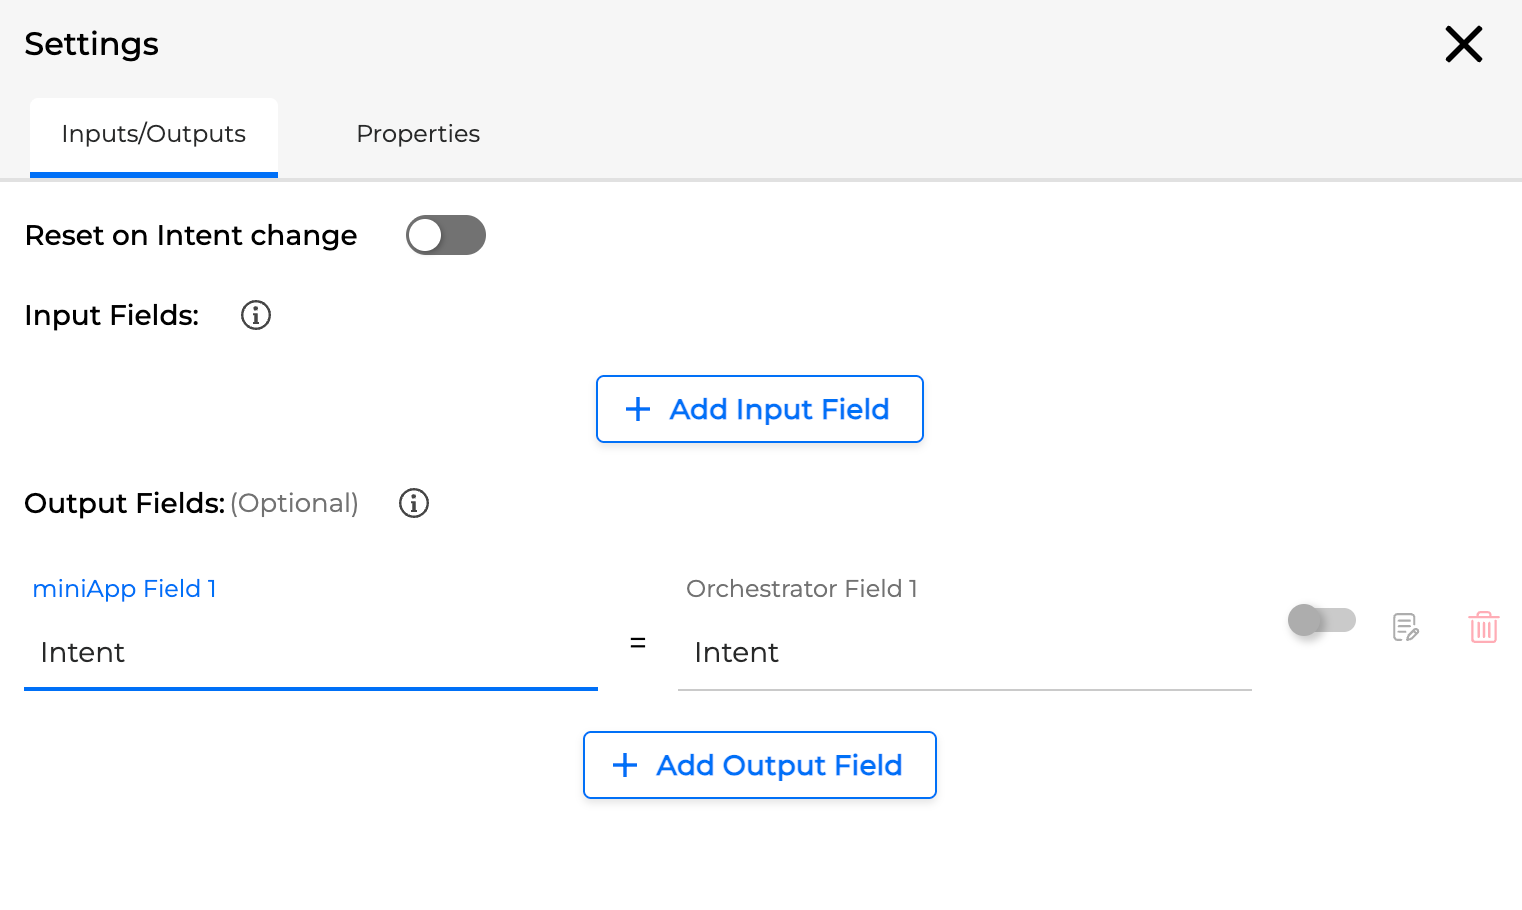
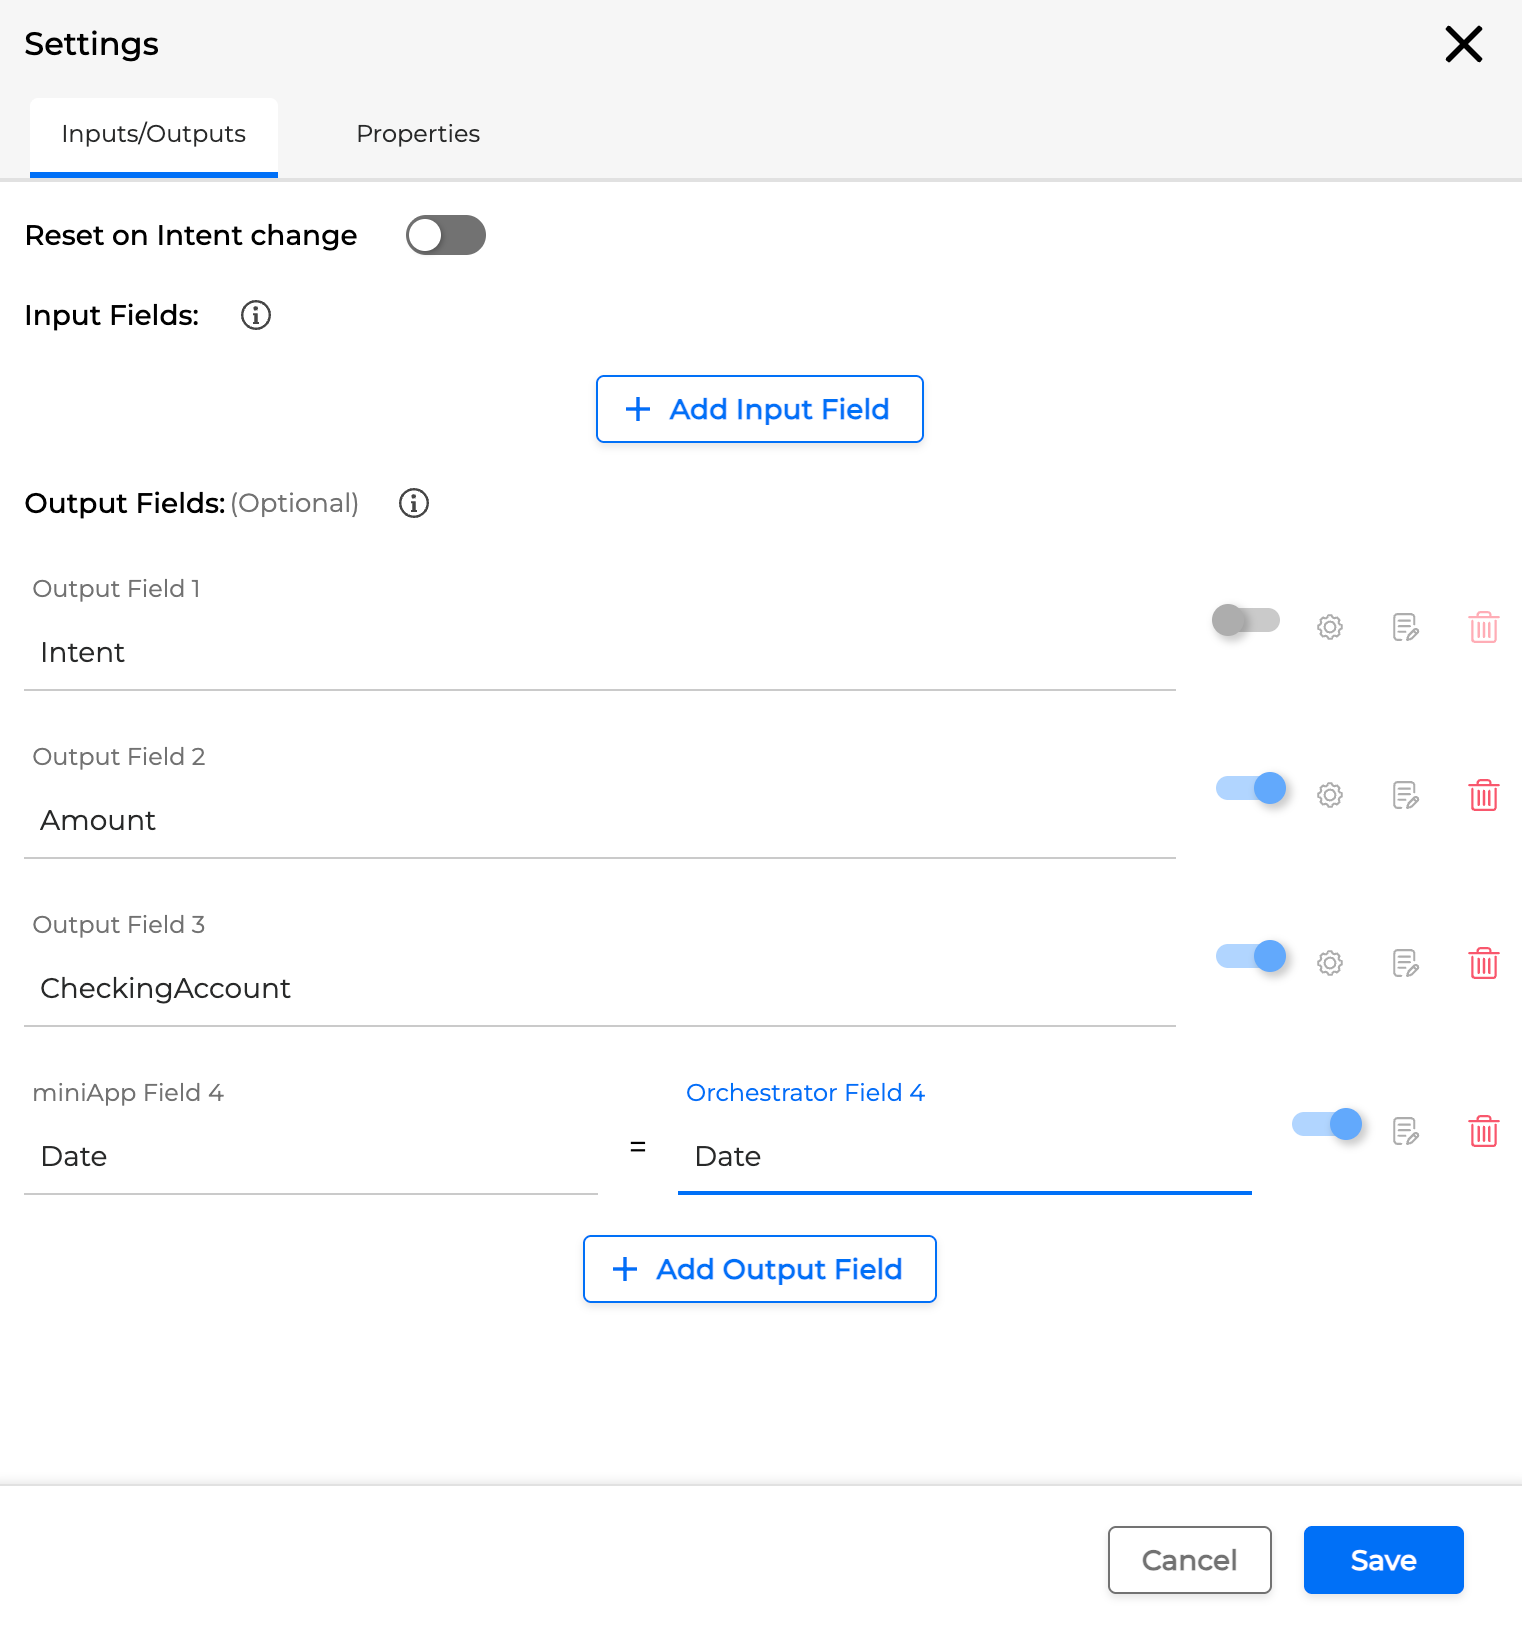
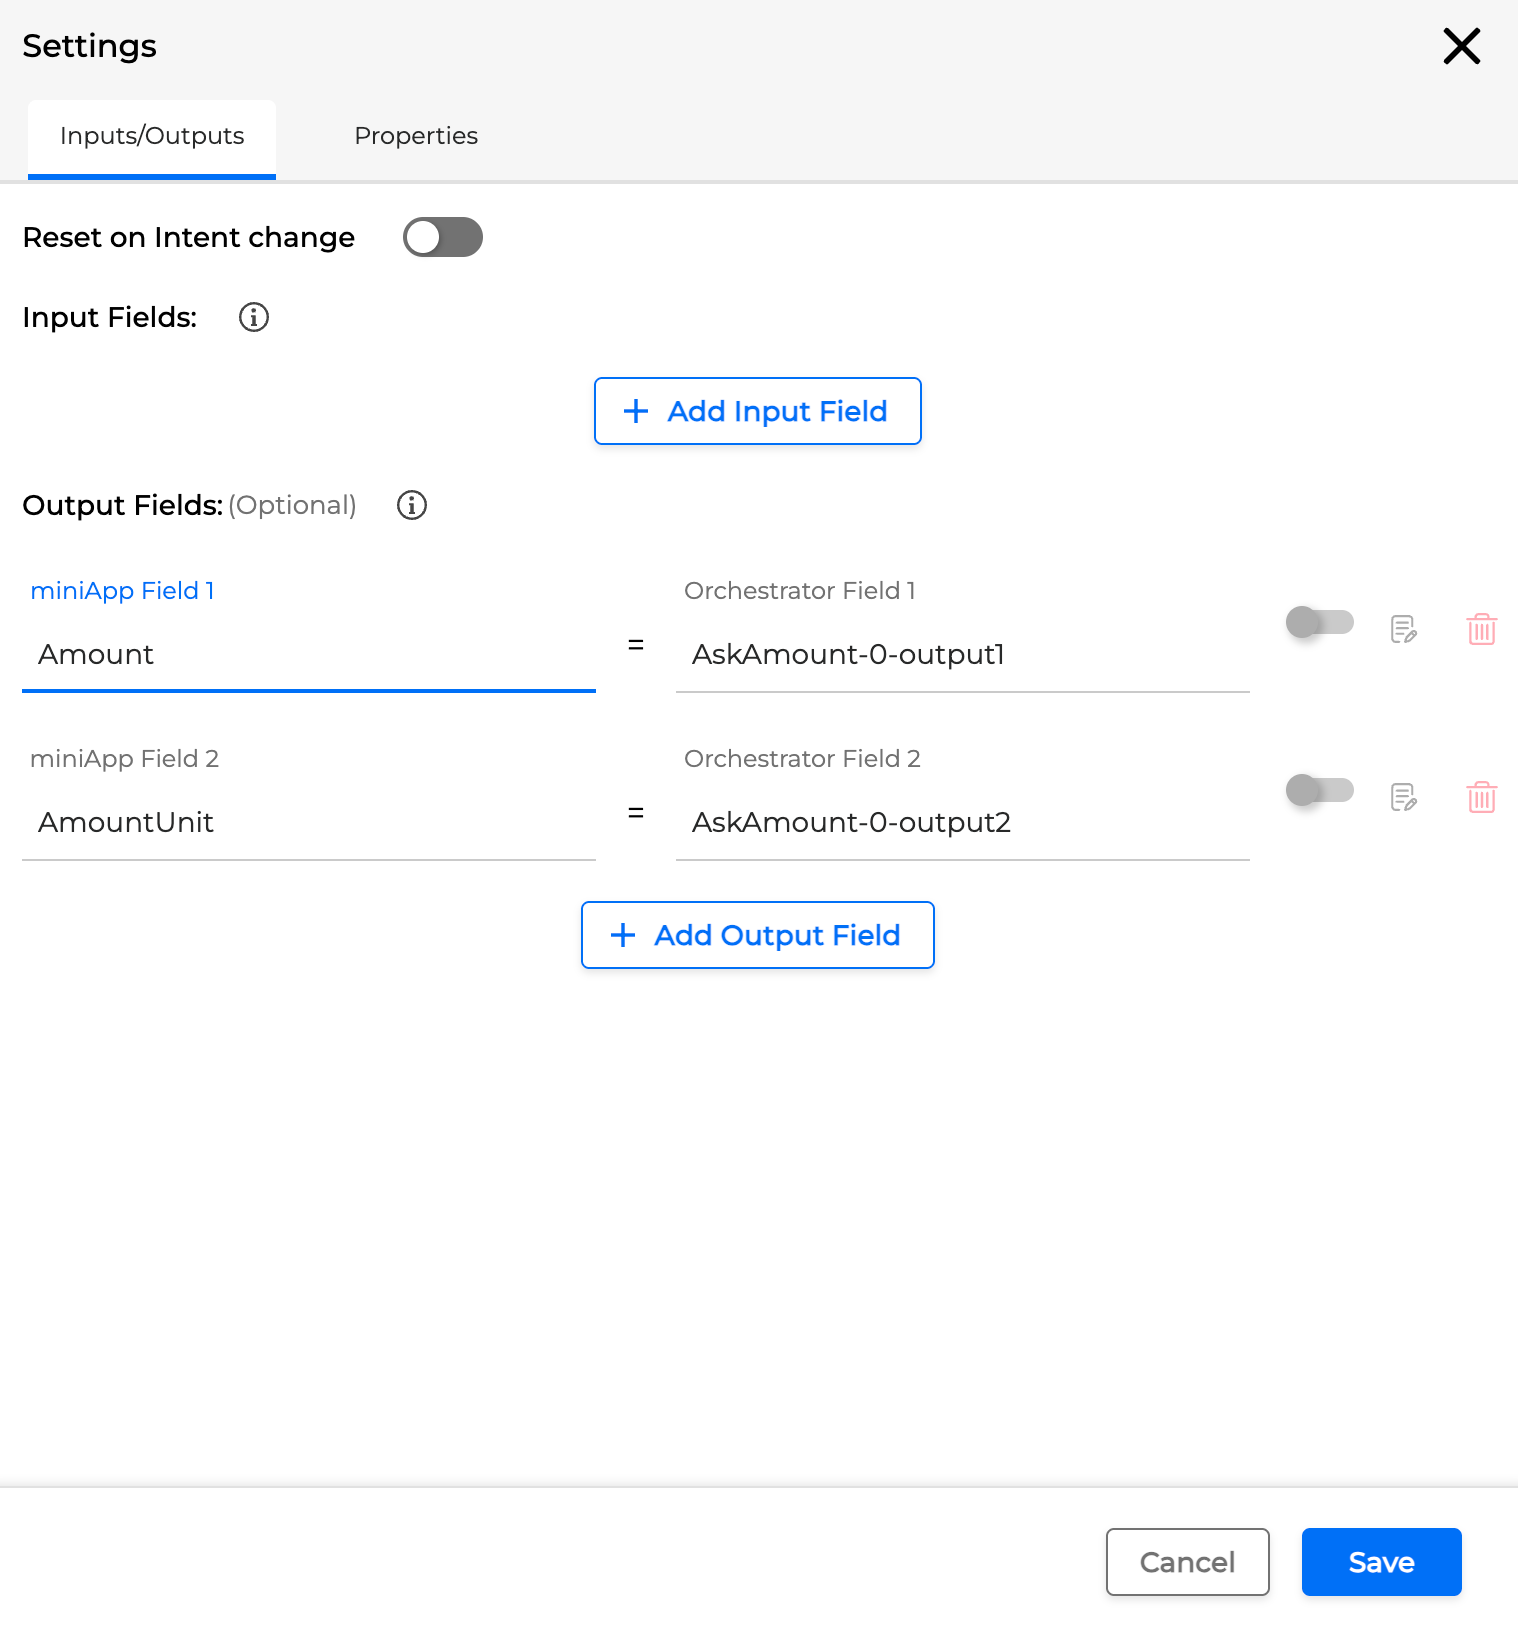
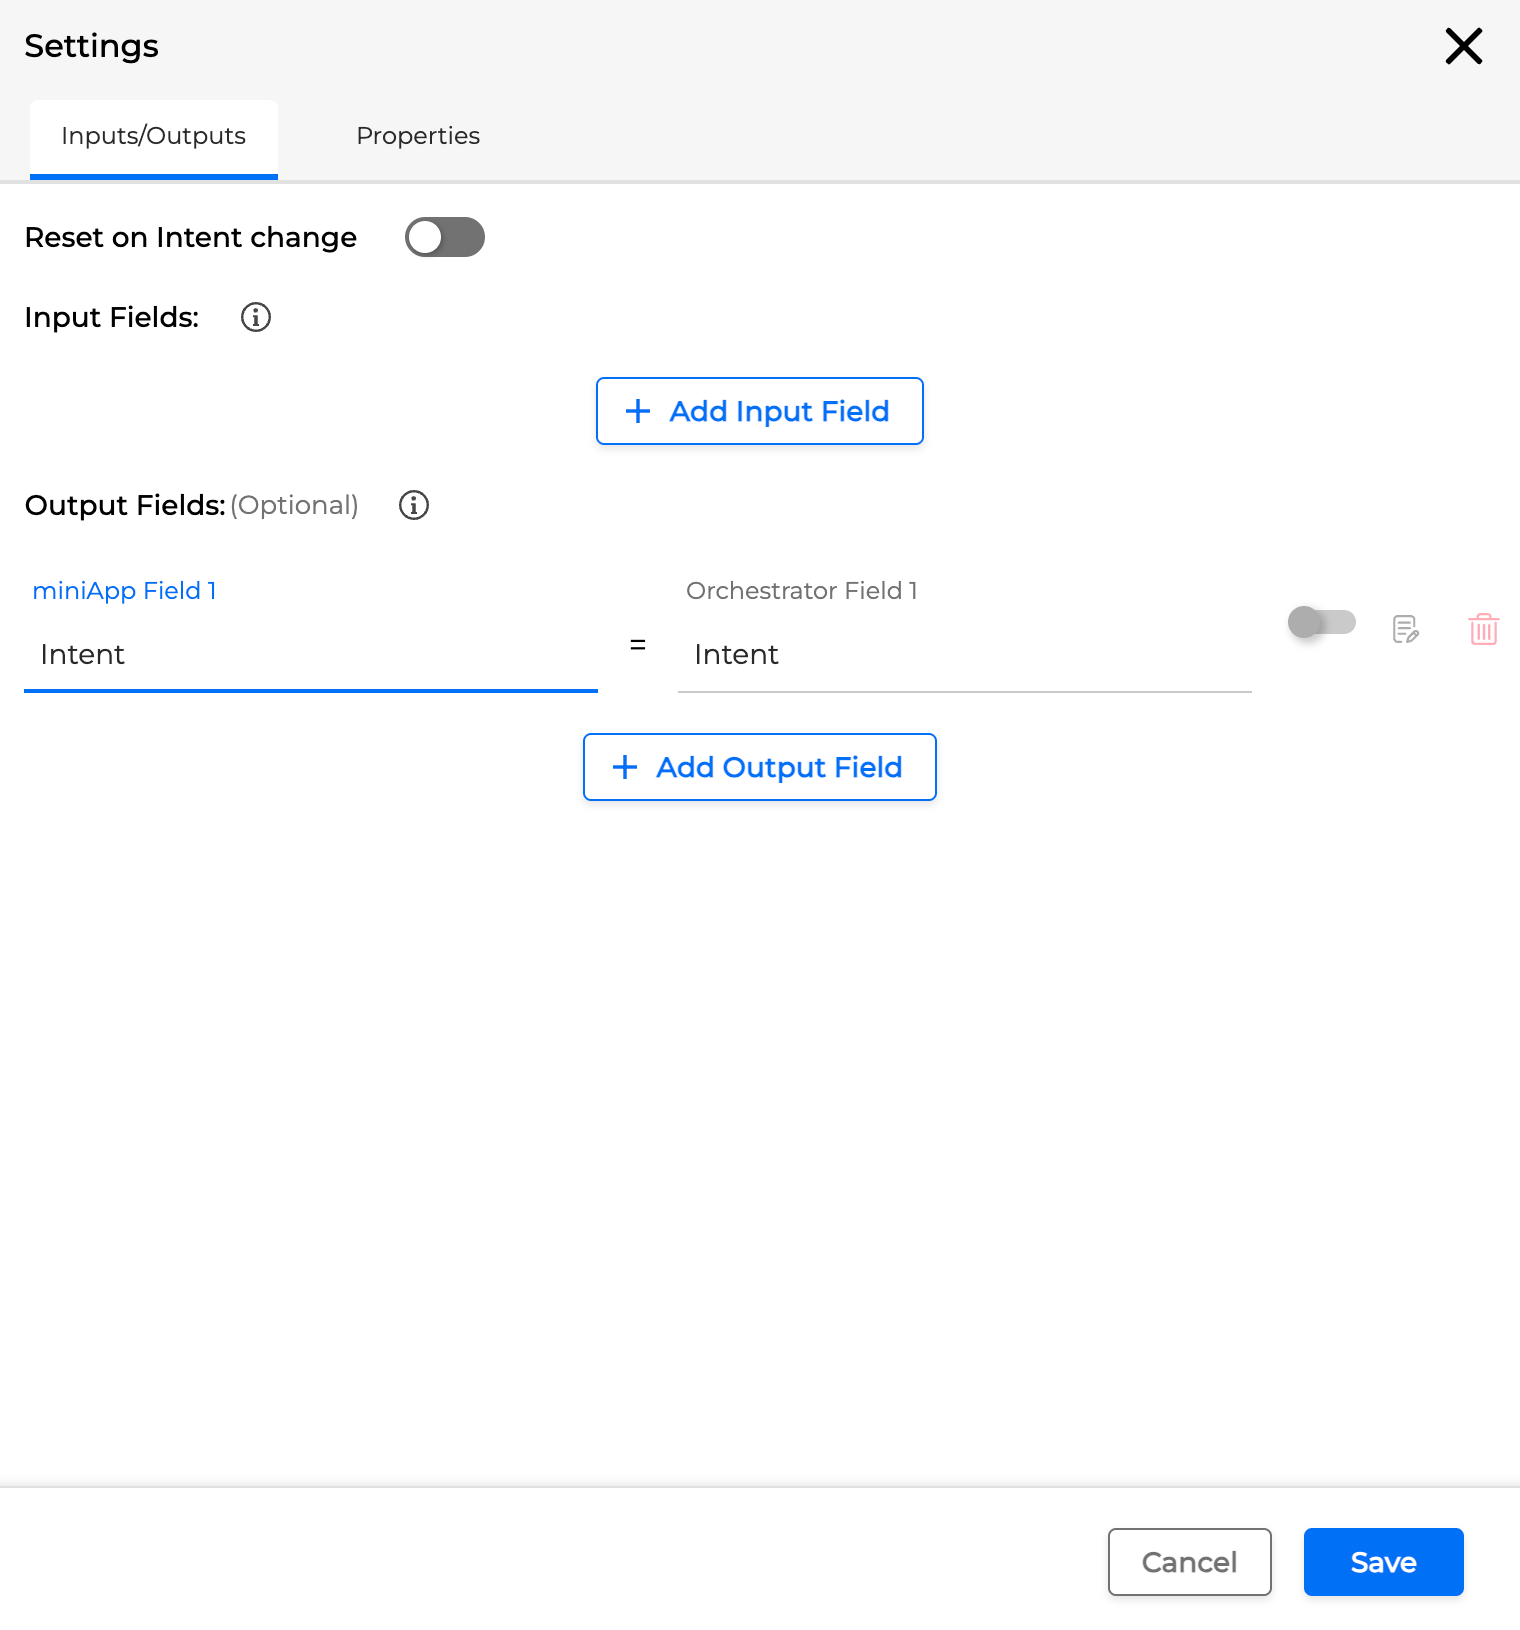
Depending on the miniApp type, some Output Fields can be preconfigured and read‑only. When an Output Field is not predefined (for example, in an Intent miniApp), you can add any custom miniApp output you need.
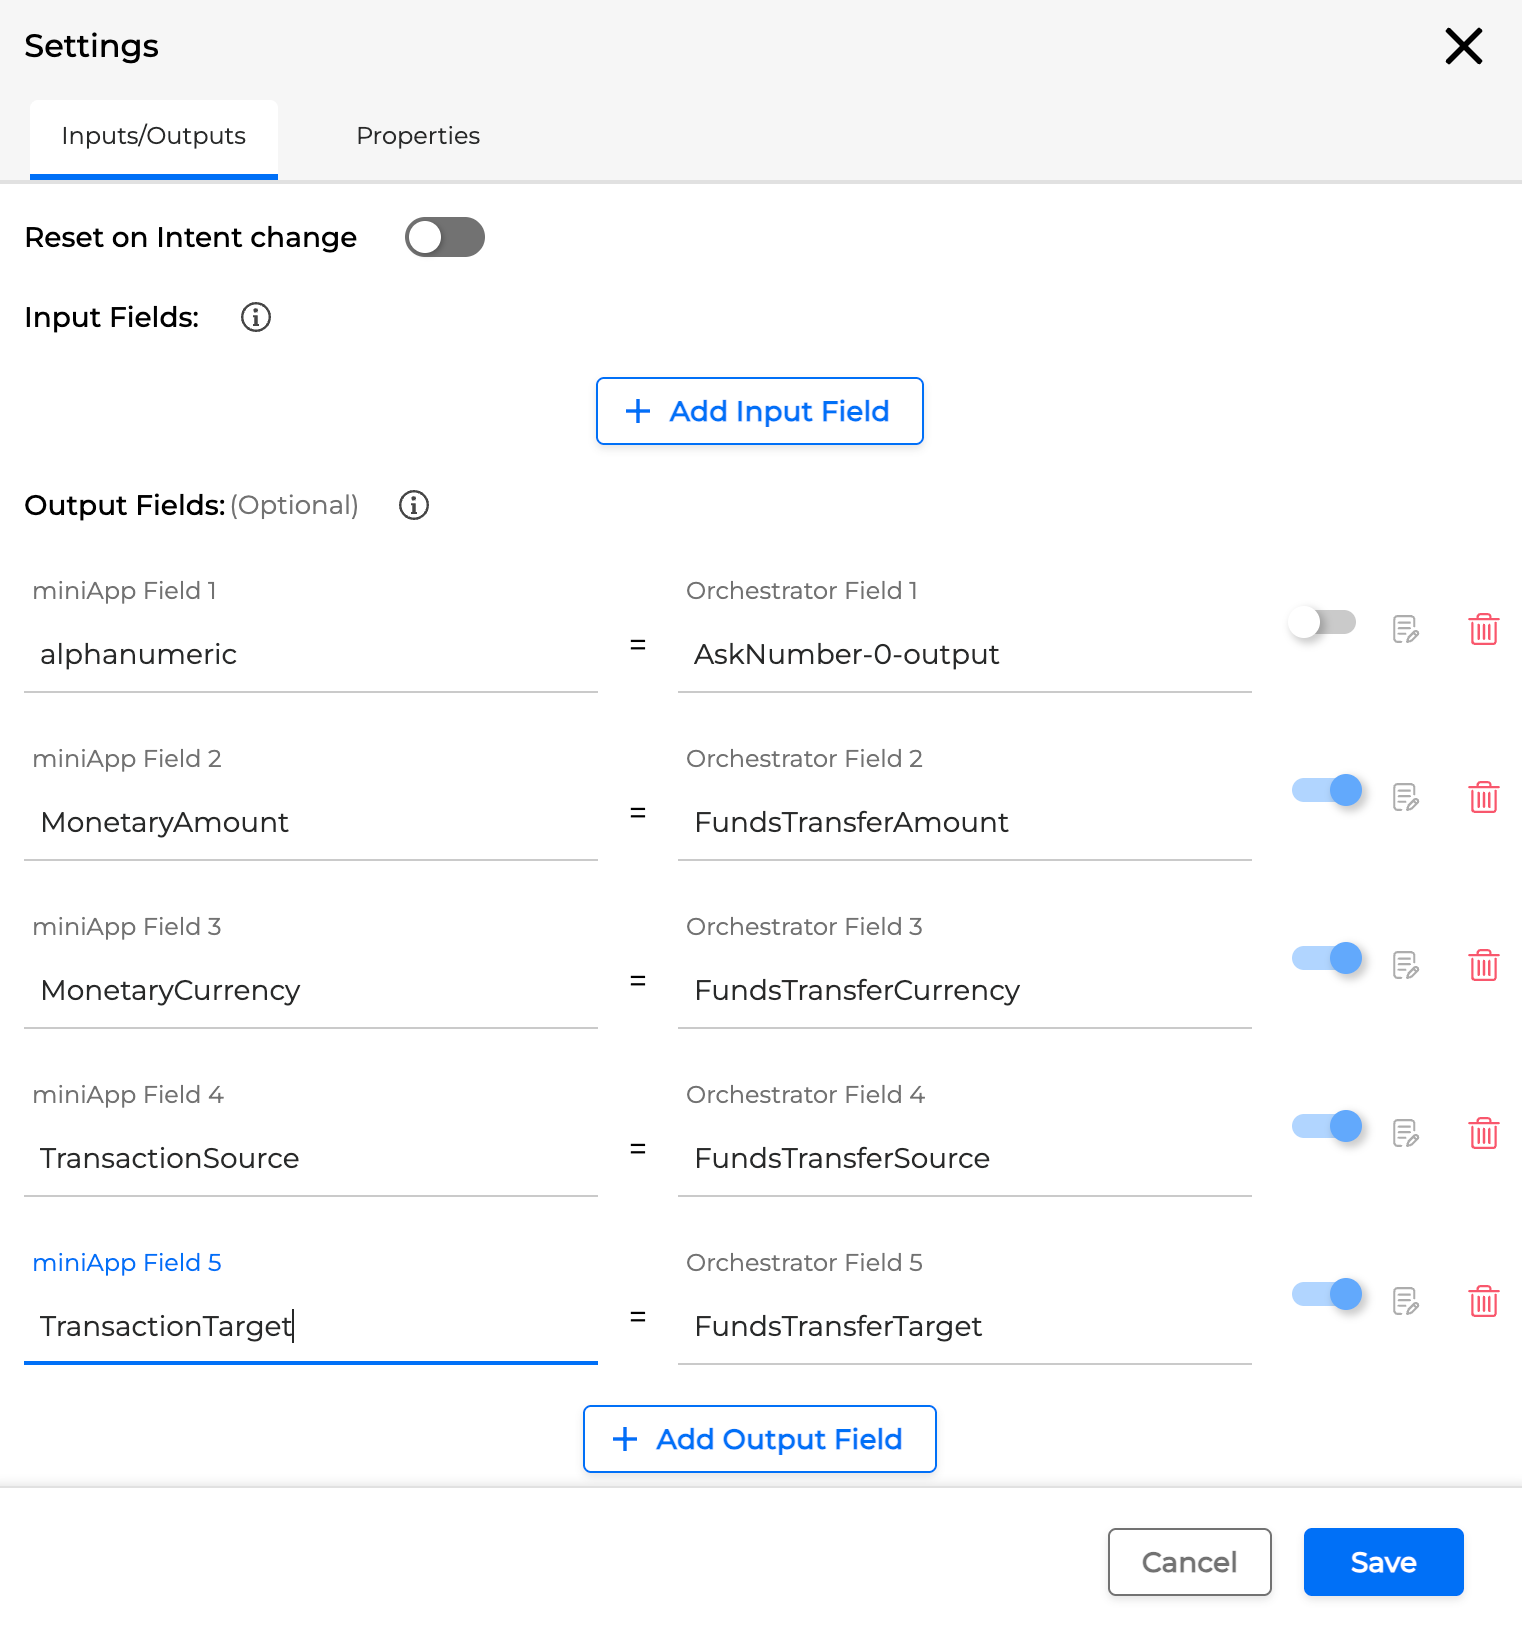
Each added Output Field can be marked as optional or required using the Optional toggle next to the field name:
-
By default, added Output Fields are marked as optional (toggle ON).
-
There must be at least one non‑optional Output Field among the configured ones, unless there is already a non‑optional field set by default.
To remove an Output Field, click the red Trash can icon next to the field name.
By default, each added Output Field uses the same name in the miniApp and in Orchestrator. You can override this by assigning a different Orchestrator Field name to any miniApp Field.
To configure a specific Output Field:
-
Click the Gear icon next to the field to expand it.
-
Configure the miniApp Field 1 and Orchestrator Field 1 variables as described in https://omilia.atlassian.net/wiki/spaces/OCPDOCS/pages/470286348/Configure+Settings+of+miniApps+and+Flows#configure-miniapps-fields.
You cannot change the Orchestrator Field names of pre‑configured Output Fields that are specific to each miniApp or other building block.
Do not use any reserved names for output fields. For details, see the Reserved Field Names
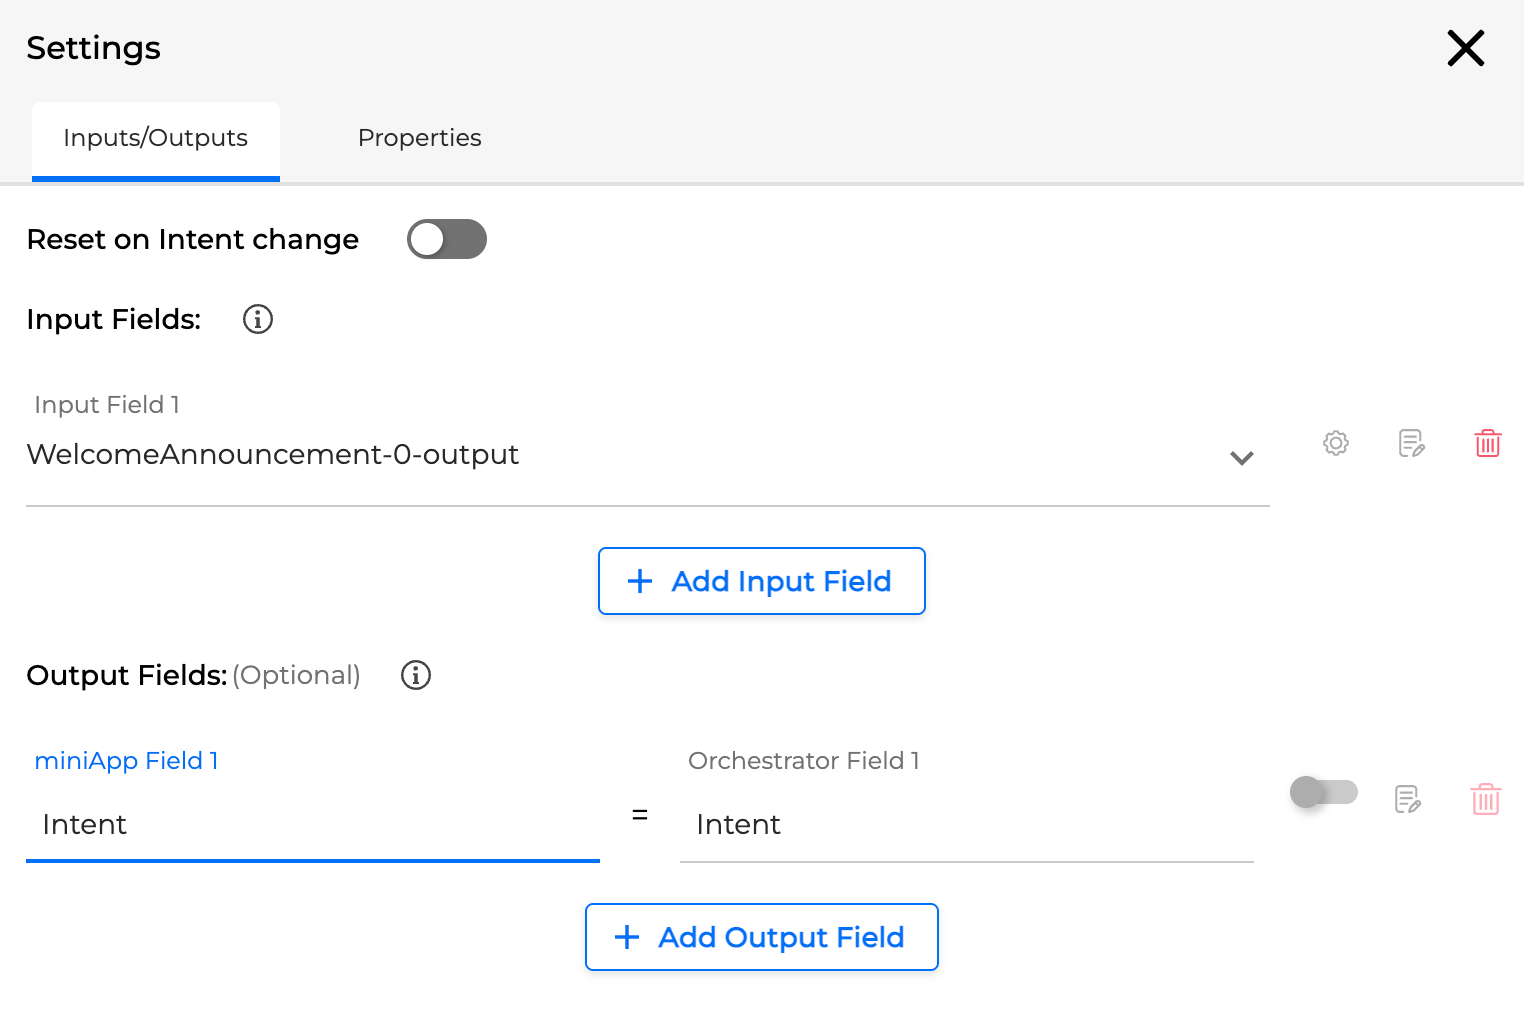
As shown in the example, Orchestrator Field 1 automatically matches the name of miniApp Field 1 unless you change it.
Underscores in field names are deprecated. Edit your fields to remove underscores to be able to deploy the application.
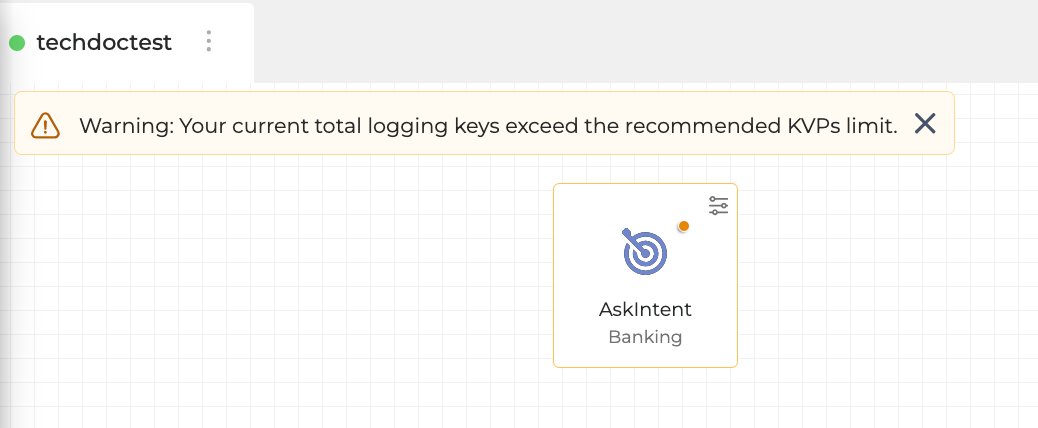
If one or more miniApps on the canvas contain Output Fields with underscores, a red warning icon appears in the upper‑left corner of the affected miniApp.
Multiple output fields
We recommend keeping the number of added Output fields with “Automatic logging of KVPs” turned ON under 30. If there are more than 30 logging key-value pairs added, you will see a Soft Warning sign in the form of an orange dot in the upper corner of the miniApp. This warning doesn’t prevent you from deploying the application and acts as a recommendation.
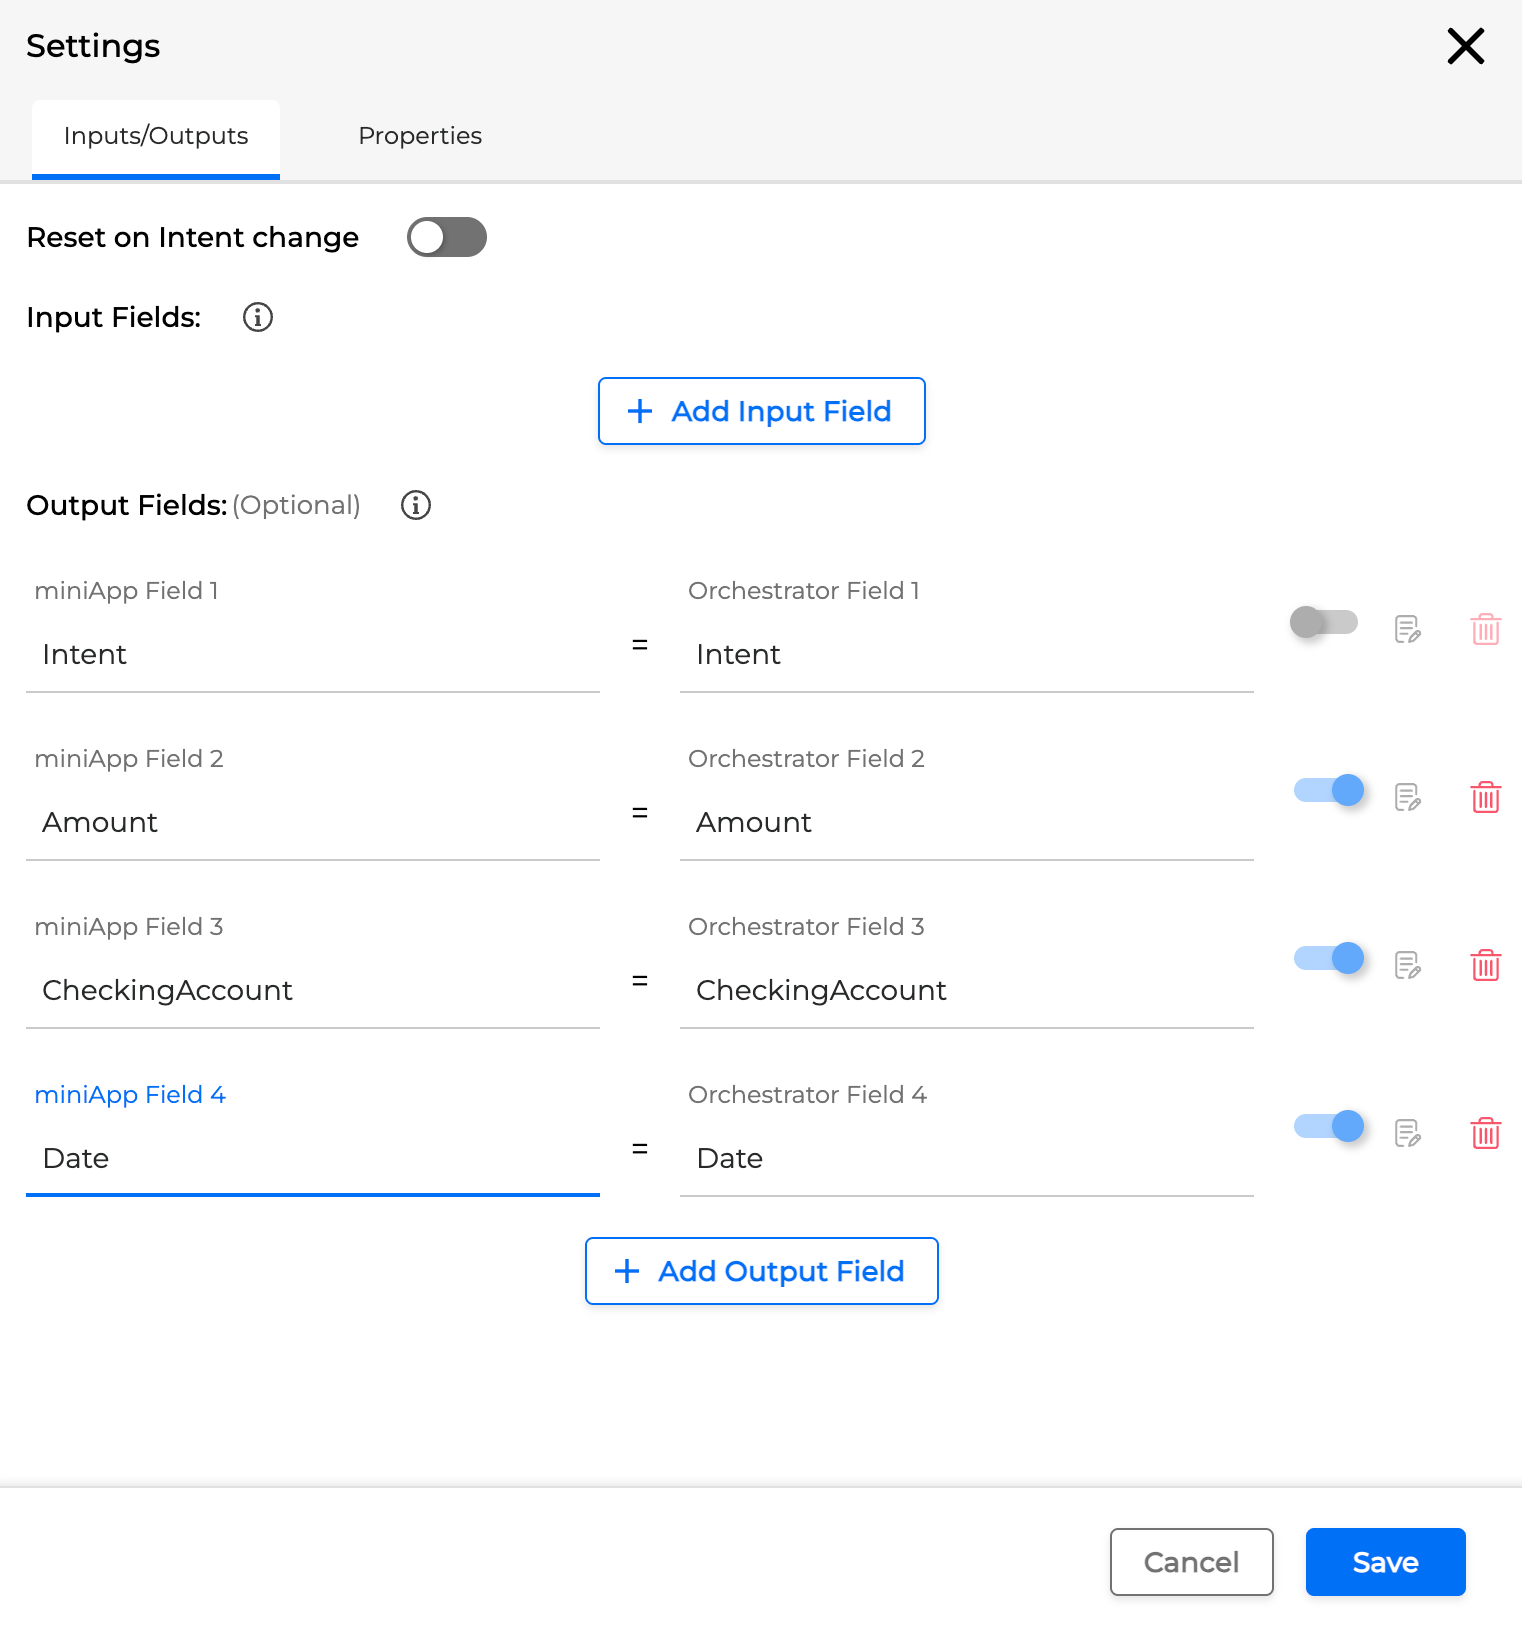
You can add multiple Output Fields to capture additional information from the caller.
For example, instead of just saying “I want to make a payment”, a caller may say “I want to put $20 on my credit card”. This extra information (amount, account type, etc.) can be captured by adding extra Output Fields. These values can be recognized by NLU and passed as NLU entities by adding the entity name as an Output Field.
Adding extra Output Fields is optional. If you decide not to add them, the miniApp still receives the necessary information to execute.
To add and manage extra Output Fields:
-
Click + Add output Field under the Output Fields section.
-
Use the Optional toggle to mark the field as optional or required.
-
To delete an output field, click the Trash can icon to the right of the Optional toggle.
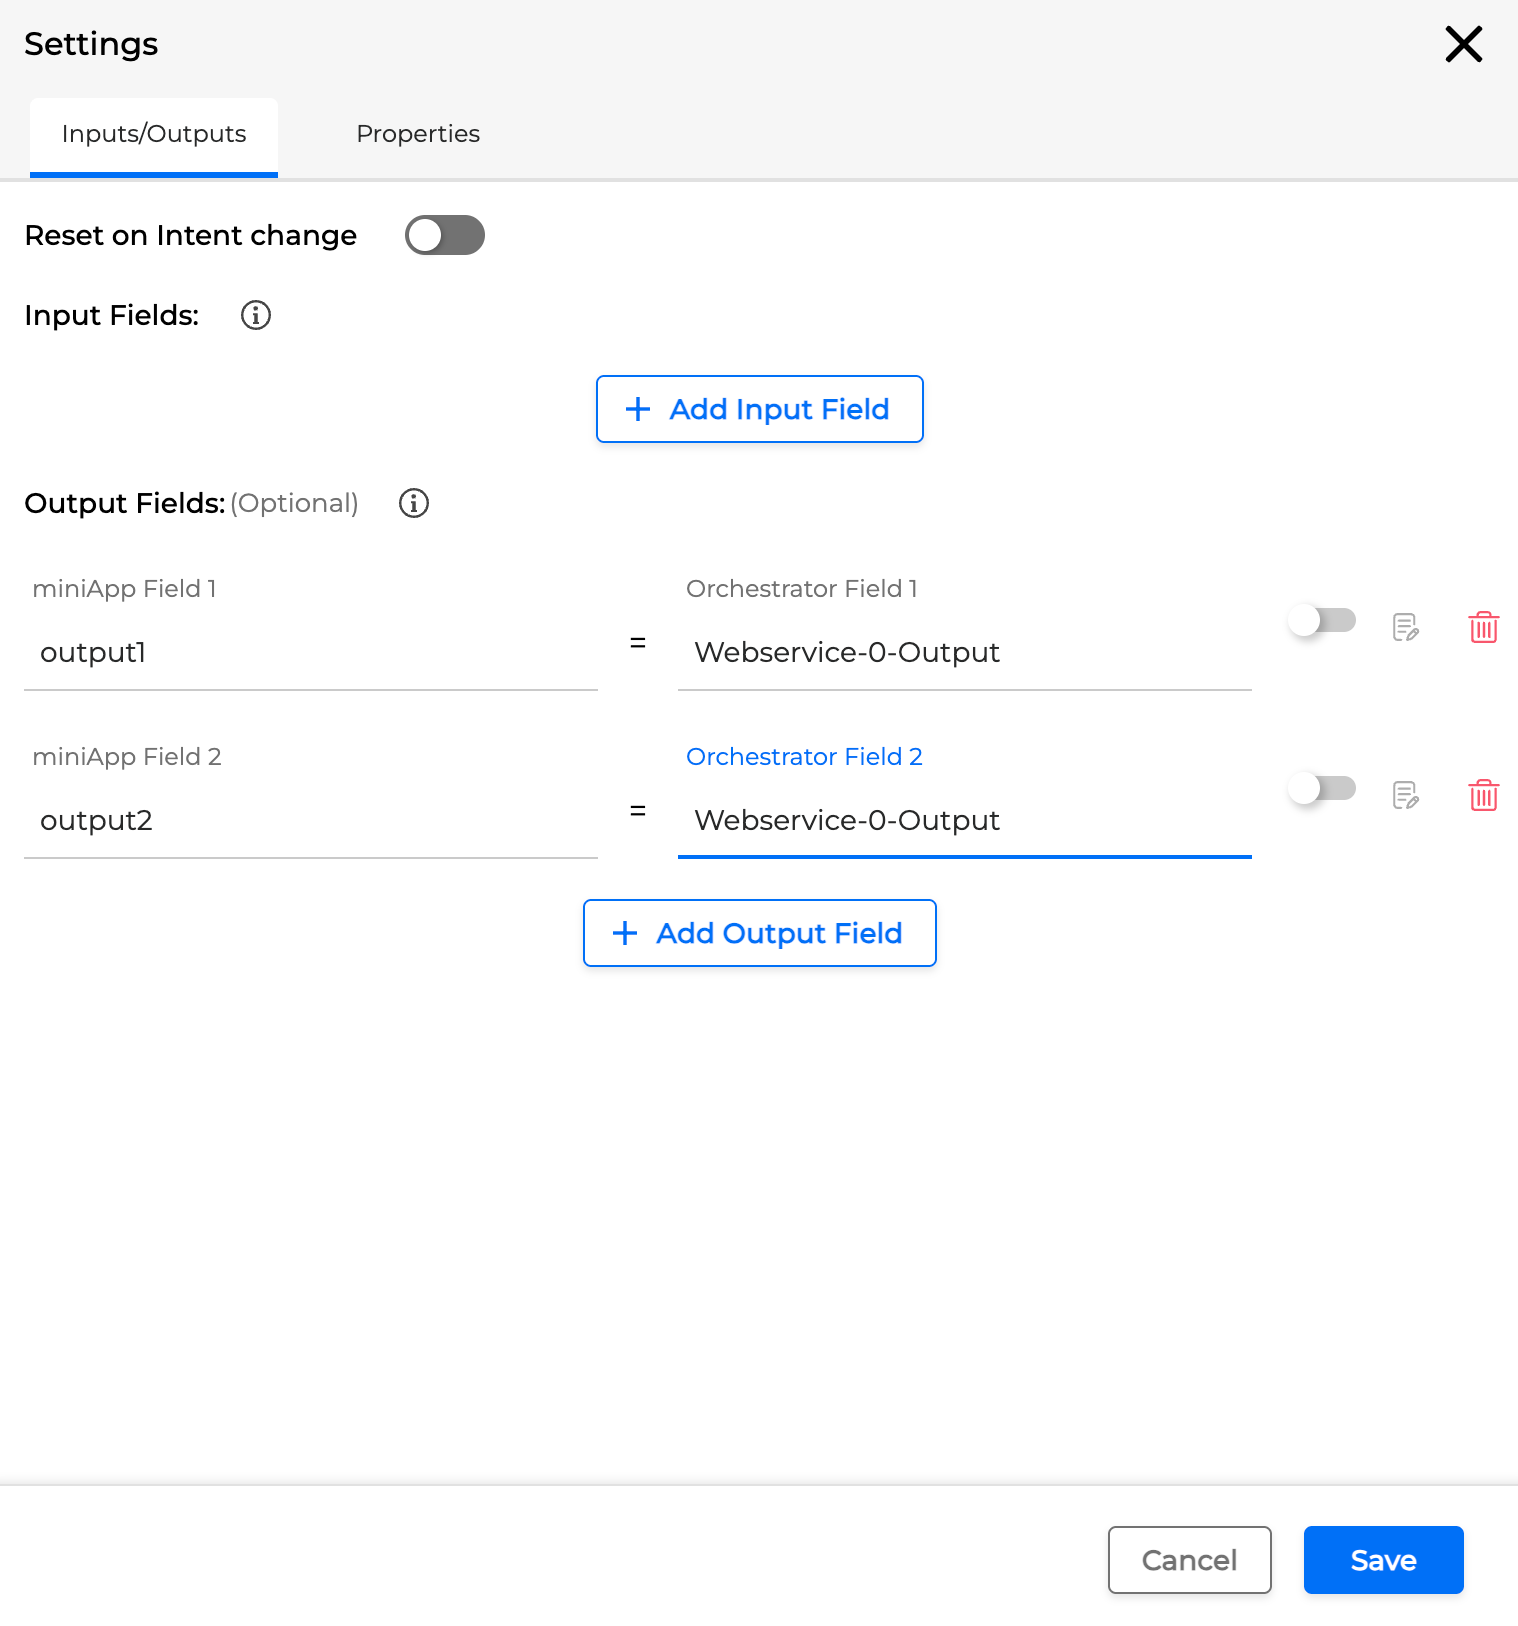
This approach applies to all miniApp types except Intelli and Web Service, which do not use NLU. Their specifics are described below.
Multiple output fields in intelli and web service miniApps
Adding multiple Output Fields in Intelli and Web Service miniApps is also supported. However, if any of these miniApps end while multiple fields are defined but no values are provided, the Dialog application will continue running.
Properties fields
Properties fields store additional configuration overrides for miniApps. They allow you to change some preconfigured or default miniApp settings directly in Orchestrator for a specific usage within a Dialog.
For example, you can override the error threshold for a miniApp at a particular step, while the default threshold remains unchanged elsewhere.
These Properties are exposed as a list of fields that can be reconfigured for a particular miniApp. For more information about available fields, see Fail Exit Reason.
Once Properties and their values are configured in Orchestrator, the new parameters are passed to the miniApp. Each Property type can be reconfigured only once per miniApp instance in the Dialog.
This functionality is available for all the miniApp types, and Anything Else? building blocks, but not for the Flows.
To overwrite the miniApp configuration, follow the next steps:
-
Click the Settings icon in the upper‑right corner of the selected miniApp.
-
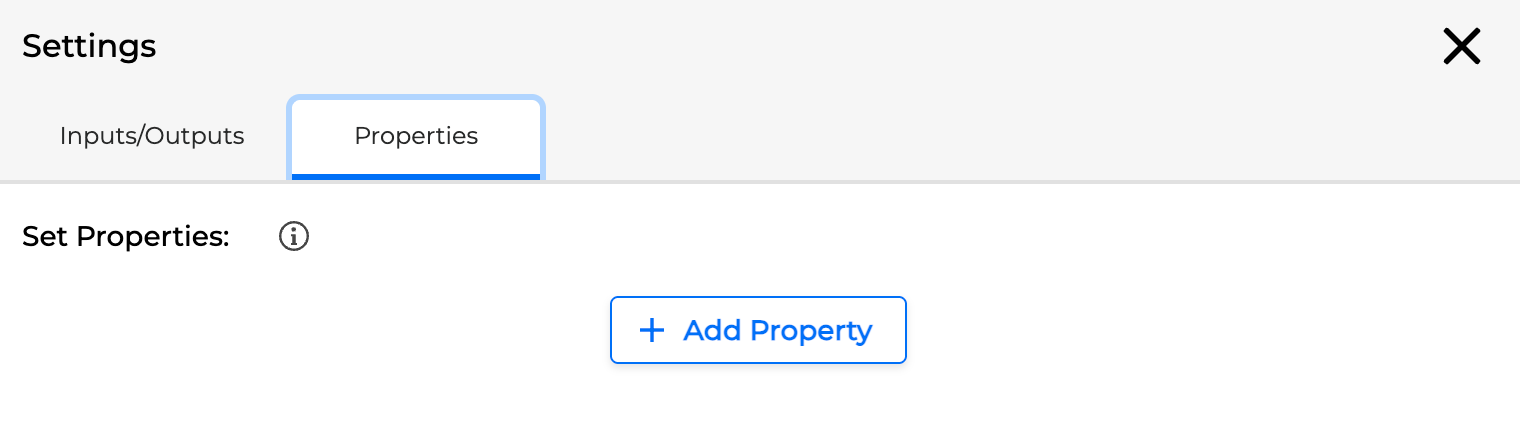
Switch to the Properties tab.
-
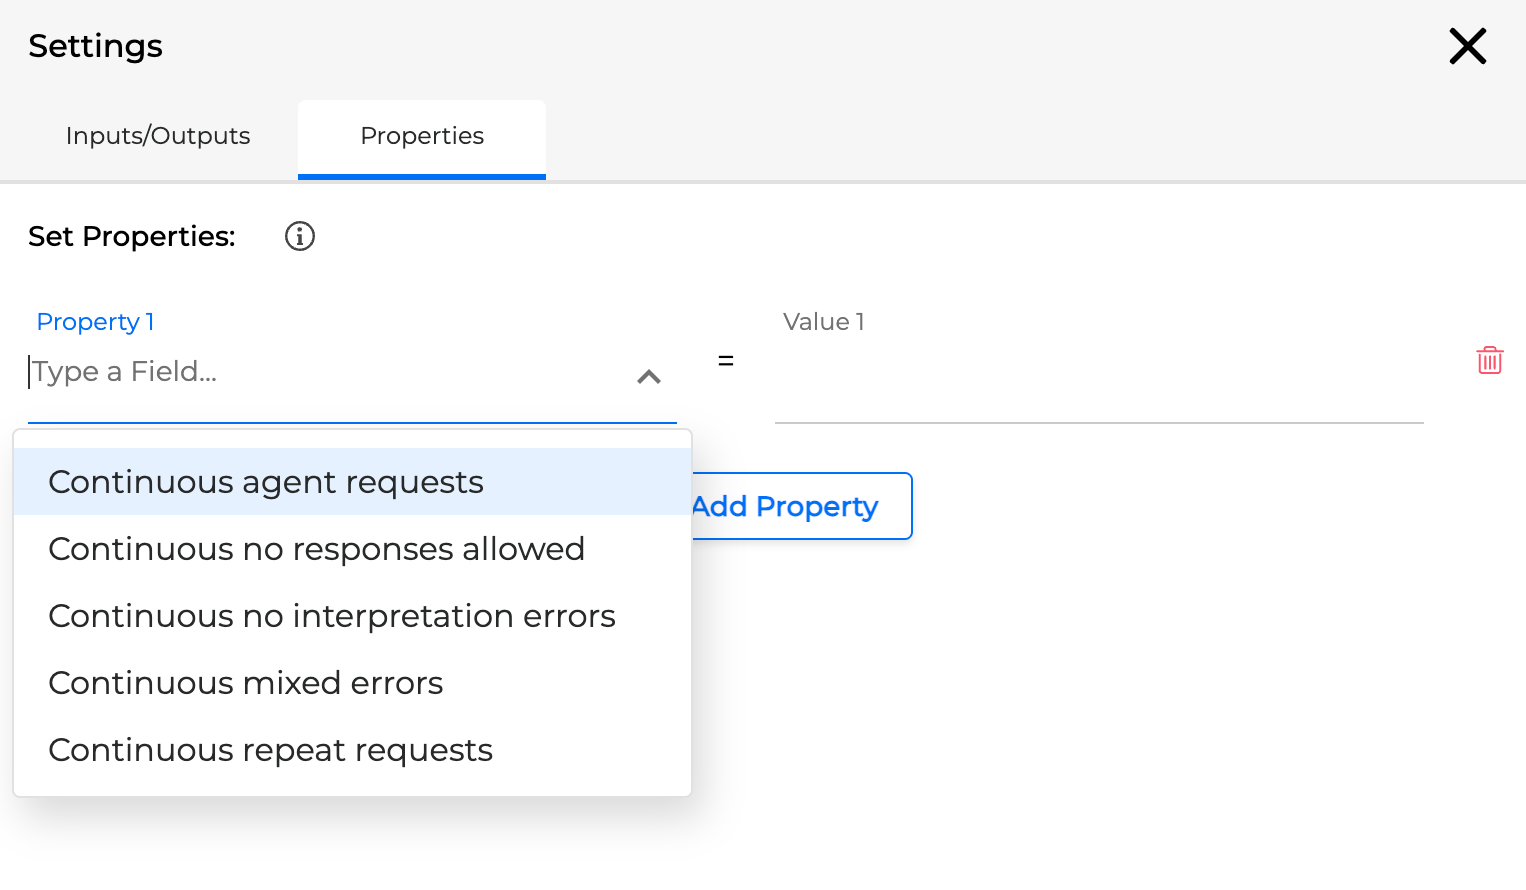
Click + Add Property.
-
From the Property 1 dropdown, select the specific field you want to override (for example, Continuous agent request).
-
Specify the Value 1 (for example, enter
3to override the default).
-
Click Save.
The new value is applied when this miniApp executes at this step of the Dialog.
Configure Settings of miniApps Fields
miniApps and other building blocks expose configuration settings for their Input Fields and Output Fields. To drive the conversation correctly, the Output Field of one miniApp is usually mapped to the Input Field of the next miniApp in the flow.
Below is an example of how to configure these settings.
Configuring input fields
-
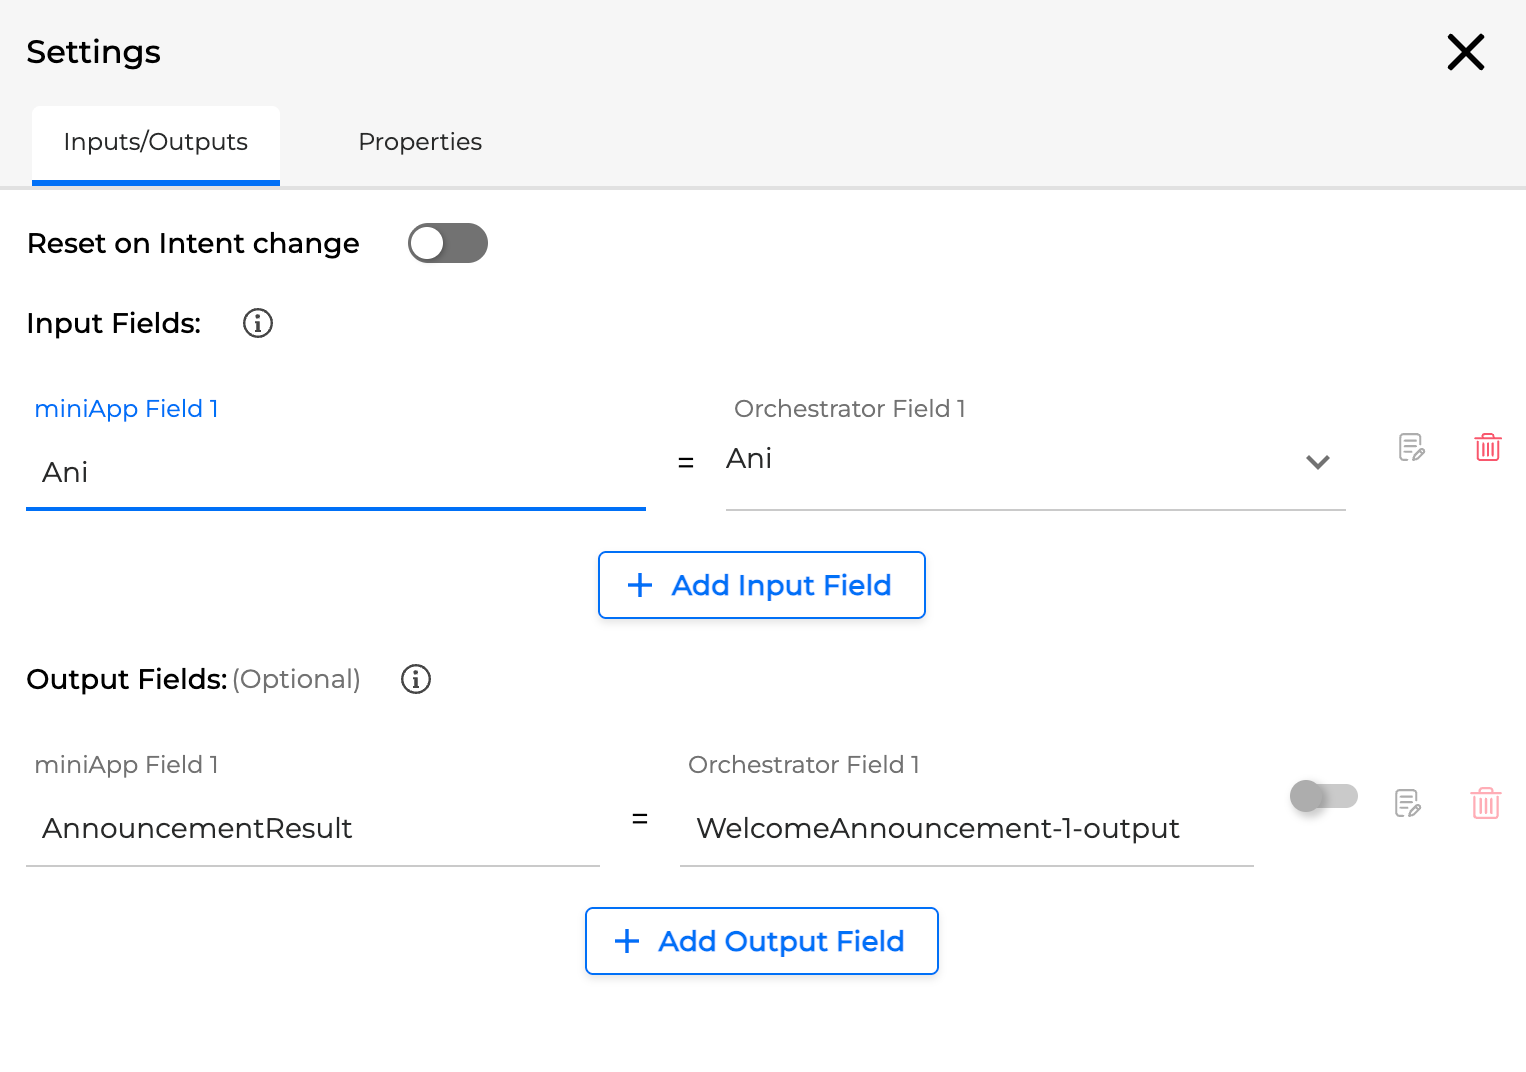
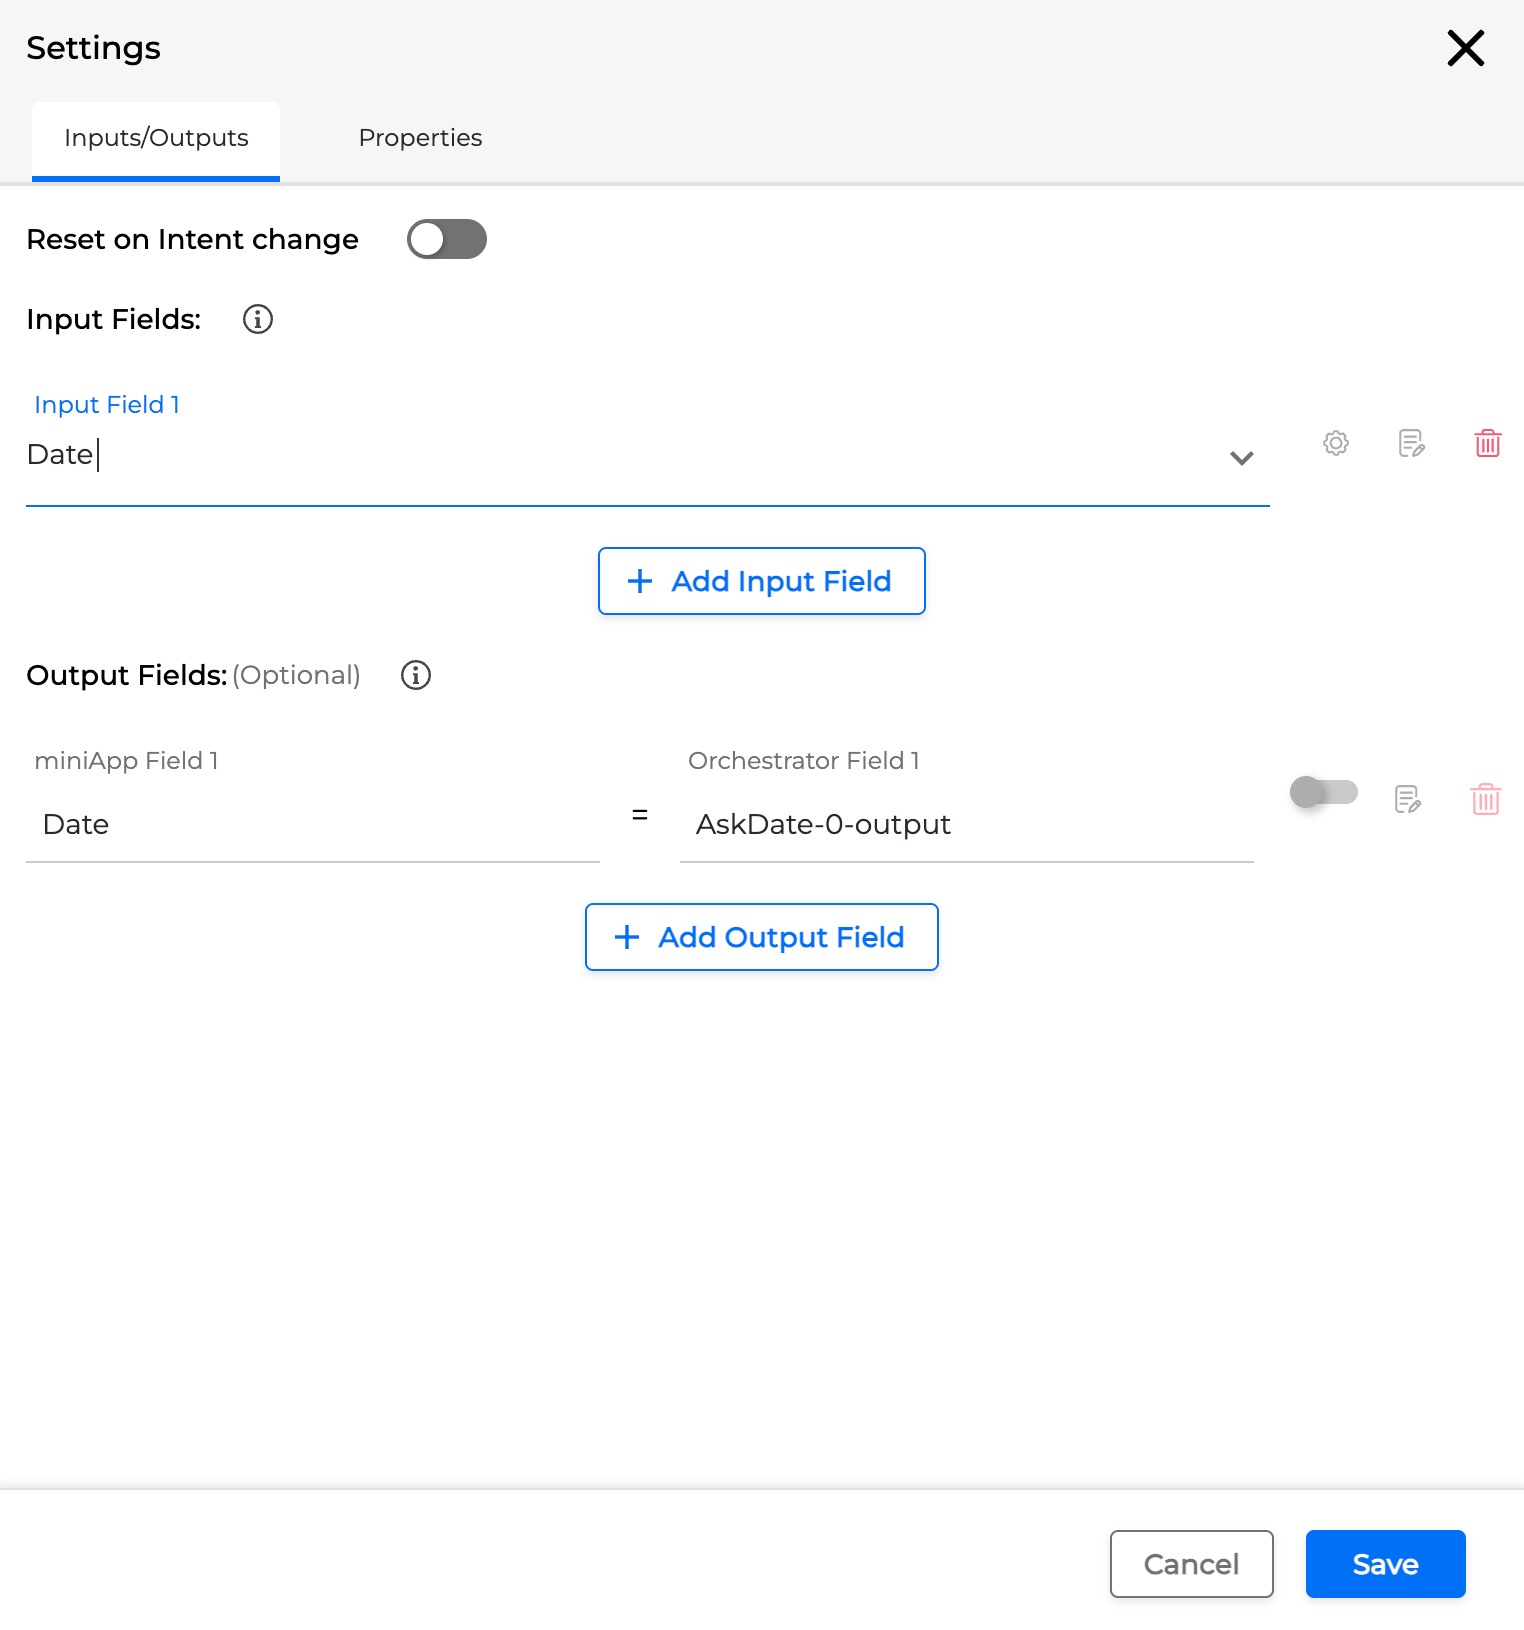
When you add an Input Field (for example, Input Field 1), its name initially corresponds to a miniApp field with the same name and contains that field’s data.
-
To configure the field name, click the Gear icon to the right of the input field. The expanded view shows miniApp Field 1 and Orchestrator Field 1, where Orchestrator Field 1 automatically inherits the name of miniApp Field 1.
-
From the dropdown for Orchestrator Field 1, you can select any available Orchestrator field to which the value of miniApp Field 1 should be assigned. This field will then be used elsewhere in Orchestrator within the current Dialog.
-
You can add multiple Input Fields to drive the conversation as needed. As more building blocks are added and more miniApps are connected, more information is elicited from callers. The dropdown list of possible input values grows accordingly with the Output Fields of previous building blocks.
-
Click Save to apply the changes.
Configuring output fields
-
Depending on the miniApp type, some Output Fields may be preconfigured and read‑only. These are added automatically and cannot be changed.
-
You can add additional Output Fields alongside preconfigured ones and adjust their settings as needed. For building blocks with no preconfigured fields, you can add and configure both the main and extra Output Fields.
-
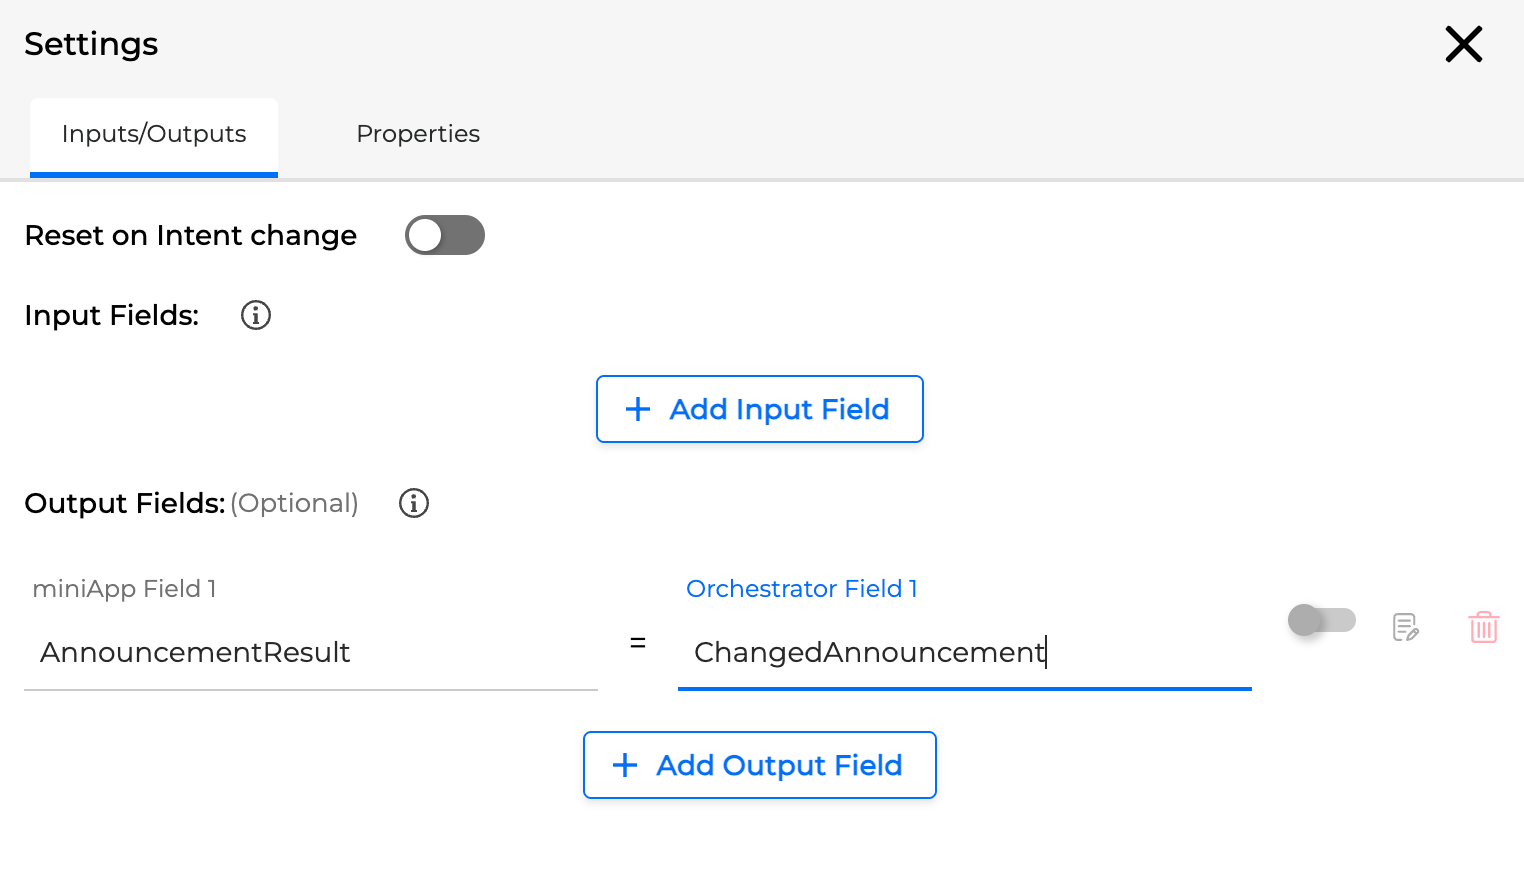
When you add an Output Field (for example, Output Field 1), its name initially corresponds to the miniApp field with the same name and contains its data.
-
To configure the field name, click the Gear icon to the right of the output field. The expanded view shows miniApp Field 1 and Orchestrator Field 1, where Orchestrator Field 1 automatically inherits the name of miniApp Field 1.
-
You can rename Orchestrator Field 1 as needed. In this case, miniApp Field 1 still refers to the miniApp field, but its value will be assigned to the new Orchestrator Field 1 variable name, which will then be used in Orchestrator to build the current Dialog.
-
Click Save to apply the changes.
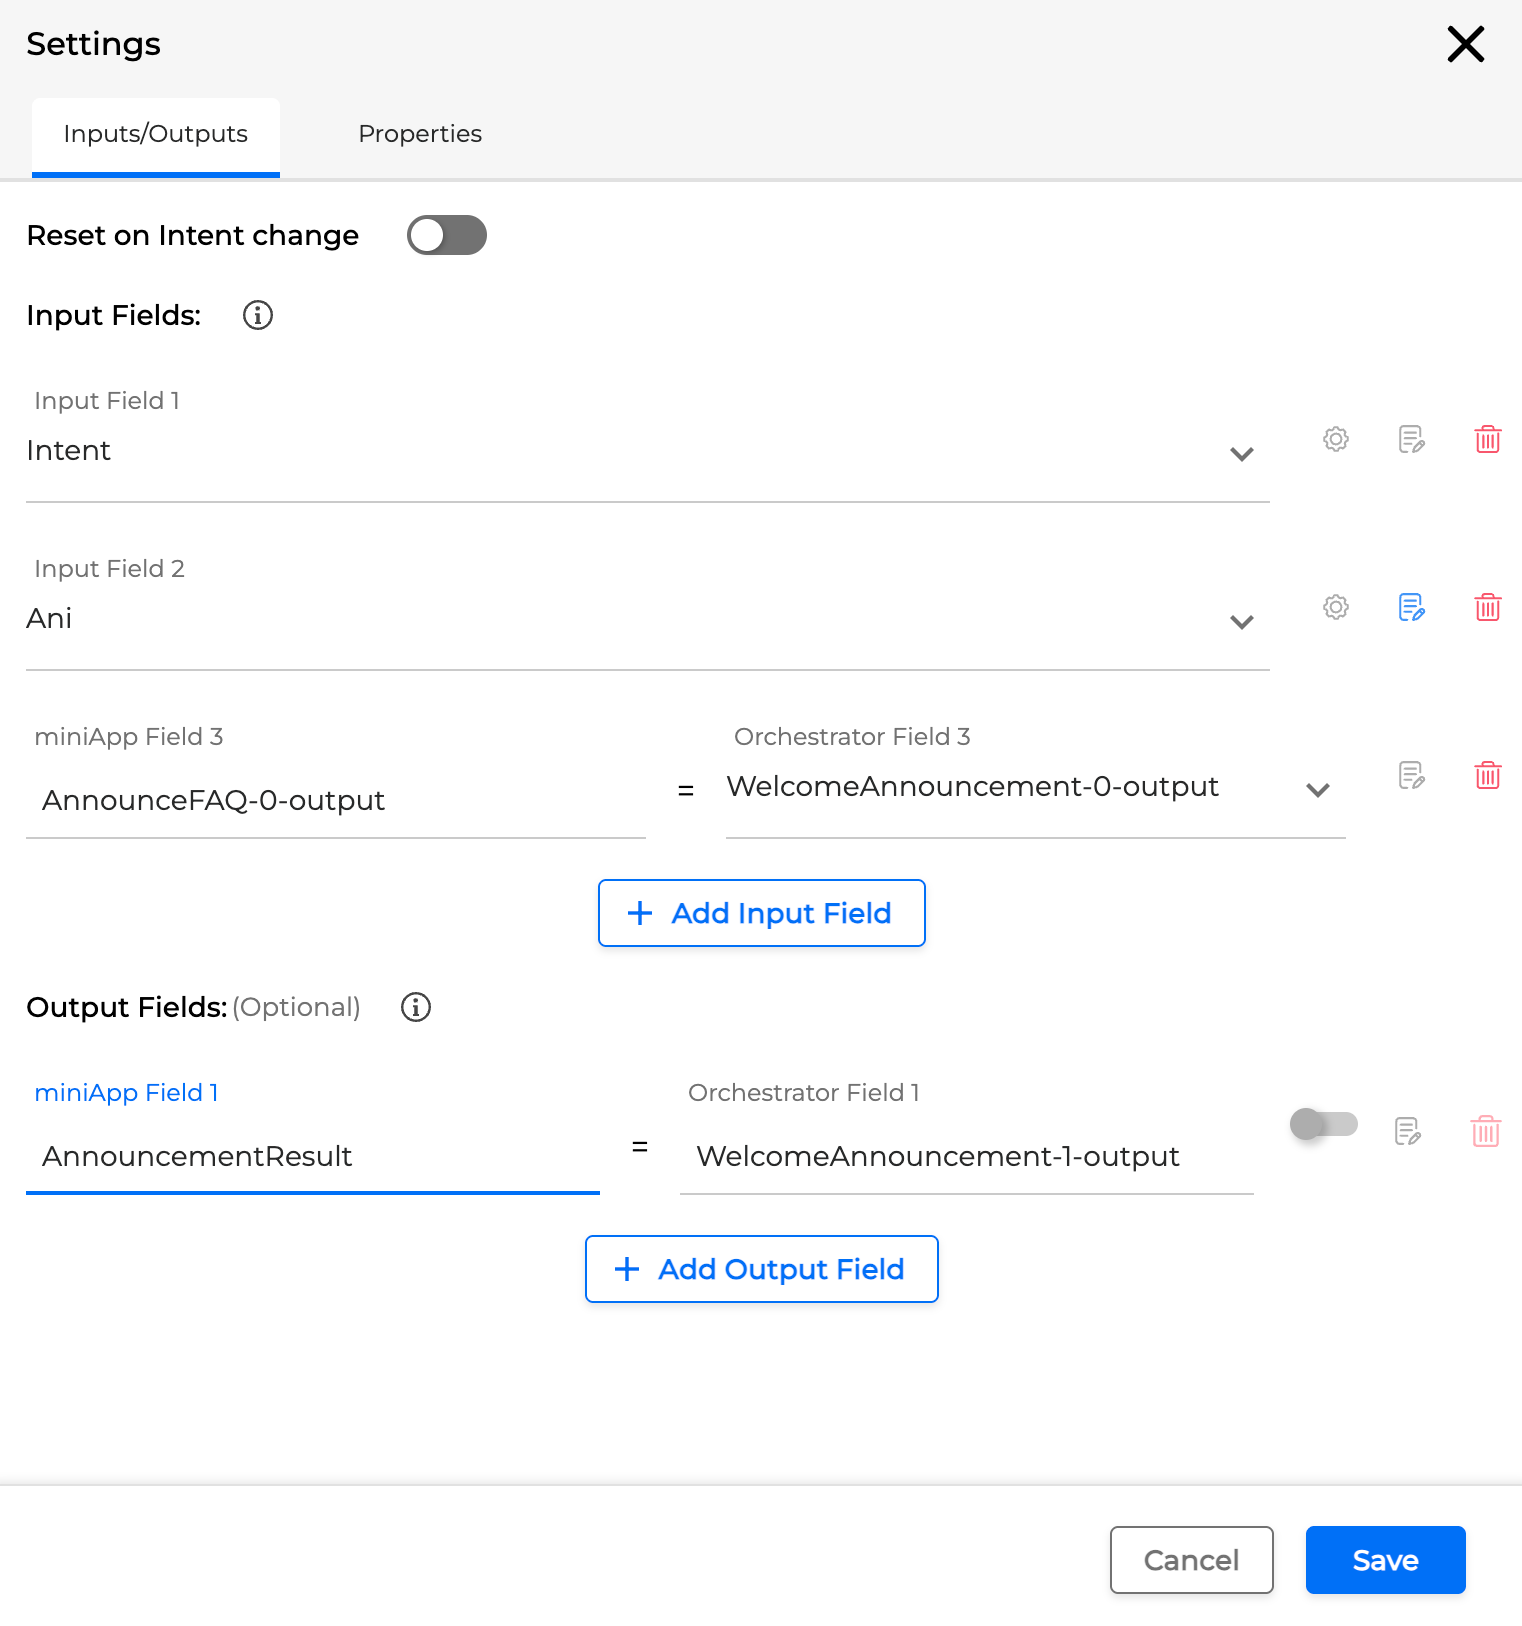
Mapping output fields to next miniApps
To configure the Input Field of the next miniApp based on the Output Field of a previous miniApp:
-
Select the next miniApp and click the Settings icon in the upper‑right corner.
-
In the Input Fields section, choose the corresponding Orchestrator field (previous miniApp’s output) from the dropdown list.
-
Click Save.
After all miniApps and other building blocks are properly configured, they can:
-
Present information to callers
-
Receive and interpret responses
-
Pass data to subsequent building blocks
-
Create a complete conversation that you can test in Orchestrator Chat
Over-Specification
During a dialog, miniApps usually collect information step by step and pass it to subsequent miniApps in sequence. However, a caller may provide several pieces of information at once, and you can use over‑specification to take advantage of that.
Standard sequential flow
Example without over‑specification:
System: How can I help you?
User: I would like to make a payment.
System: So you want to make a payment, correct?
User: Yes, correct.
System: Great! How much would you like to pay?
User: I’d like to pay $100.
System: What account do you want to make a payment from?
User: From my checking account.
System: Ok, when do you want to make a payment?
User: Today please.
System: So, you would like to pay $100 from your checking account ending in 1234 effective today. Is that correct?
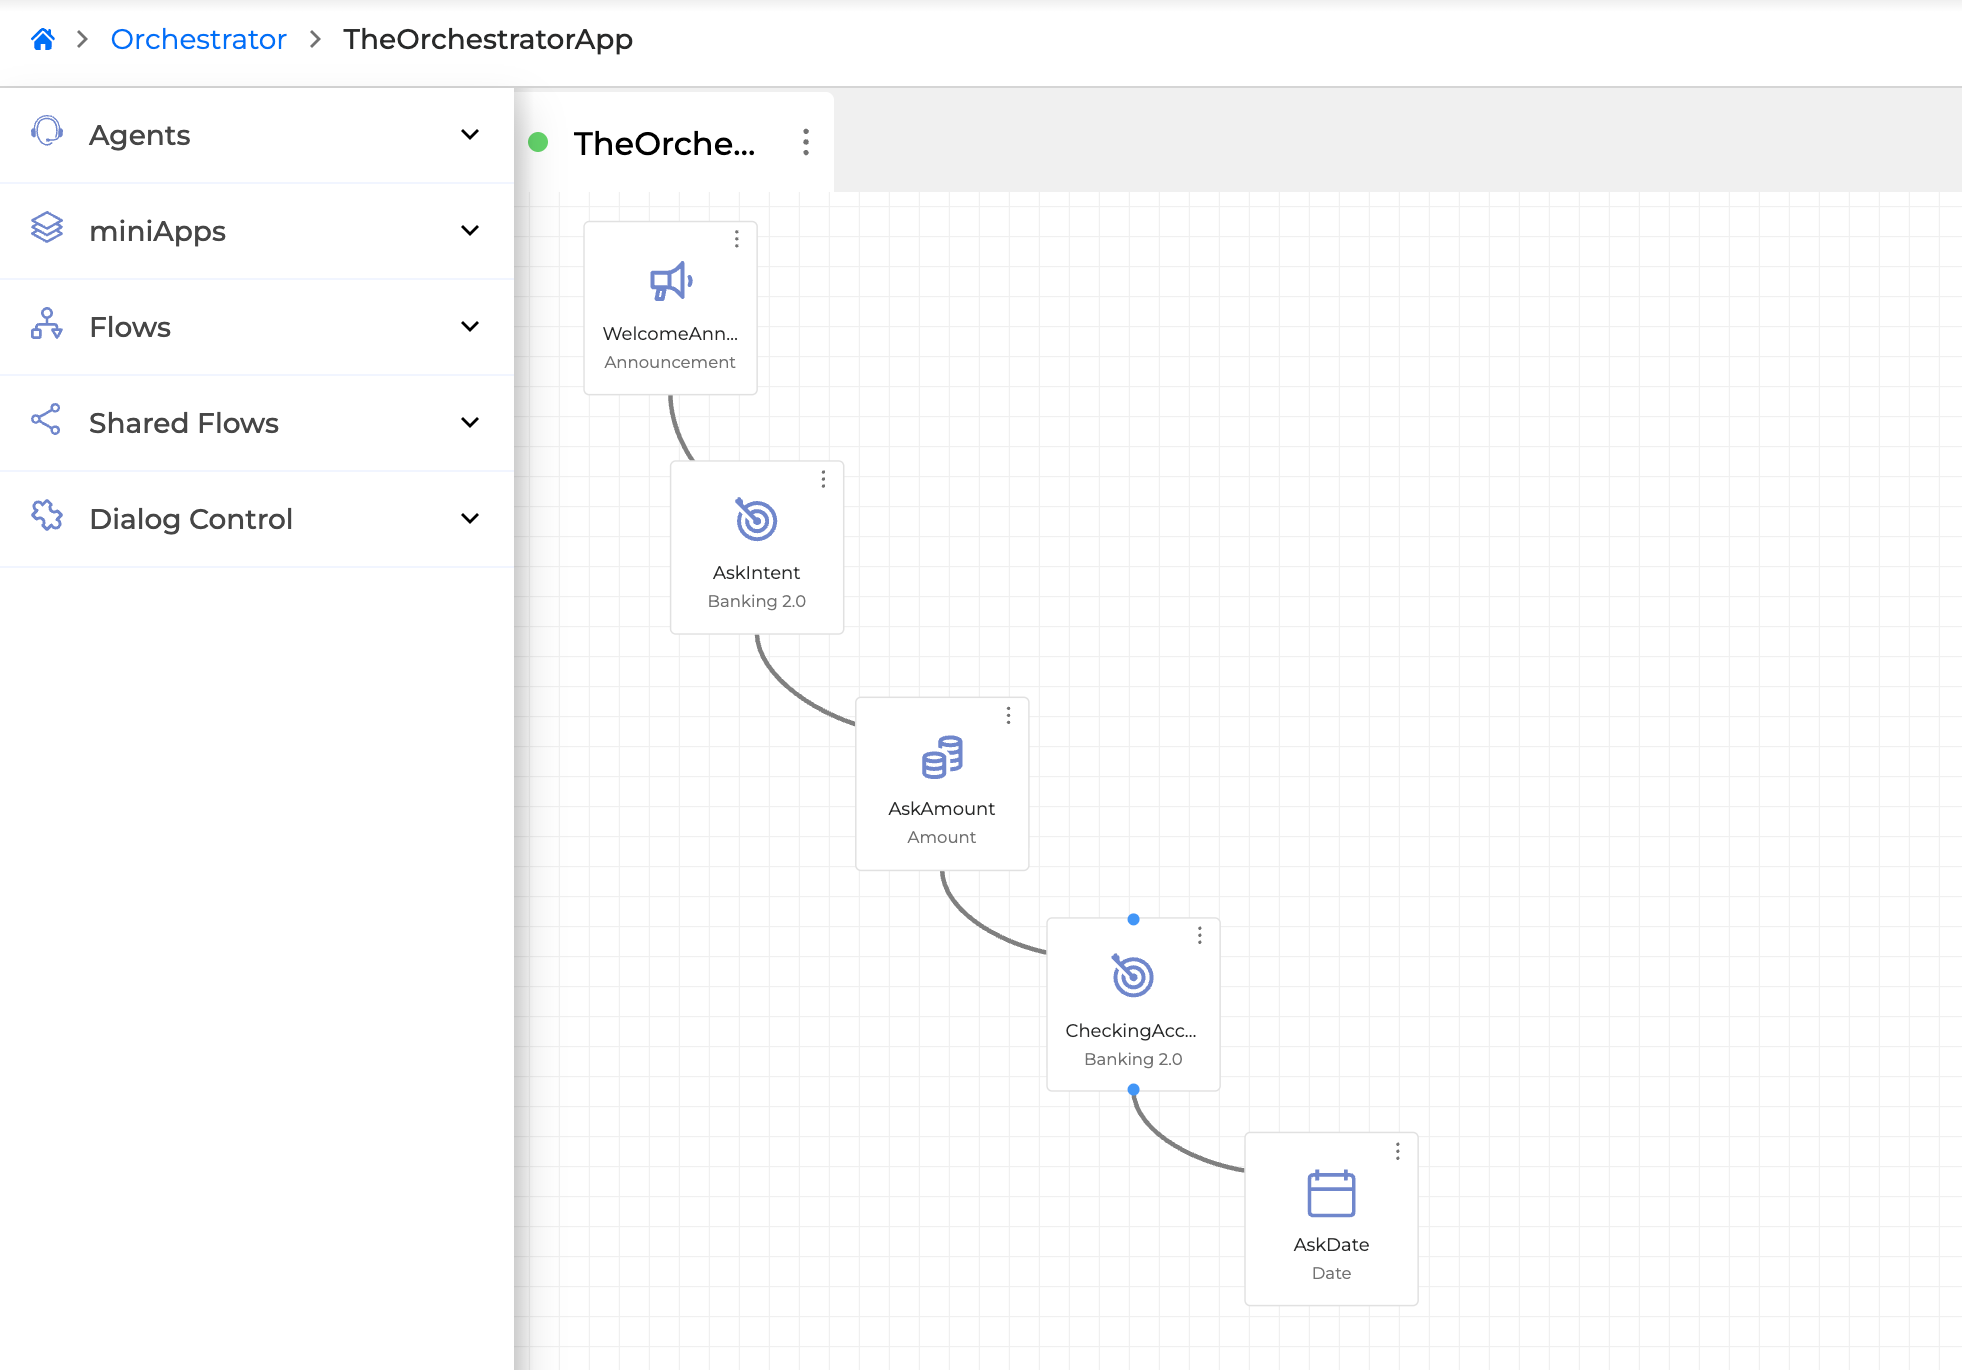
Here, the system asks for each required field separately (intent, amount, account, date).
Optimized flow with over‑specification
Over‑specification is a built‑in capability that allows the system to use information the caller provides before it is explicitly requested. After successful validation and confirmation in the miniApp, these values are passed as field values to upcoming miniApps, so the system does not need to re‑ask for them.
If the first miniApp in the sequence has optional fields that are required in later miniApps, and those fields share the same names, they are validated and confirmed upfront and reused later without additional questions.
With over‑specification applied, the same dialog looks like this:
System: How can I help you?
User: I would like to pay $100 from my checking account today.
System: So, you would like to pay $100 from your checking account ending in 1234 effective today. Is that correct?
In this example, the user provides:
-
The intent (make a payment)
-
The amount (
$100) -
The account (checking)
-
The date (today)
Because all required information is already present and confirmed, the system skips intermediate questions and proceeds directly to confirmation and validation.
How to configure over‑specification
To enable over‑specification in your dialog:
-
Configure validation and confirmation logic for the relevant fields in the miniApps board.
-
In the first miniApp, configure these fields as optional entities.
-
In subsequent miniApps, configure the same fields as mandatory, using the same field names as in the first miniApp.
You can then use a table like the one below to document miniApps and their input/output configurations if needed:
|
miniApp |
Input and Output Fields' configurations |
|---|---|
|
|
|
|
|
|
|
|
|
|
|
|
Automated Logging of KVPs
If you want any Input Field or Output Field to appear in logs, enable automated logging of KVPs (Key‑Value Pairs).
To enable logging for a field:
-
Click the Logging icon next to the field name.
-
When logging is off (default), the icon is grey.
-
When logging is on, the icon is blue.
When enabled:
-
Logging is triggered when a miniApp starts.
-
Logging is triggered when a Flow or miniApp ends execution (respectively).