Manage tab
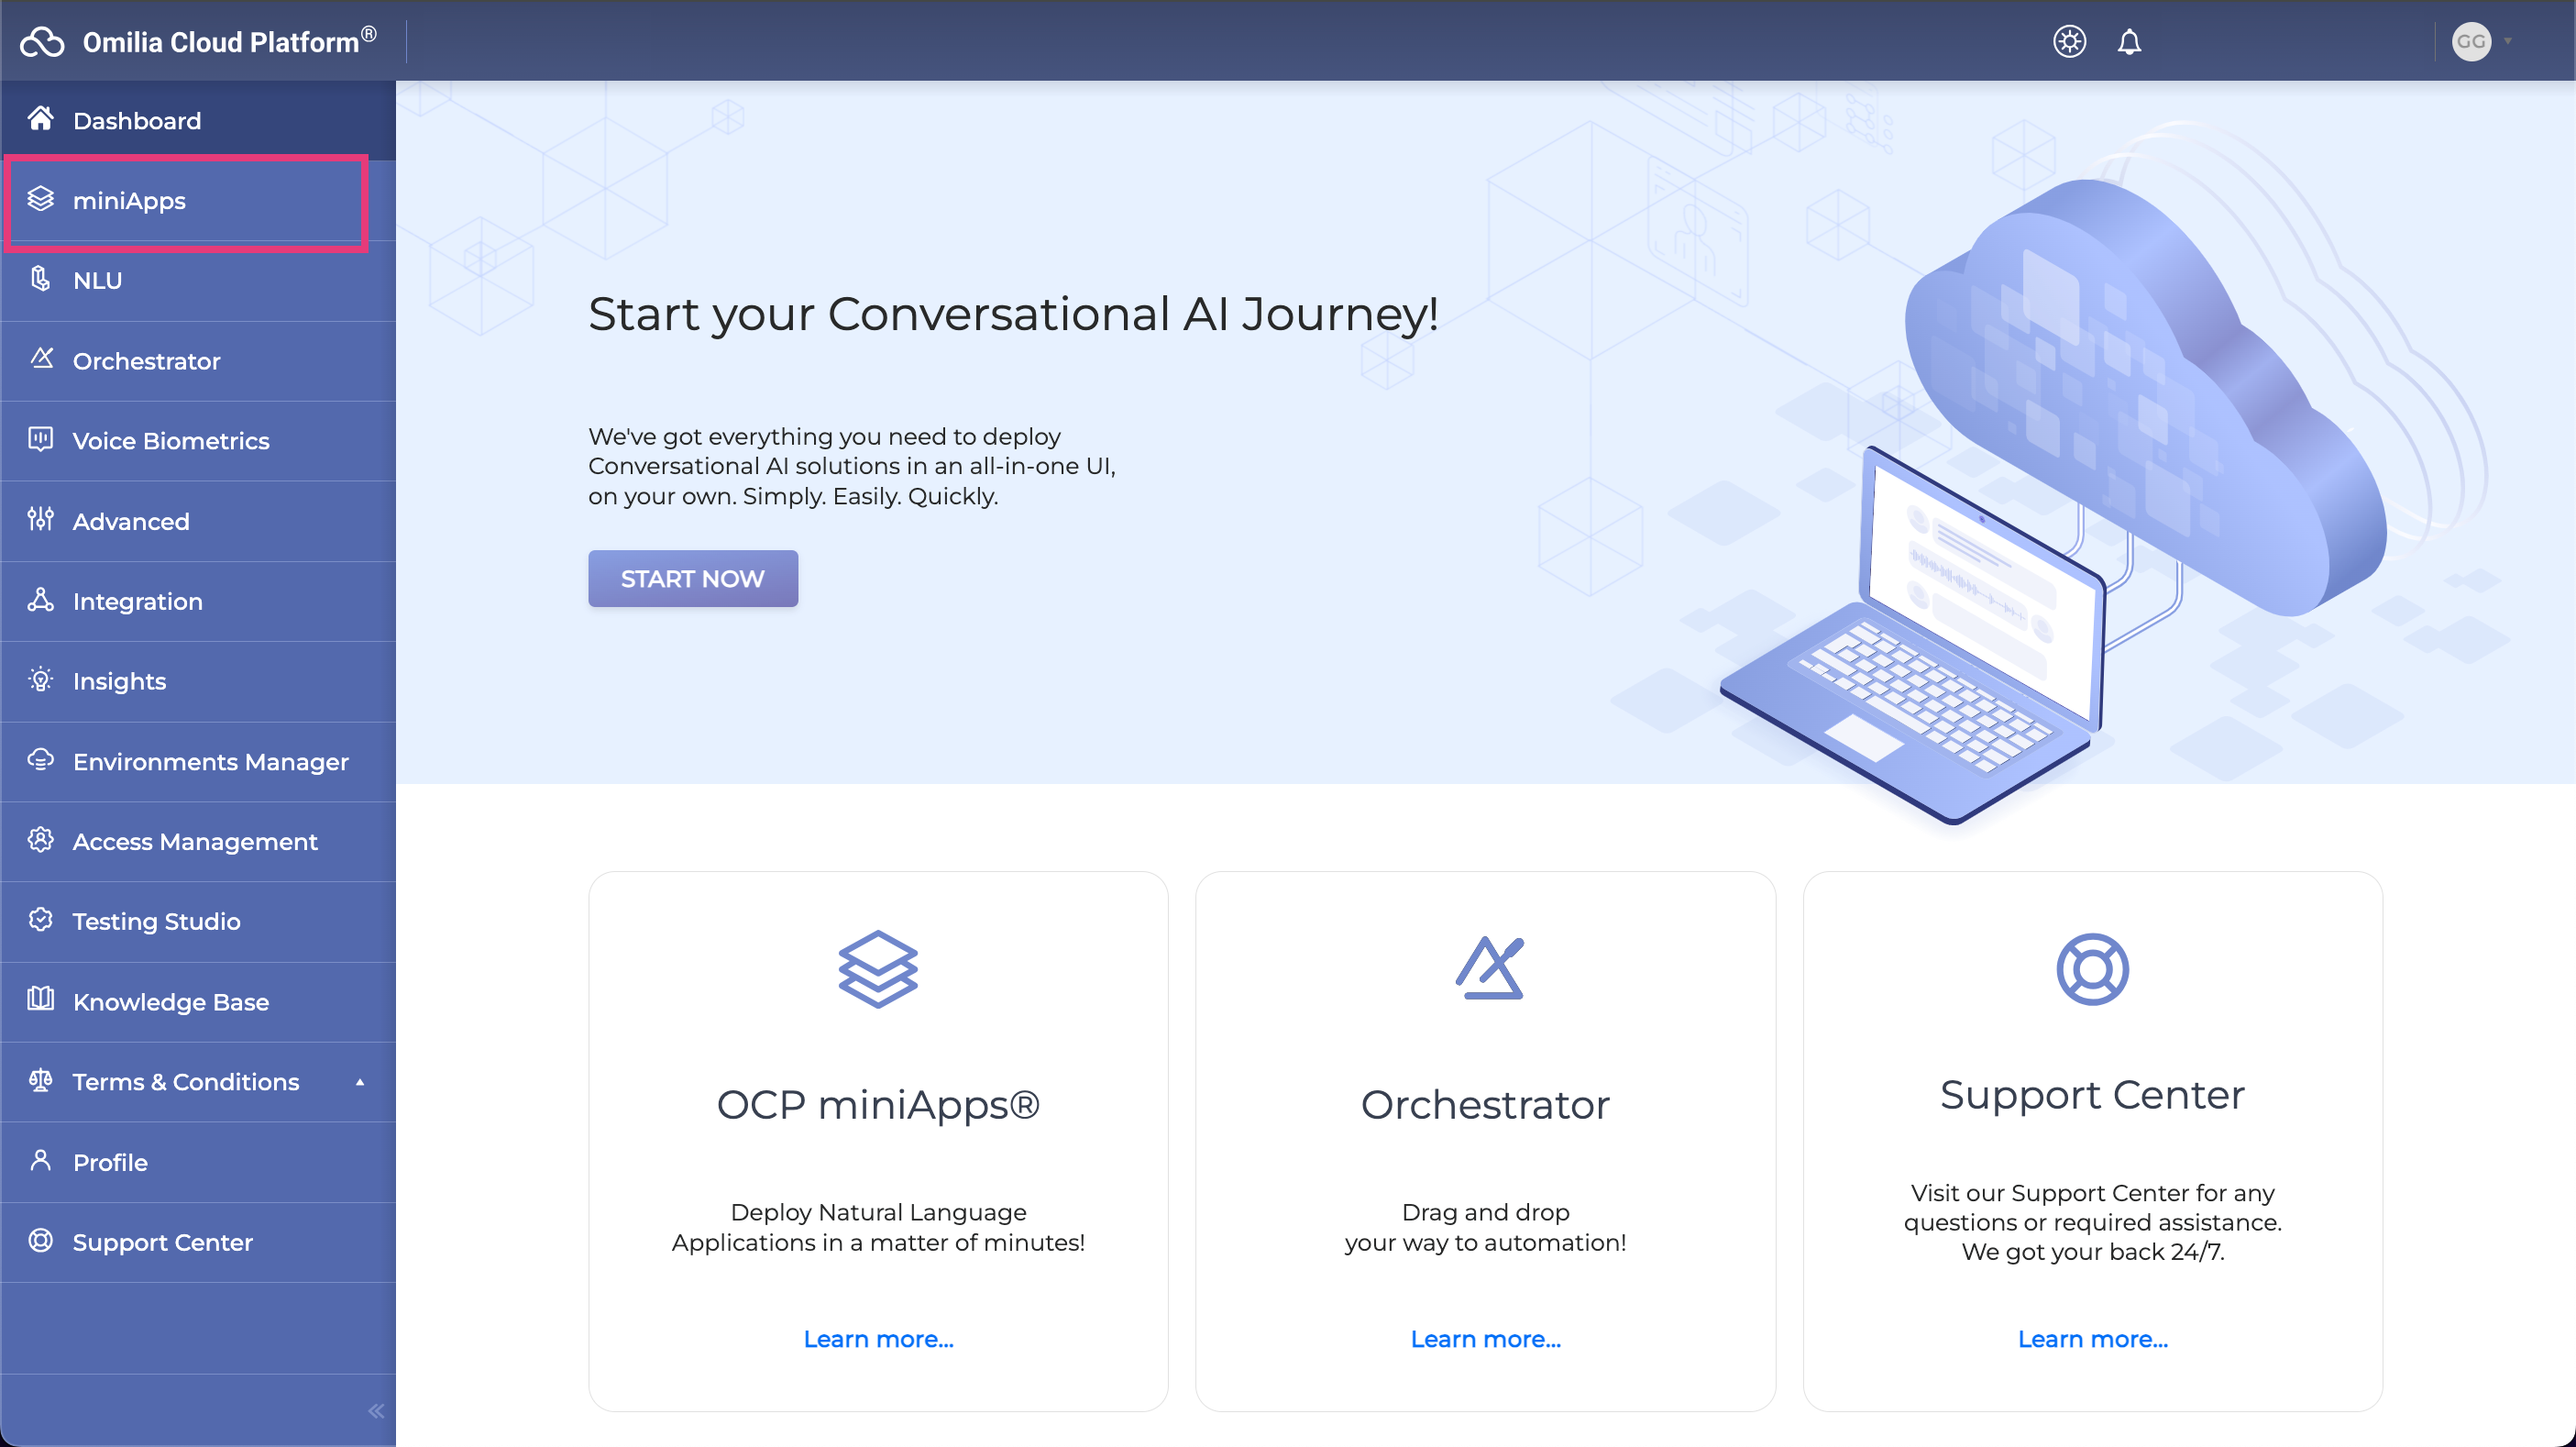
To enter the OCP miniApps®, proceed as follows:
-
Log in to OCP® as described in Logging in and logging out.
-
Click miniApps on the left pane.
-
Click Manage. The Manage tab lists all miniApps you created, including their type and group.
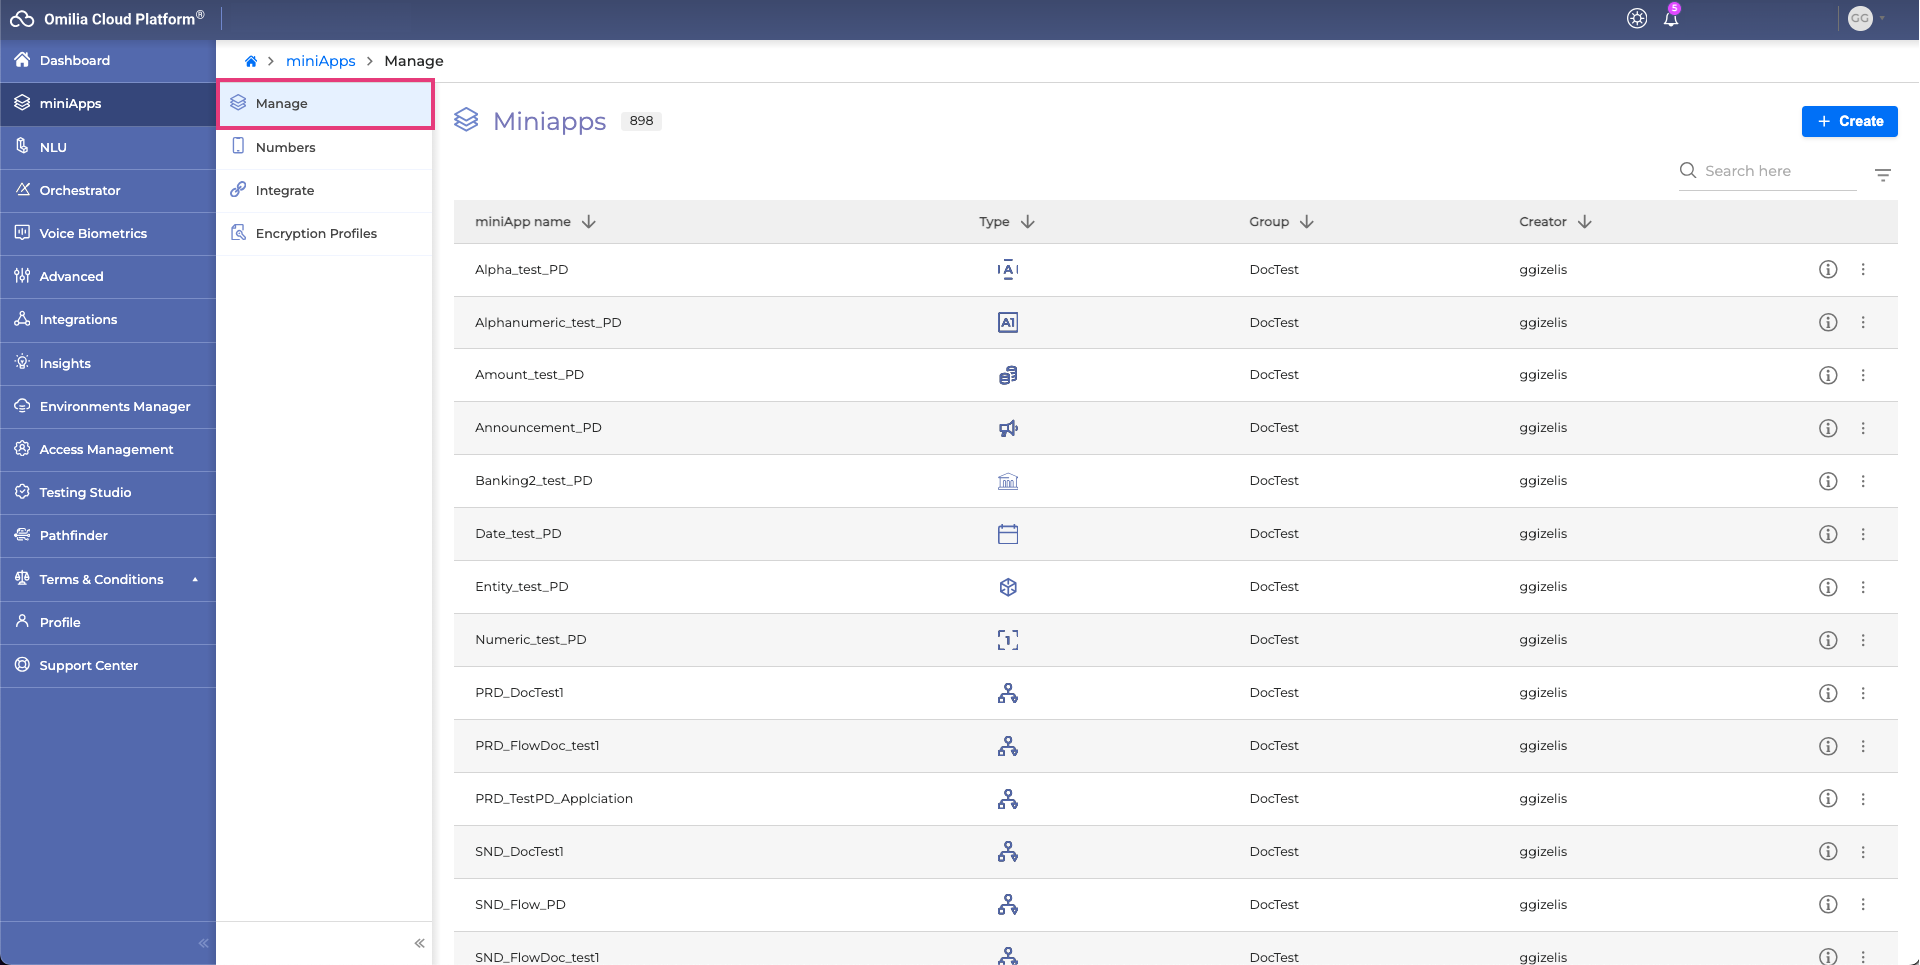
In the Manage tab, you can:
-
Create a new miniApp
-
Duplicate an existing miniApp
-
View and delete already created miniApps
-
Search for existing miniApps
-
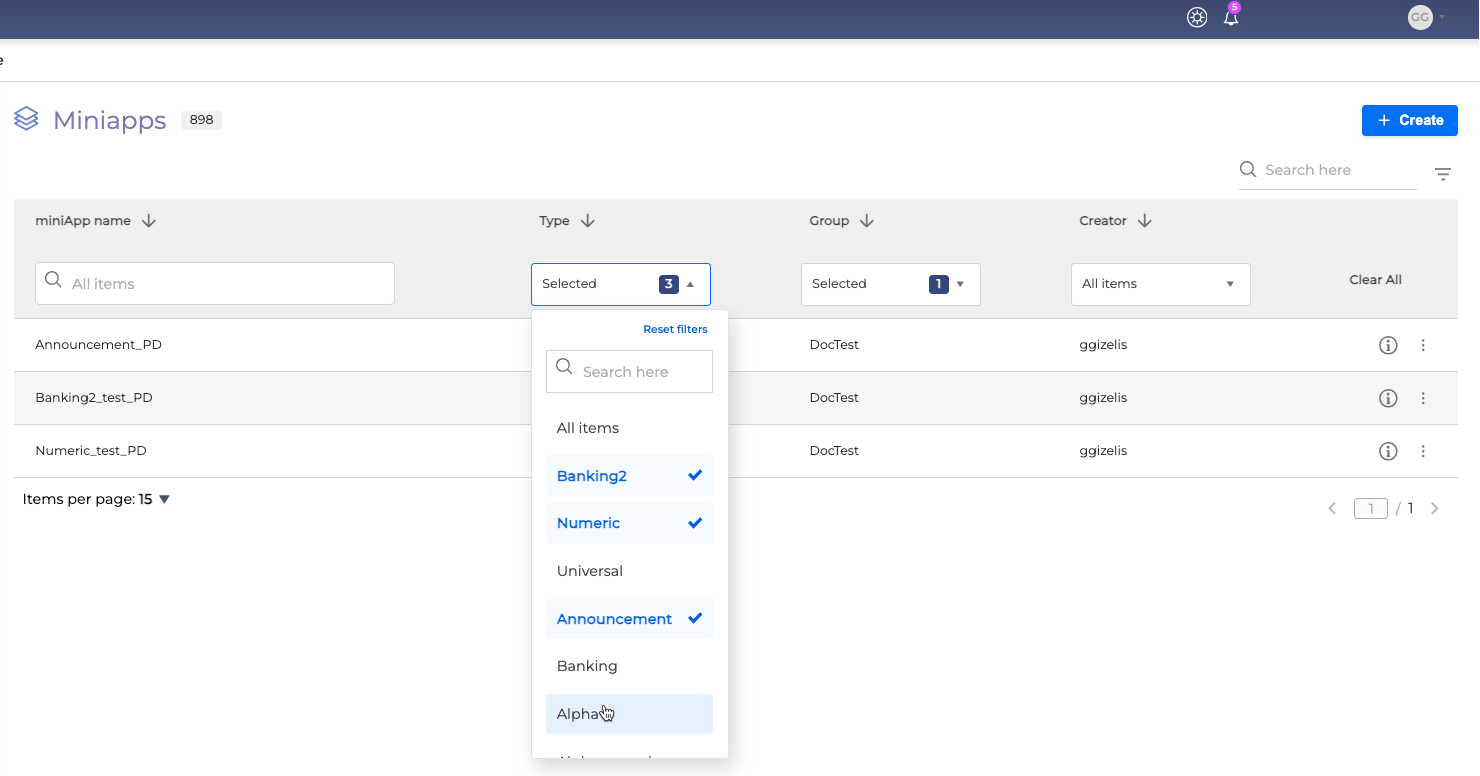
Filter the available miniApps based on category using the filter button

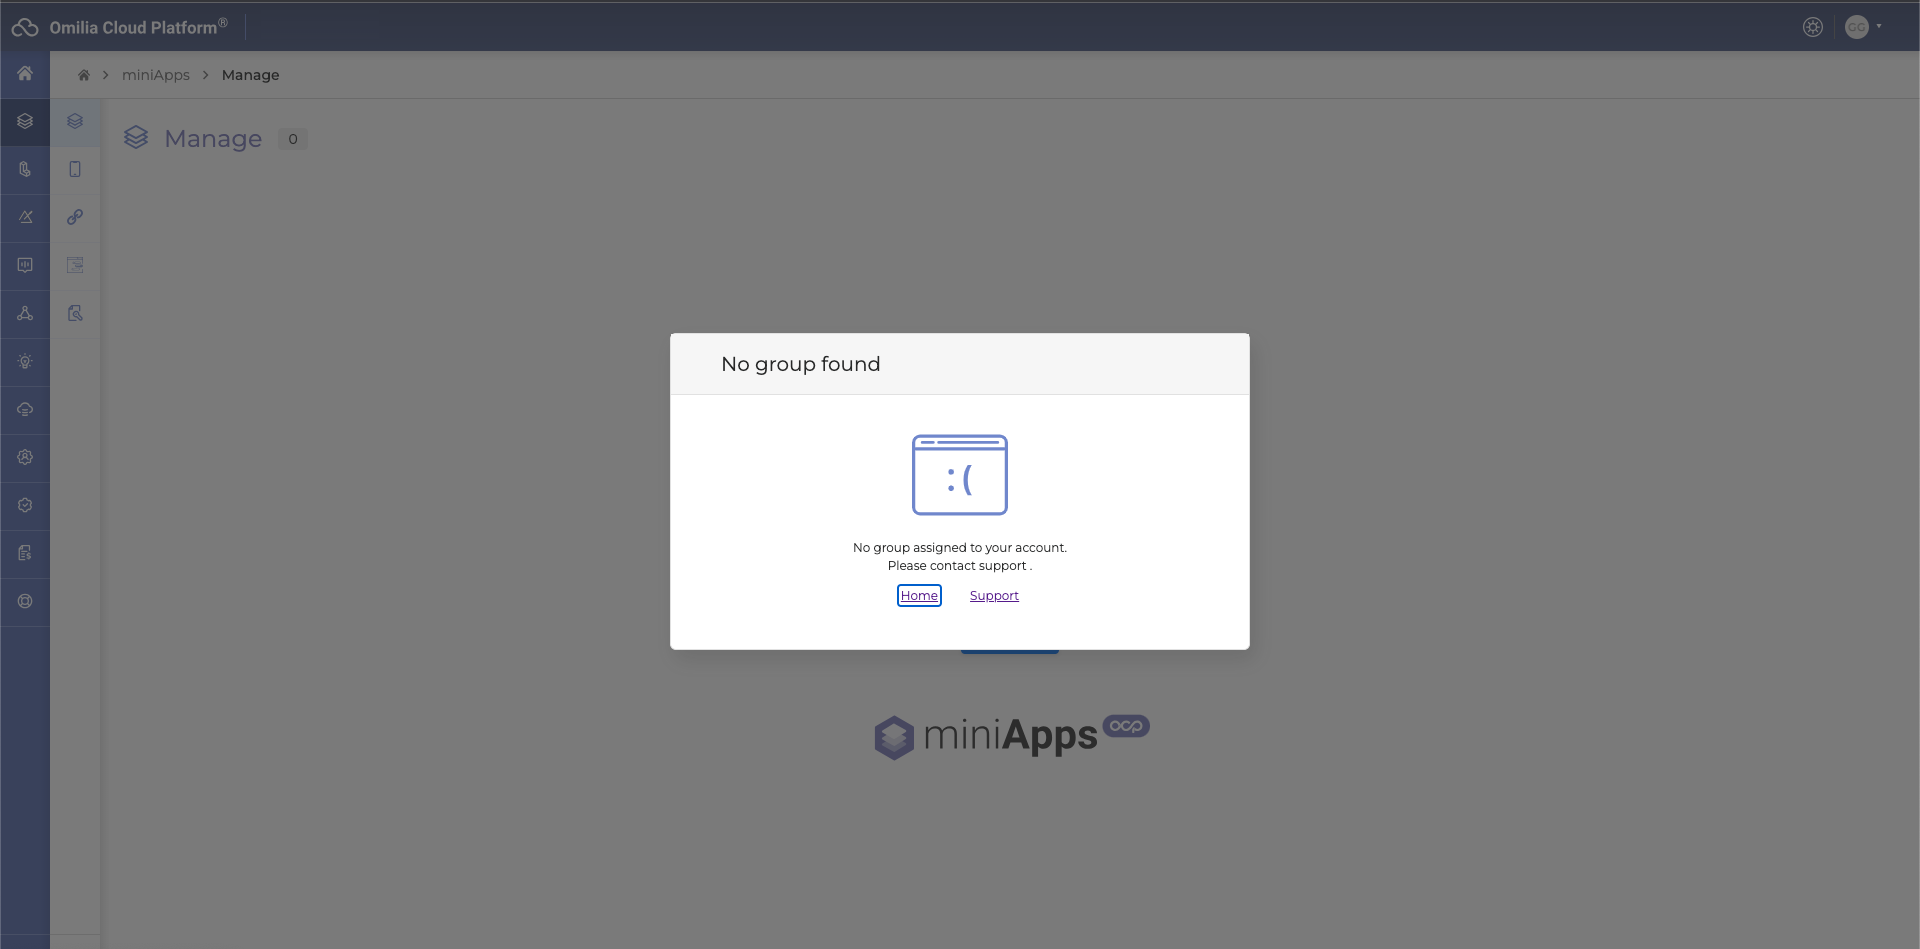
Create Group
It is not possible to create and view miniApps if you do not belong to a group. If the user does not belong to a group the corresponding info message will pop up when enter the miniApps menu.
Contact Omilia Service Desk to get assigned to a group.
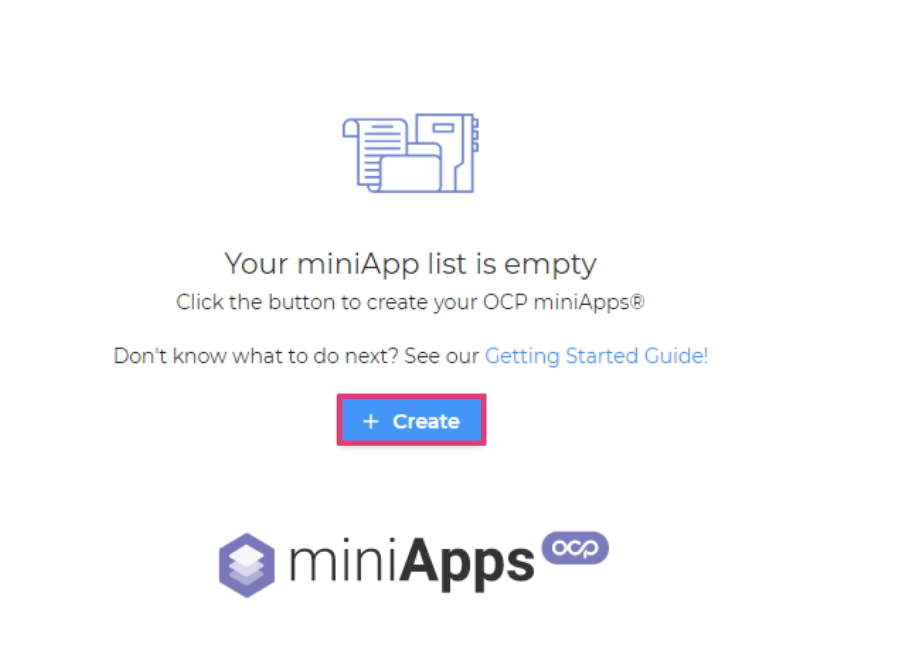
Create a new application
-
To create a new application, click Create.
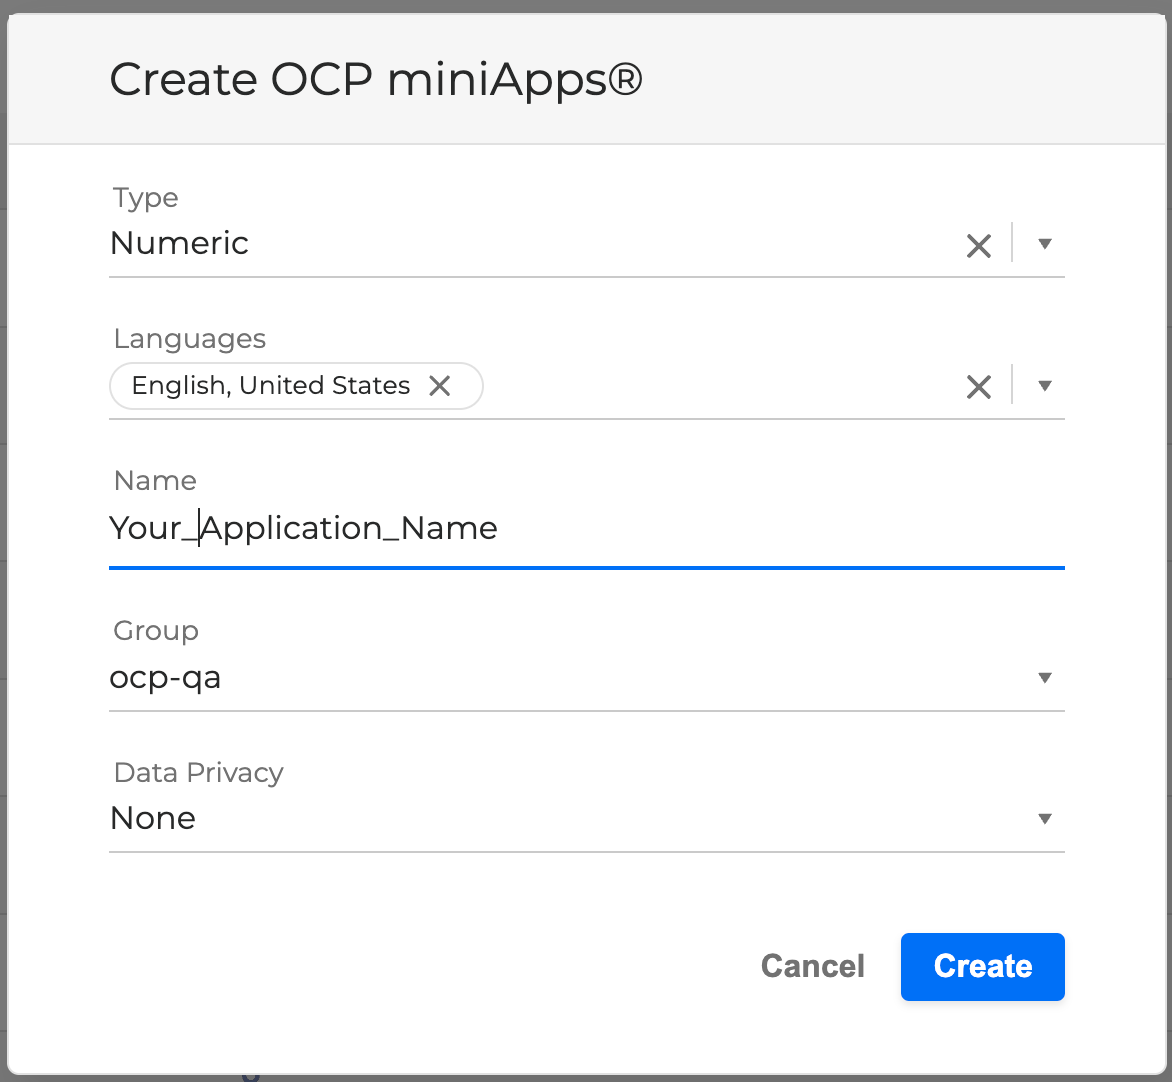
2. In the Create Application pop-up window, fill in the suggested fields:
-
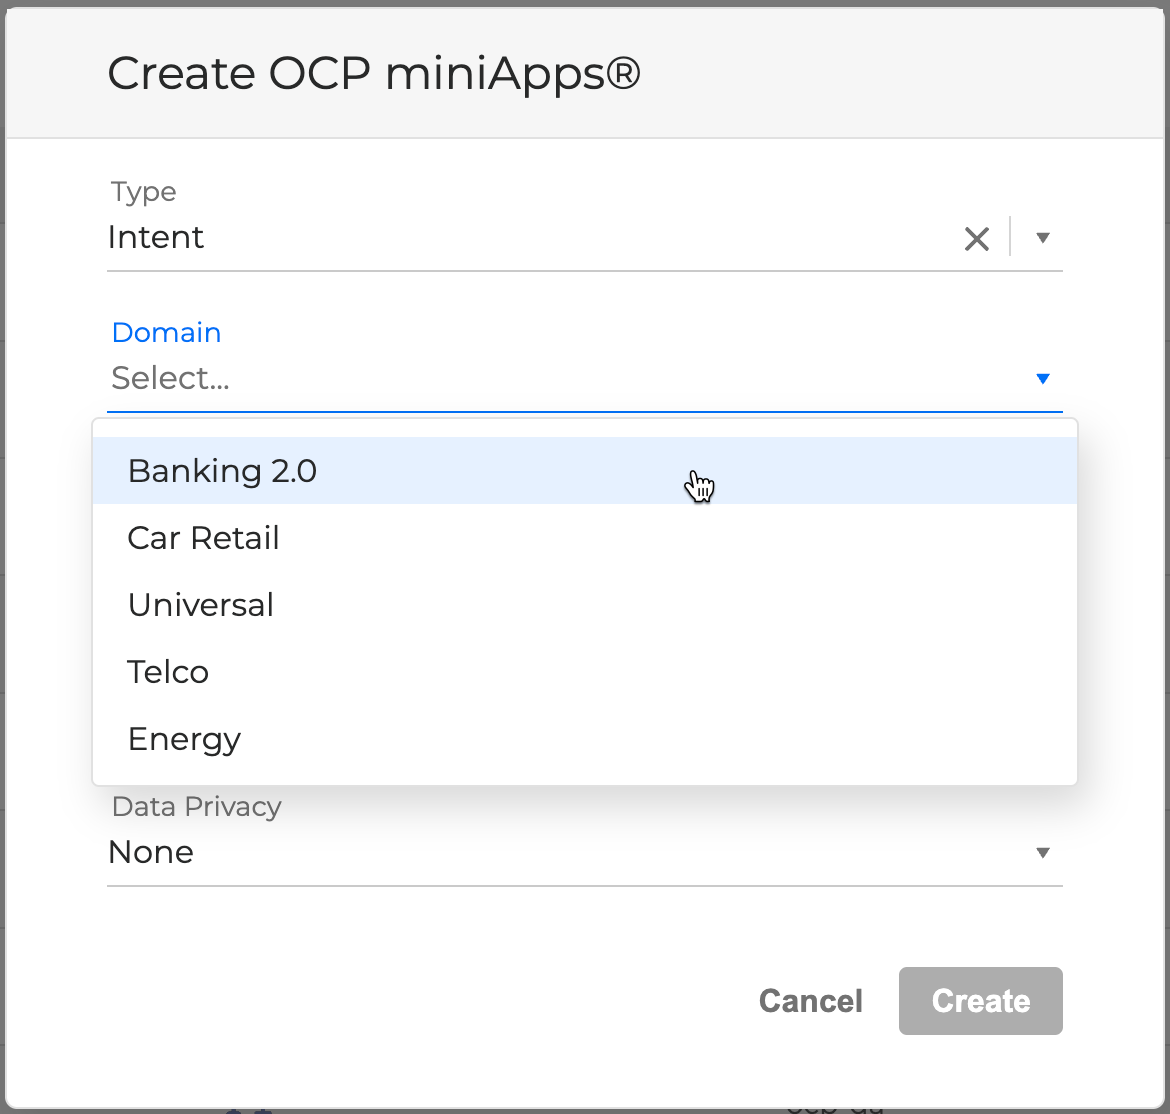
Type: Select the OCP miniApps® type from the drop-down list (Intent, Numeric, Alphanumeric, Alpha, Date, DateRange, Announcement, YesNo, Web Service, Intelli, Corpus Collection, Text).
-
When creating an Intent miniApp, you also need to choose a specific domain
-
-
Name: Enter a name for the application using only alphanumeric chars and underscores.
-
Group: Select the group the miniApps will belong to. The drop-down menu shows only the groups that the signed-in user is already assigned to. Upon creation, the miniApps will be visible to all people who have access to the specific group you select. If you don’t want the miniApps to be shown to other users, select the group named after your username.
-
Data Privacy: Depending on the sensitivity of the information the users provide, you can decide whether this data will be protected. If you want to protect the user data, you can choose how it will be stored. In the Protection Type drop-down menu, you have the following options:
-
None: stores the data as plain text
-
Irreversible Masking (***): stores the data as masked text
-
Envelope Encryption (AES 256): stores the data as encrypted
-
Masked and encrypted data fields become automatically Global.
3. Click Create to generate the new miniApp.
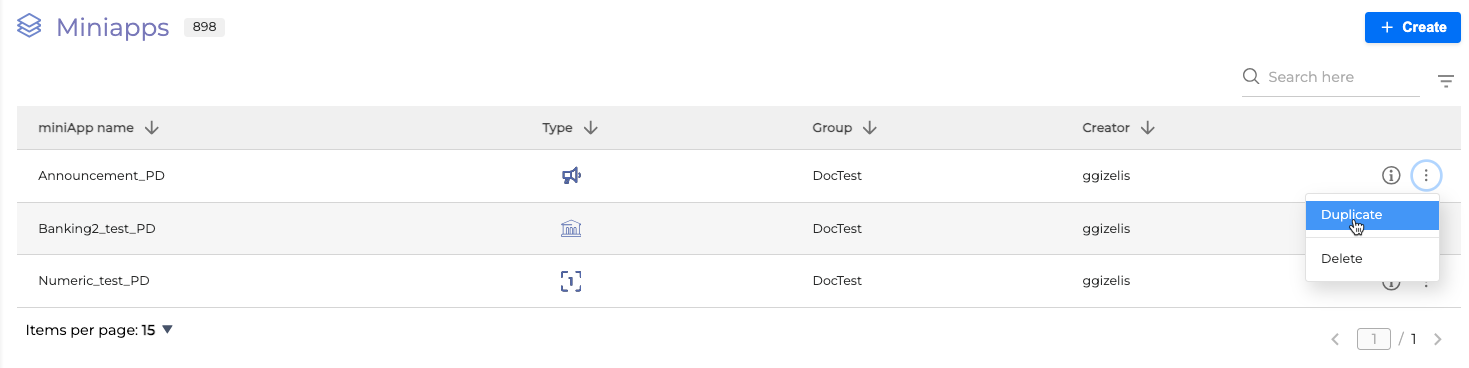
Duplicate an application
-
To duplicate an already created miniApp, click the context menu on the right side of the miniApp entry, and click Duplicate.
Duplicate an application
-
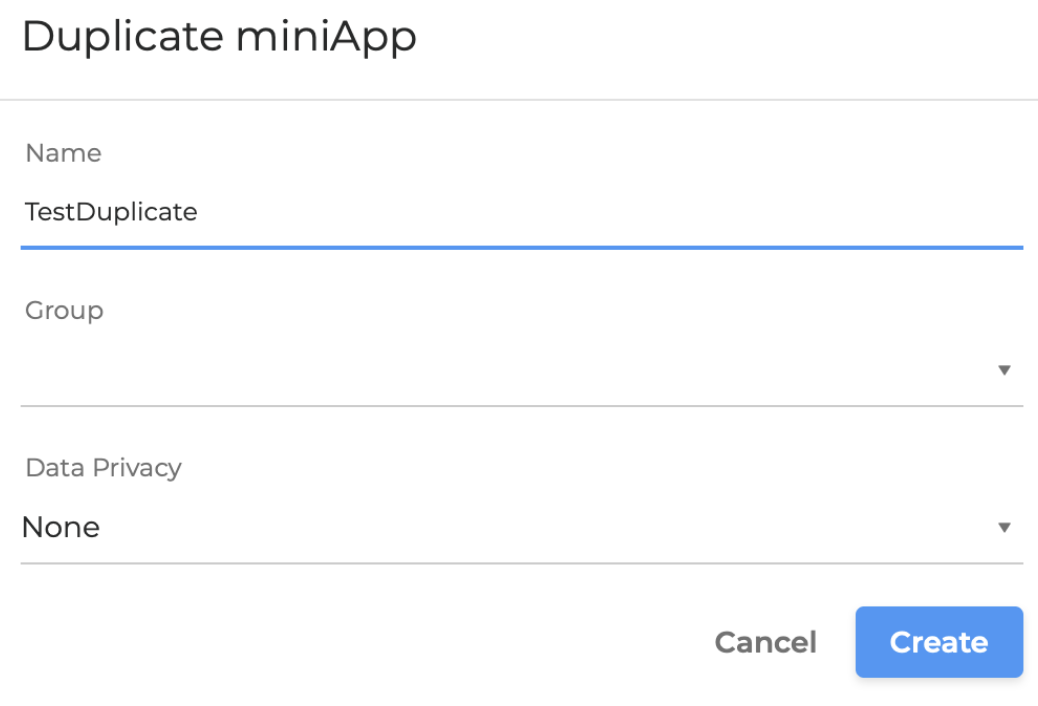
In the Duplicate Application pop-up window fill in the suggested fields:
-
Name: Enter a name for the application using only alphanumeric chars and underscores.
-
Group: Select the Group the miniApps will be assigned to.
-
Data Privacy: Select the Data Privacy type.
3. Click Create to create the new miniApp.
Delete an application
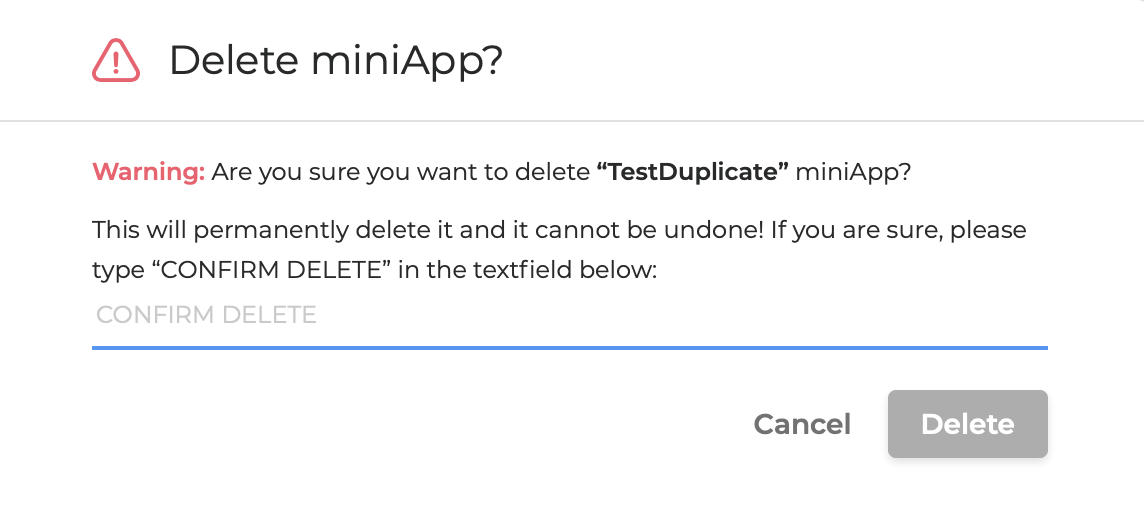
This will permanently delete your miniApp and it cannot be undone.
-
To delete an already created miniApp, click the context menu on the right side of the miniApp entry, and select Delete.

Delete an application
-
Confirm the deletion by typing CONFIRM DELETE.
Export / Import miniApp configuration
Once a miniApp is created you have the option to import its configuration. The miniApp configuration is a JSON file that can either be created or exported from an already configured miniApp.

Exporting MiniApp Configuration
This process will save your miniApp's configuration as a JSON file for backup or transfer purposes.
To export the configuration of a miniApp, follow these steps:
-
Open the miniApp you wish to extract.
-
Click the Export button.
-
Save the exported JSON file to your desired location.
Importing MiniApp Configuration
This will apply the settings and configurations from the JSON file to your miniApp.
To import a configuration into a miniApp, follow these steps:
-
Open the miniApp you wish to extract.
-
Click the Import button.
-
Select a valid JSON file that contains the miniApp configuration you wish to import.
Edit miniApp Data Sensitivity
If the sensitivity of a miniApp and it’s output need to be changed, users have the ability to update it in the General tab.
Select the required data protection option from the dropdown list and save the changes. You can change it separately for Production, Dev or UAT environments.
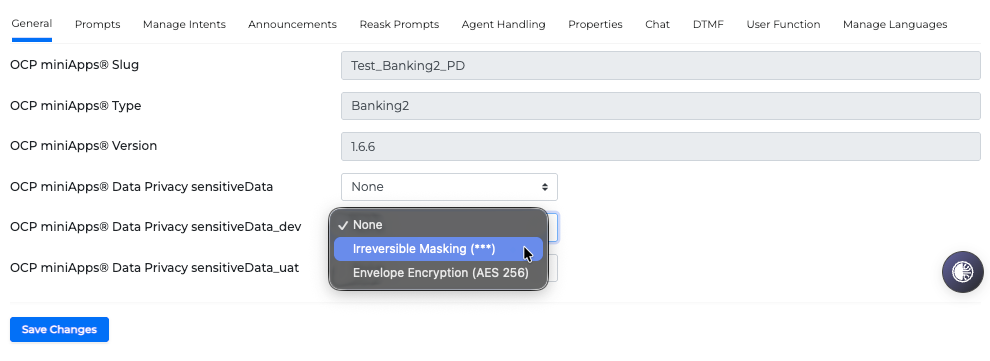
Masked and encrypted data fields become automatically Global.
When the production sensitivity type changes, the platform automatically updates the miniApp's sensitive flag in the database.
This sync only applies to Production. Changes to Dev or UAT sensitivity do not update the sensitive flag.
Audit logs
From miniApps 2.41.0 onward, all logs are collected and stored in the Admin area under Access Management - Audit logs.
Audit log availability depends on your environment configuration. This feature may not be enabled on all environments. If Audit logs are not visible in your Admin area, contact Omilia Support to verify whether this feature is enabled for your environment.