Event Handlers allow the creation of configurations that can handle the following:
-
certain errors occurring during the Dialog that cause the unintentional end of the conversation
-
cases when the caller wants to repeat the conversation or start it over from a certain step
This is possible with the Error and Repeat functions of the Event Handlers feature.
Error Handlers Function
Error Handlers allow channeling a conversation to a preconfigured Flow that will be played once a predefined error happens. Since Error Handlers help manage multiple types of errors, you can configure different Flows to cover the possible scenarios at any point of the conversation.
For example, suppose the caller doesn’t respond to a question asked by a certain miniApp several times; in that case, it is possible to build a Flow and configure the Announcement miniApp inside, containing the “Please, repeat” message. You can then place it in the Error Handler drop zone, so this Flow will be executed when this exact error occurs, ensuring the conversation remains logically channeled.
It is possible to configure a default Error Handler with a Flow that will be played when any type of error appears. Also, define the error type and the miniApp it will occur in, and configure an Error Handler with a Flow that will handle it respectively. Multiple Error Handlers can be applied at the same time.
Orchestrator provides all miniApps error types found in the Fail Exit Reasons document.
To create a default Error Handler, read the Configure default Error Handler section.
To create an Error Handler with multiple errors, check out the Configure specific Error Handler section.
Configure Default Error Handler
-
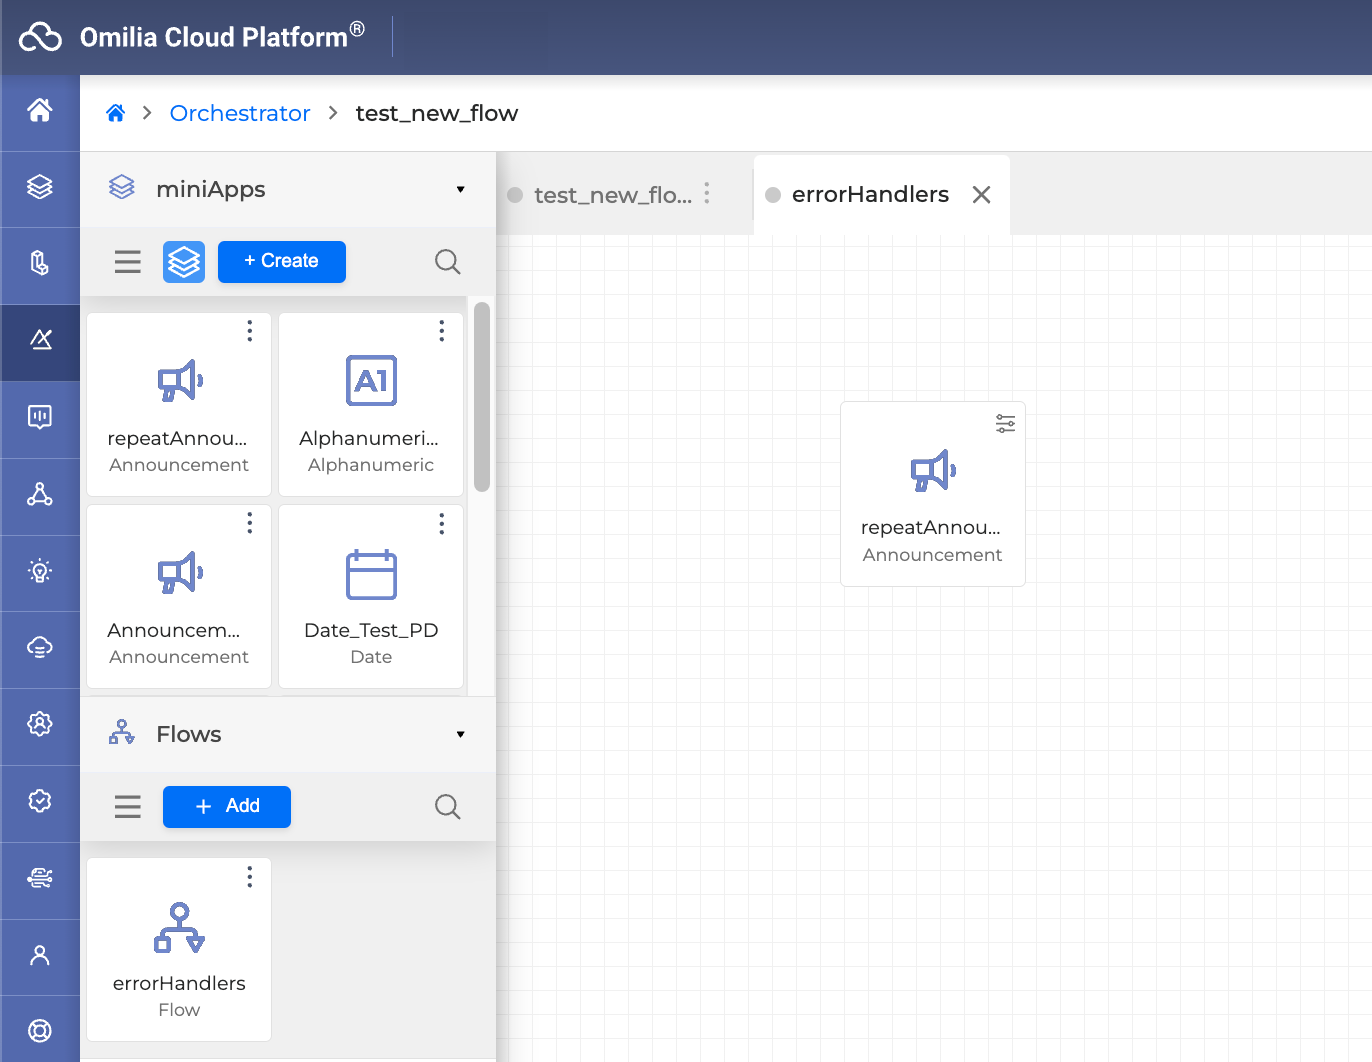
Create a Flow that will be used for error handling purposes. Click on the +Add button under the expandable Flow section on the left, fill in the corresponding fields, and click Save.

-
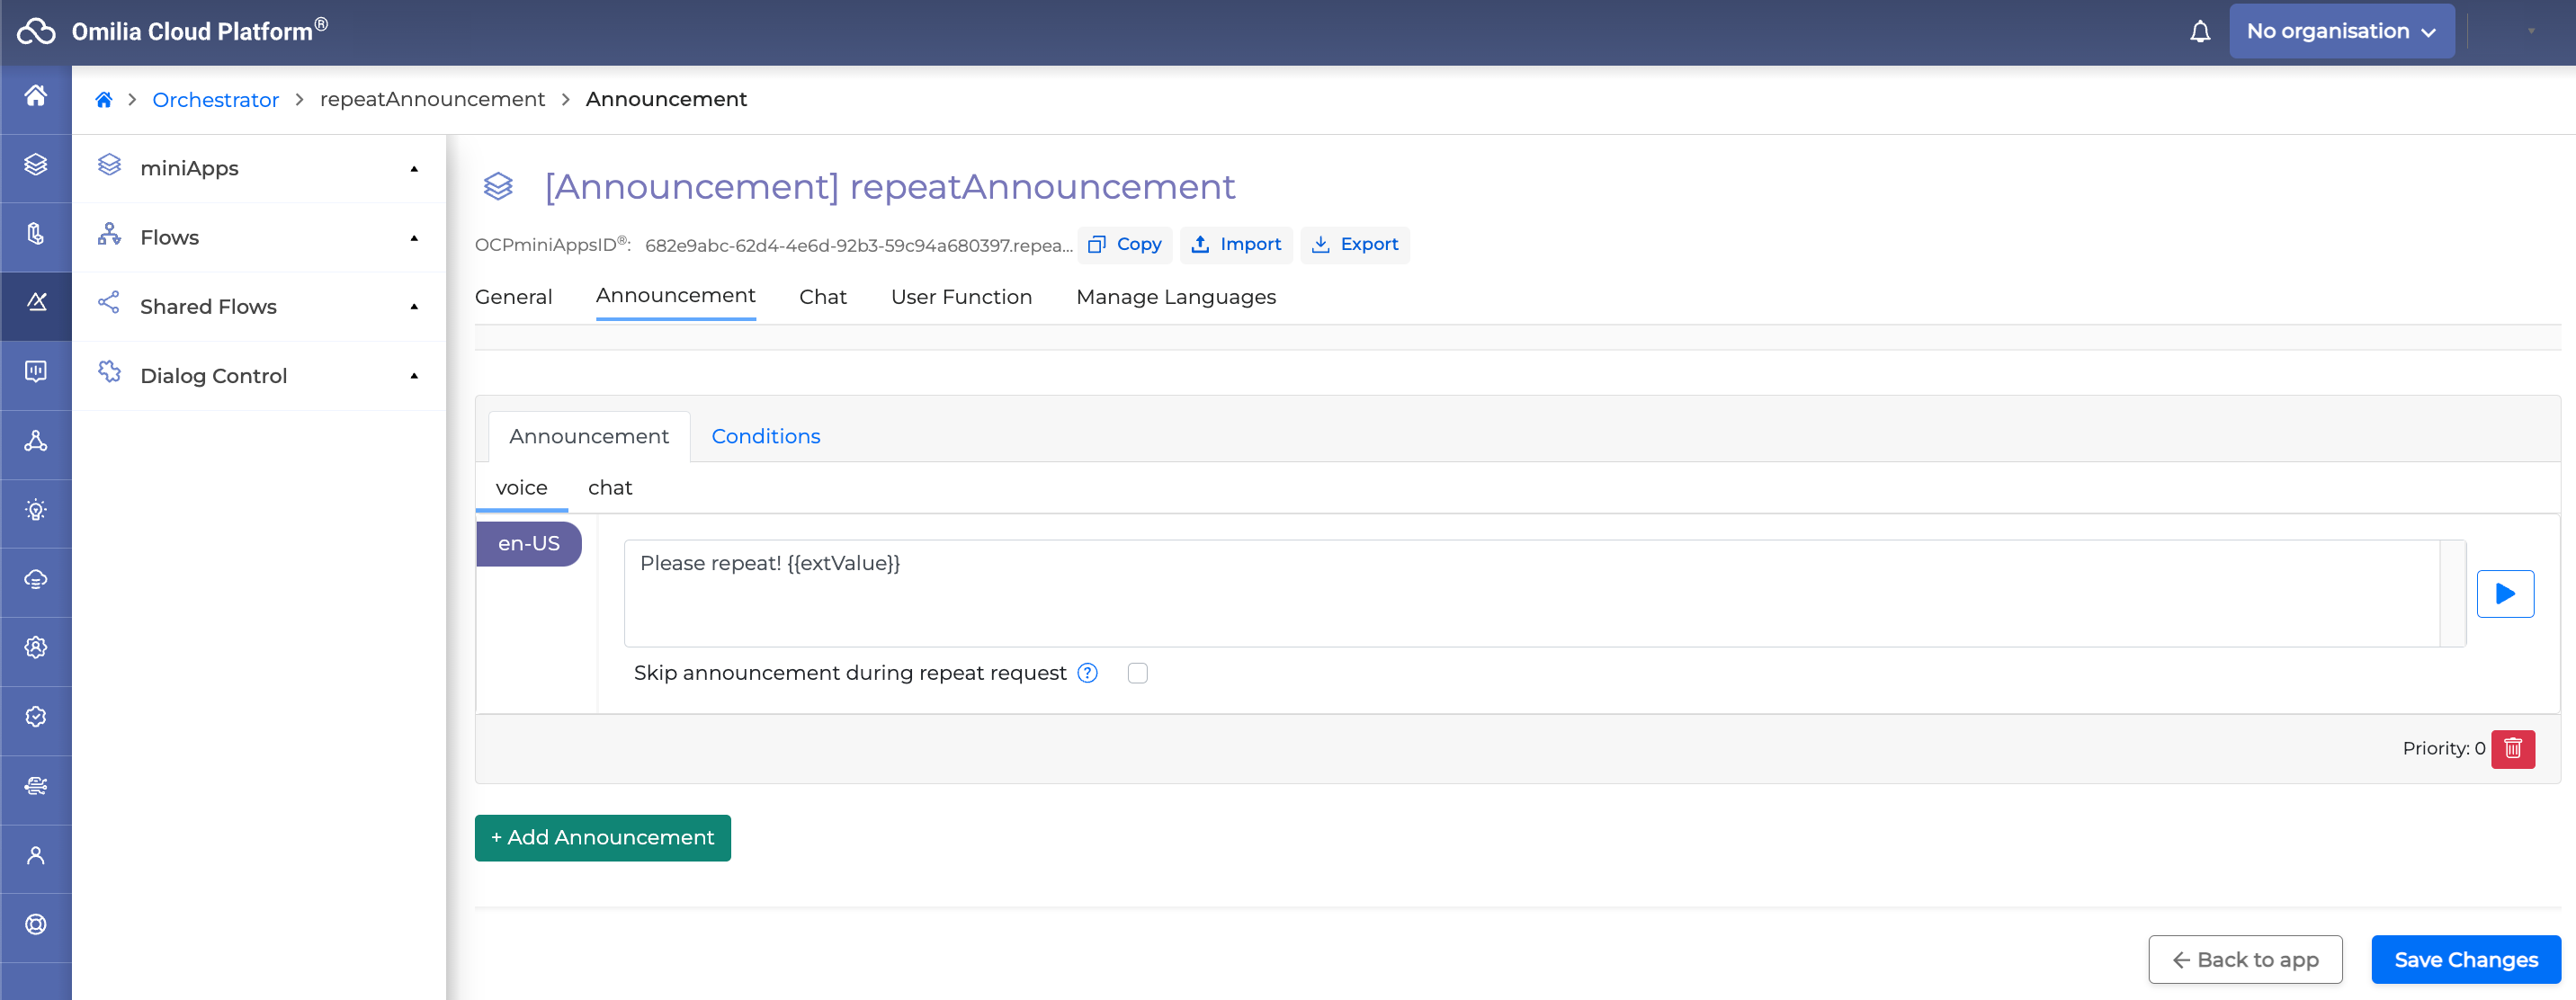
This Flow can contain any type of building blocks. For example, if the Announcement miniApp is selected, it will play when any type of error happens. Configure the miniApp like you did in the Getting Started with Orchestrator guide to ask the caller, “Please repeat”. Click on the Flow you created in the Flows section to open it as the Orchestrator Application in a new tab and drag and drop the miniApp onto the canvas.
-
Configure the miniApp values accordingly and click Save.
-
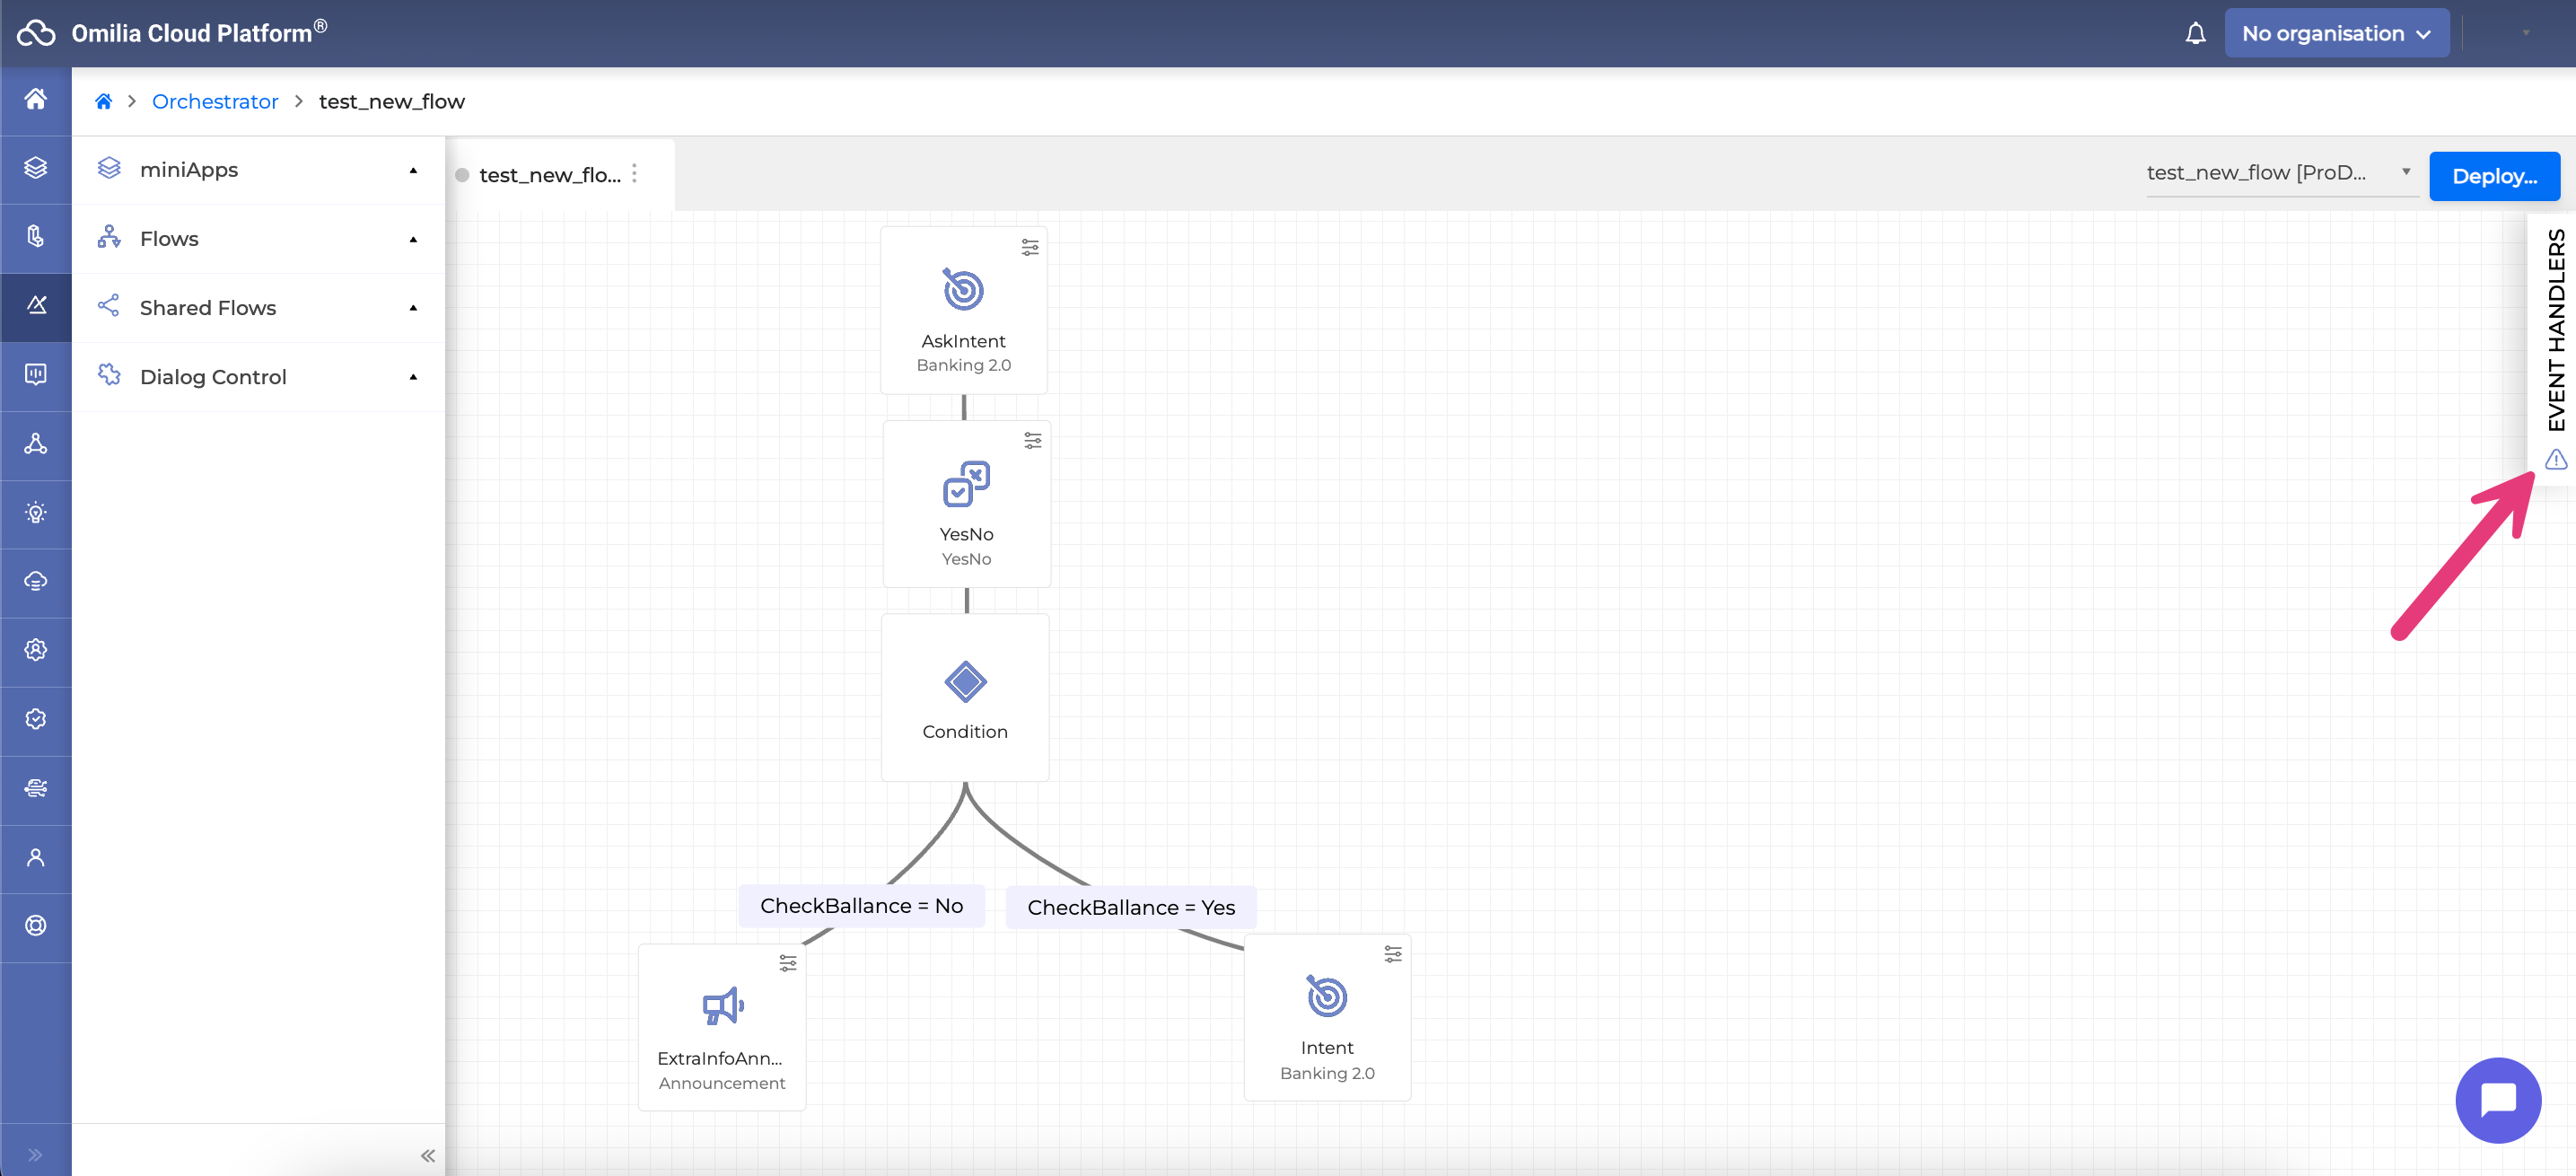
Click the Event Handlers drawer on the right to open:
-
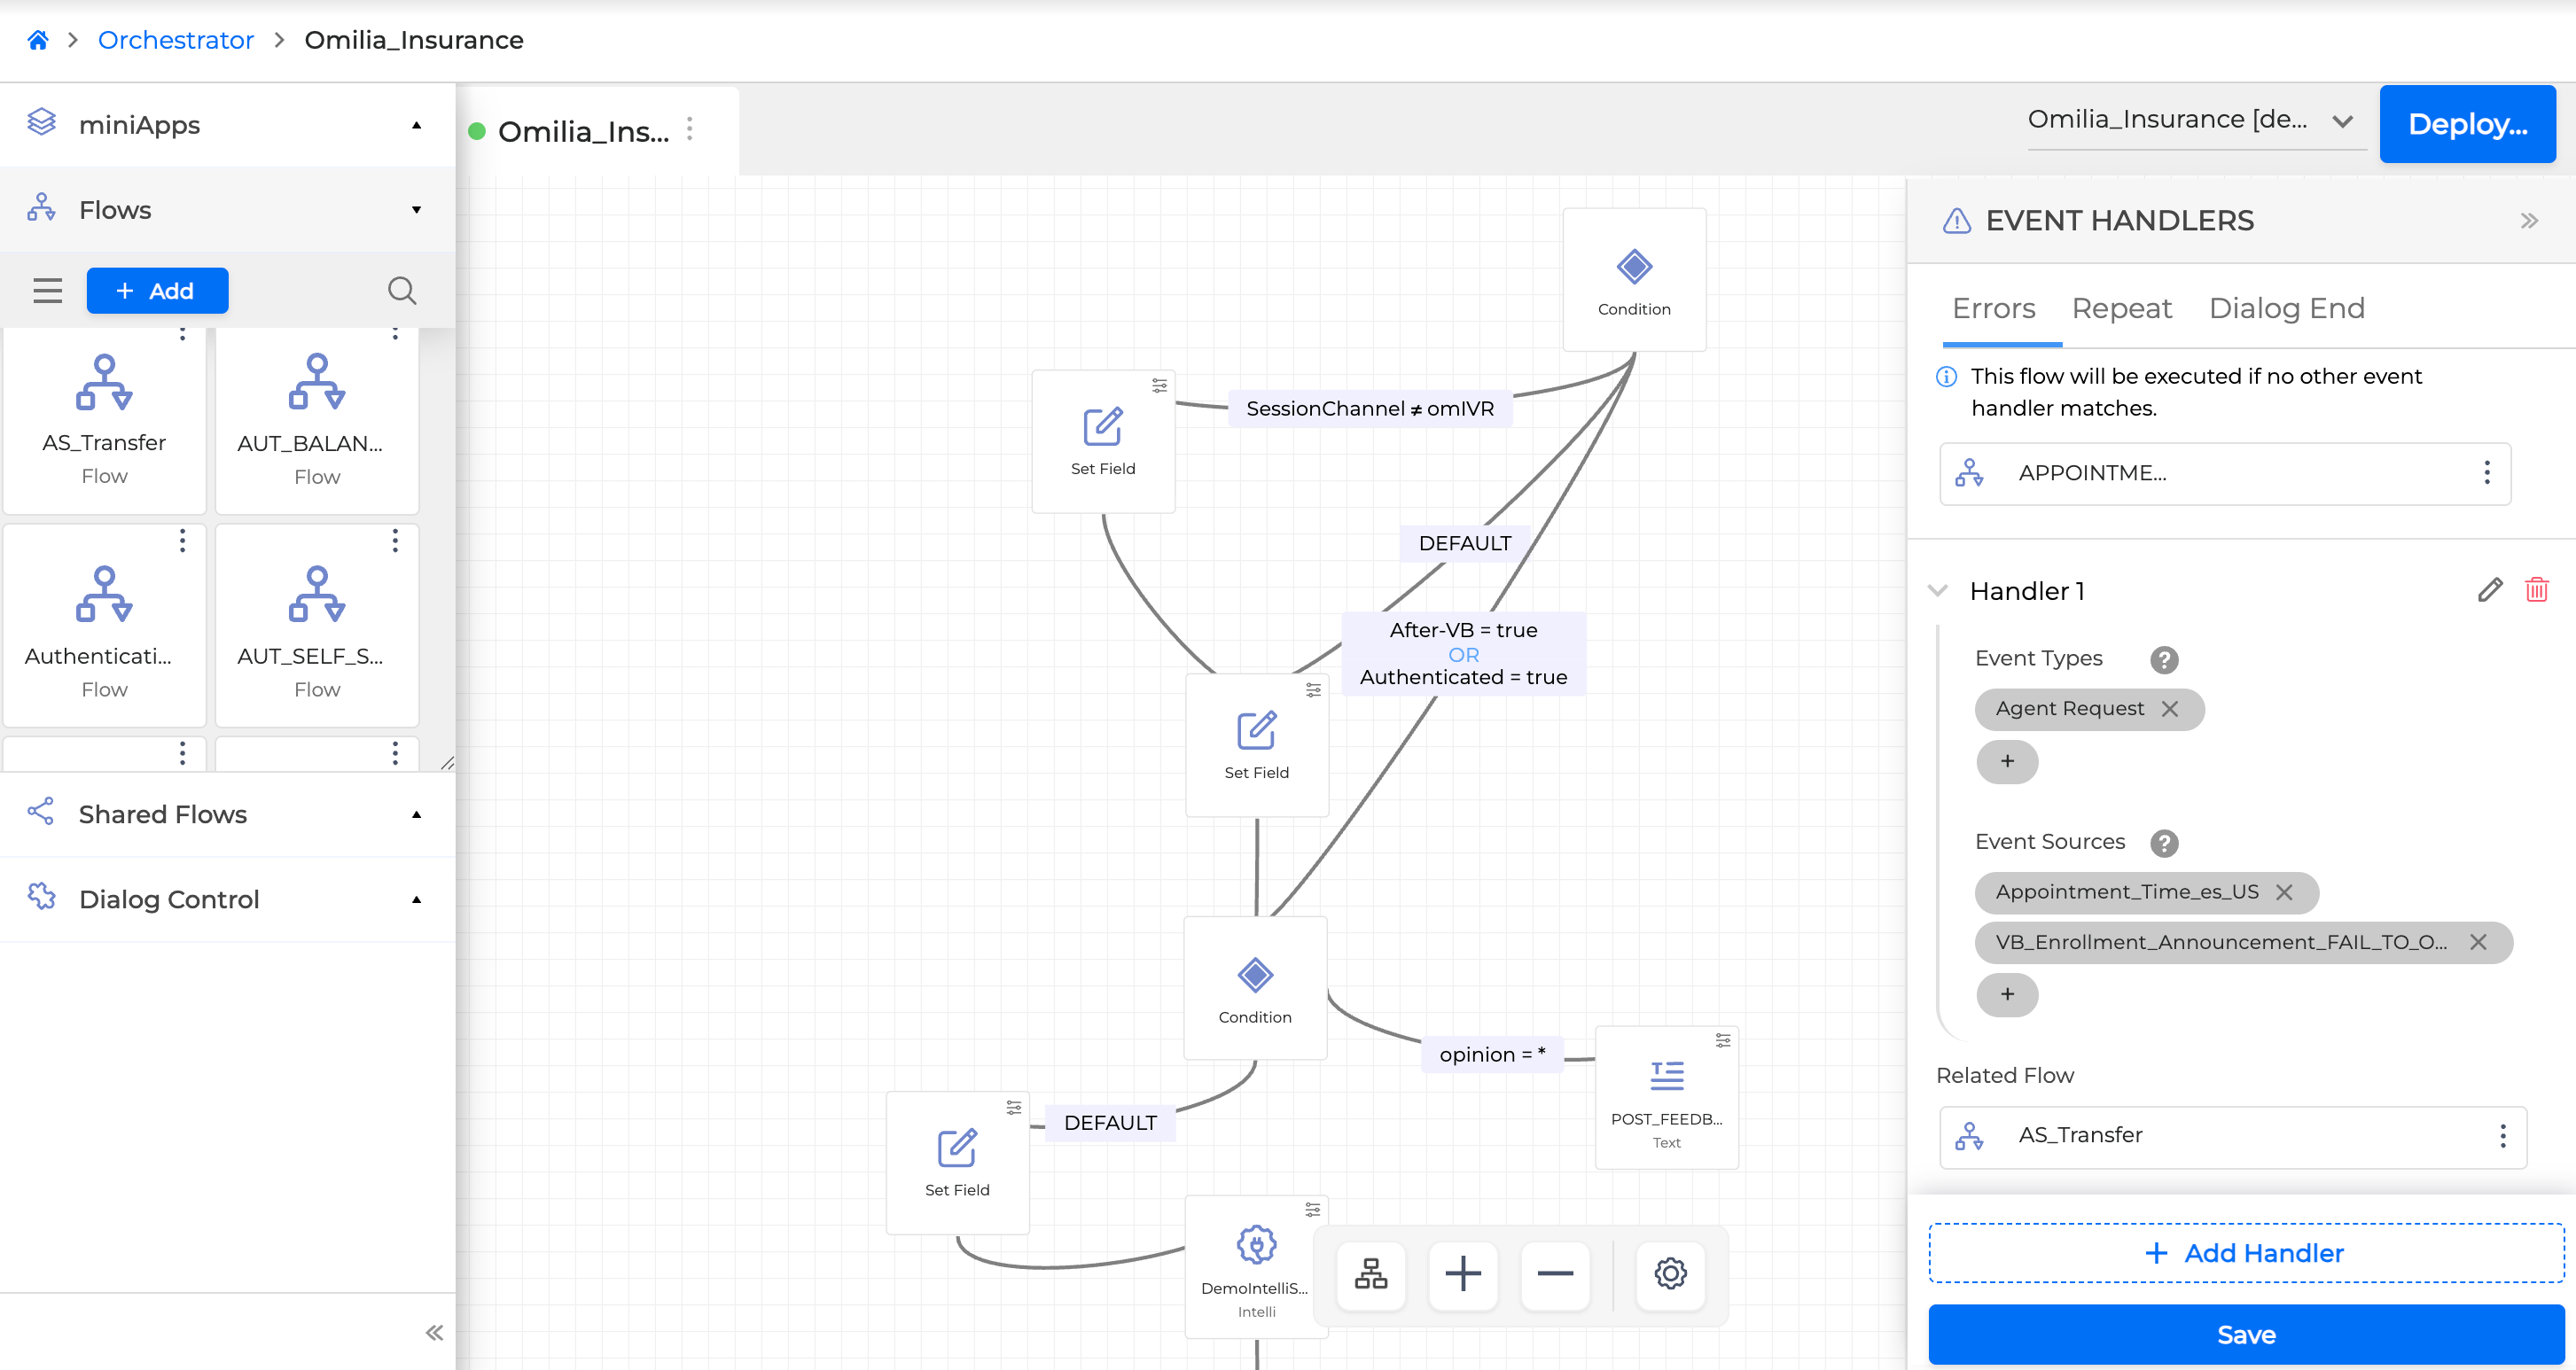
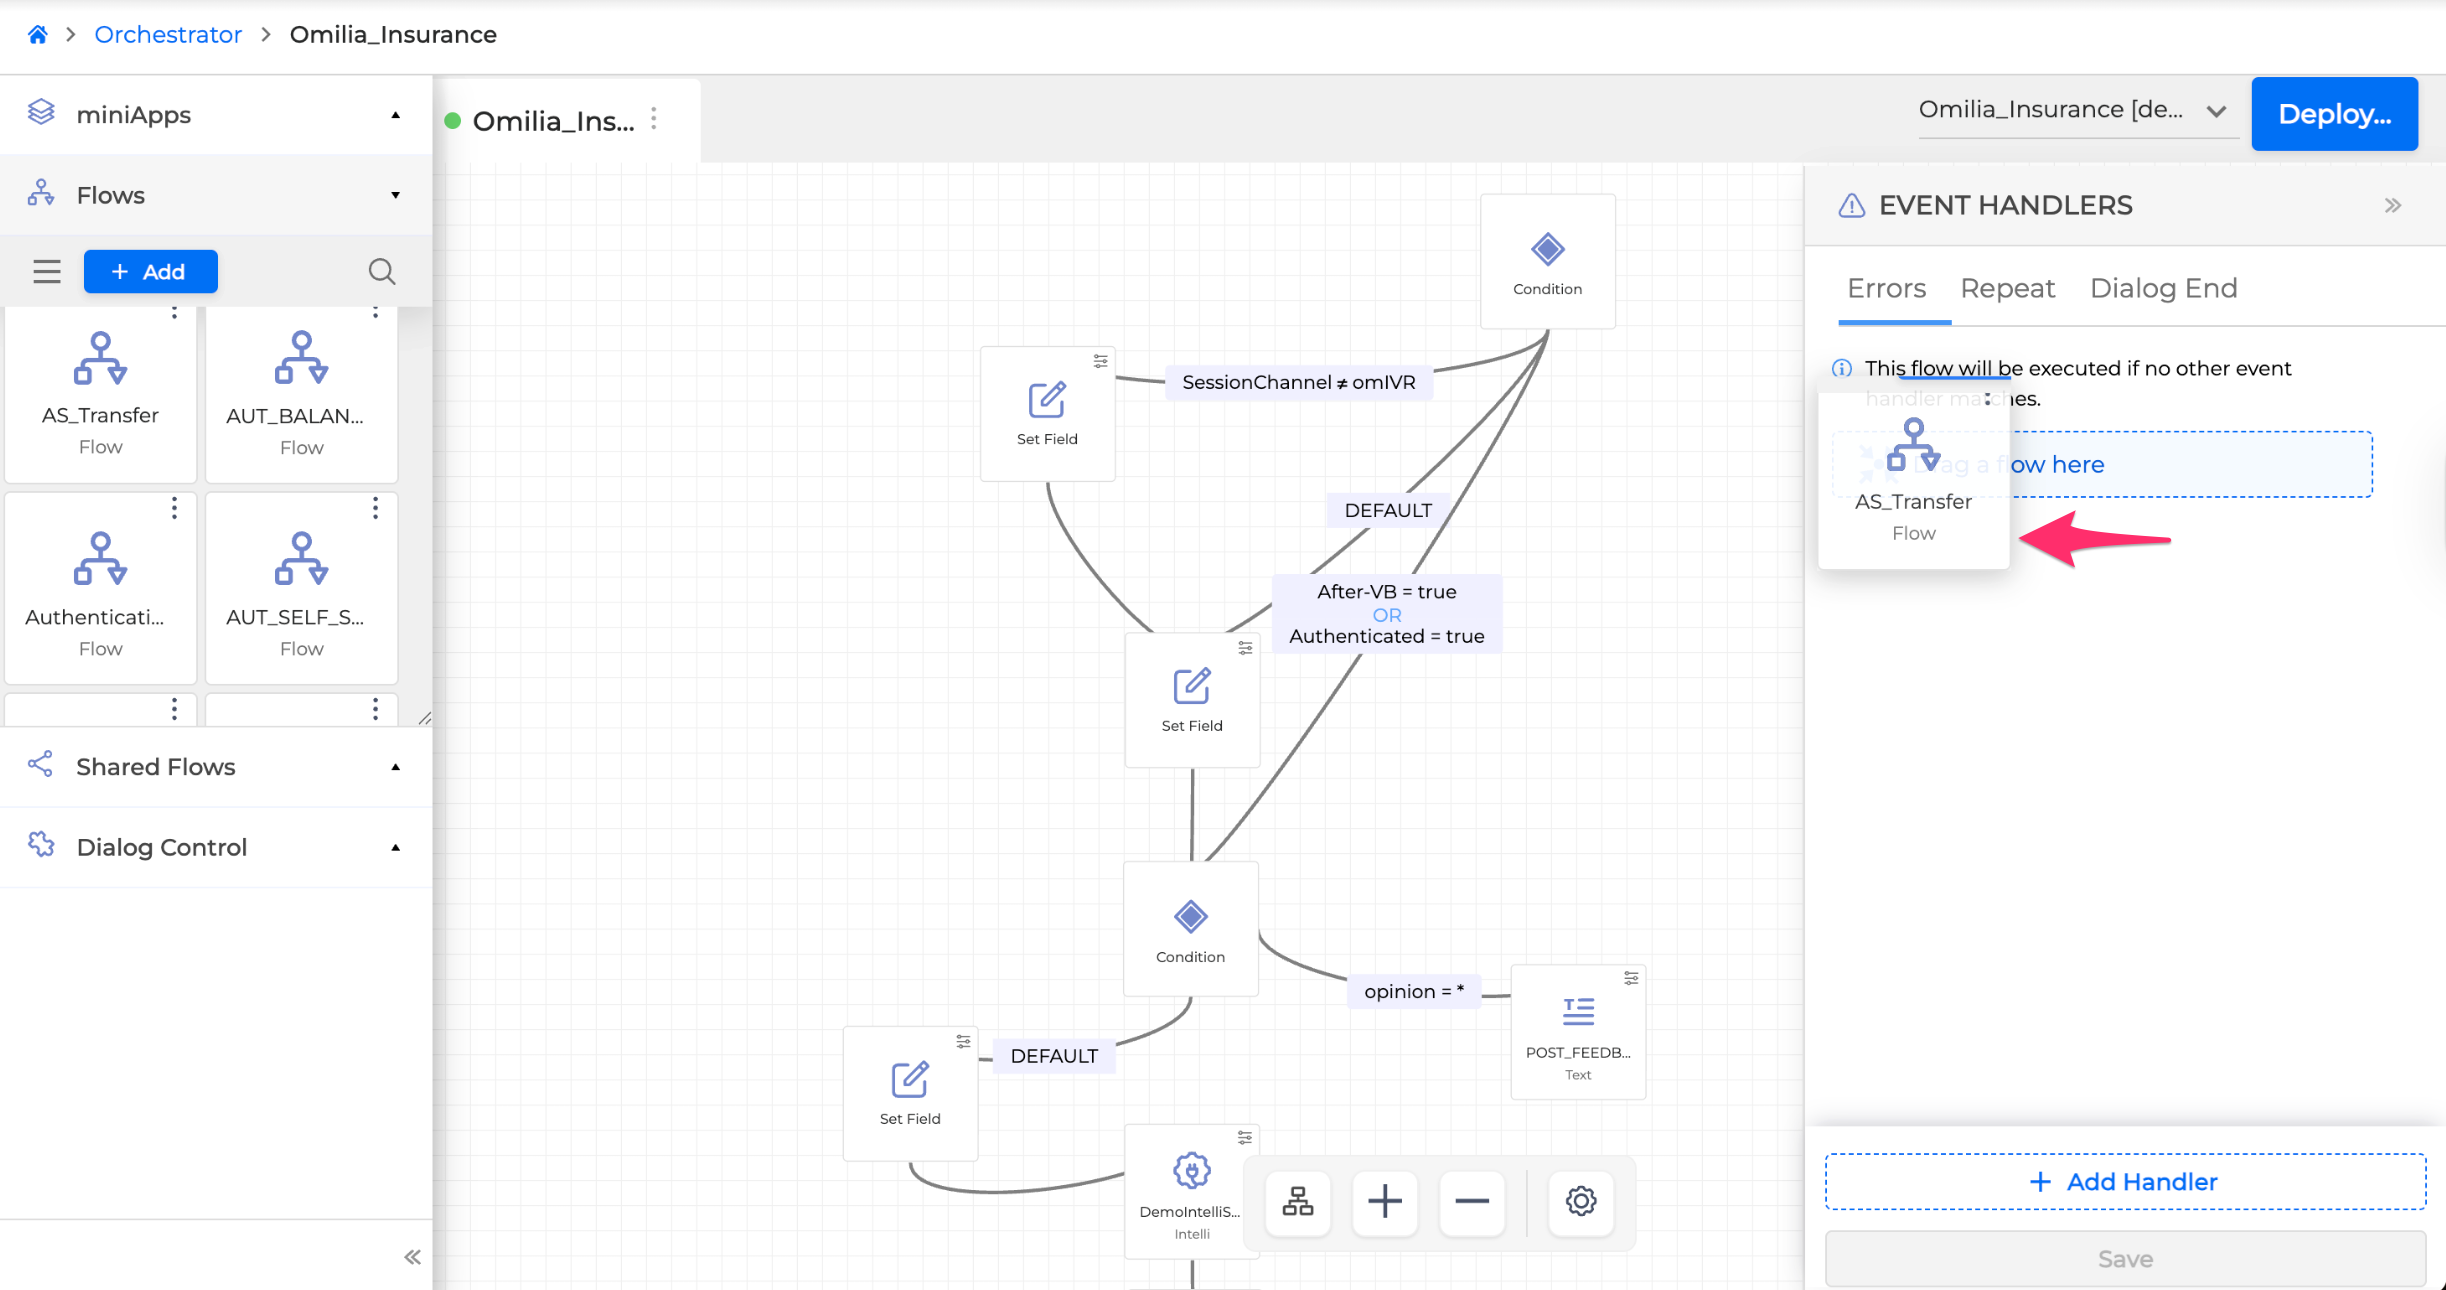
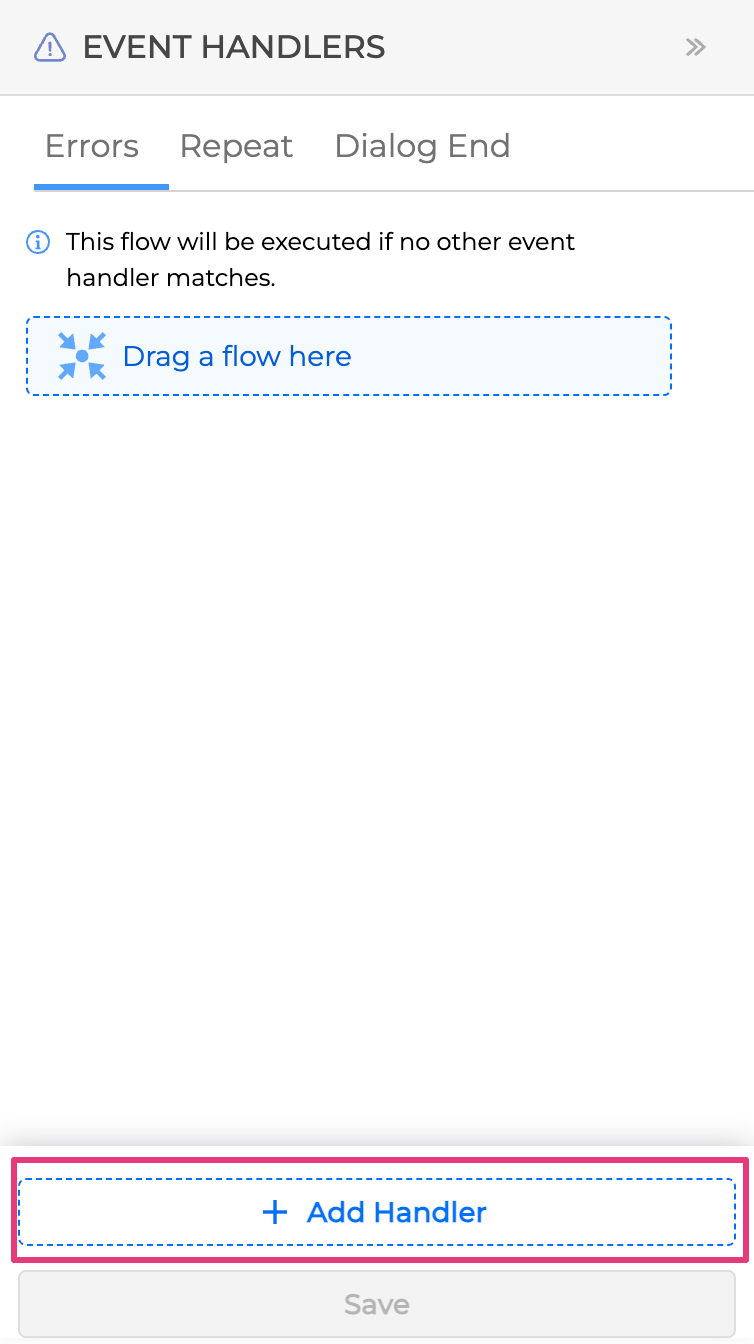
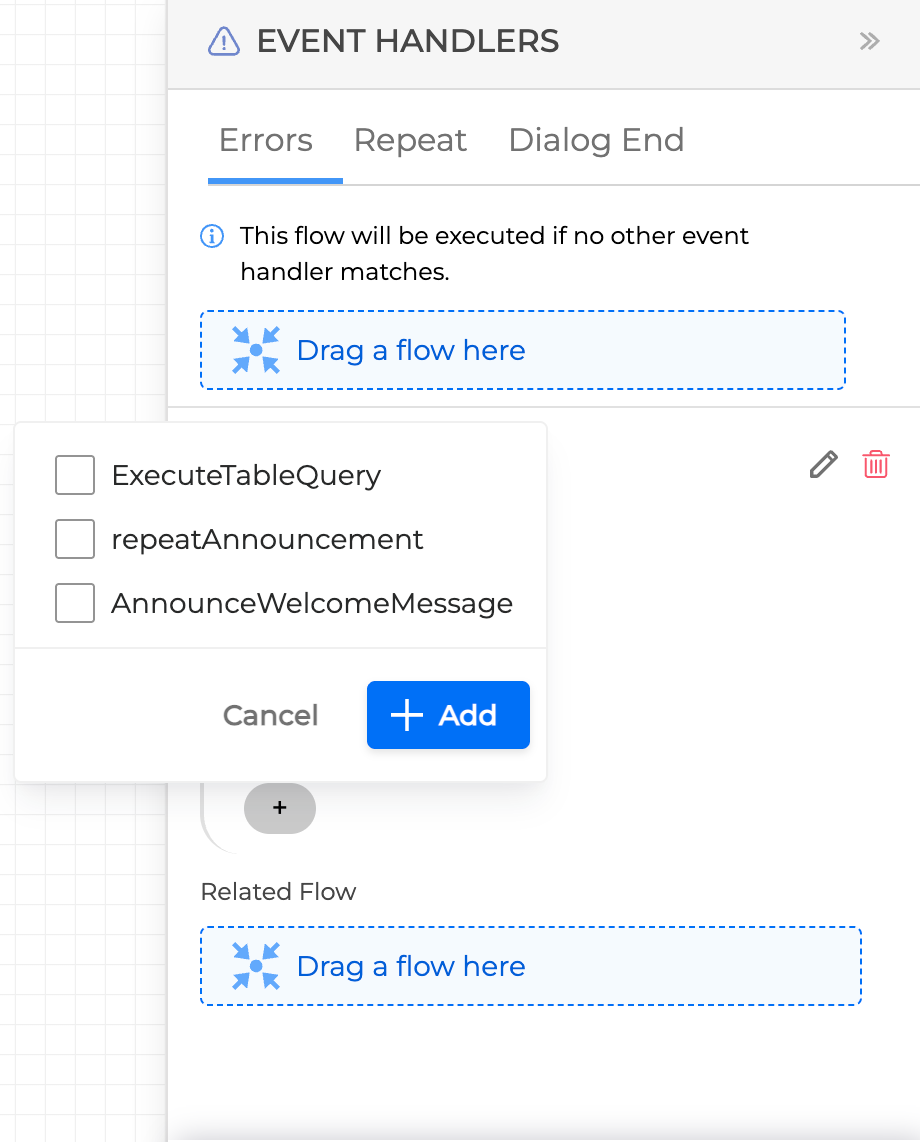
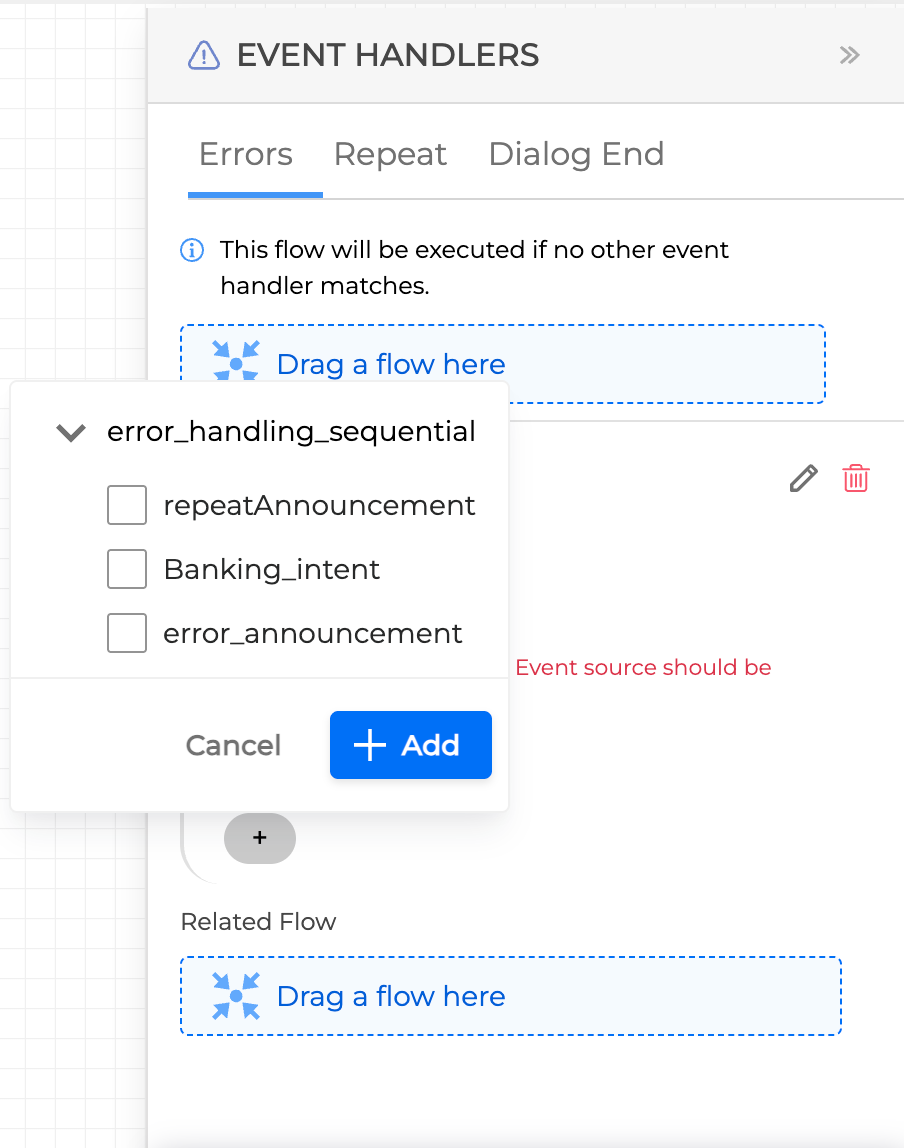
Go to the Errors tab, drag a configured Flow from the flow section on the left into the drop area. This Flow will run any time the following happens: “This flow will be executed if no other event handler matches”.
-
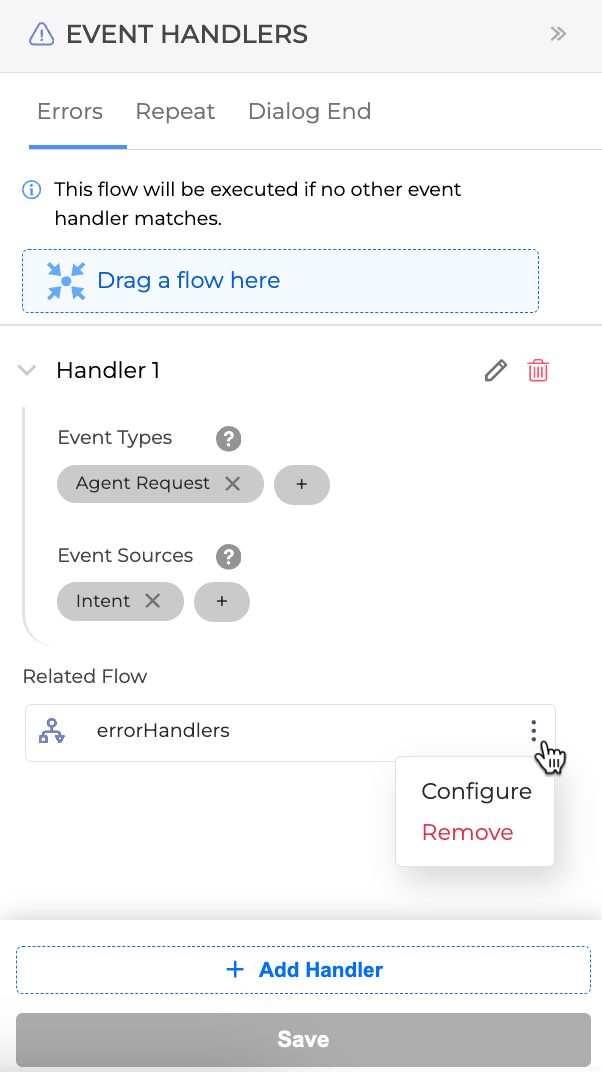
To change the Flow settings, select Configure in the options menu on the right, or click Remove to remove the Flow from Event Handlers:

-
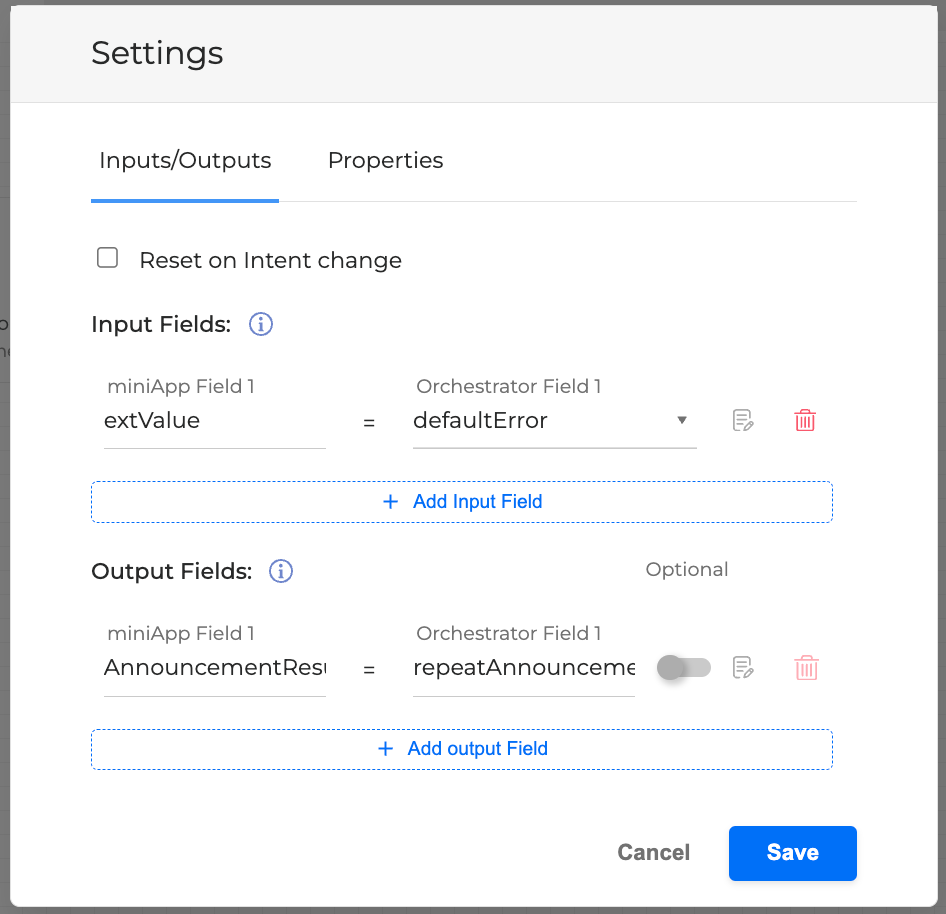
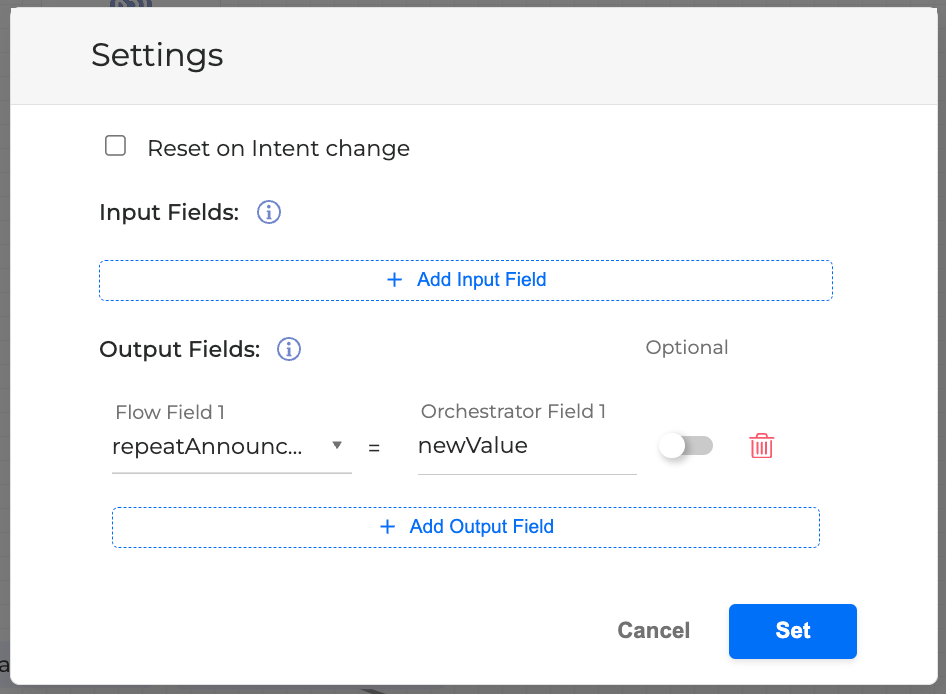
Selecting the Configure option allows you to change the Flow settings by adding or deleting the Input and Output fields; some of those can be marked as Optional. Read about the Flow’s Optional Fields for more information. Click Set to apply the changes.

If any type of error happens at any point of the conversation, the default errorHandlers with the preselected Flow will be executed.
Configure Specific Error Handler
-
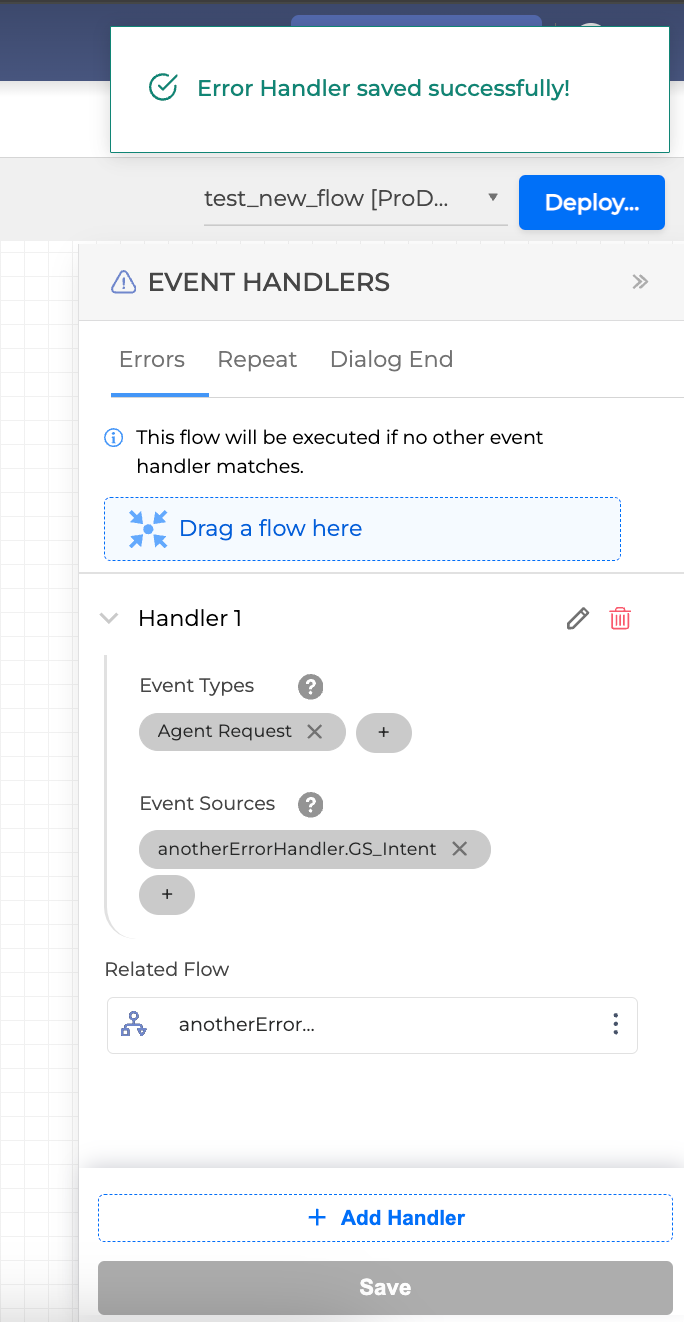
Click the + Add Handler button to select a specific error type or add multiple error types:
-
The Handler menu opens, containing:
Event Types: the type of errors that trigger the execution of the Event Handler
Event Sources: the miniApps where the Event Handler will be used
Click + to select one or more Event Types from the dropdown: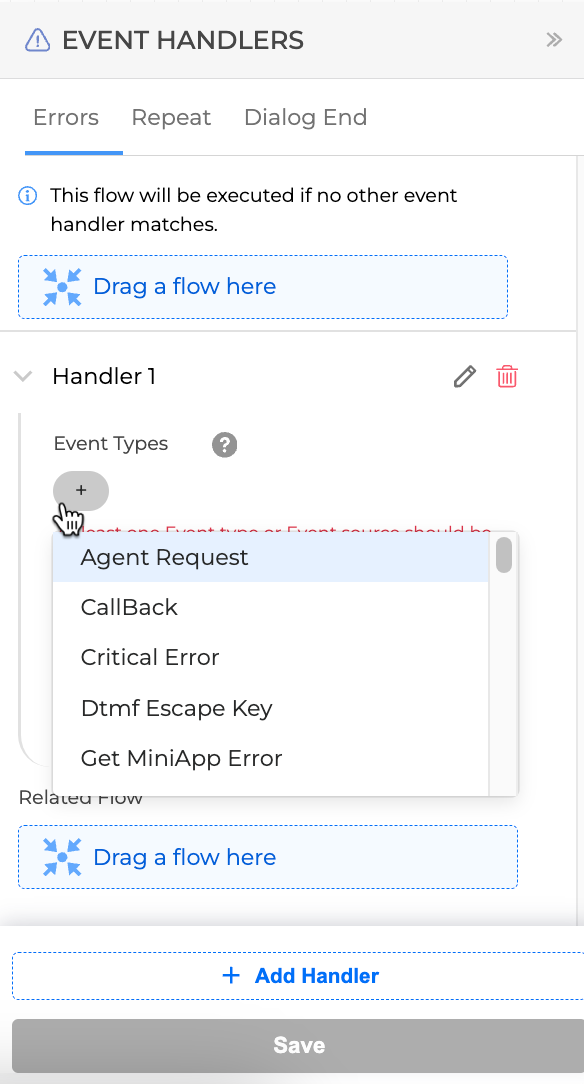
-
Click the + button below Event Source to show the tree view dropdown menu with all the miniApps and Flows used in the Dialog Application. It allows selecting all the miniApps in which the error can occur.
It is possible to select multiple Event Sources for multiple Event Types to be handled by one Flow.
-
Drag a Flow from the Flows left sidebar menu and drop it onto the Related Flow section. This flow will be executed once the error Event Type occurs in the preselected miniApp. Click Save to finish.

If the Event Type is not specified, then the Event Handler will run for any Event Type. If the Event Source is not specified, it will run for all Event Sources.
It is possible to change the output data of the Flow in the Error Handlers, so it could be later used to execute Transfers from this Flow.
To change the output of the Flow, follow the steps below:
-
Click the Options menu on the right side of the Related Flow and select Configure.
-
In the form that opens, change the output value and press Set to apply changes.
It is possible to have different combinations of the Error Handlers at the same time. If there are multiple Error Handlers, an order of precedence is set to avoid overlapping.
For example, what happens if there is a Handler with the error event type MaxNoInputs and another with event source miniApp_1, while the miniApp_1 exits after a MaxNoInputs event?
The way Error Handlers are prioritized is the following, from highest to lowest priority:
-
An Error Handler with predefined Event Types and Event Sources is executed first.
-
An Error Handler with predefined Event Sources and empty Event Types is executed second.
-
An Error Handler with predefined Event Types and empty Event Sources is executed third.
Configure Flow with miniApps as Event Source
If the Flow contains one or more miniApps, it can also be used as the Event Source.
Before using the Flow with miniApps as the Event Source, make sure it is a part of the Dialog Application.
-
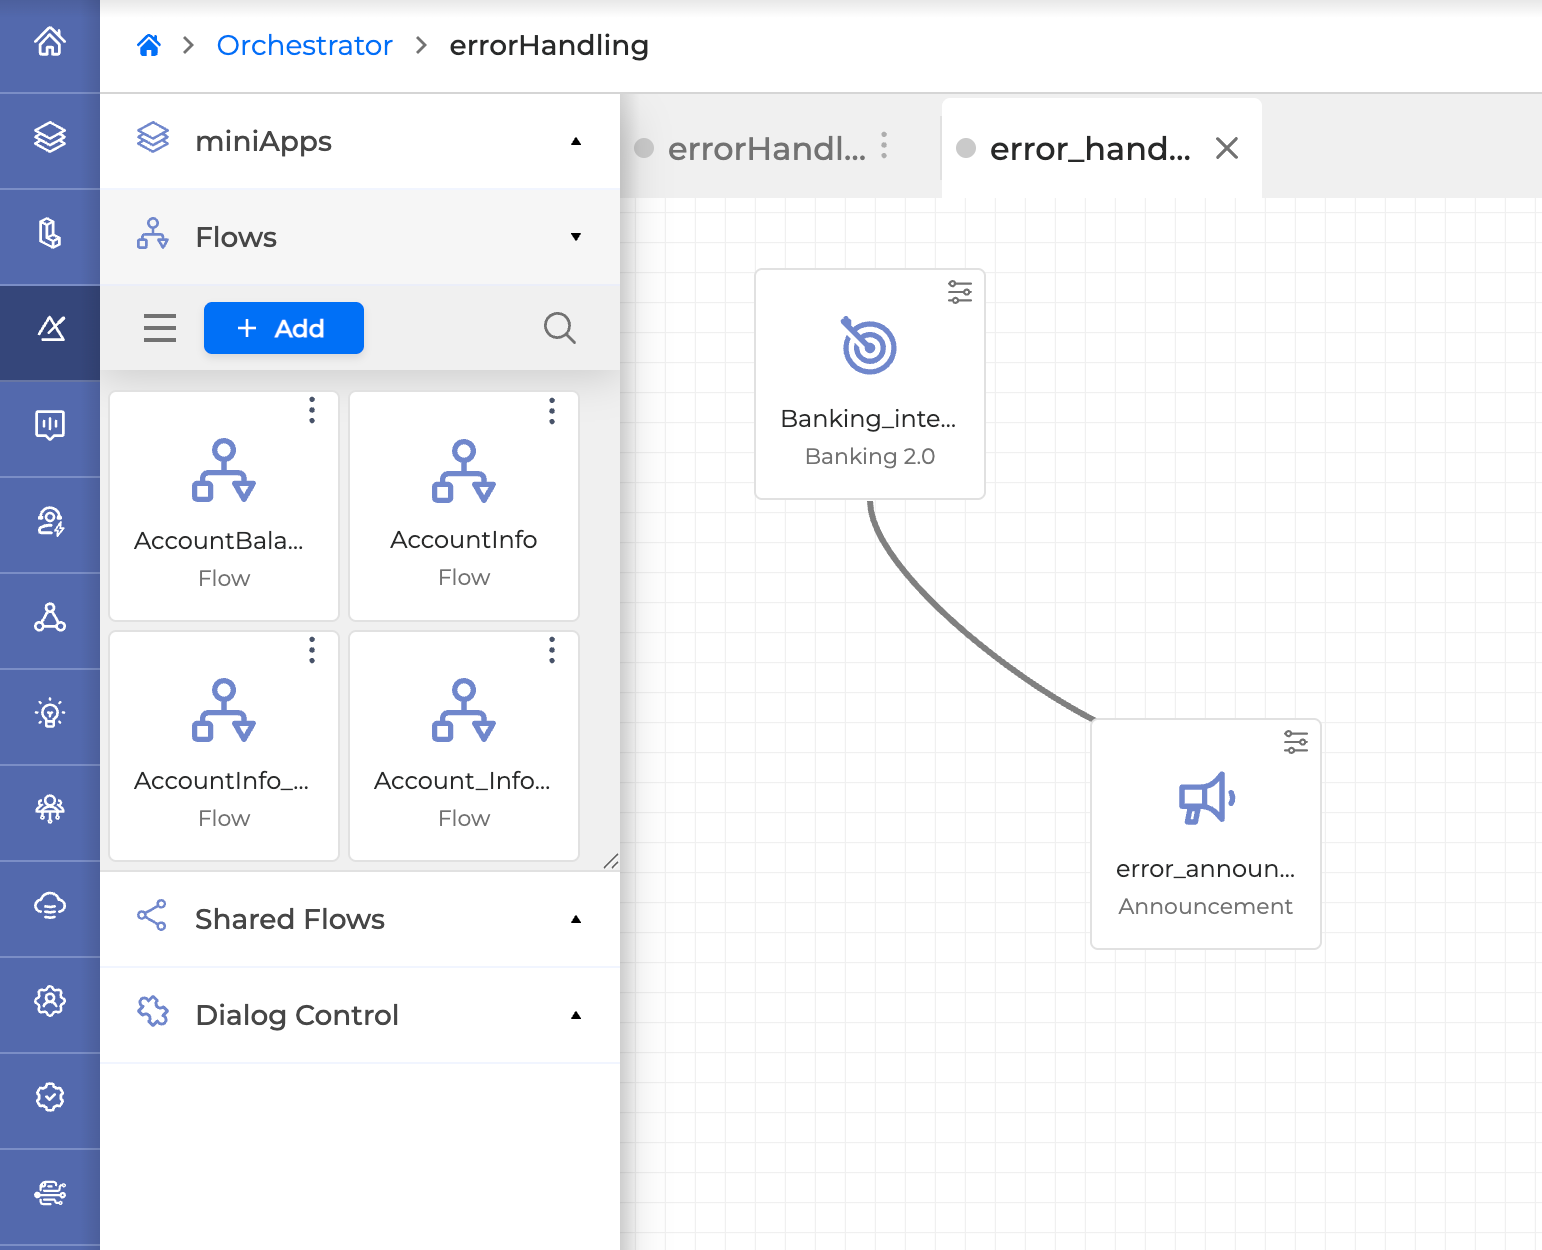
Create a Flow that contains one or more miniApps.
-
Open the Error Handlers drawer, click the + Add Handler button, and select the targeted Flow from the Event Source tree dropdown menu.
It is possible to configure the Error Handler for the miniApp within the Flow, regardless of the separate configurations of the miniApp or within another Flow.
-
Drag and drop the Flow in the drop zone and click Save. When any of the predefined errors appear, this Flow will be played.
Repeat Handlers Function
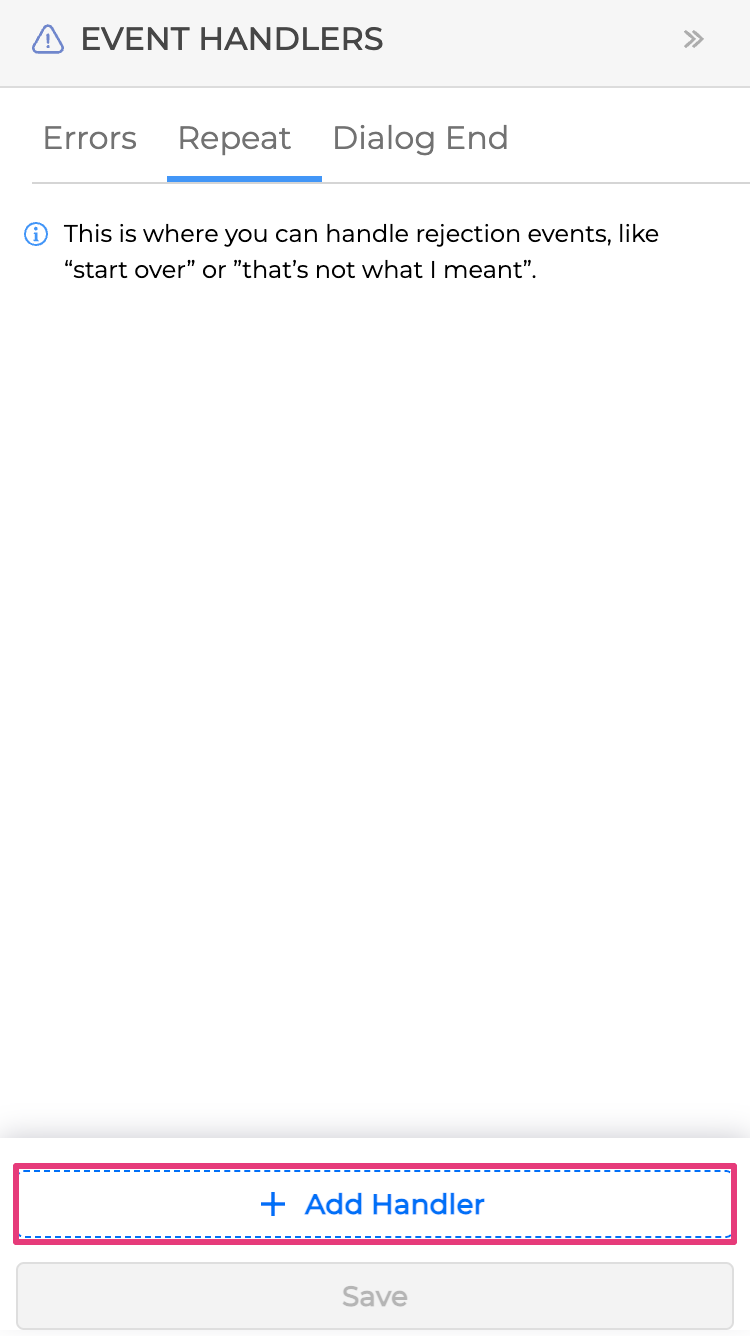
Use the Repeat function in Event Handlers to restart the conversation. It triggers when the system detects phrases indicating the caller wants to start over or go back.
For example, if the caller says: “It’s not what I meant, I’d like to start over”, the NLU recognizes it as a phrase that triggers the Start Over functionality. When the Start Over is triggered, it clears all the predefined values in the scope of the Dialog, so they can be substituted with the new ones the next time the Dialog starts from the beginning.
If the Repeat Handler is not preconfigured, but the caller still says the trigger phrase, the Dialog will restart from the Intent miniApp. However, if the Intent miniApp hasn’t been used yet, the Dialog will restart from the first building block on the canvas.
To configure the Repeat function of the Event Handlers feature, follow the next steps:
-
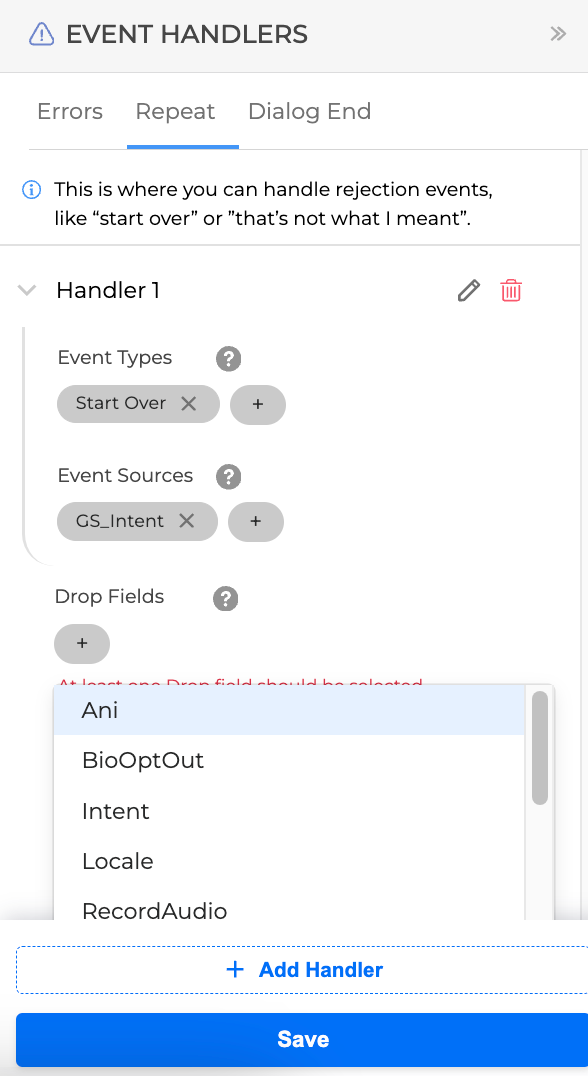
Click the Event Handlers tab on the right, switch to the Repeat tab, and click the + Add Handler button.
-
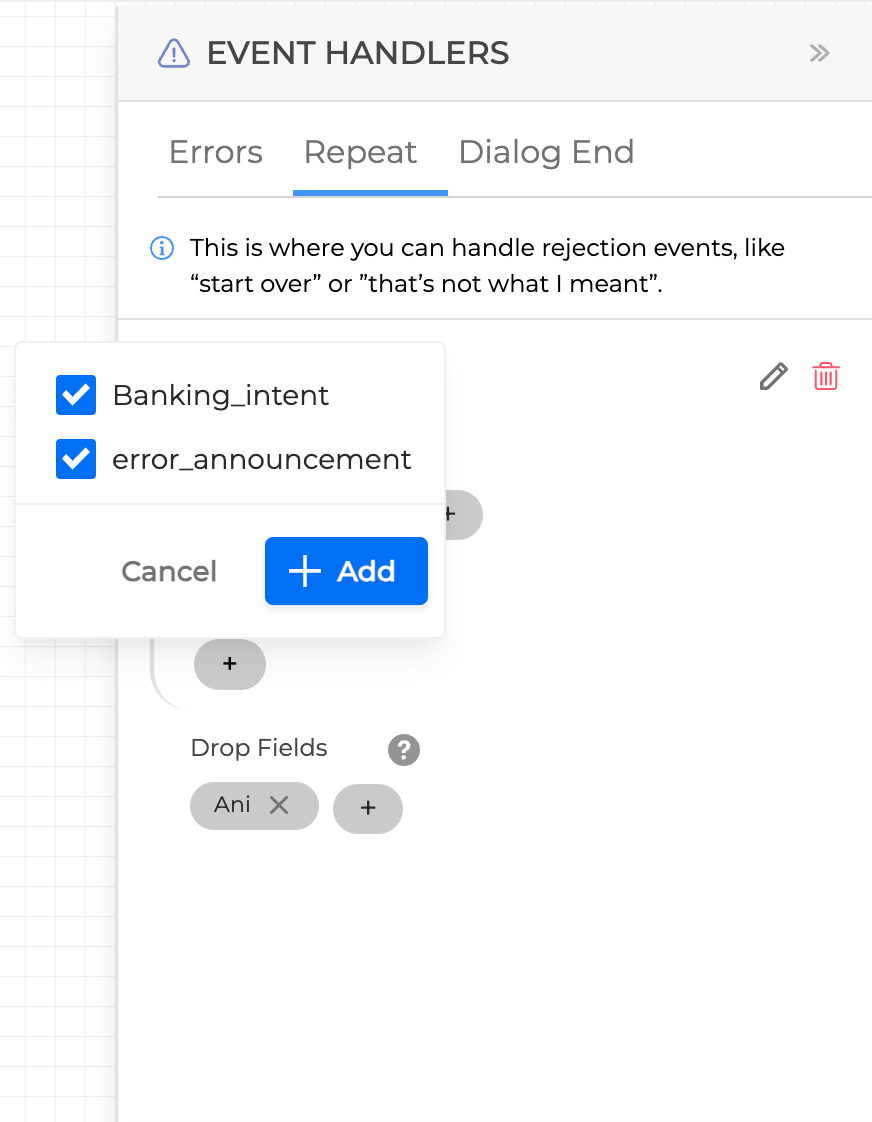
Select the Event Type and Event Source from the dropdown.
If the Event Type is not specified, the Repeat Event Handler will run for all Event Types. If the Event Source is not specified, it will run for all Event Sources.
-
Add and select any Drop Fields from the dropdown menu. These are the fields that will be cleared when any of the configured events take place.
If a miniApp or a Flow contains non-optional output fields and these fields are specified in the Drop Fields, a miniApp or a Flow will still repeat with the new values.
If the Flow with the Repeat Handlers is placed inside another Flow that has its own Repeat Handlers, the Repeat Handlers of the child Flow has the higher priority and will be executed.
Dialog End Handlers Function
The Dialog End function of the Event Handlers is triggered once the dialog ends, either on purpose or due to an error. It allows data to be passed from a user via the Intelli or WebService types of miniApps.
For example, if an Orchestrator user wants to make an API call after the dialog ends and send back some reports, it is possible to use the Dialog End function to make an API call to their own endpoints to collect data about the call. This function helps collect the preconfigured miniApps that gather the call data in one block (for example, every single intent of the call) and, thus, avoid multiple usage of miniApps to serve a particular task.
To configure the Dialog End function, follow the steps below:
-
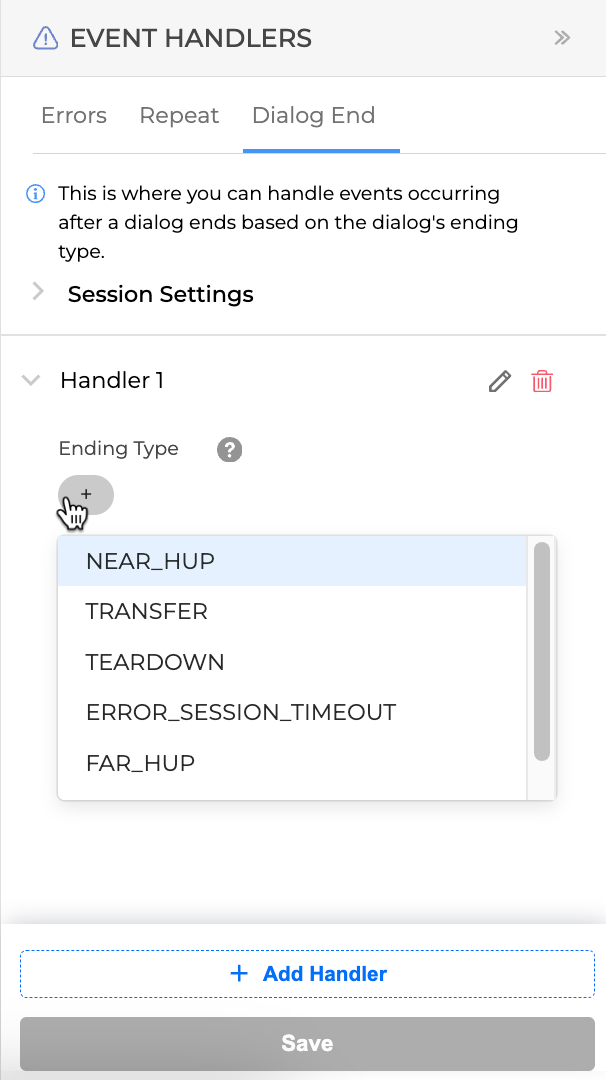
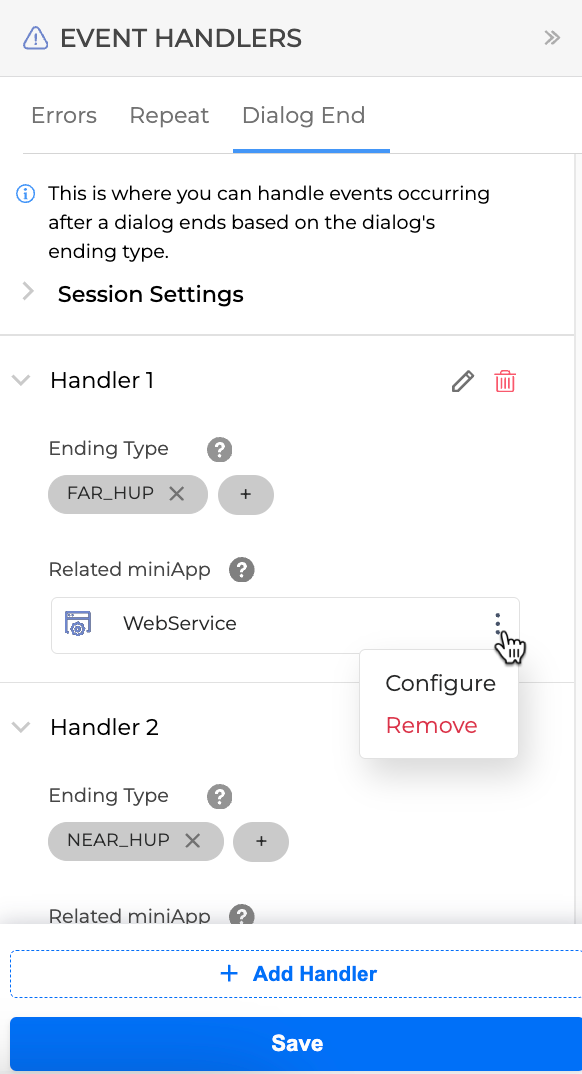
Open the Event Handlers tab and switch to the Dialog End tab.
-
Click the + Add Handler button at the bottom to add a new function.

-
Configure the handler by setting the following values:
-
Ending Type - Select the type of call ending from the dropdown menu that will trigger the execution of the Dialog End function:
-
TRANSFER - The call was transferred
-
SYSTEM ERROR - A fatal error occurred in the system
-
NEAR_HUP - System Hang Up
-
FAR_HUP - Caller Hang Up
-
ERROR_SESSION_TIMEOUT - The call was terminated due to the dialog’s inactive session timeout
-
TEARDOWN - The error sent by deepASR when the connection between deepASR and IVR is closed.
-
-
Related miniApp - drag and drop the miniApp of either WebService or Intelli type that will be executed after the dialog ends.

It is possible to add multiple Dialog End functions that can handle different types of dialog endings (normal or due to error). Each function contains the corresponding miniApp, and they will be executed according to the order.
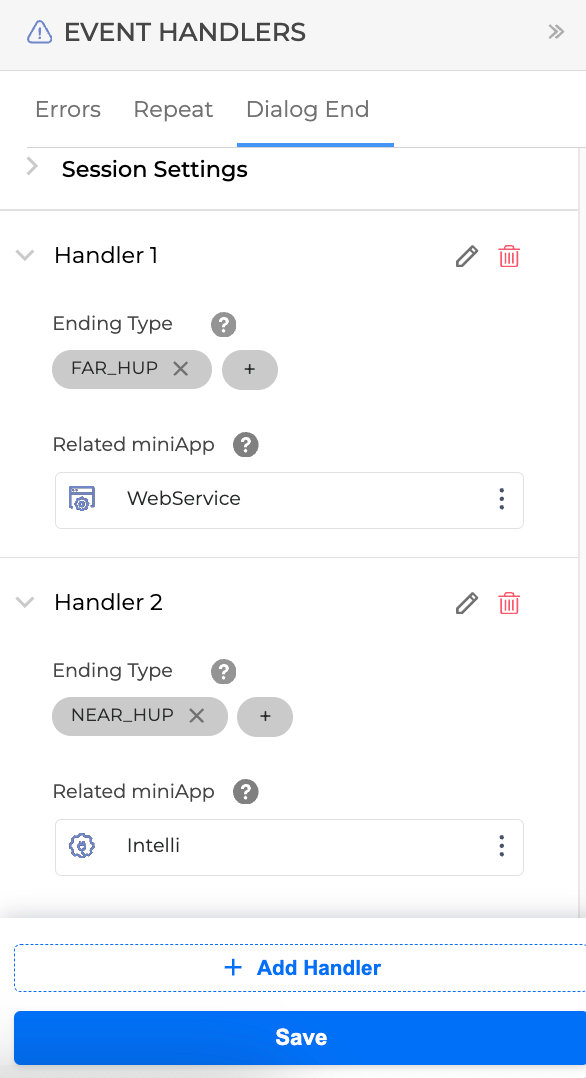
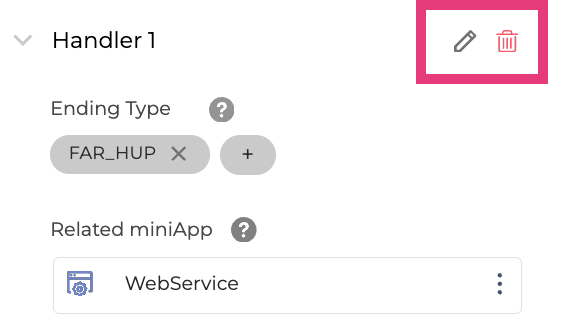
You can edit the default names of the Handler functions or delete any of them by clicking the corresponding buttons.
-
Click Save when finished.
It is possible to pass values between miniApps contained in the Dialog End function by configuring them.
To pass values between miniApps contained in the Dialog End function, do the following:
-
Click the Options menu on the right of the selected miniApp to configure it.
-
In the opened window, configure the Input and Output fields to pass values to another miniApp. Click Save when finished.