Build Flow
A Flow is a reusable building block that can contain miniApps, Conditions, Transfers, and even other Flows grouped according to the predefined logic, similar to a Dialog Application. As a Dialog Application scenario grows and includes more building blocks, it is recommended to organize its parts logically, grouping and saving them, or to have them prepared for use while building a different Dialog Application. These cases can be covered with the Flow building block.
Flows can be reused in multiple Dialog Applications if these Dialog Applications belong to the same group.
Flows can be used to create complicated flow logic condensed in a building block that can be reused in a Dialog Application or used throughout different Dialog Applications, and save time.
To build a Flow, follow the steps below:
-
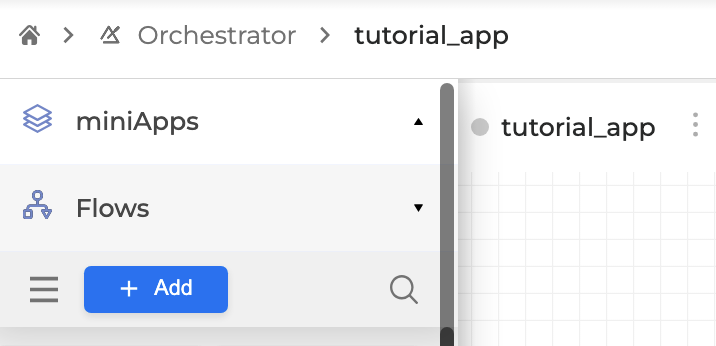
Navigate to the Flows section in the left panel and click the + Add button.
-
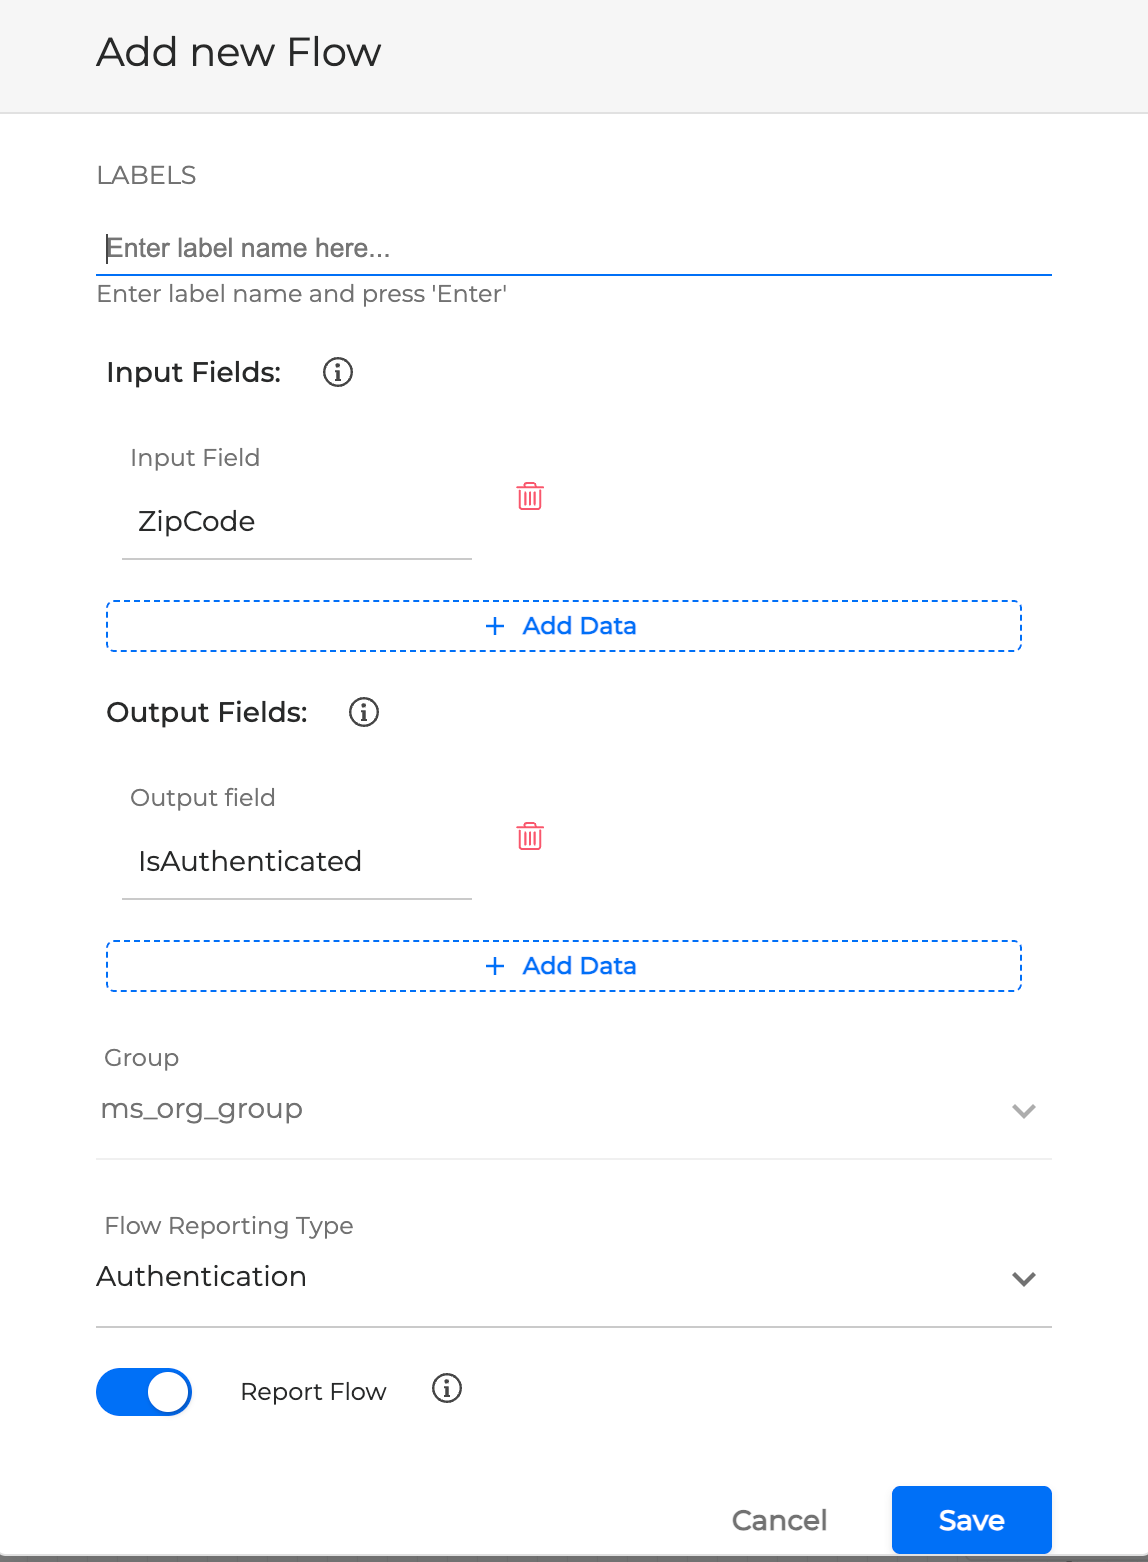
Fill in the fields in the modal window and click Save when finished:
-
Enter a Flow Name. For example, Authenticate, for a Flow that is used to authenticate callers.
-
Enter the Input Fields to assign a value containing data that will be passed to a caller to the Flow.
-
Output Fields: assign the value that is returned as the caller’s answer.
-
Select a Group from the available list. The Flow will be available to the group members.
-
Toggle on the Report Flow toggle button and select the reporting type (Self Service or Authentication) to tag the Flow in relation to what will be visible in the Analytics dashboard for various business reasons.
-
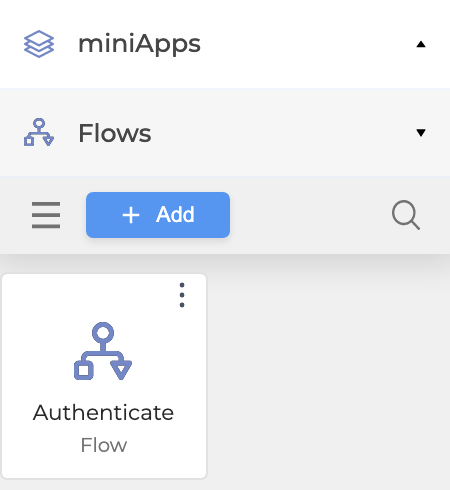
Once created, the Flow is listed in the Flows panel.
-
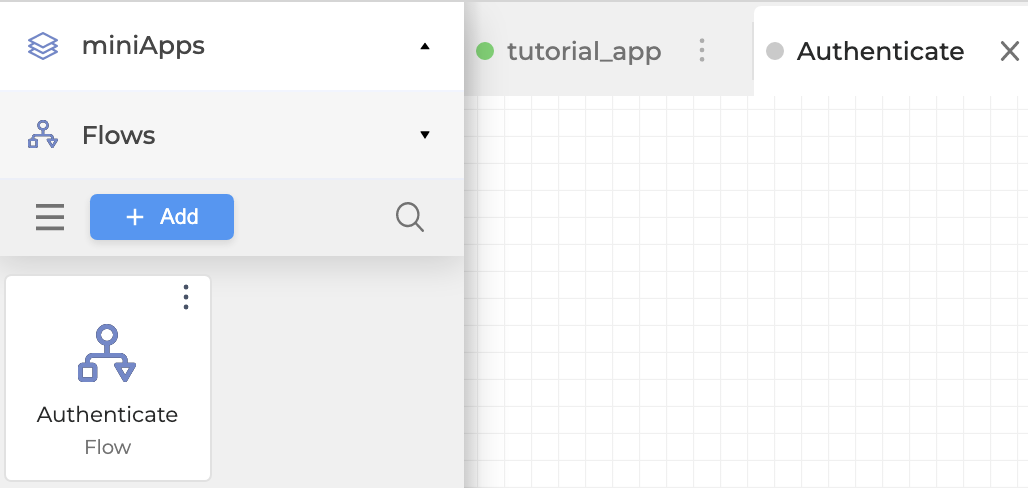
Double-click the Flow for it to open in a separate tab, and to be configured further.
-
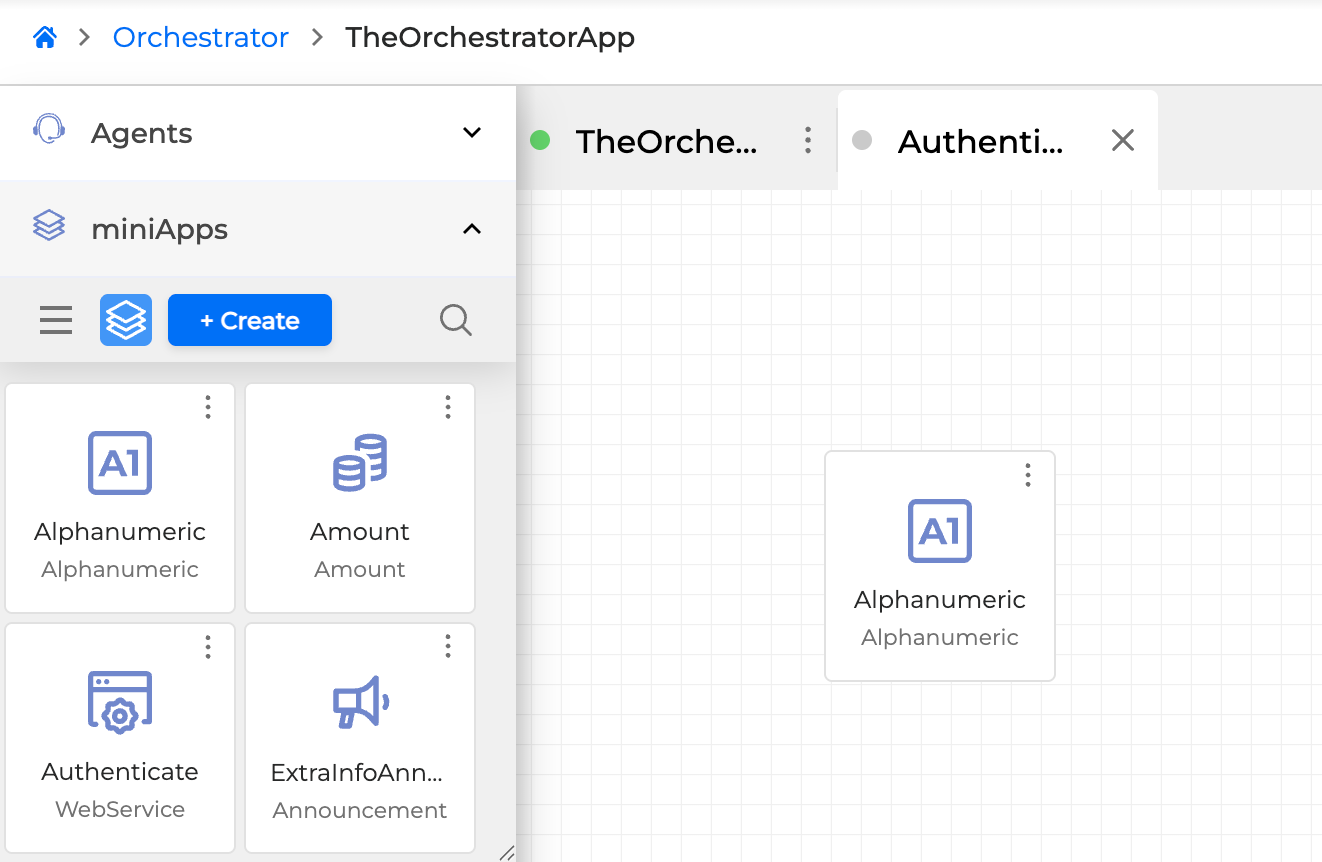
Select a miniApp from the miniApps list and drag and drop it into the canvas. Note that you are working inside the Flow.
-
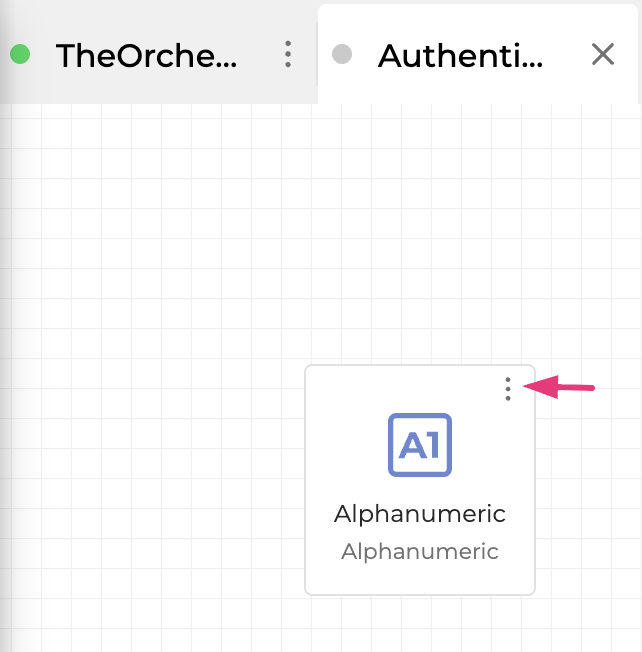
Click the Settings button in the upper-right corner of the miniApp to configure it.
-
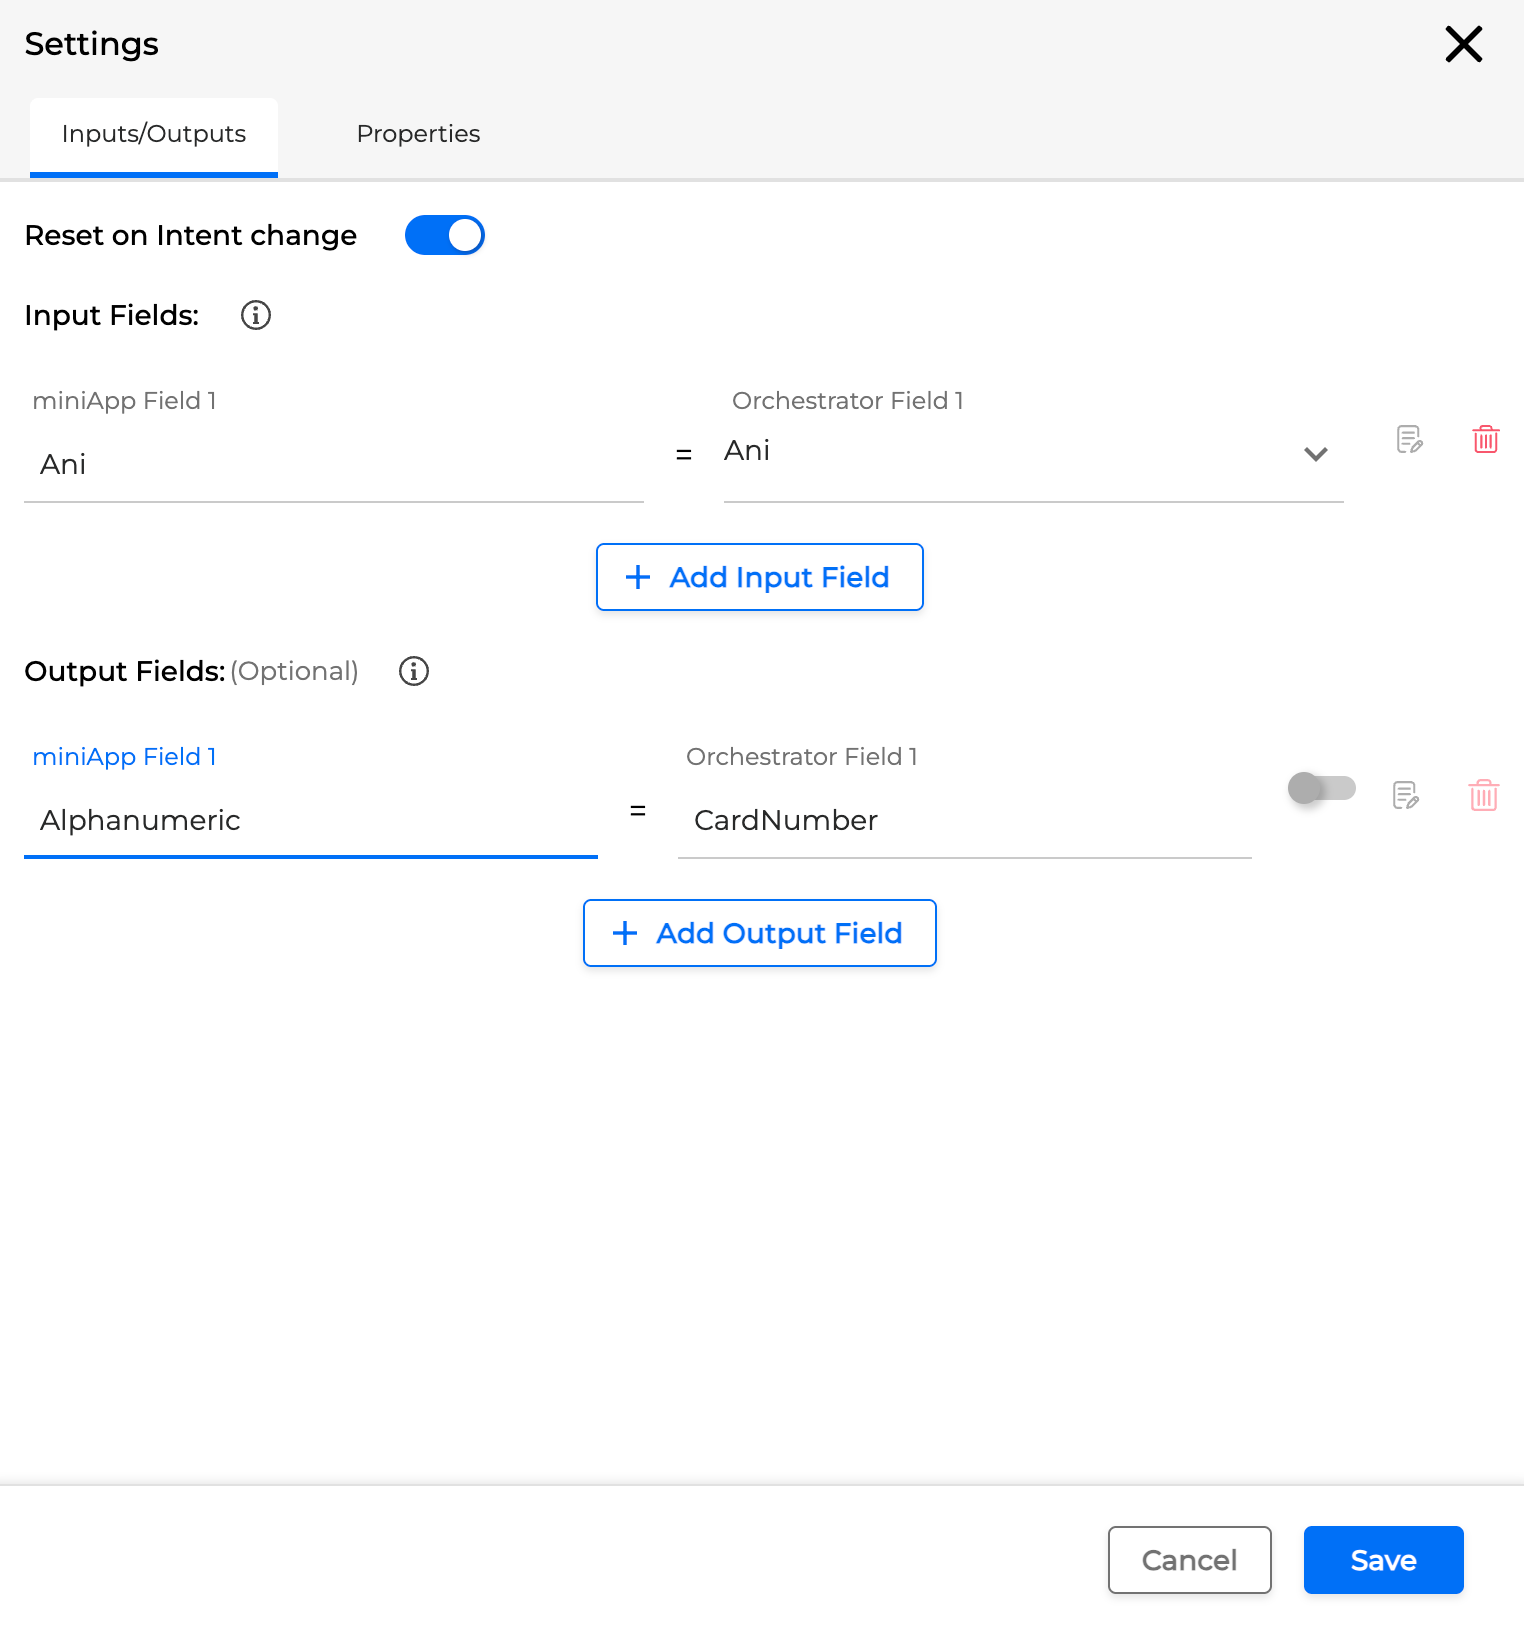
Fill in the fields in the settings window and click Save.
-
Input Fields: assign an external value to the Flow.
-
Output Fields: assign the value that is returned as the caller’s answer.
-
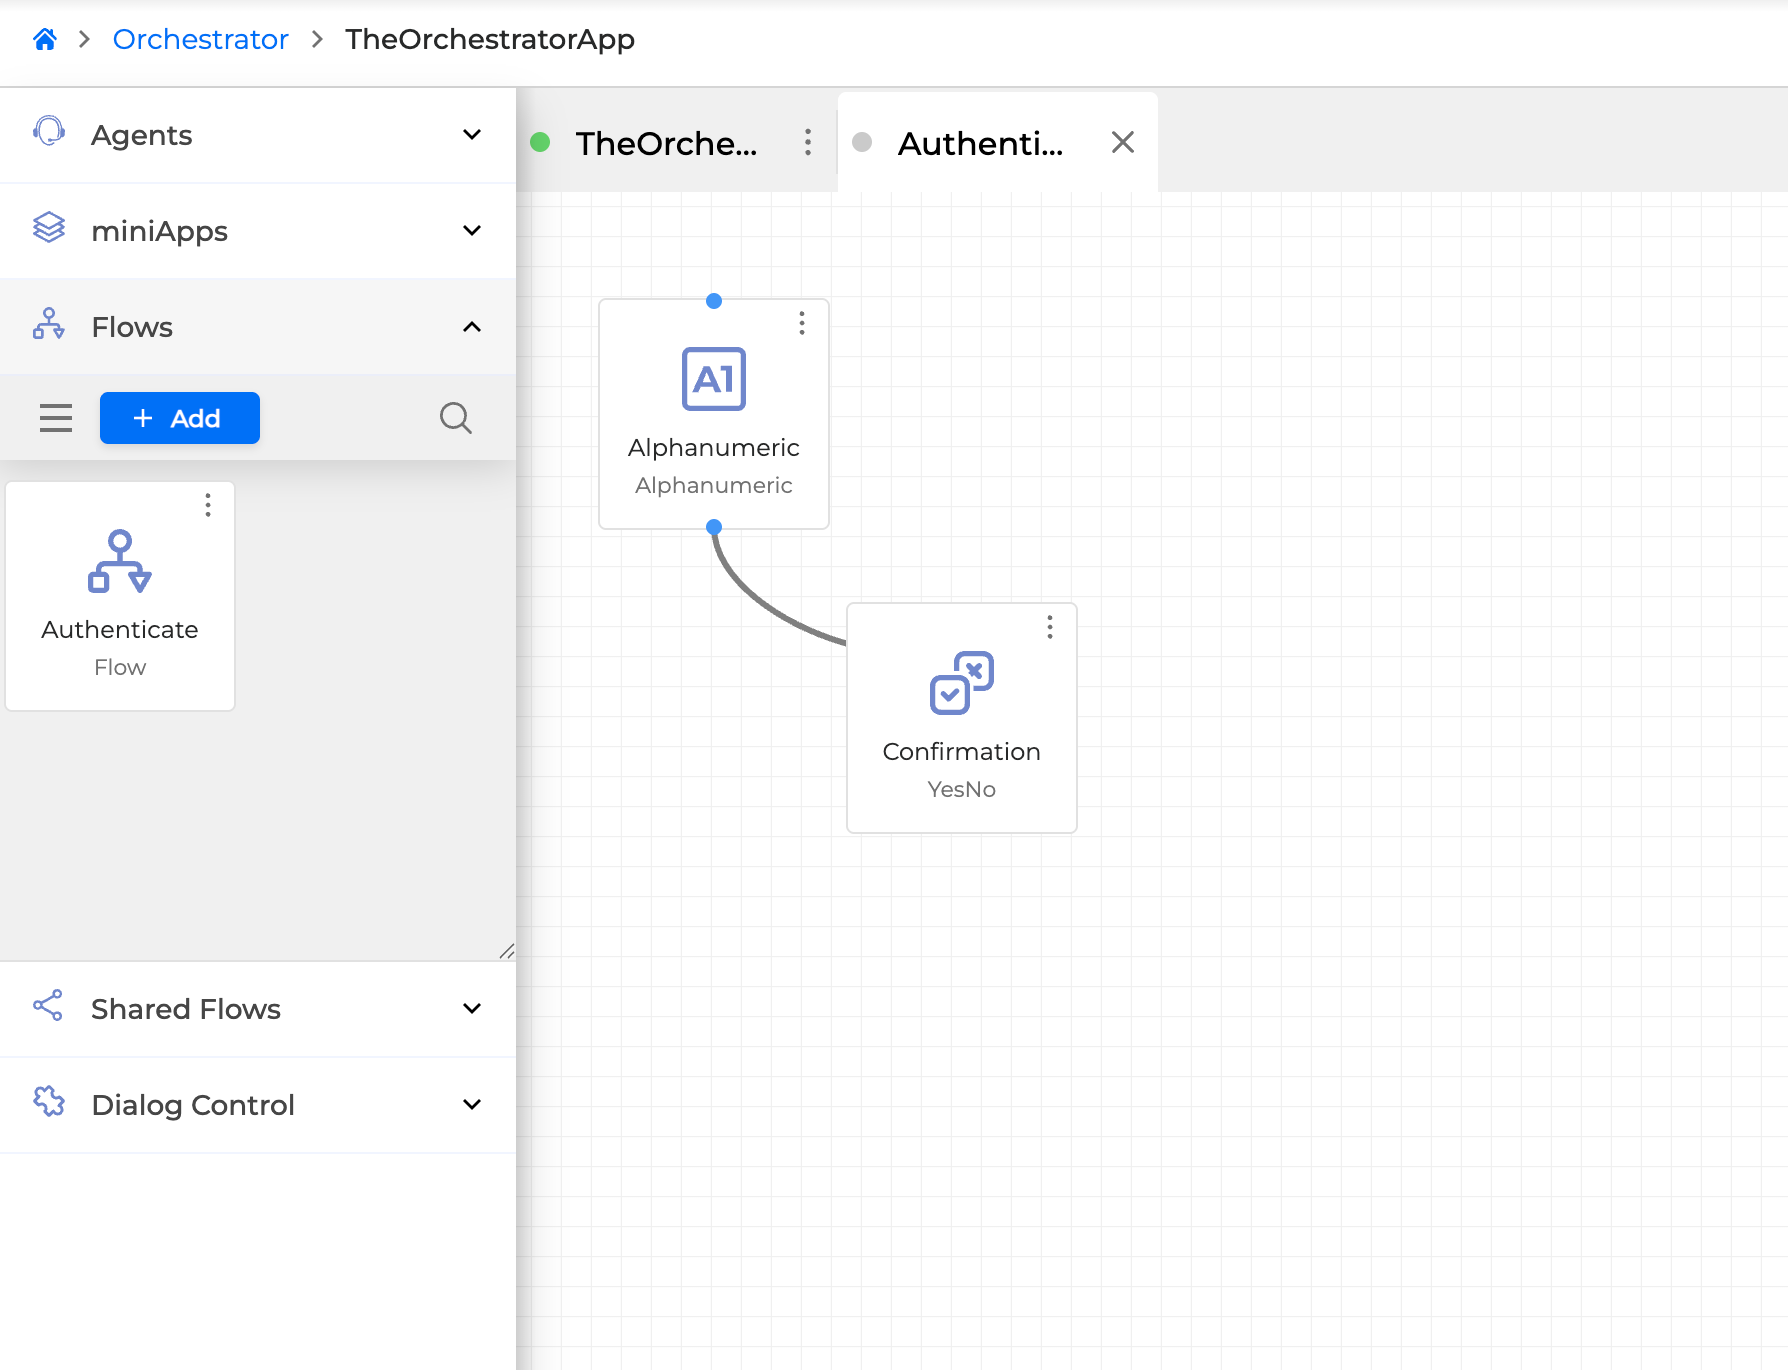
Select or create a second miniApp. Note that you work inside the Flow.
-
Connect two miniApps by dragging a line between them.
-
Click the Settings icon in the upper-right corner of the second miniApp to configure it.
-
Click the + Add Input Field first and then proceed to filling in the fields like you would for any other miniApp, and click Save when finished.
This Flow contains two configured miniApps that are connected logically by passing values to one another, representing a completed piece of a Dialog Application. Since the Flow is a reusable building block, this particular Flow can be used in multiple cases in the Dialog Application and provides the preconfigured data it already contains, so it is not required to configure it from the beginning.
Edit Flow
It is possible to easily and quickly edit a Flow's Input and Output. To do that, follow the steps below.
-
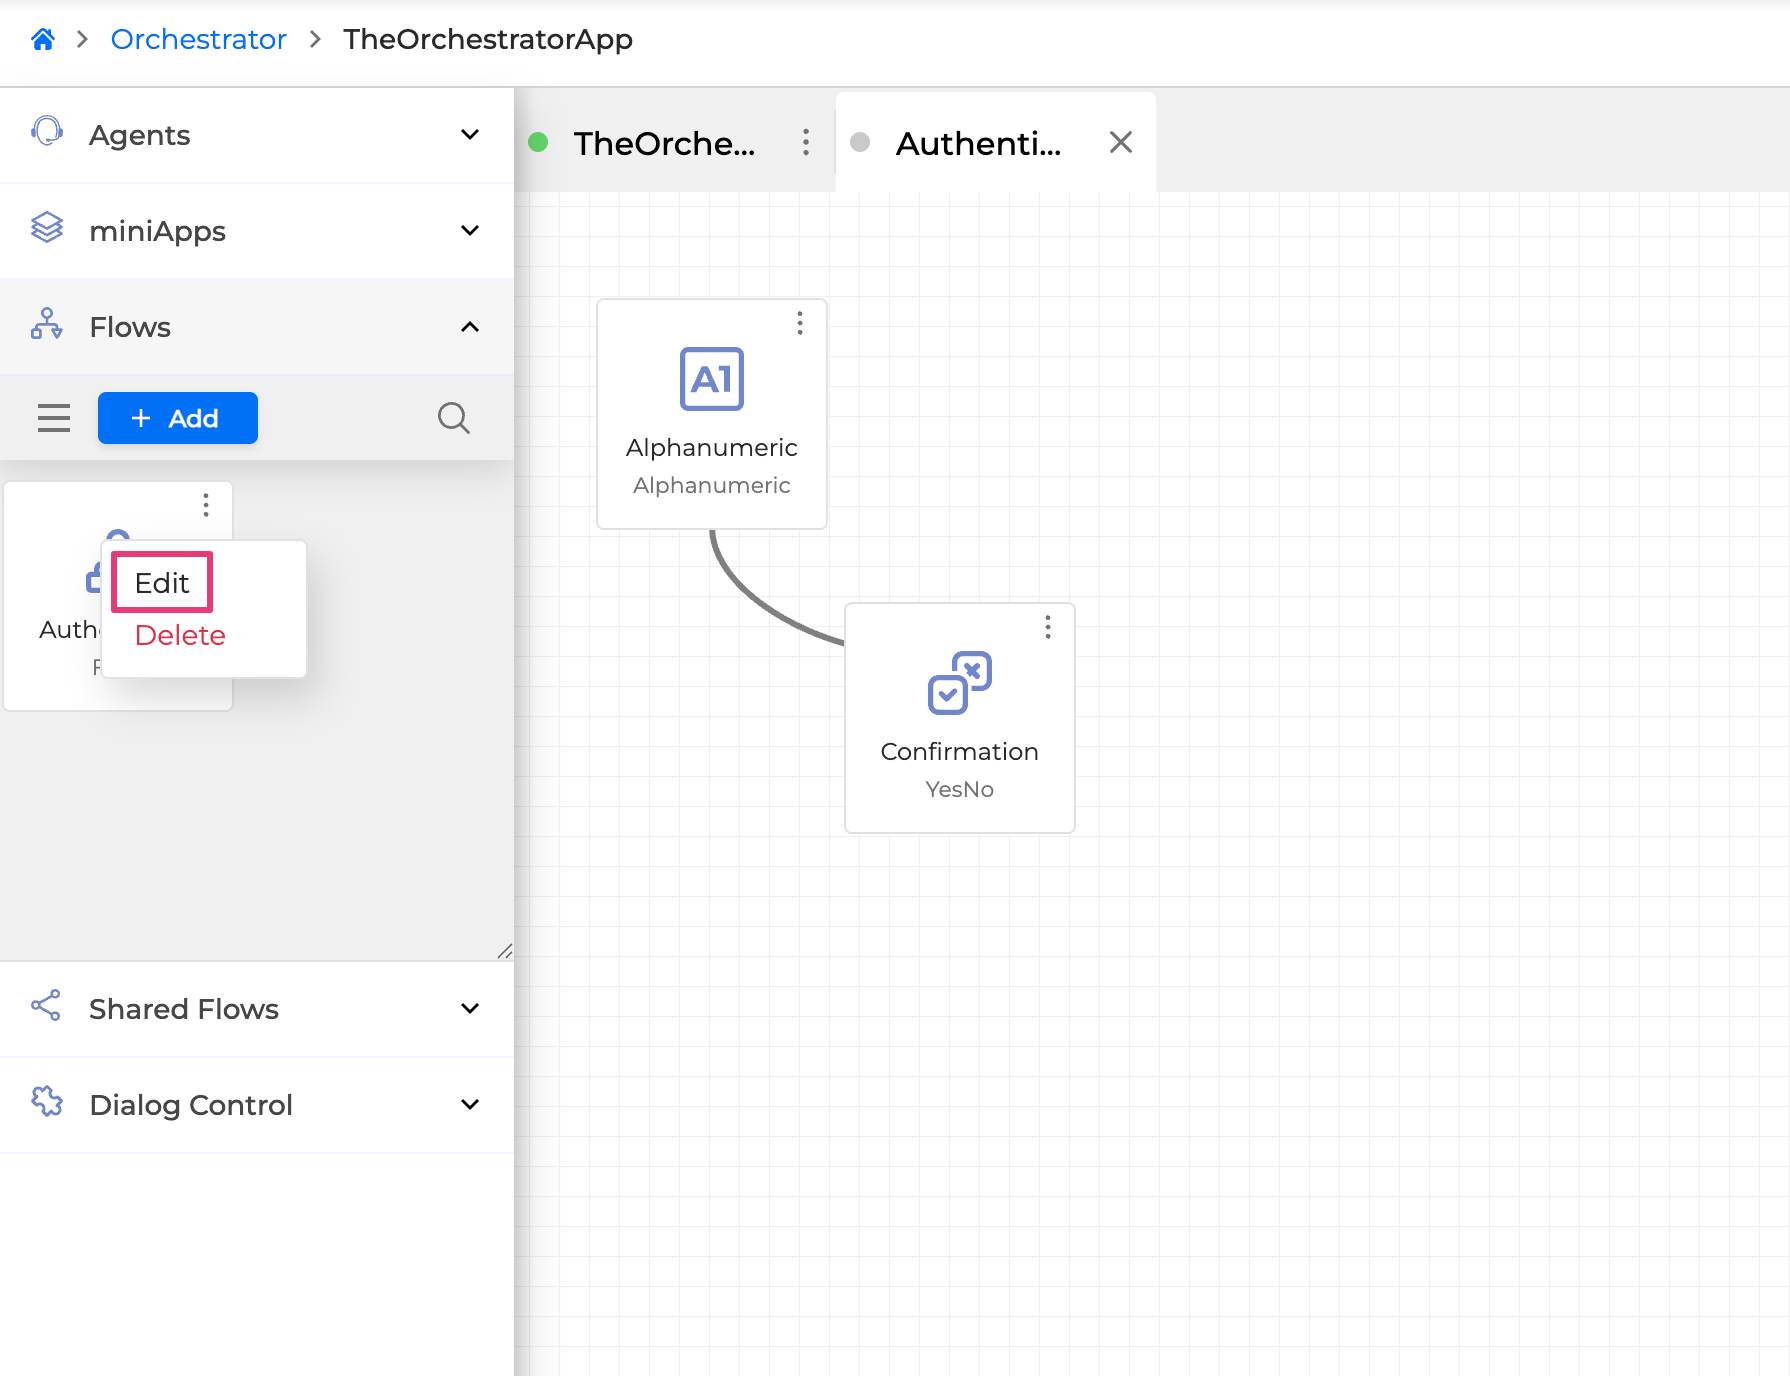
Navigate to the left sidebar with Flows, click the Options button in the upper-right corner, and click Edit.
-
In the newly-opened form, edit the Input and Output fields.
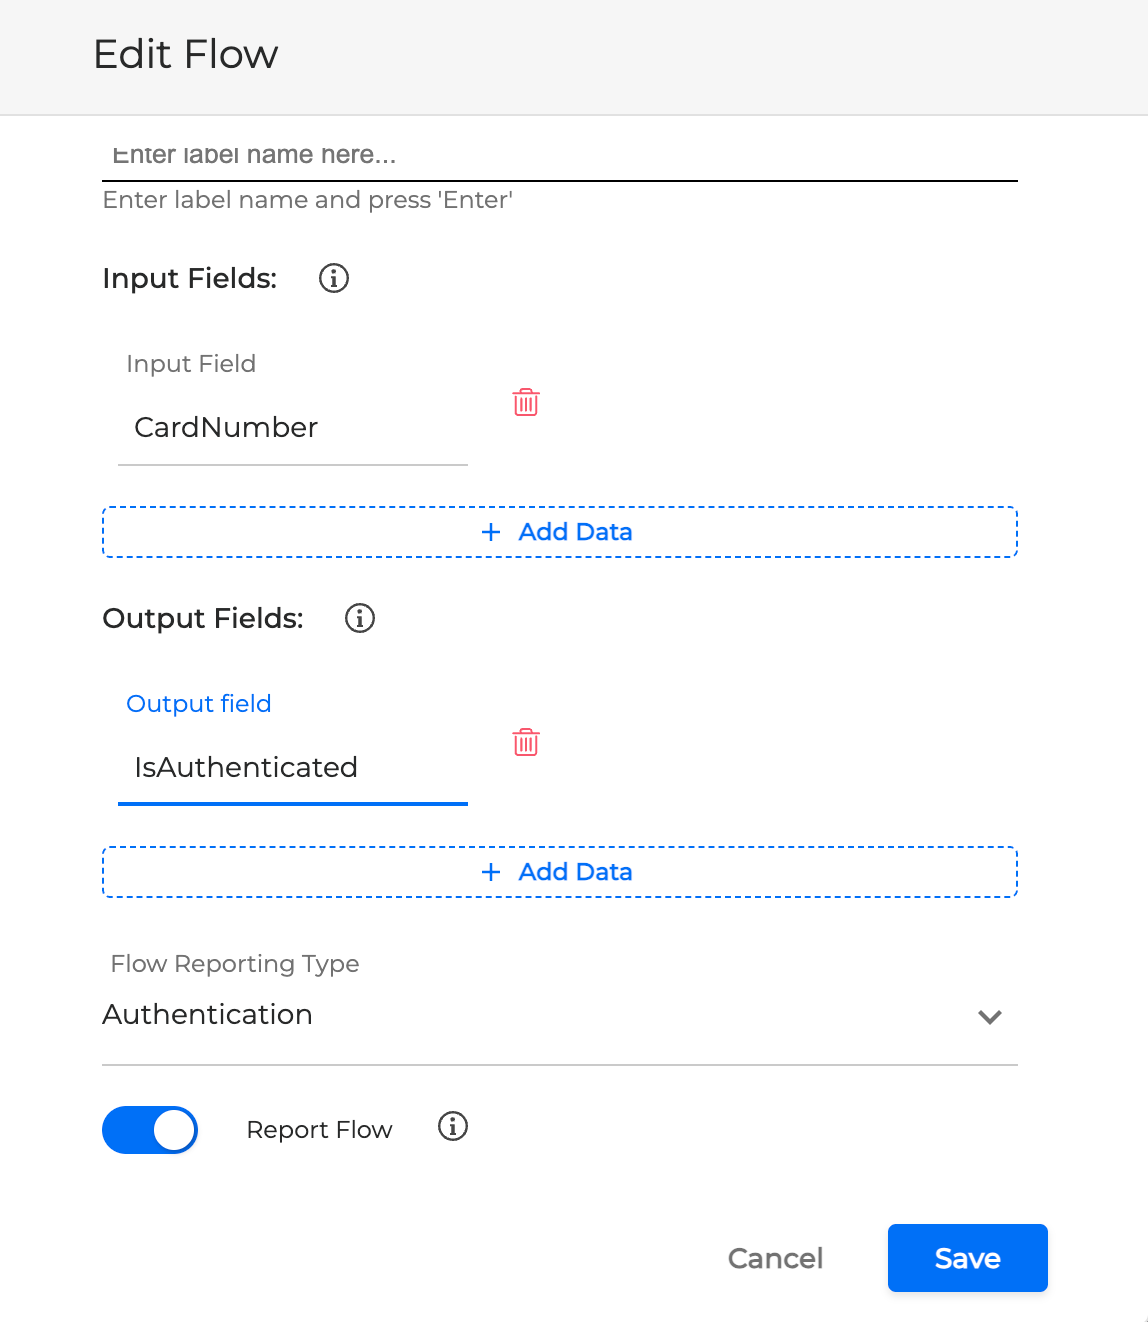
The values of the Input and Output fields will be available in other building blocks of the Dialog Application.
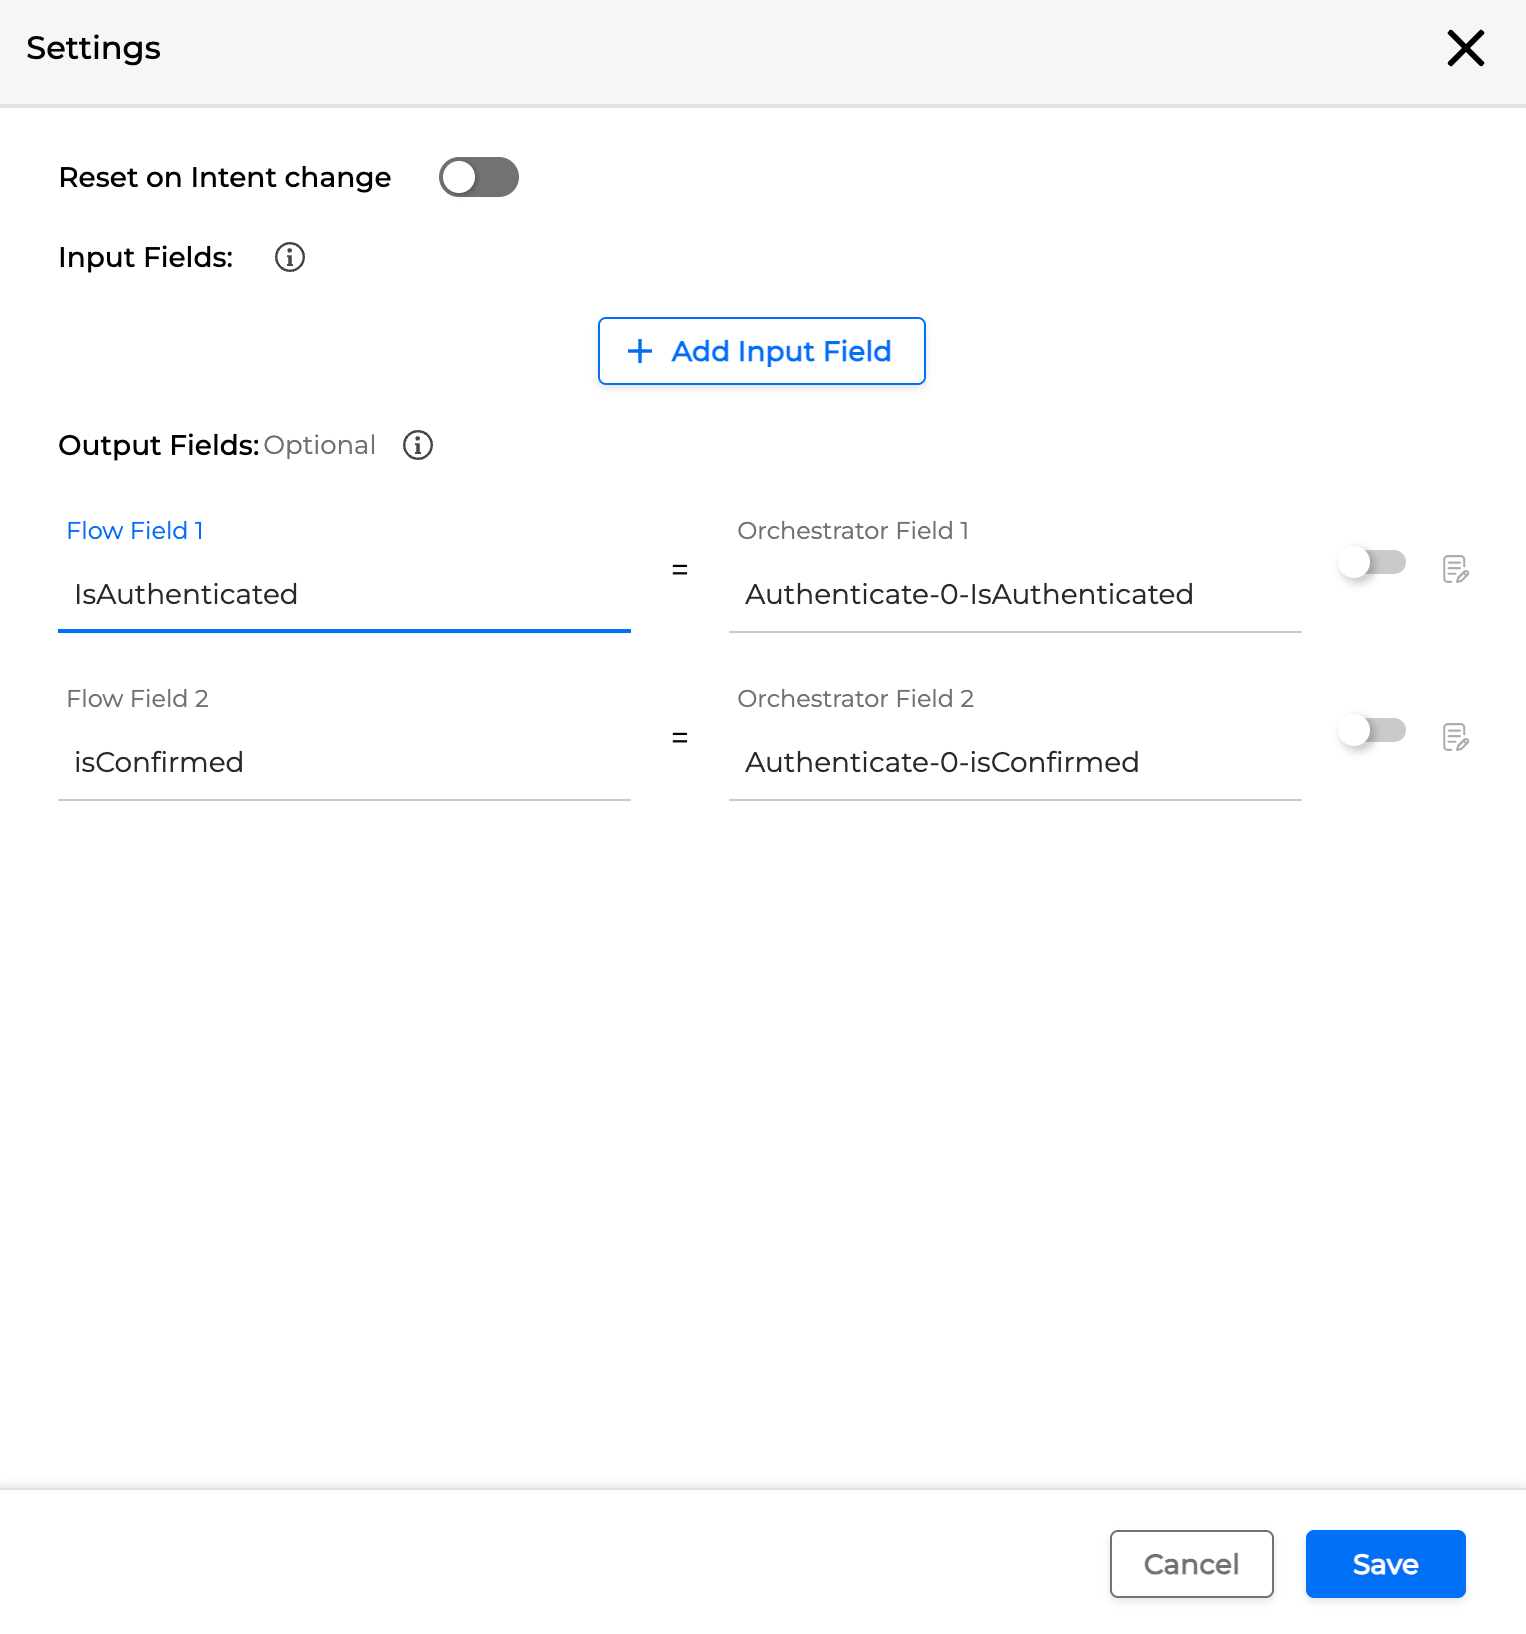
Optional output fields
It is possible to add optional output fields to the Flow. These optional output fields can be selected from the list of preconfigured Flow outputs. However, if the output value is not provided, the Flow will continue regardless.
To configure optional output fields, proceed as follows:
-
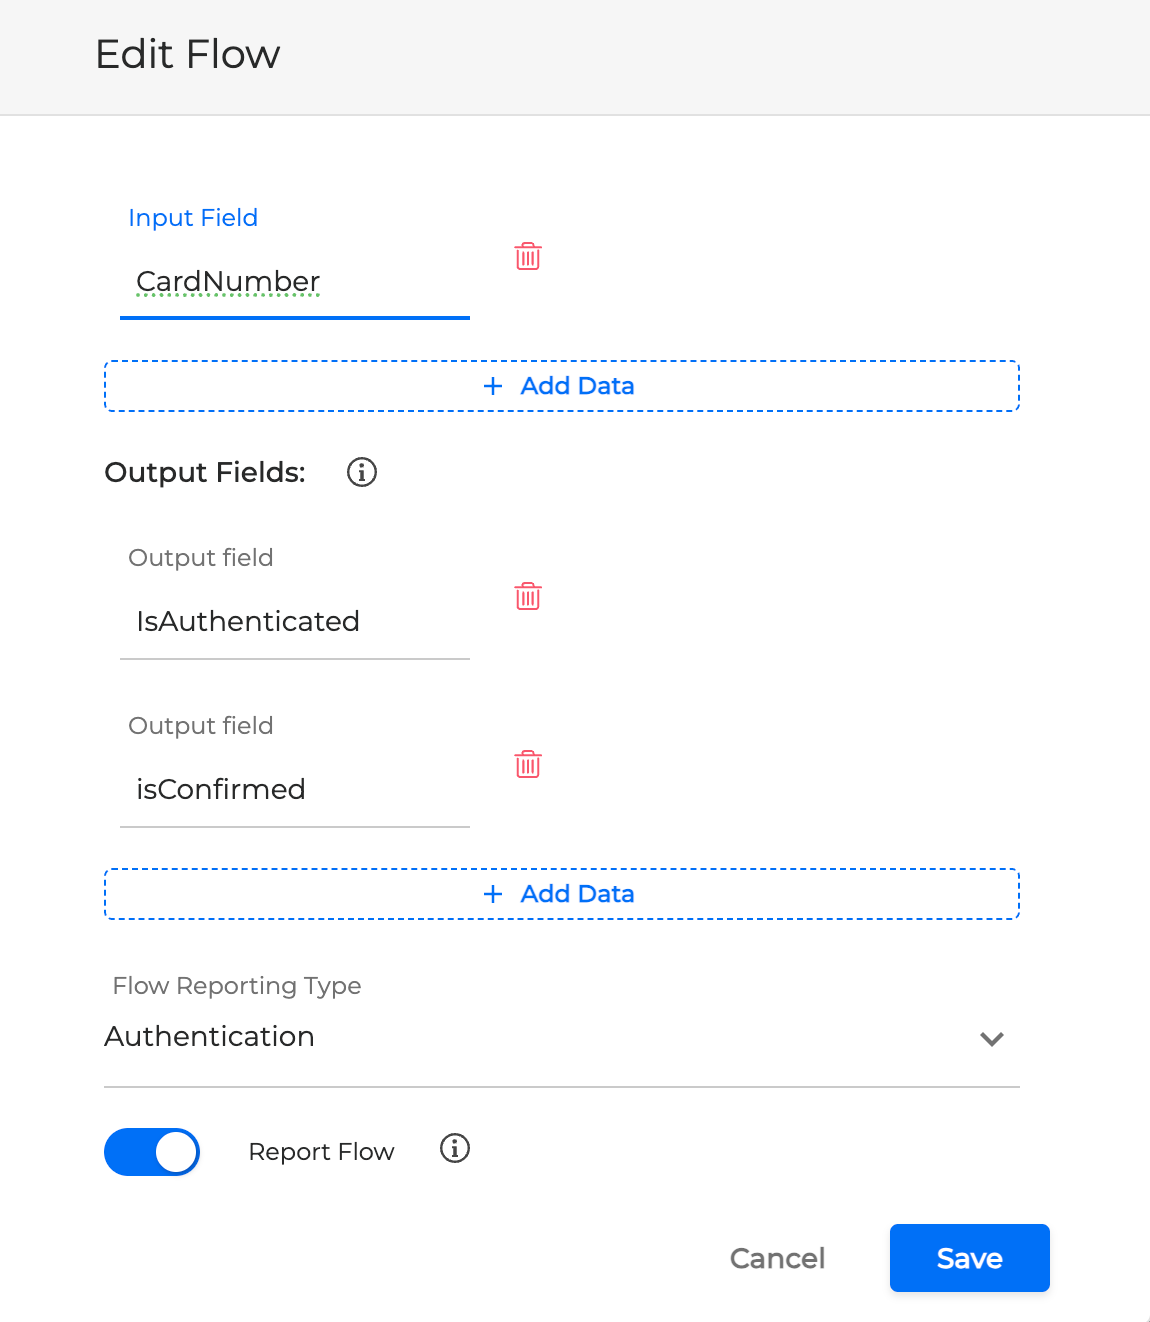
Navigate to the Flows section in the left sidebar, click the Options button in the right upper corner, click Edit, and add multiple output fields.
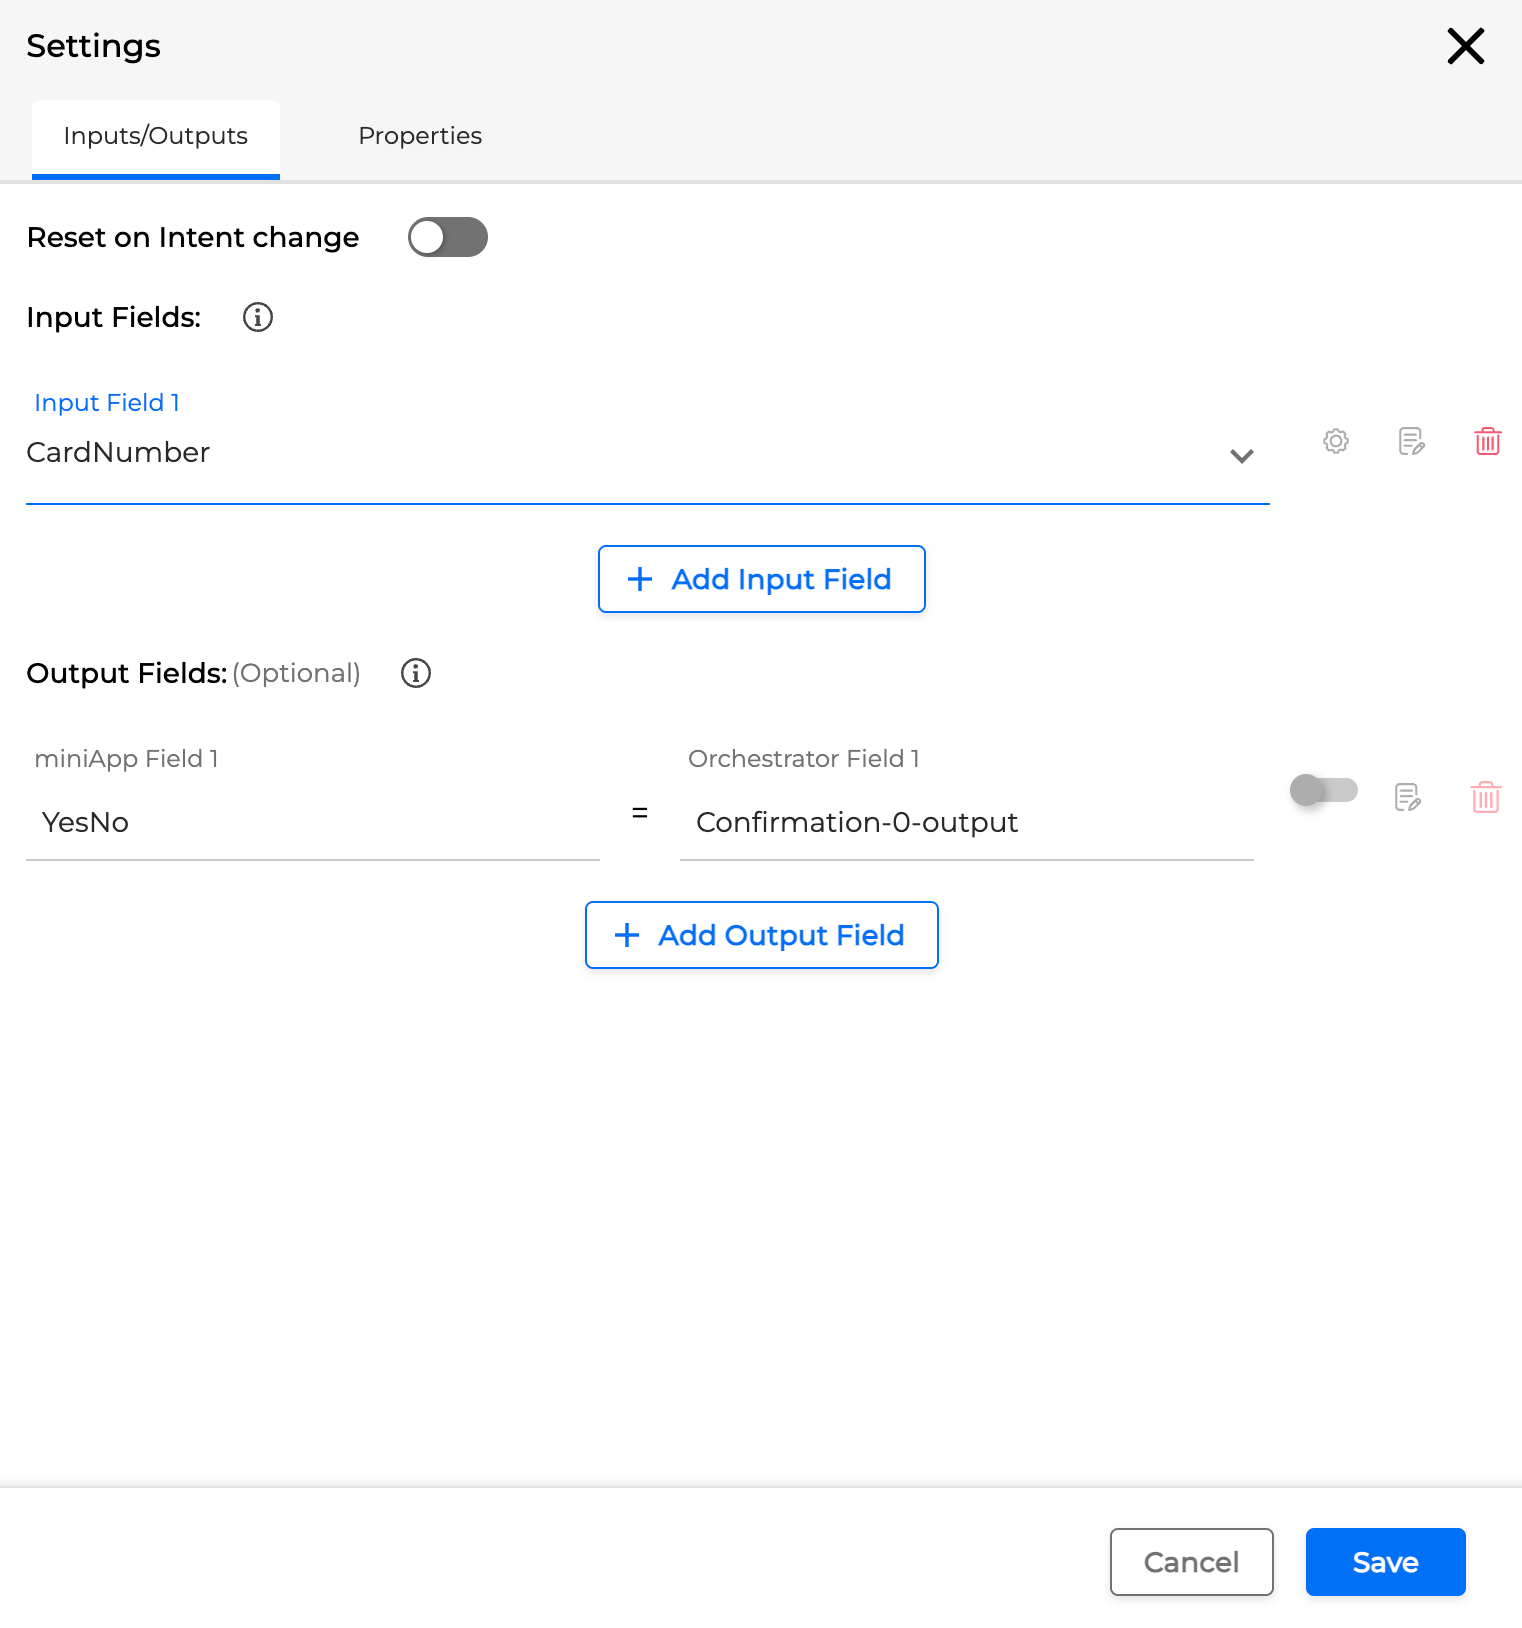
-
Place the Flow onto the canvas, click the Settings button in the right upper corner, and click the toggle button to select optional output fields. Note that you should have at least one non-optional output.
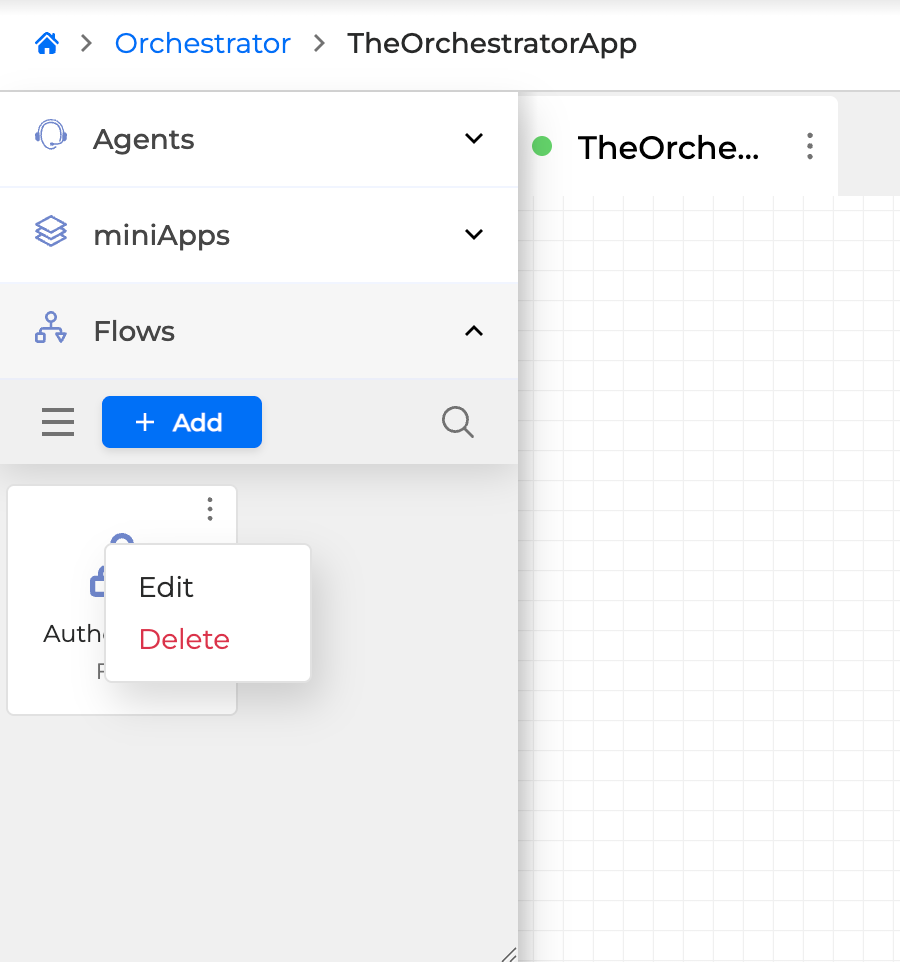
Delete Flow
To permanently delete a Flow, do the following:
Select a Flow from the list on the left and click the Options menu icon in the upper-right corner of the Flow and click Delete.
It is not possible to delete a Flow if it’s already placed on canvas and is used as part of a Dialog Application. Remove a Flow from the canvas to delete it.