Configure the Entity miniApp
Entity miniApps are used to capture entities from the caller that are not covered by other miniApps. Entity miniApps can capture out-of-the-box entities part of the Universal domain but can also be used on custom NLUs to capture custom entities. Information about NLU can be found in OCP Conversational Natural Language® User Guide and in Intent miniApps Configuration.
As an example, the entity miniApp could be used out of the box for the question “Is this for your personal or business account”, since the entity segment is already covered by the out-of-the-box NLU, or it could be used for the question “What is the make of your vehicle?”, where one would use a custom NLU with a custom entity called carmake. The role of this miniApp is entirely to capture this entity from the caller and return it back to the source (Orchestrator or CCaaS script) for processing.
Prompts tab
Welcome prompts
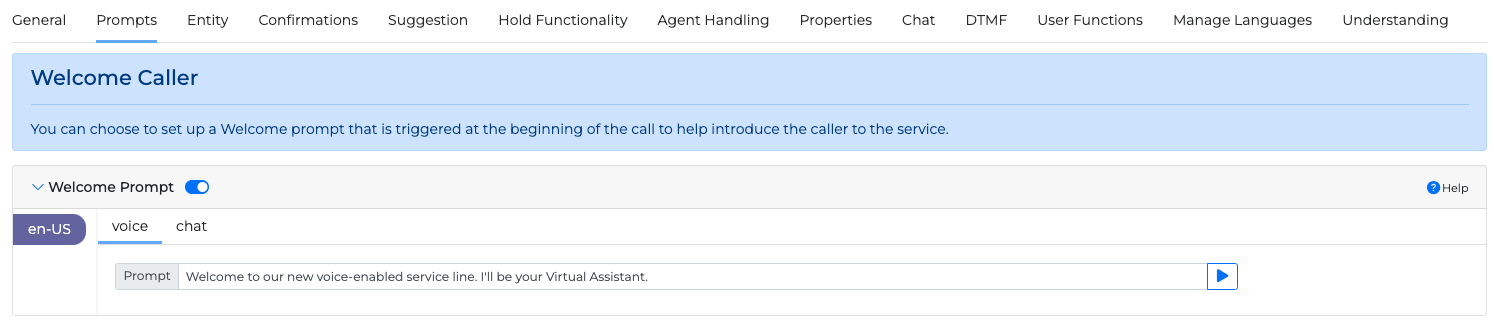
The welcome prompts are the initial prompts responsible for establishing the interaction with the system, thus providing a more natural feel. Corresponding toggle button must be on to activate the welcome prompt.
Initial Prompt
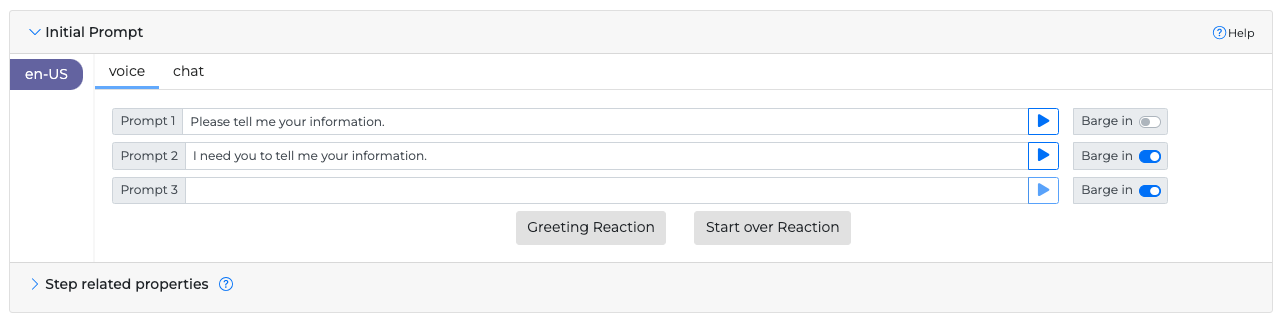
OCP miniApps® allow you to fully configure three custom initial prompts depending on the error level of the initial system prompt:
-
Prompt 1: Initial System Prompt that handles the initial prompt to be played to the caller
-
Prompt 2: Rephrase after 1st error (No Response, No Interpretation), it handles cases where you want to re-prompt to the caller, for example, if there was a
No Responseor aNo Interpretationevent. -
Prompt 3: Rephrase after 2nd error (No Response, No Interpretation), it handles cases where you want to re-prompt for a second time to the caller, for example, if there was a
No Responseor aNo Interpretationevent.
Greeting Reaction
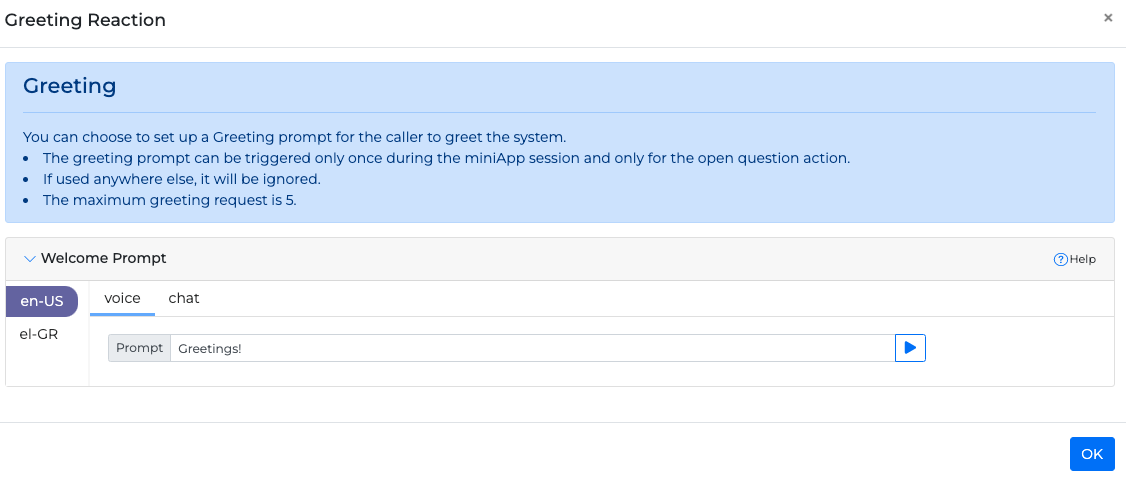
Sometimes, when prompted for input, a caller may first greet the application instead of giving the input directly. For these cases, it is possible to configure a Greeting Reaction, which will trigger in conjunction with the initial prompt resulting in a more human-like experience.
To set up a greeting reaction, proceed as follows:
-
Navigate to the Initial Prompt section.
-
Click Greeting Reaction. The pop-up window opens.
-
Insert the greeting text into the input field.
-
Click OK to save changes.
Barge-in option
If you want to activate barge-in for each step, use the toggle on the right side of each initial prompt:
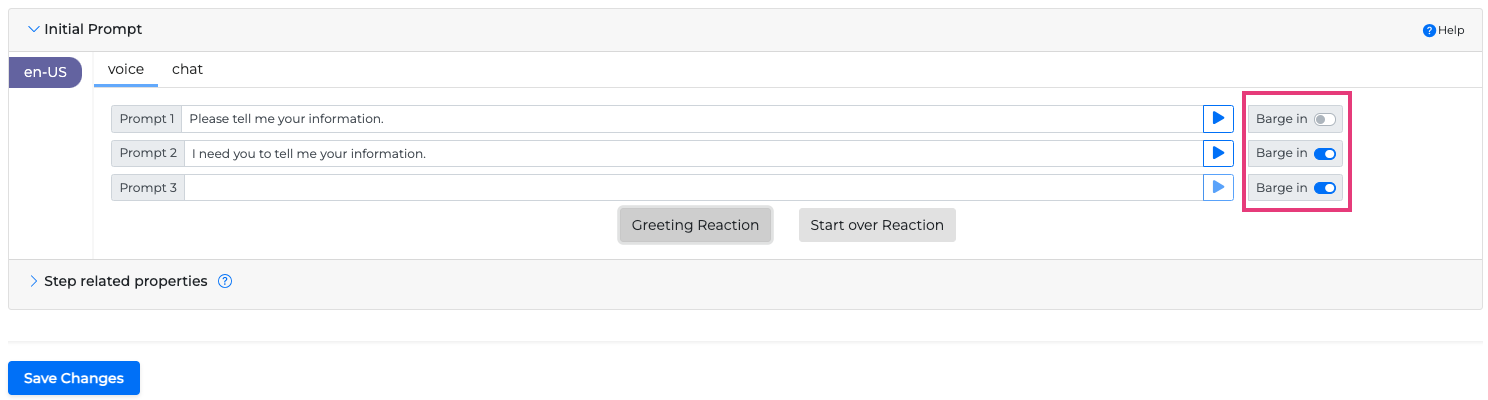
Currently the barge-in option works for the whole action, not for each individual prompt. This will be supported in a later version of the OCP miniApps®.
ASR timeout
You can also adjust the ASR timeout range slider to specify how long the system waits to trigger a NoInput event.
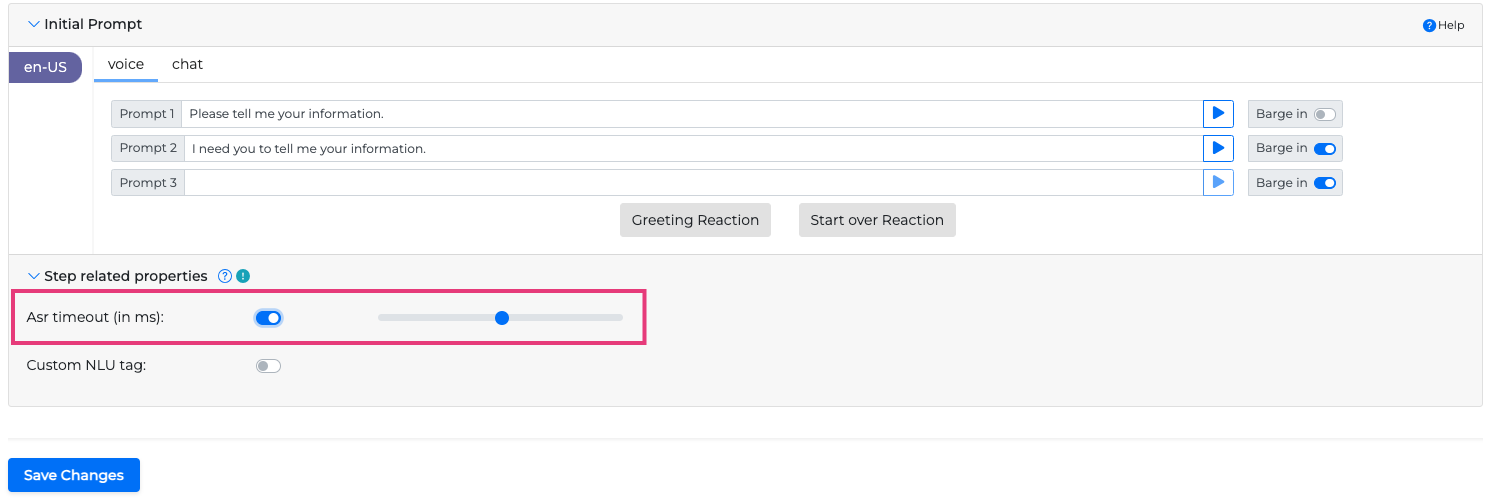
Custom NLU tag
Apart from the selection of an NLU model in the Understanding tab, it is possible to add a custom tag value in the corresponding text box, used to define a more specific context. Tag Hour for example. Under that tag context, a number input, for example, four, will be marked and understood as the time of the day from the system (four o’clock). So in general tags help differentiate and define a more specific meaning from user inputs.

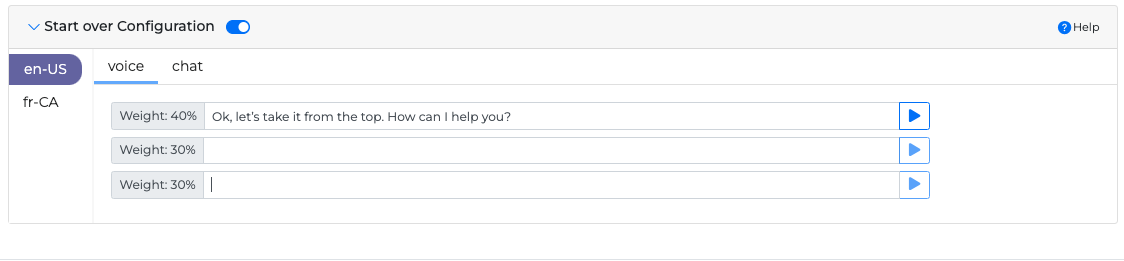
Start Over Reaction
Can only be triggered with the help of a Flow application, so should not be used in standalone miniApps. More info can be found in Event Handlers section Repeat Handlers function.
This functionality allows you to specify Start Over prompts that will be used after the user requests to start over. For instance, the following conversation may take place:
System: How may I help you?
User: I want to get information about my account.
If for some reason the system takes the wrong path here, the user might be inclined to interrupt with something like “no no, can we please restart”. In that case, in your Flow you can specify that upon hearing the word “restart”, the system will enter this miniApp with the specific Start Over prompt, like “Ok, let’s take it from the top. How can I help you?” as in the screenshot below.
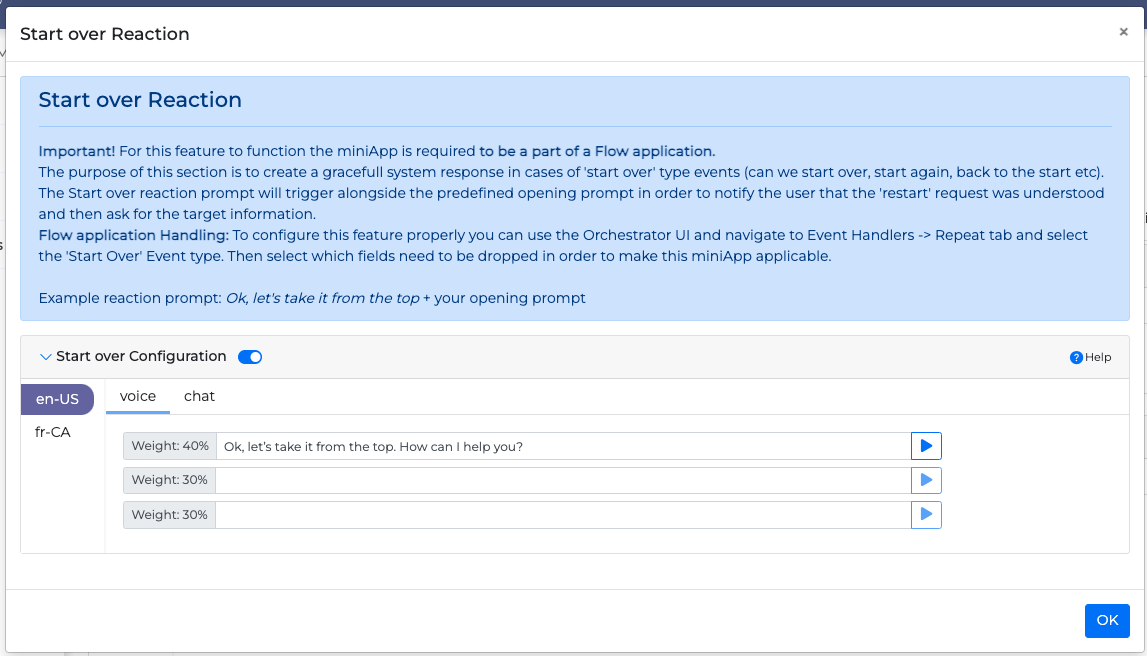
To set up a Start over Reaction , follow the steps:
-
Navigate to the Initial Prompt section.
-
Click Start over Reaction. The corresponding pop-up window opens.
-
Enable the Start over Configuration.
-
Enter the text you wish to be played as a restart prompt. For example, “Ok, let’s take it from the top. How can I help you?”.
-
Press OK to save save the changes.
If you decide to use this functionality, you can additionally inform the user about which words will trigger the Start Over functionality by making the following announcement:
“Welcome to our service. At any point you can say 'start from the beginning' to take it from the top.”
After you configure the prompts, click Save Changes.
Success Prompt
The Success Prompt is a notification message which, when set, will help inform the caller that the system successfully understood and collected the information. This message will trigger upon exit.

To activate it, turn the Success Prompt Toggle button on. Type the success confirmation prompt you like and save the changes.
Entity tab
Declare the required entity to use in this Entity miniApp.
-
Insert an entity name in the Requested Entity box. The entity name must be a valid entity originating from the used NLU list of entities. For example, if you need to learn the callers' favourite colour pick entity Colour the universal NLU.
-
Click the Save Changes button.
By setting a requested entity colour, the miniApp expects a valid colour entity from the caller to close with a valid entity output to return to the source.

Some of the commonly used entities used in this field are the following:
Hour, USCity, USState, USVillage, USCounty, USZipCode, CAZipCode CACity , CARegion , Country , Continent, Email, MonetaryAmount, MonetaryCurrency, DayOfWeek, Month.
Validations tab
Please check the Validations Tab page.
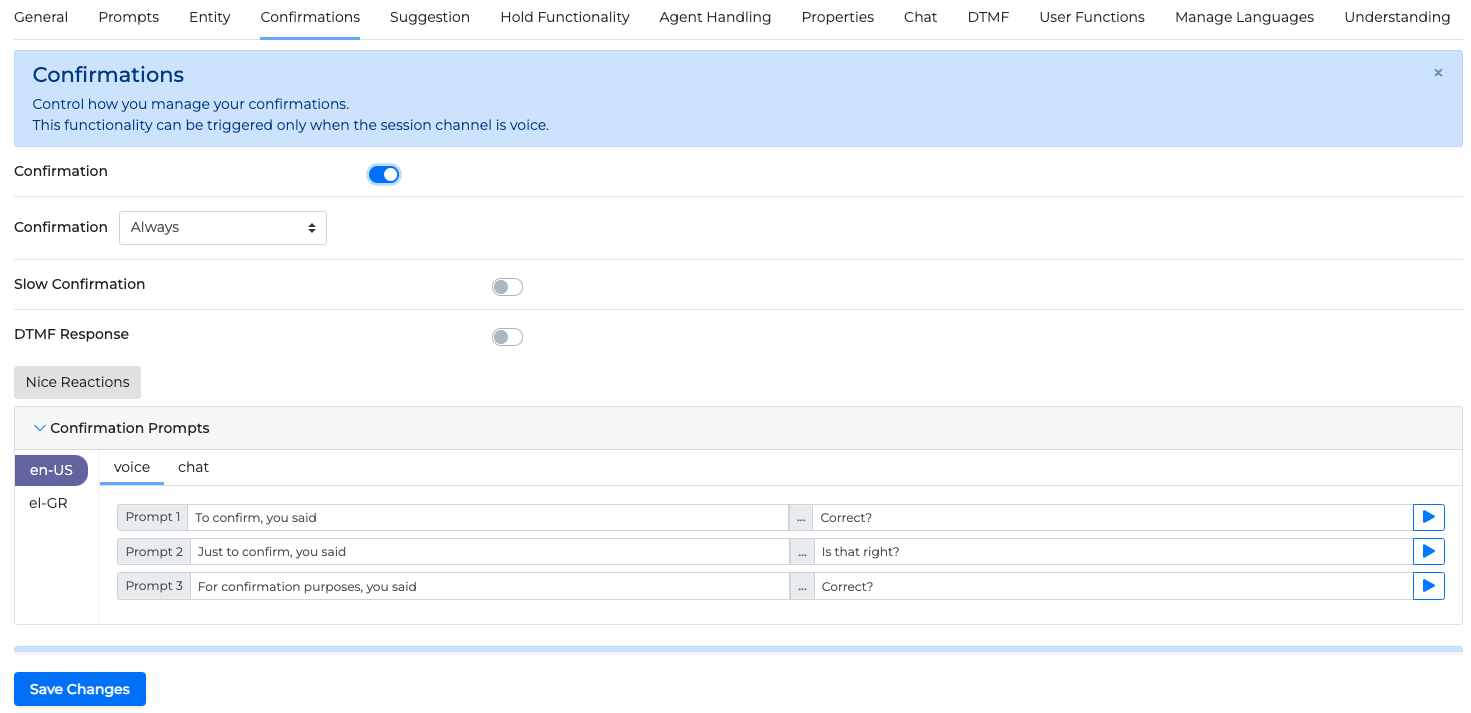
Confirmations tab
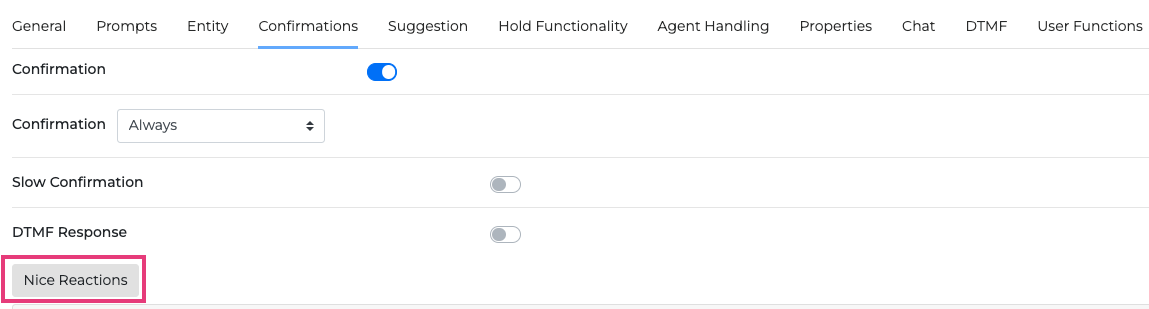
In the Confirmations tab you can manage and control whether you will confirm the caller’s provided data. To enable or disable the confirmations, use the Confirmation toggle.
Confirmation behavior can be customized to either ask every time ("standard") or based on a confidence threshold ("dynamic"). To further enhance the customer experience, the confirmation module features an additional mechanism that, when enabled, adds short pauses between a long piece of information being read back to give time to the caller to verify it ("slow confirmation"). To resemble the legacy confirmation behavior of DTMF systems, the confirmation module also allows the caller to accept or reject using keys instead of natural language ("DTMF confirmation").
Trigger Confirmation
To control whether the confirmation will be always triggered, or below a certain confidence percentage, use the Trigger Confirmation drop-down menu and select one among the following options:
-
Always
-
If confidence below 95%
-
If confidence below 90%
-
If confidence below 85%
-
If confidence below 80%
Slow Confirmation
To add a pause between the system understood characters, use the Slow Confirmation toggle.
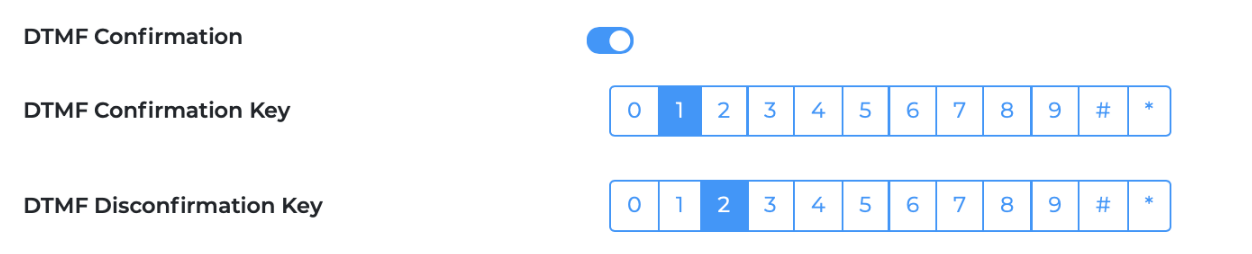
DTMF Confirmation
To enable DTMF Confirmation, use the DTMF Confirmation toggle. When enabled, you provide the caller the option to confirm or disconfirm the system understood characters by pressing a preset key.
Nice Reactions
To add nice reactions, click the Nice Reactions button and a window will pop up, where you can configure them.
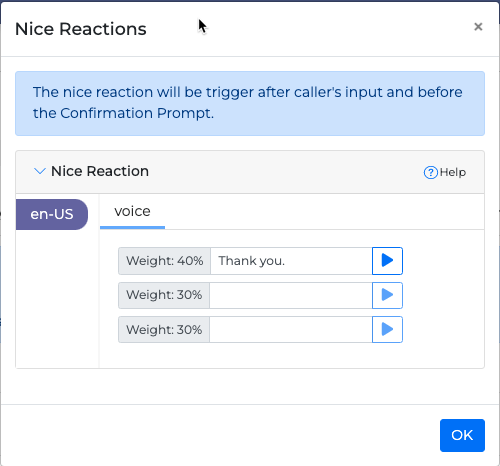
In the Nice Reactions window, you can optionally set nice reactions. Whenever the application identifies a caller confirmation, it randomly throws a nice reaction according to weight, before the confirmation or disconfirmation prompts, to make the dialog sound more conversational.
Confirmation Prompts
You can fully configure three custom confirmation prompts depending on the error level of the initial system prompt:
-
Prompt 1: Initial System Prompt that handles the initial confirmation prompt to be played to the caller.
-
Prompt 2: Rephrase after 1st error (No Response, No Interpretation), it handles cases where you want to re-prompt to the caller, for example, if there was a
No Responseor aNo Interpretationevent. -
Prompt 3: Rephrase after 2nd error (No Response, No Interpretation), it handles cases where you want to re-prompt for a second time to the caller, for example, if there was a
No Responseor aNo Interpretationevent.

Disconfirmation Prompts
You can fully configure three custom disconfirmation prompts depending on the error level of the initial system prompt:
-
Prompt 1: Initial System Prompt that handles the initial disconfirmation prompt to be played to the caller.
-
Prompt 2: Rephrase after 1st error (No Response, No Interpretation), it handles cases where you want to re-prompt to the caller, for example, if there was a
No Responseor aNo Interpretationevent. -
Prompt 3: Rephrase after 2nd error (No Response, No Interpretation), it handles cases where you want to re-prompt for a second time to the caller, for example, if there was a
No Responseor aNo Interpretationevent.

When you are done, select Save Changes to apply the new configuration changes.
Suggestion tab
The Suggestion feature, when set, can make suggestions to the caller in order to make the dialogue quicker and to the point.
In the Suggestion tab, you can set up the desired suggestion prompts. To use the suggestion feature you must set the Orchestrator application accordingly, and connect a Set field to the corresponding miniApp. For more info read the corresponding article in Orchestrator User Guide.
To enable or disable the suggestions, use the Suggestion Prompts toggle button.
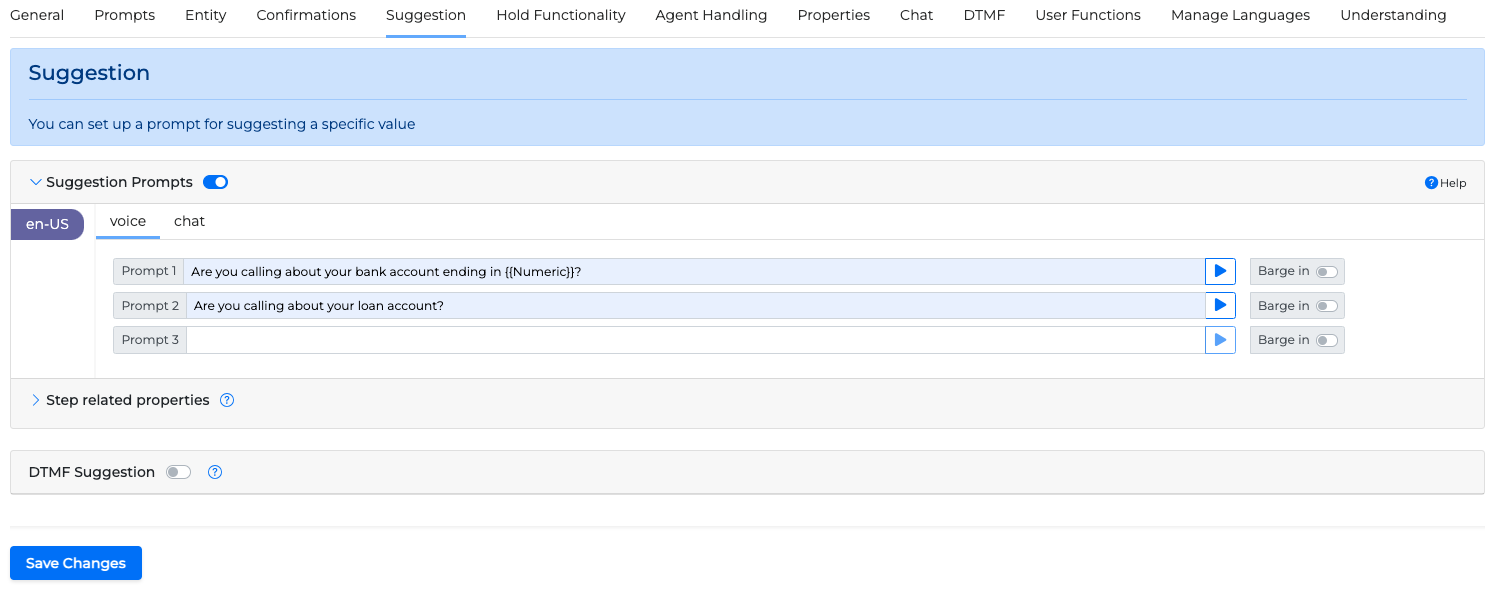
You can set Step related properties as described in the Initial Prompt section.
The active properties set up here will always override the general properties in the Properties tab.
DTMF Response for suggestions
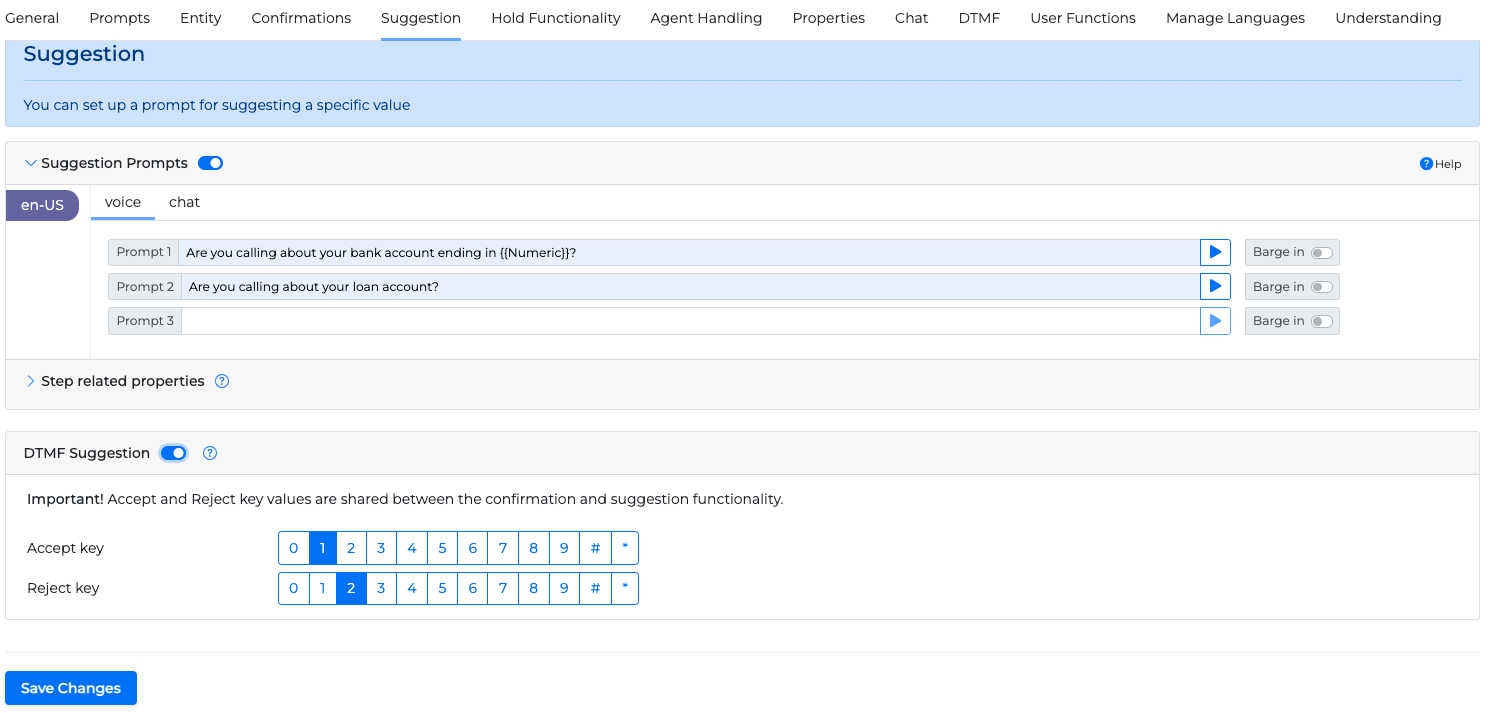
To activate DTMF response on the suggestions, turn the DTMF Response toggle button on, and then set one key for confirmation and one for disconfirmation.
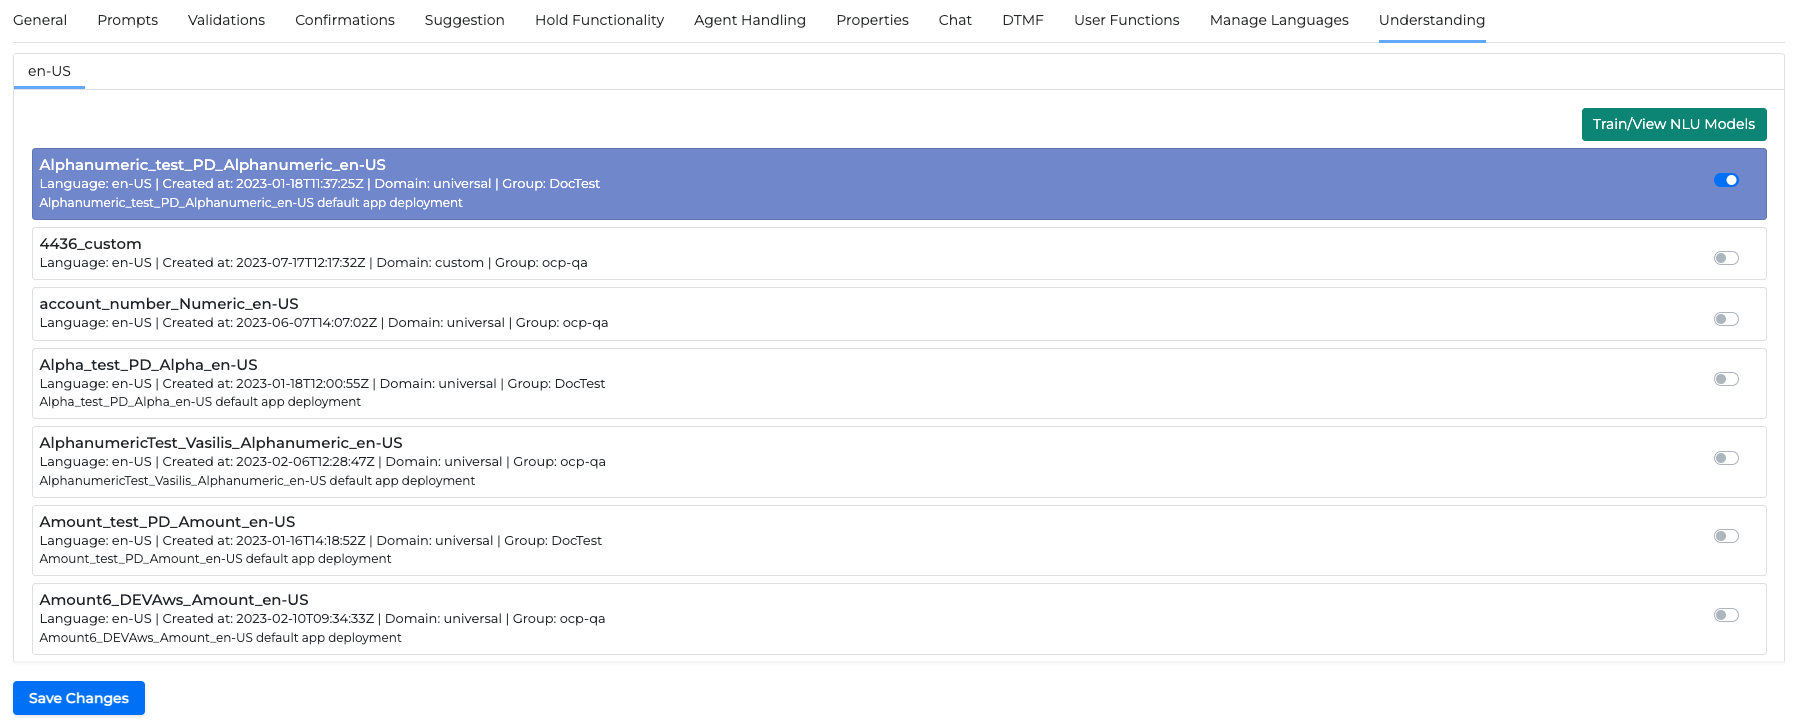
Understanding tab
In the Understanding tab, you can select the NLU you wish to use to get the entity from.
-
Toggle the activation button from off to on to activate the required NLU from the list.
-
If none of the available NLUs is appropriate click the Train/View NLU Models button to be transferred to the NLU → NLU Models area in Console where you can create, modify and deploy NLU models. For more information read the OCP Conversational Natural Language® User Guide.
Agent Handling tab
To see the details on how to configure the Agent Handling tab, check out this article.
Properties tab
To see the details on how to configure the Properties tab, check out this article.
Chat tab
To see details about the Chat tab, check out this article.
DTMF tab
To see details about the DTMF tab, check out this article.
User Functions tab
To see details about the User Functions tab, check out this article.
Manage Languages tab
To see the details on how to configure the Manage Languages tab, check out this article.