How to deploy a model
To use your model with your application, you need to deploy it.
To deploy a model, follow the steps described below:
-
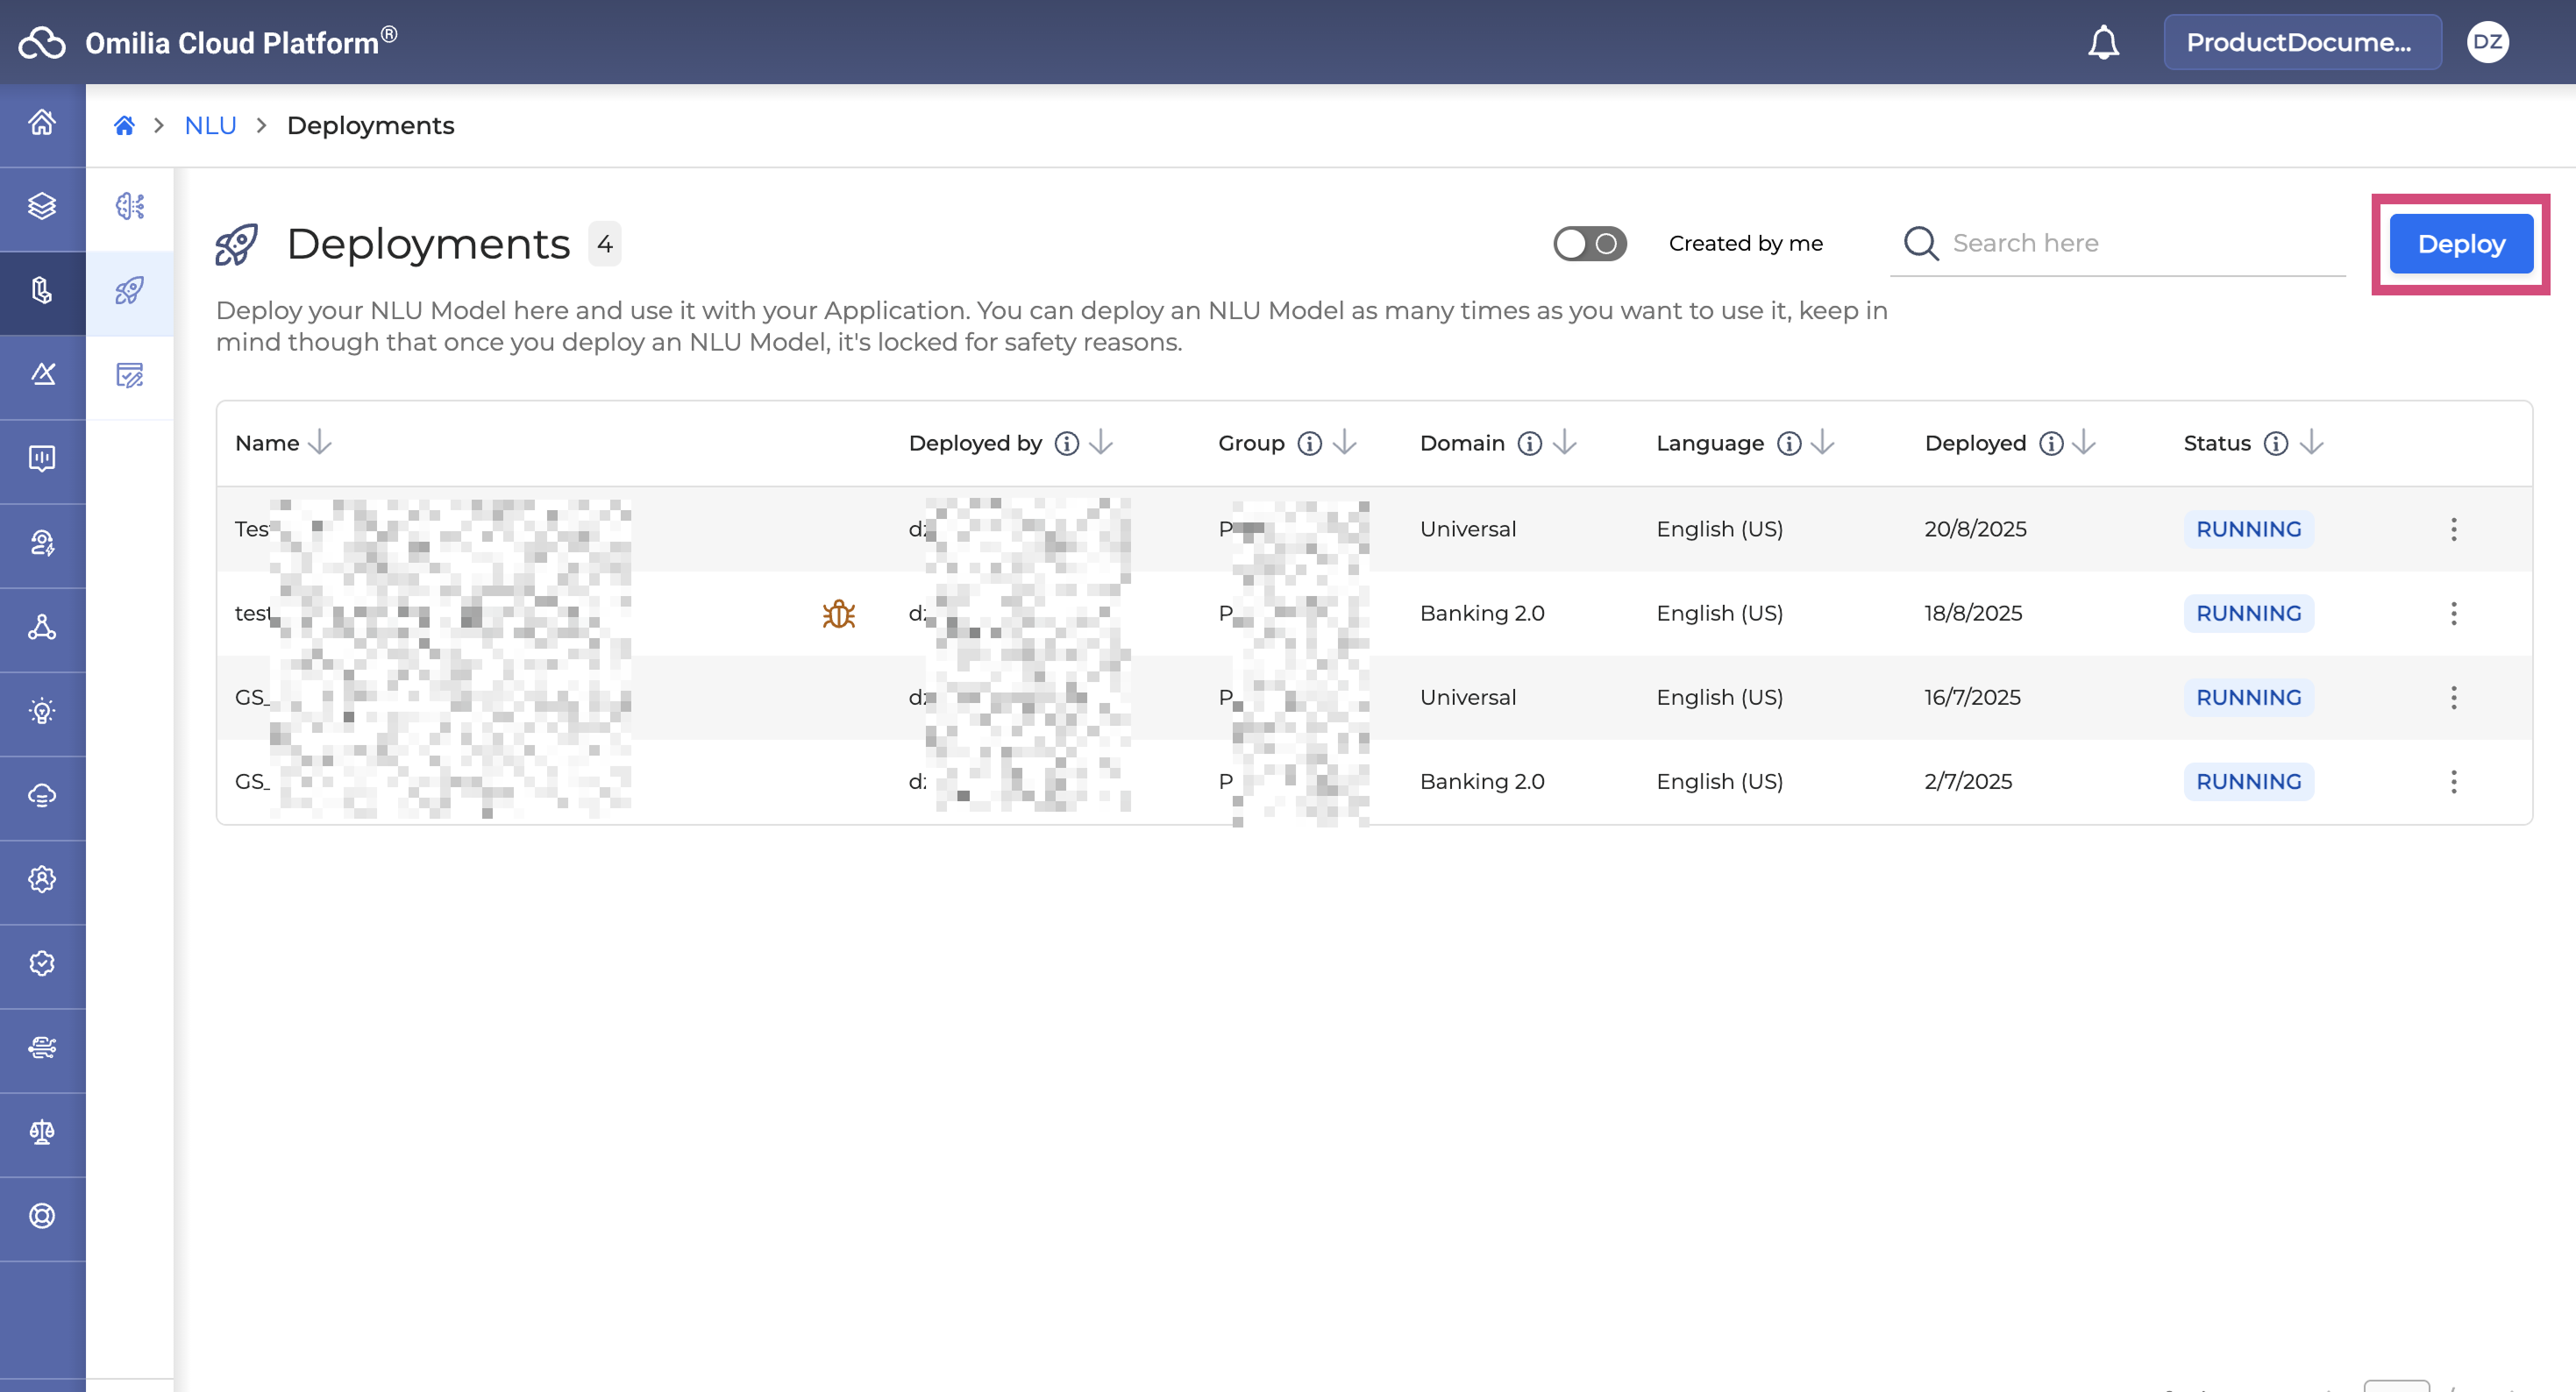
Navigate to NLU → Deployments section and click Deploy.
-
In the opened dialog box, select a deployment type, either Testing or Production, and click Next.

Never use Testing deployment for production! They should only be used for testing purposes.
-
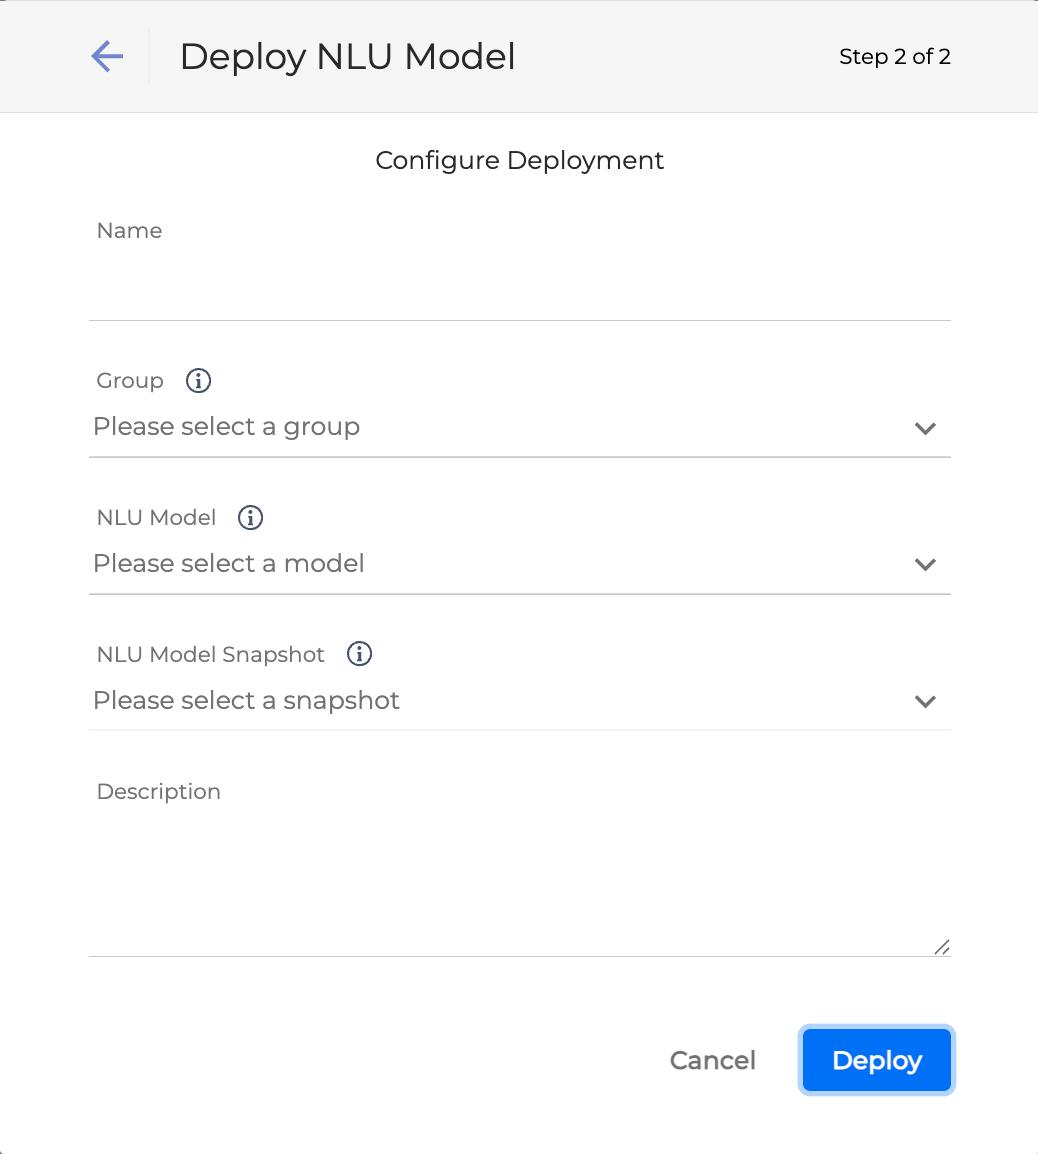
In the opened dialog box, fill in the fields as described below.
-
Name: Enter a name for your application.
-
Group: Select a group of users who can use the deployed model.
-
NLU Model: Select a model from the list of available models.
-
NLU Model Snapshot: Select a snapshot from the list of available snapshots.
-
Description: Provide an optional description for the deployment.
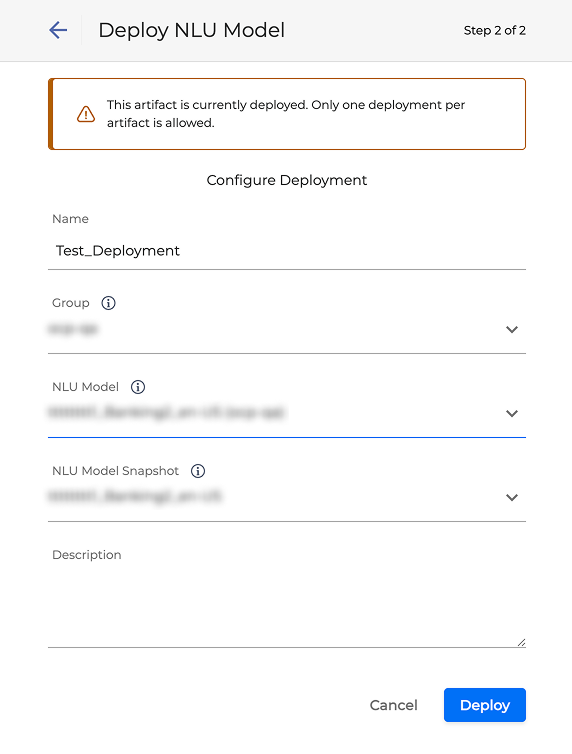
You can deploy an artifact only once. If you select an NLU Model and NLU Model Snapshot that are currently deployed, a warning message appears and you will not be able to proceed.
-
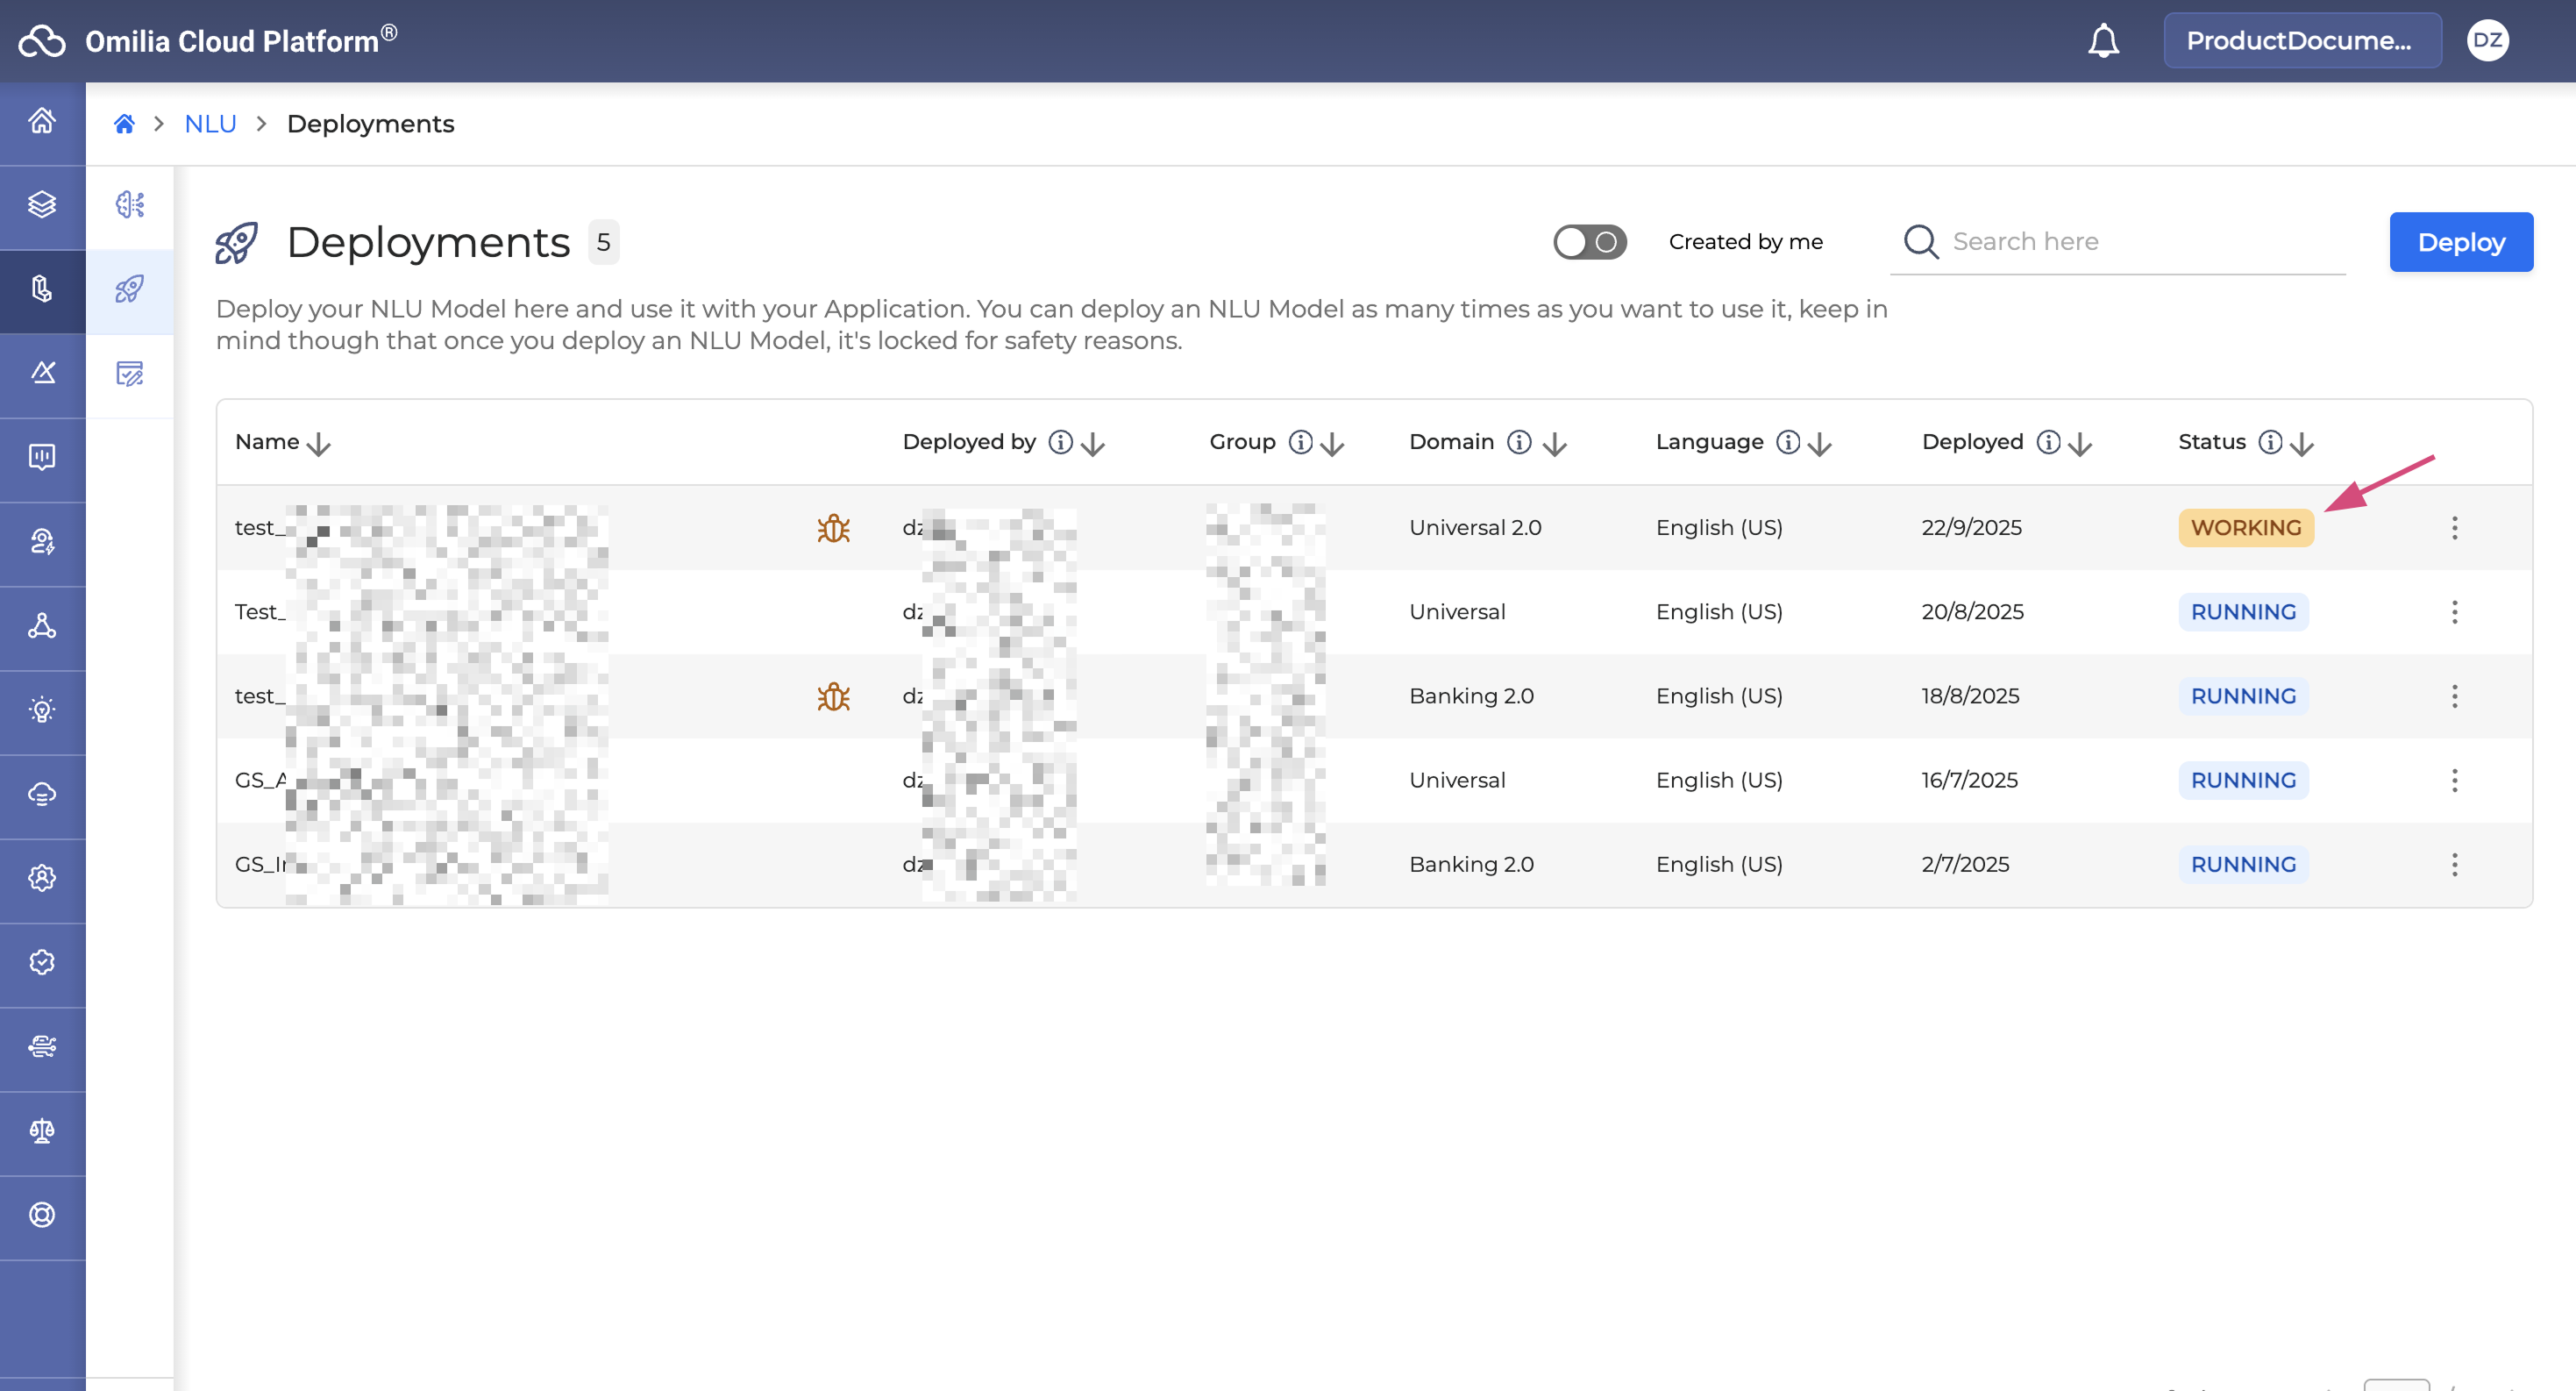
Click Deploy. The deployment is added to the Deployments list. While the deployment process is ongoing, its status is set as Working.
-
As soon as the process is completed, the status will automatically change to Running.
-
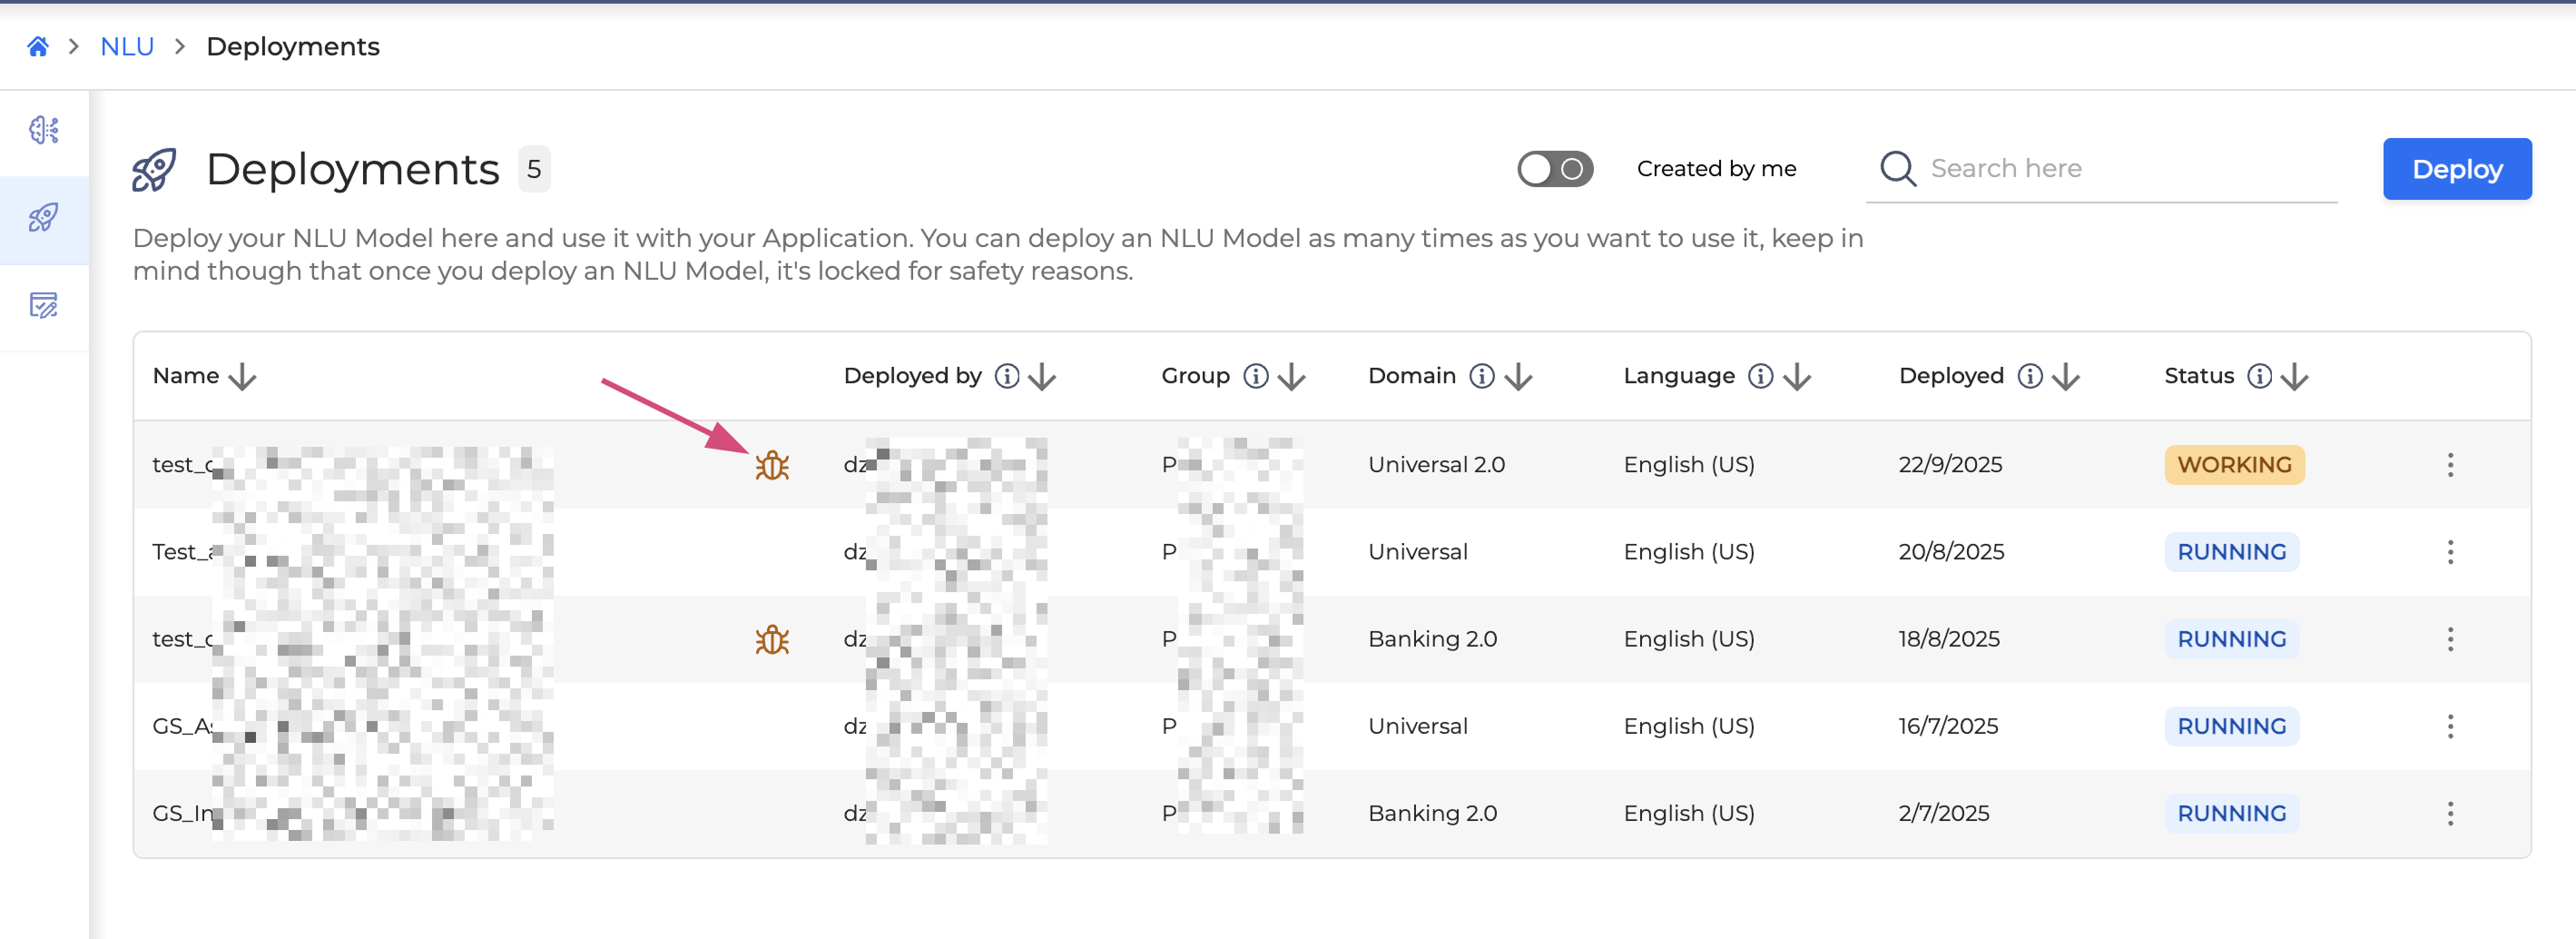
You can switch on the Created by me toggle, to filter out the deployments created by you.
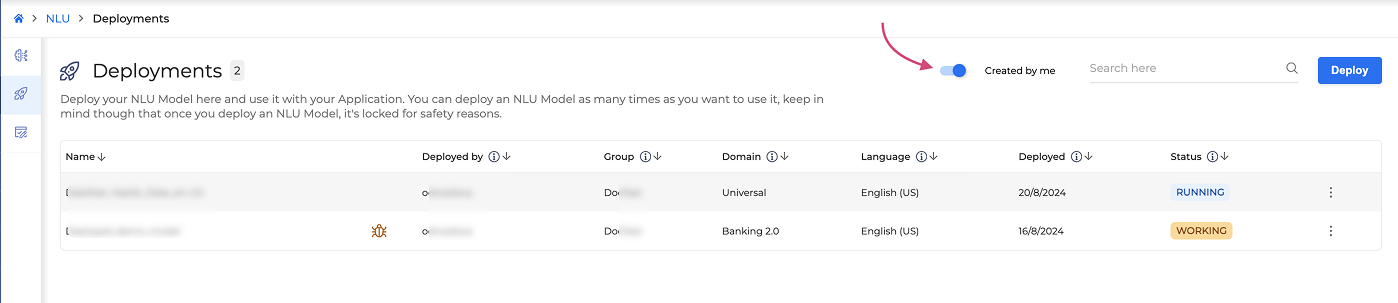
The completed Testing deployments are marked with the Bug icon.
By default, production deployments stop automatically after seven days, and testing deployments stop after three days. The number of days differs depending on the environment.
You can start a stopped deployment manually at any time.
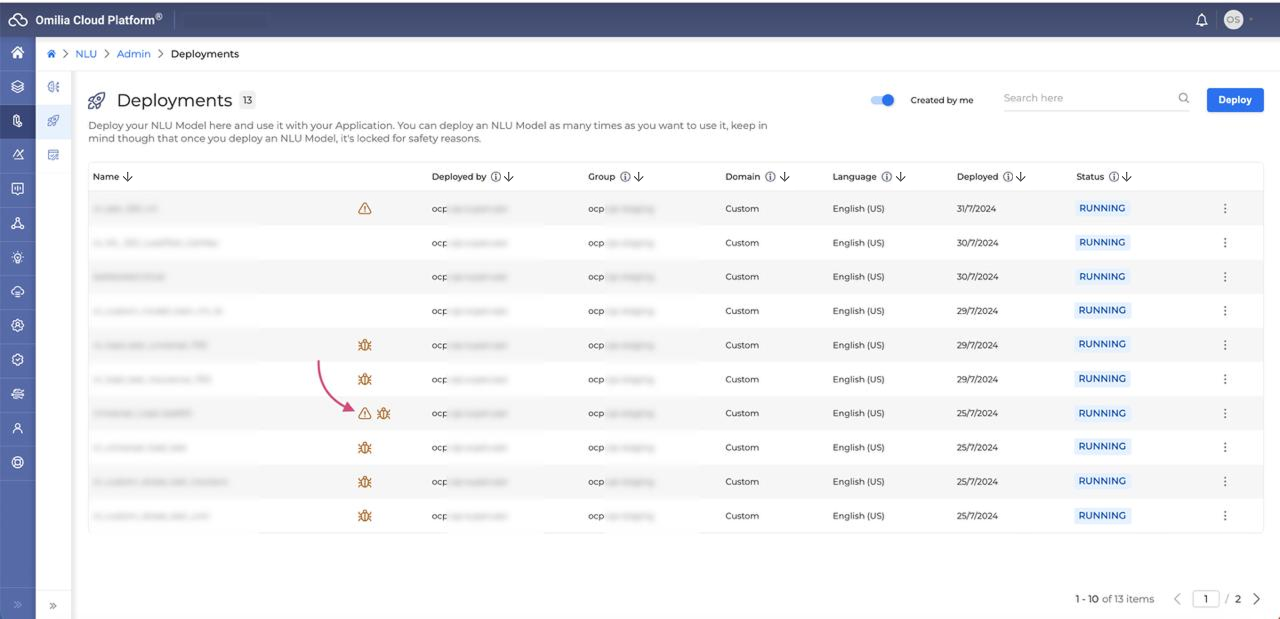
A deployed model that is not the latest version is indicated with an exclamation icon, as shown below:
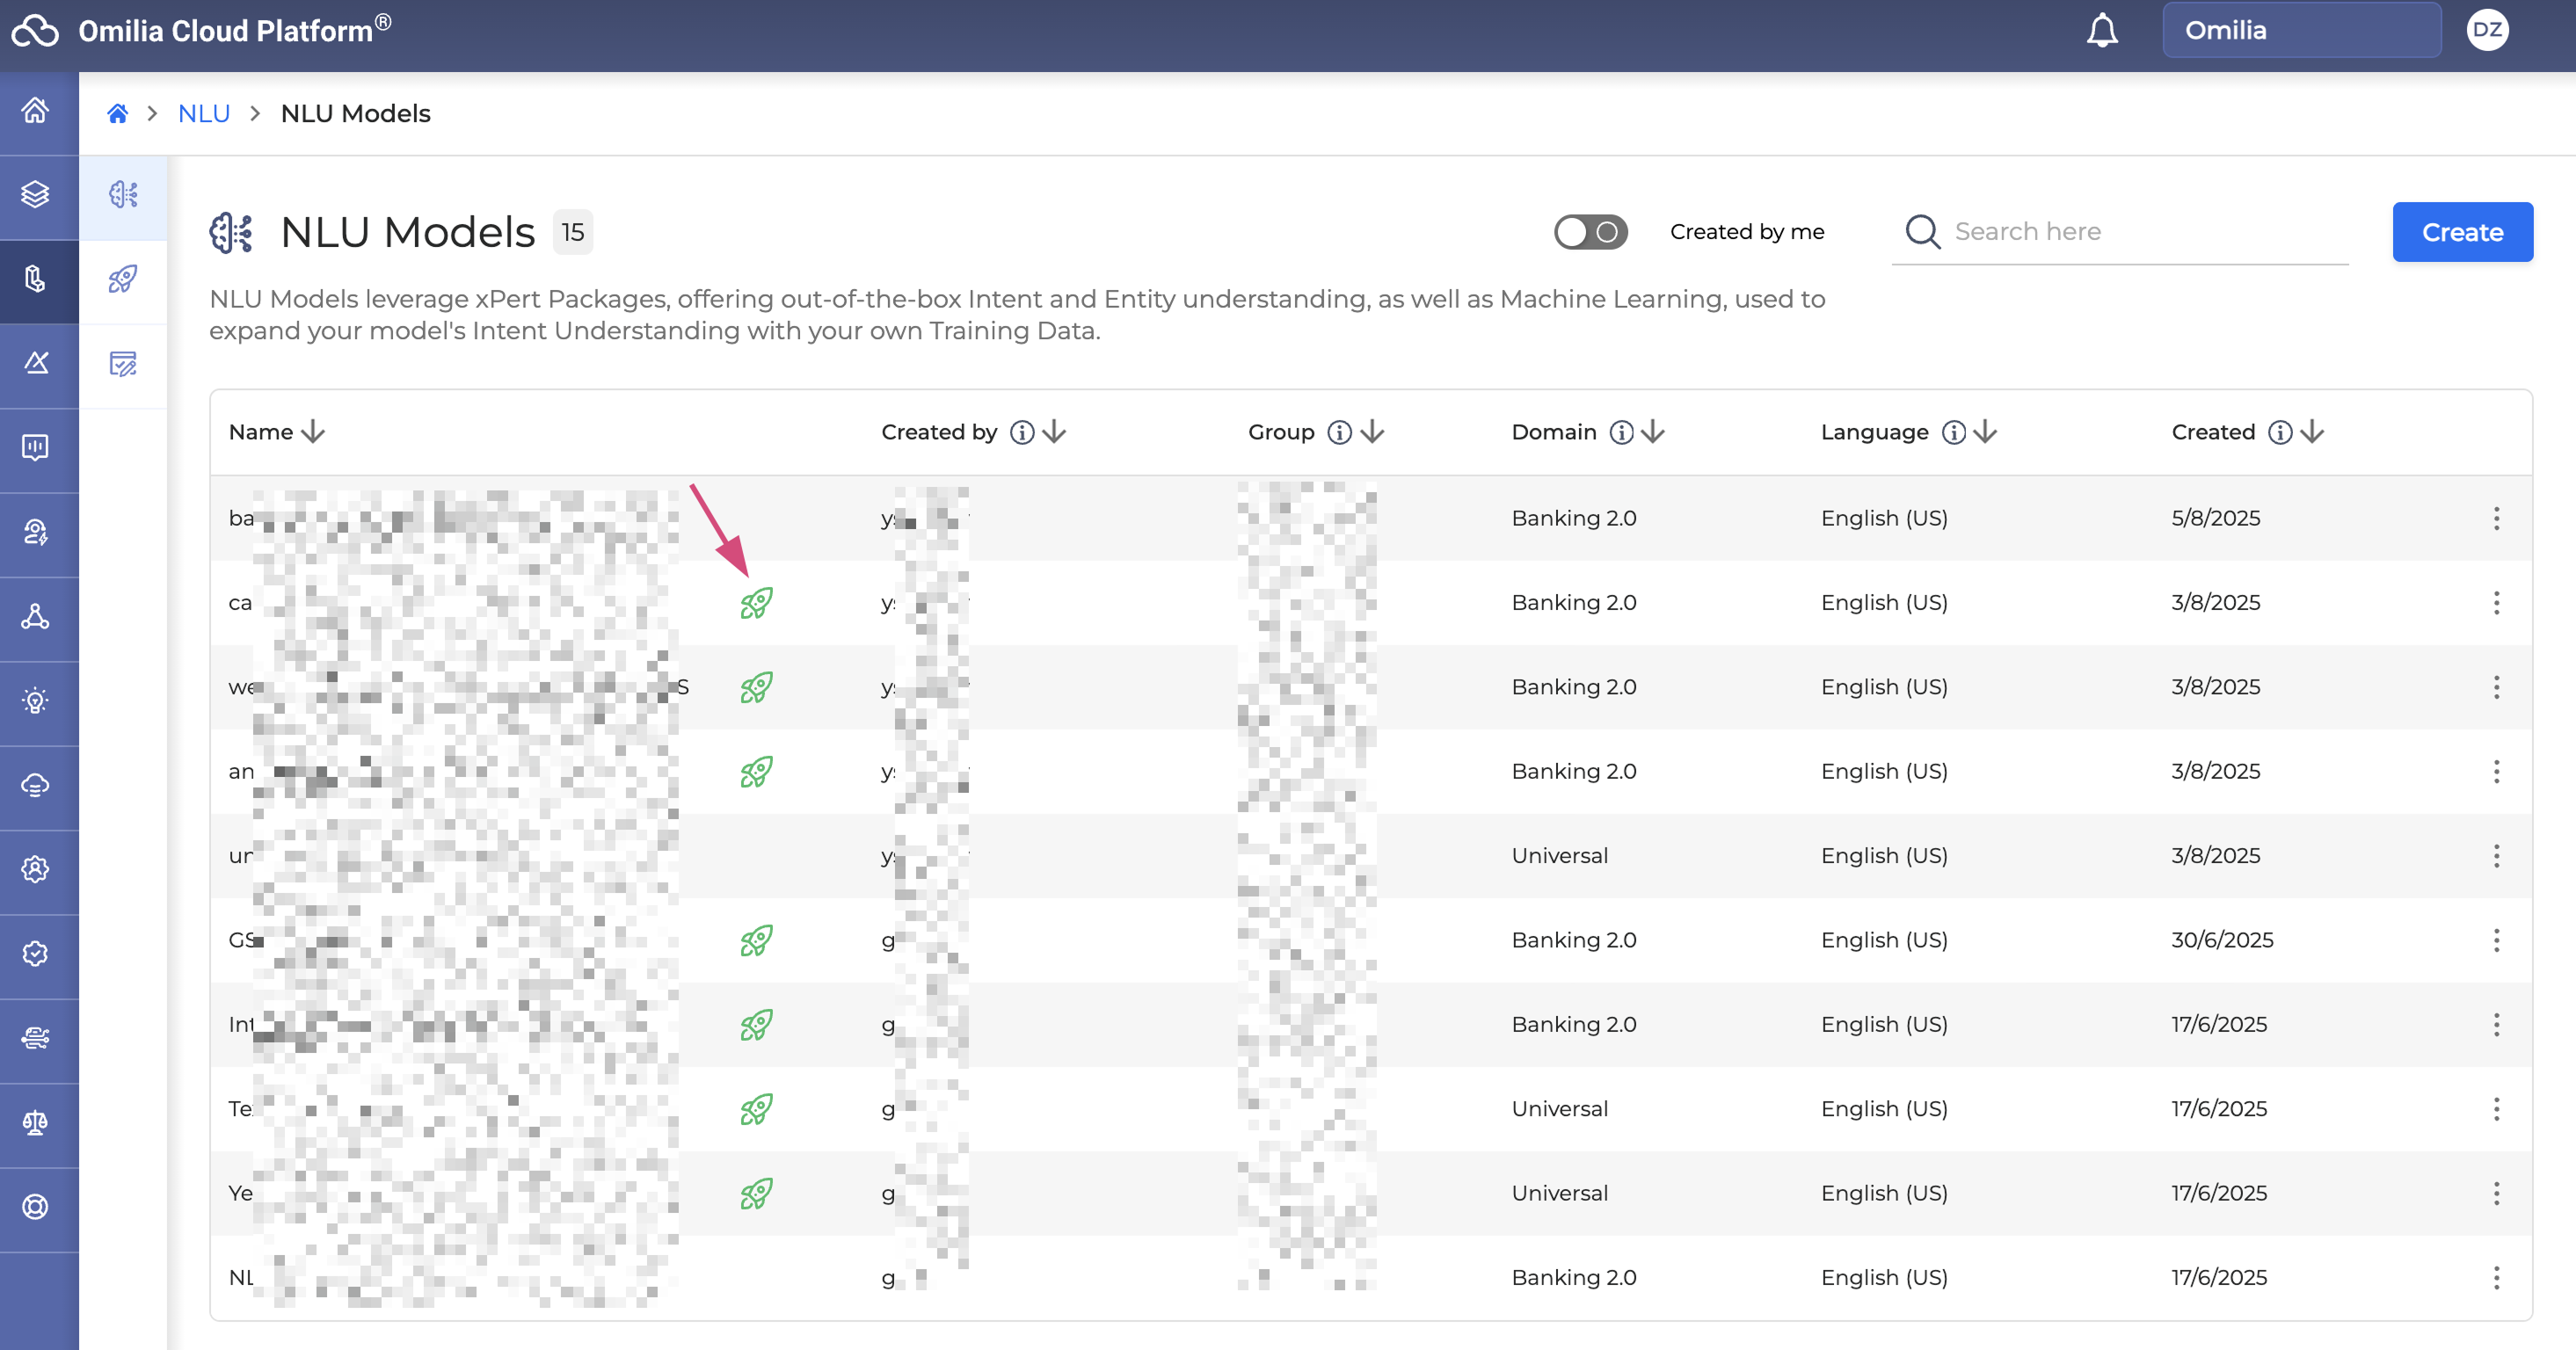
If you navigate to the NLU Models tab, you will also see the deployed models labeled with the Rocket icon for your convenience.
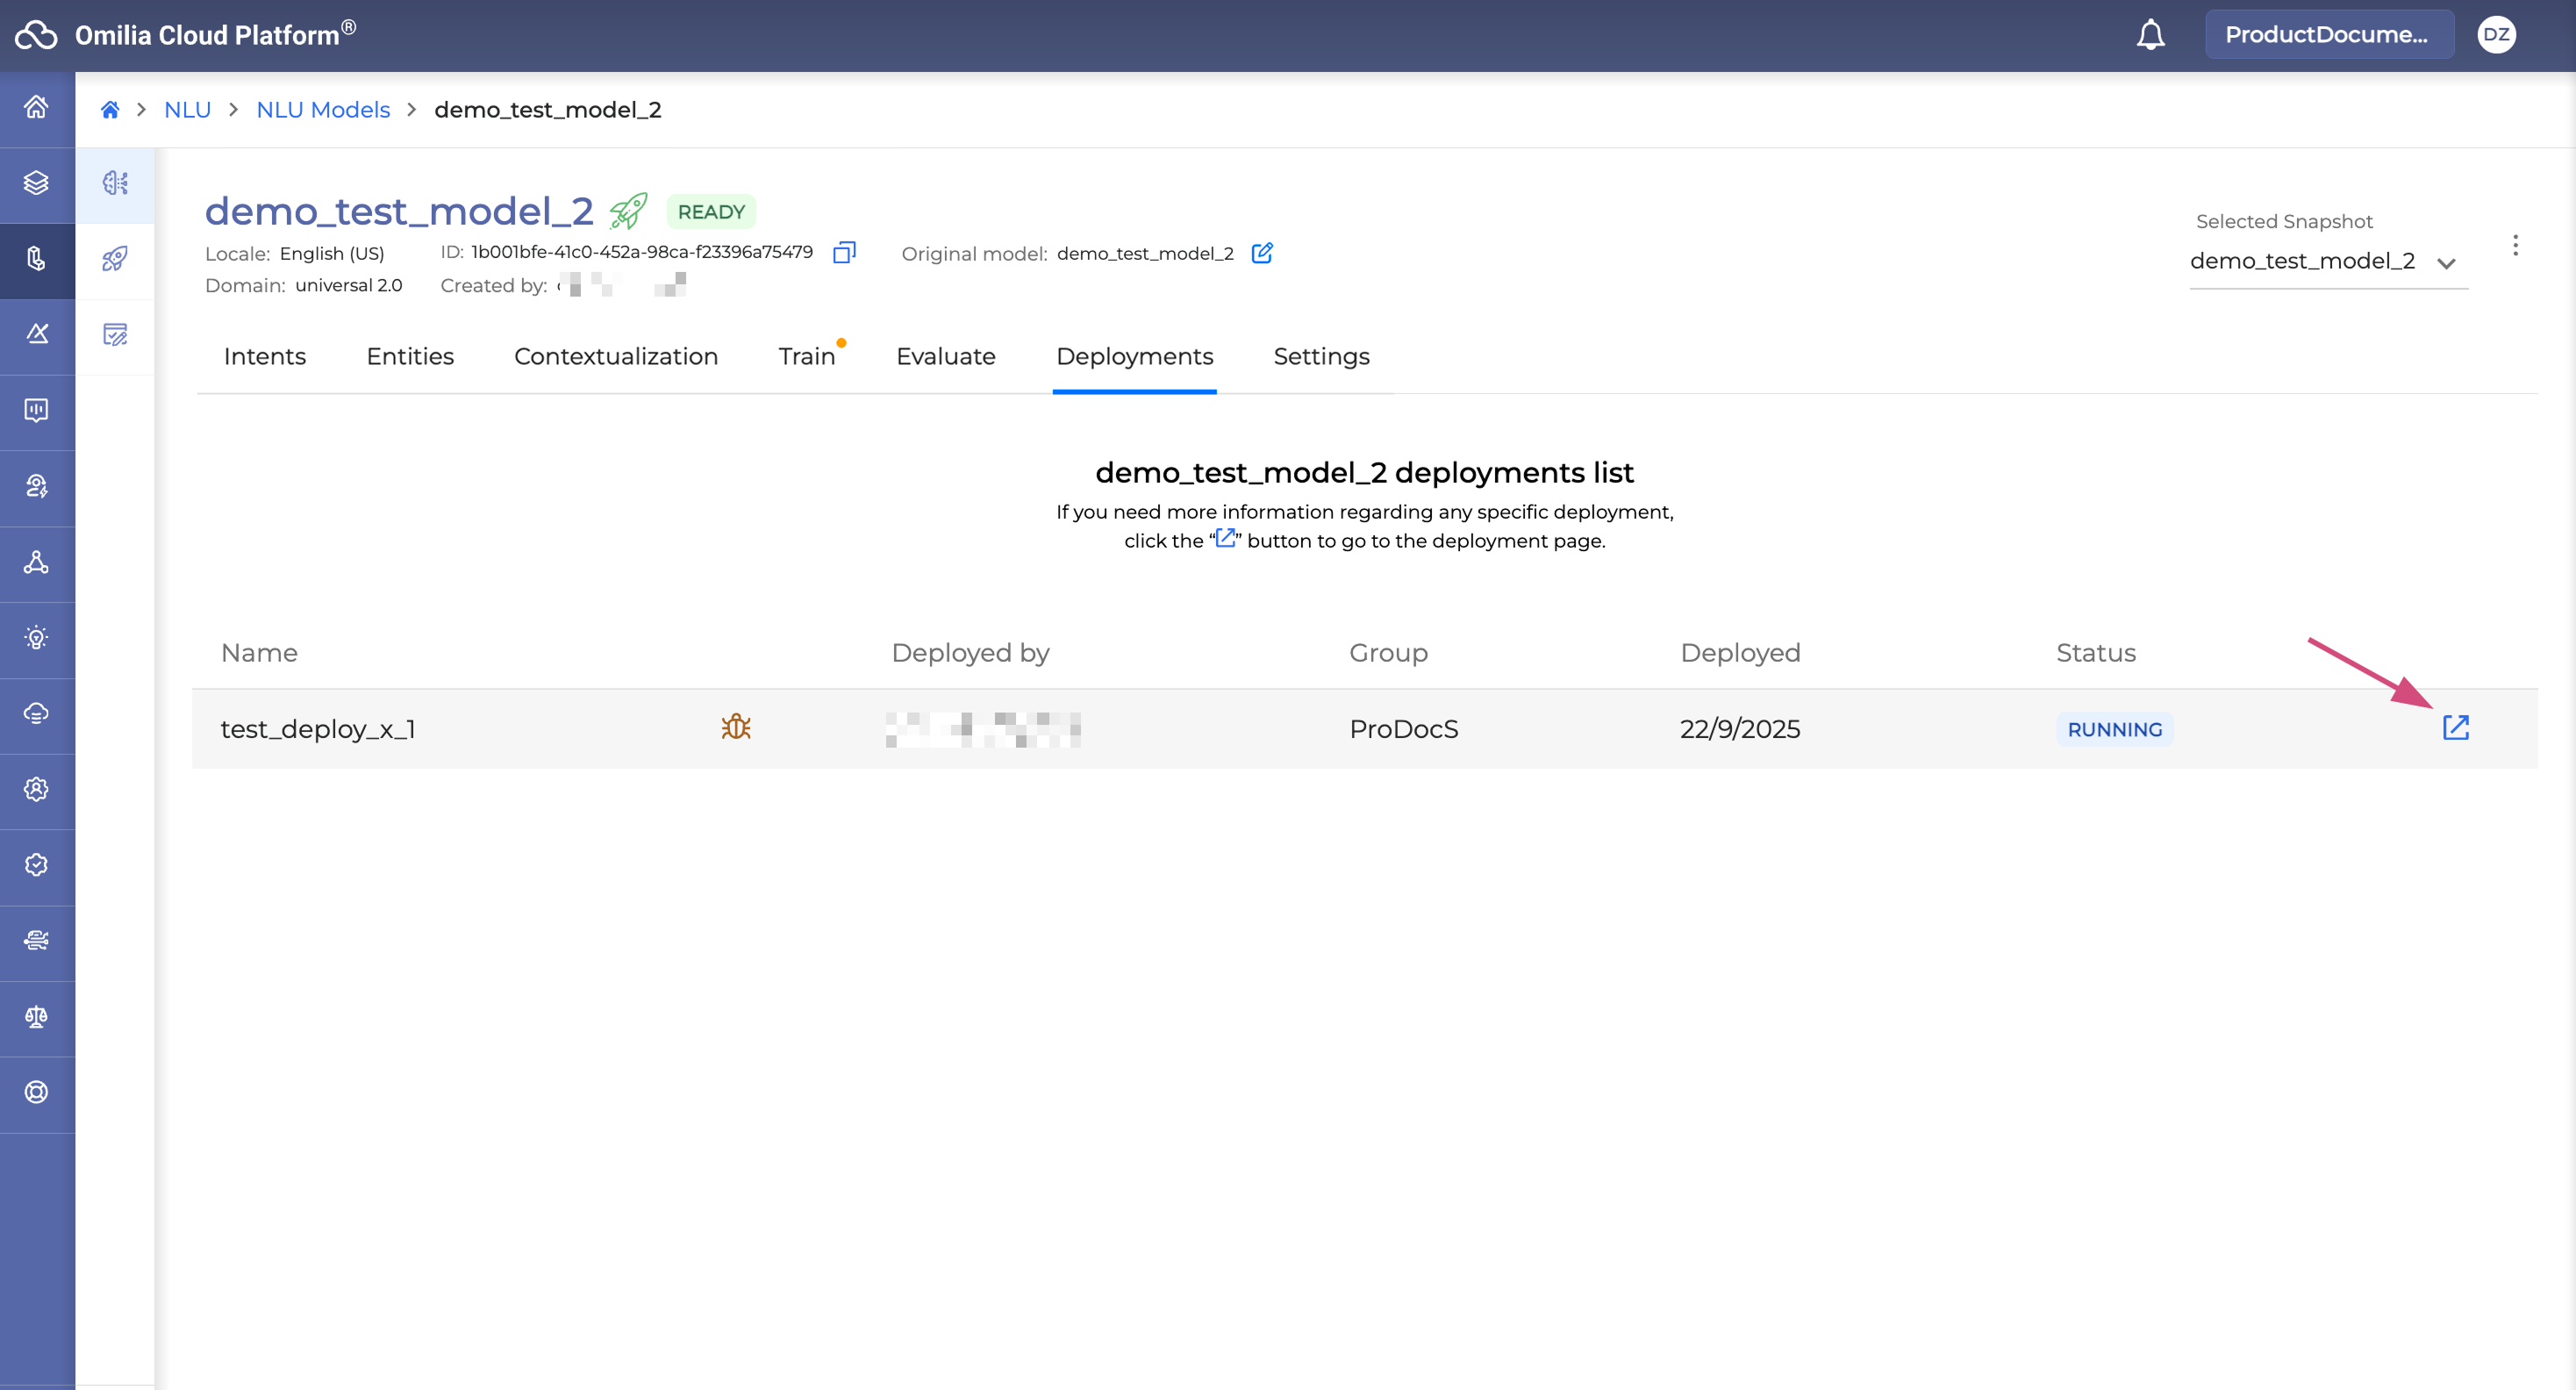
Model deployments details
To see the model’s deployment details, proceed as follows:
-
Navigate to NLU → NLU Models.
-
Select a model from the list and click on it. The drill-down page opens.
-
Go to the Deployments tab. All the model deployments are listed here.
-
Click the Arrow button to navigate to the deployment management page and see more information on a specific deployment.
