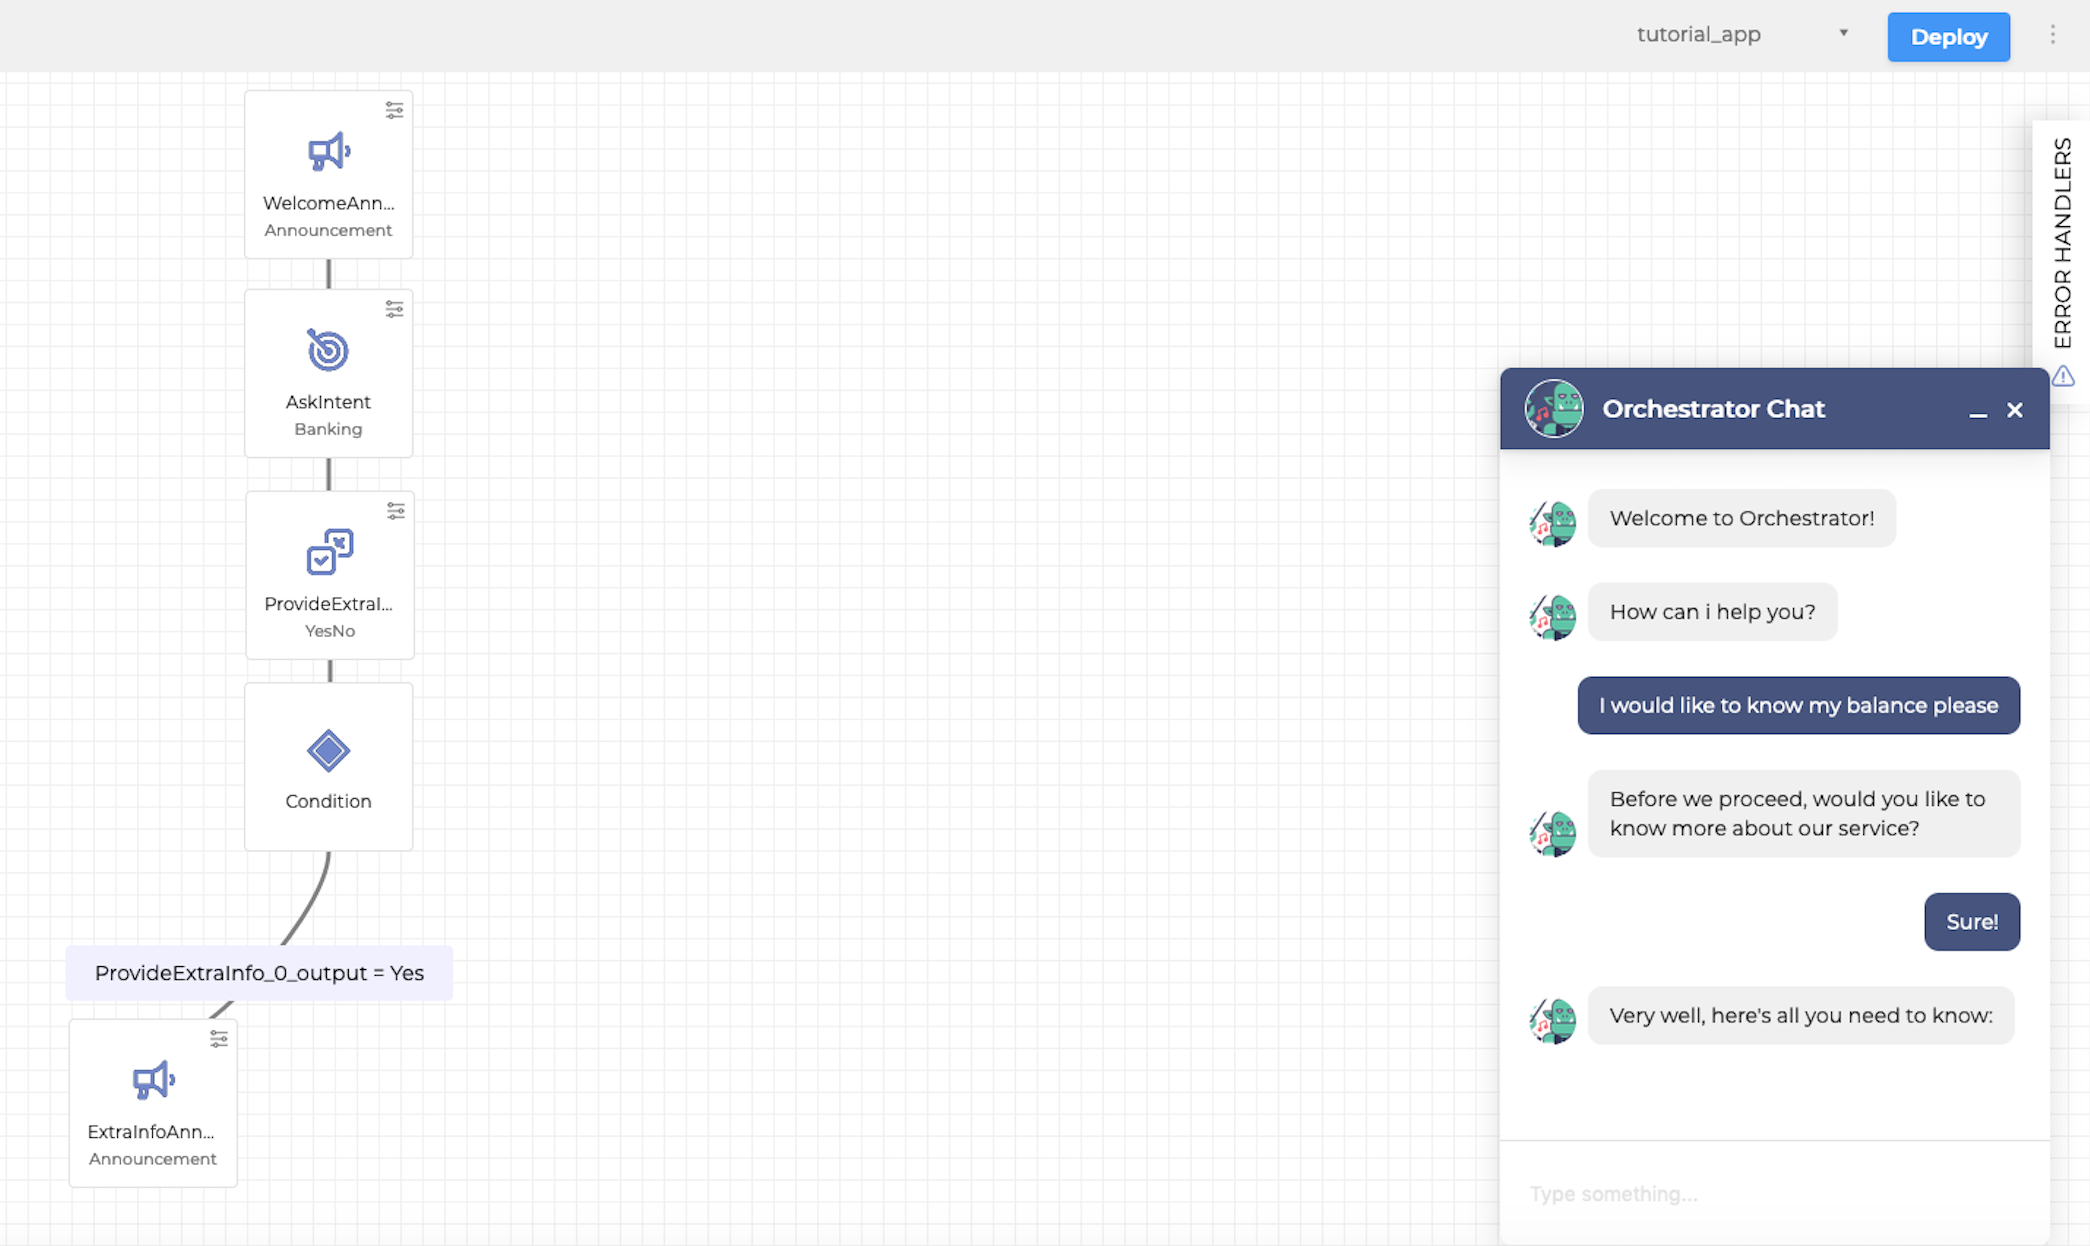
Orchestrator provides a built‑in chatbot that lets you test a deployed Dialog Application directly from the UI.
To test a Dialog Application:
-
Click the Chat icon in the lower-right corner to open Orchestrator Chat.
-
In the Orchestrator Chat window, start a conversation. The configured miniApps are used in the order in which they were configured.
-
Enter your messages in the chat and verify that the conversation behaves as expected.
Setting Initial Data
You can set initial data for Orchestrator Chat to simulate scenarios better and validate Dialog values. This helps ensure that the Dialog behaves according to its configuration and purpose.
For example, you can:
-
Select values that are relevant for a particular chat scenario.
-
Set them as initial data directly in the Chat Simulator.
-
Run the conversation as a test using those values.
Initial data is not stored permanently. It gets cleared if you use a different browser, clear cookies, or perform similar actions.
To set initial data:
-
Click the Chat icon in the lower-right corner to open Orchestrator Chat.
-
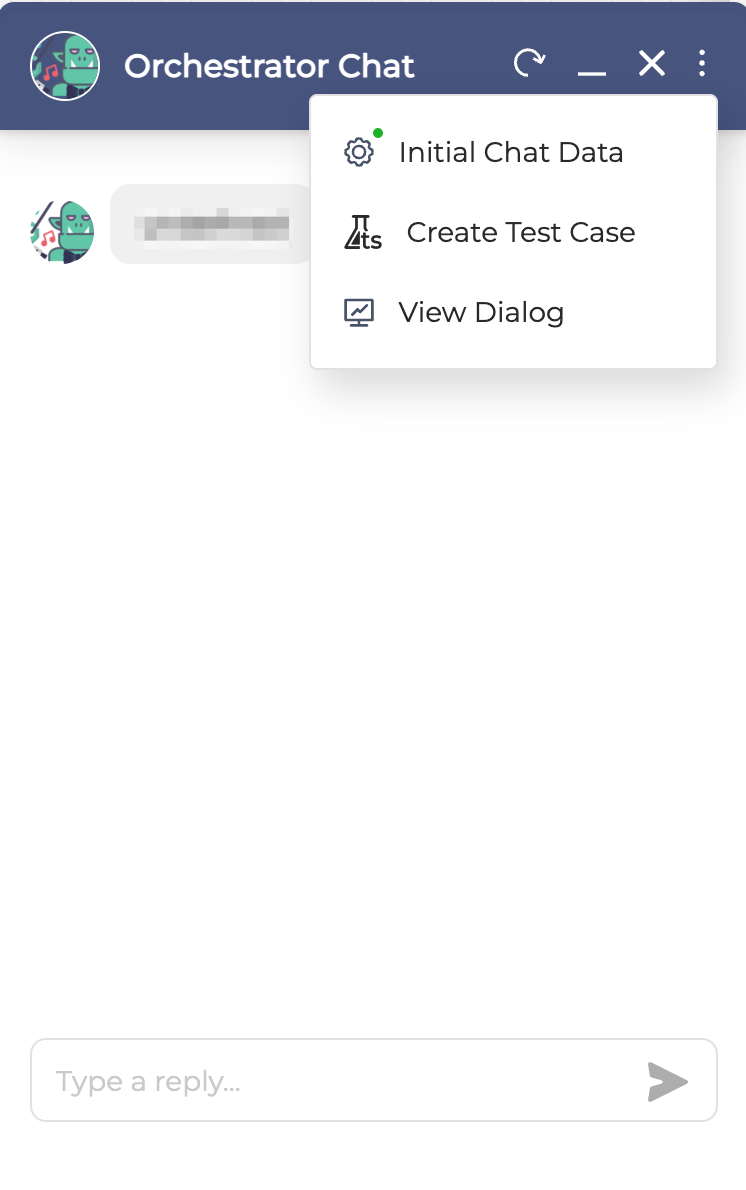
Click the Options button and select Initial Chat Data.

-
In the window that opens, set the values you want to test. You can define multiple values.

-
Click Save.
When initial data is active, the corresponding icon next to Initial Chat Data turns green to indicate that the current chat is driven by the configured initial data.
Creating Test Case from Dialog
You can convert a dialog executed in Orchestrator Chat into a test case for Testing Studio™.
Before you begin, make sure:
-
Your Orchestrator application is connected to Testing Studio+™.
-
A Testing Studio™ project is already configured and available.
Detailed guidance on creating a Testing Studio™ project and linking the Orchestrator application is available here.
To create a test case from a dialog:
-
In Orchestrator Chat, run the dialog that you want to turn into a test case.
-
Click the Options button and select Create Test Case.
-
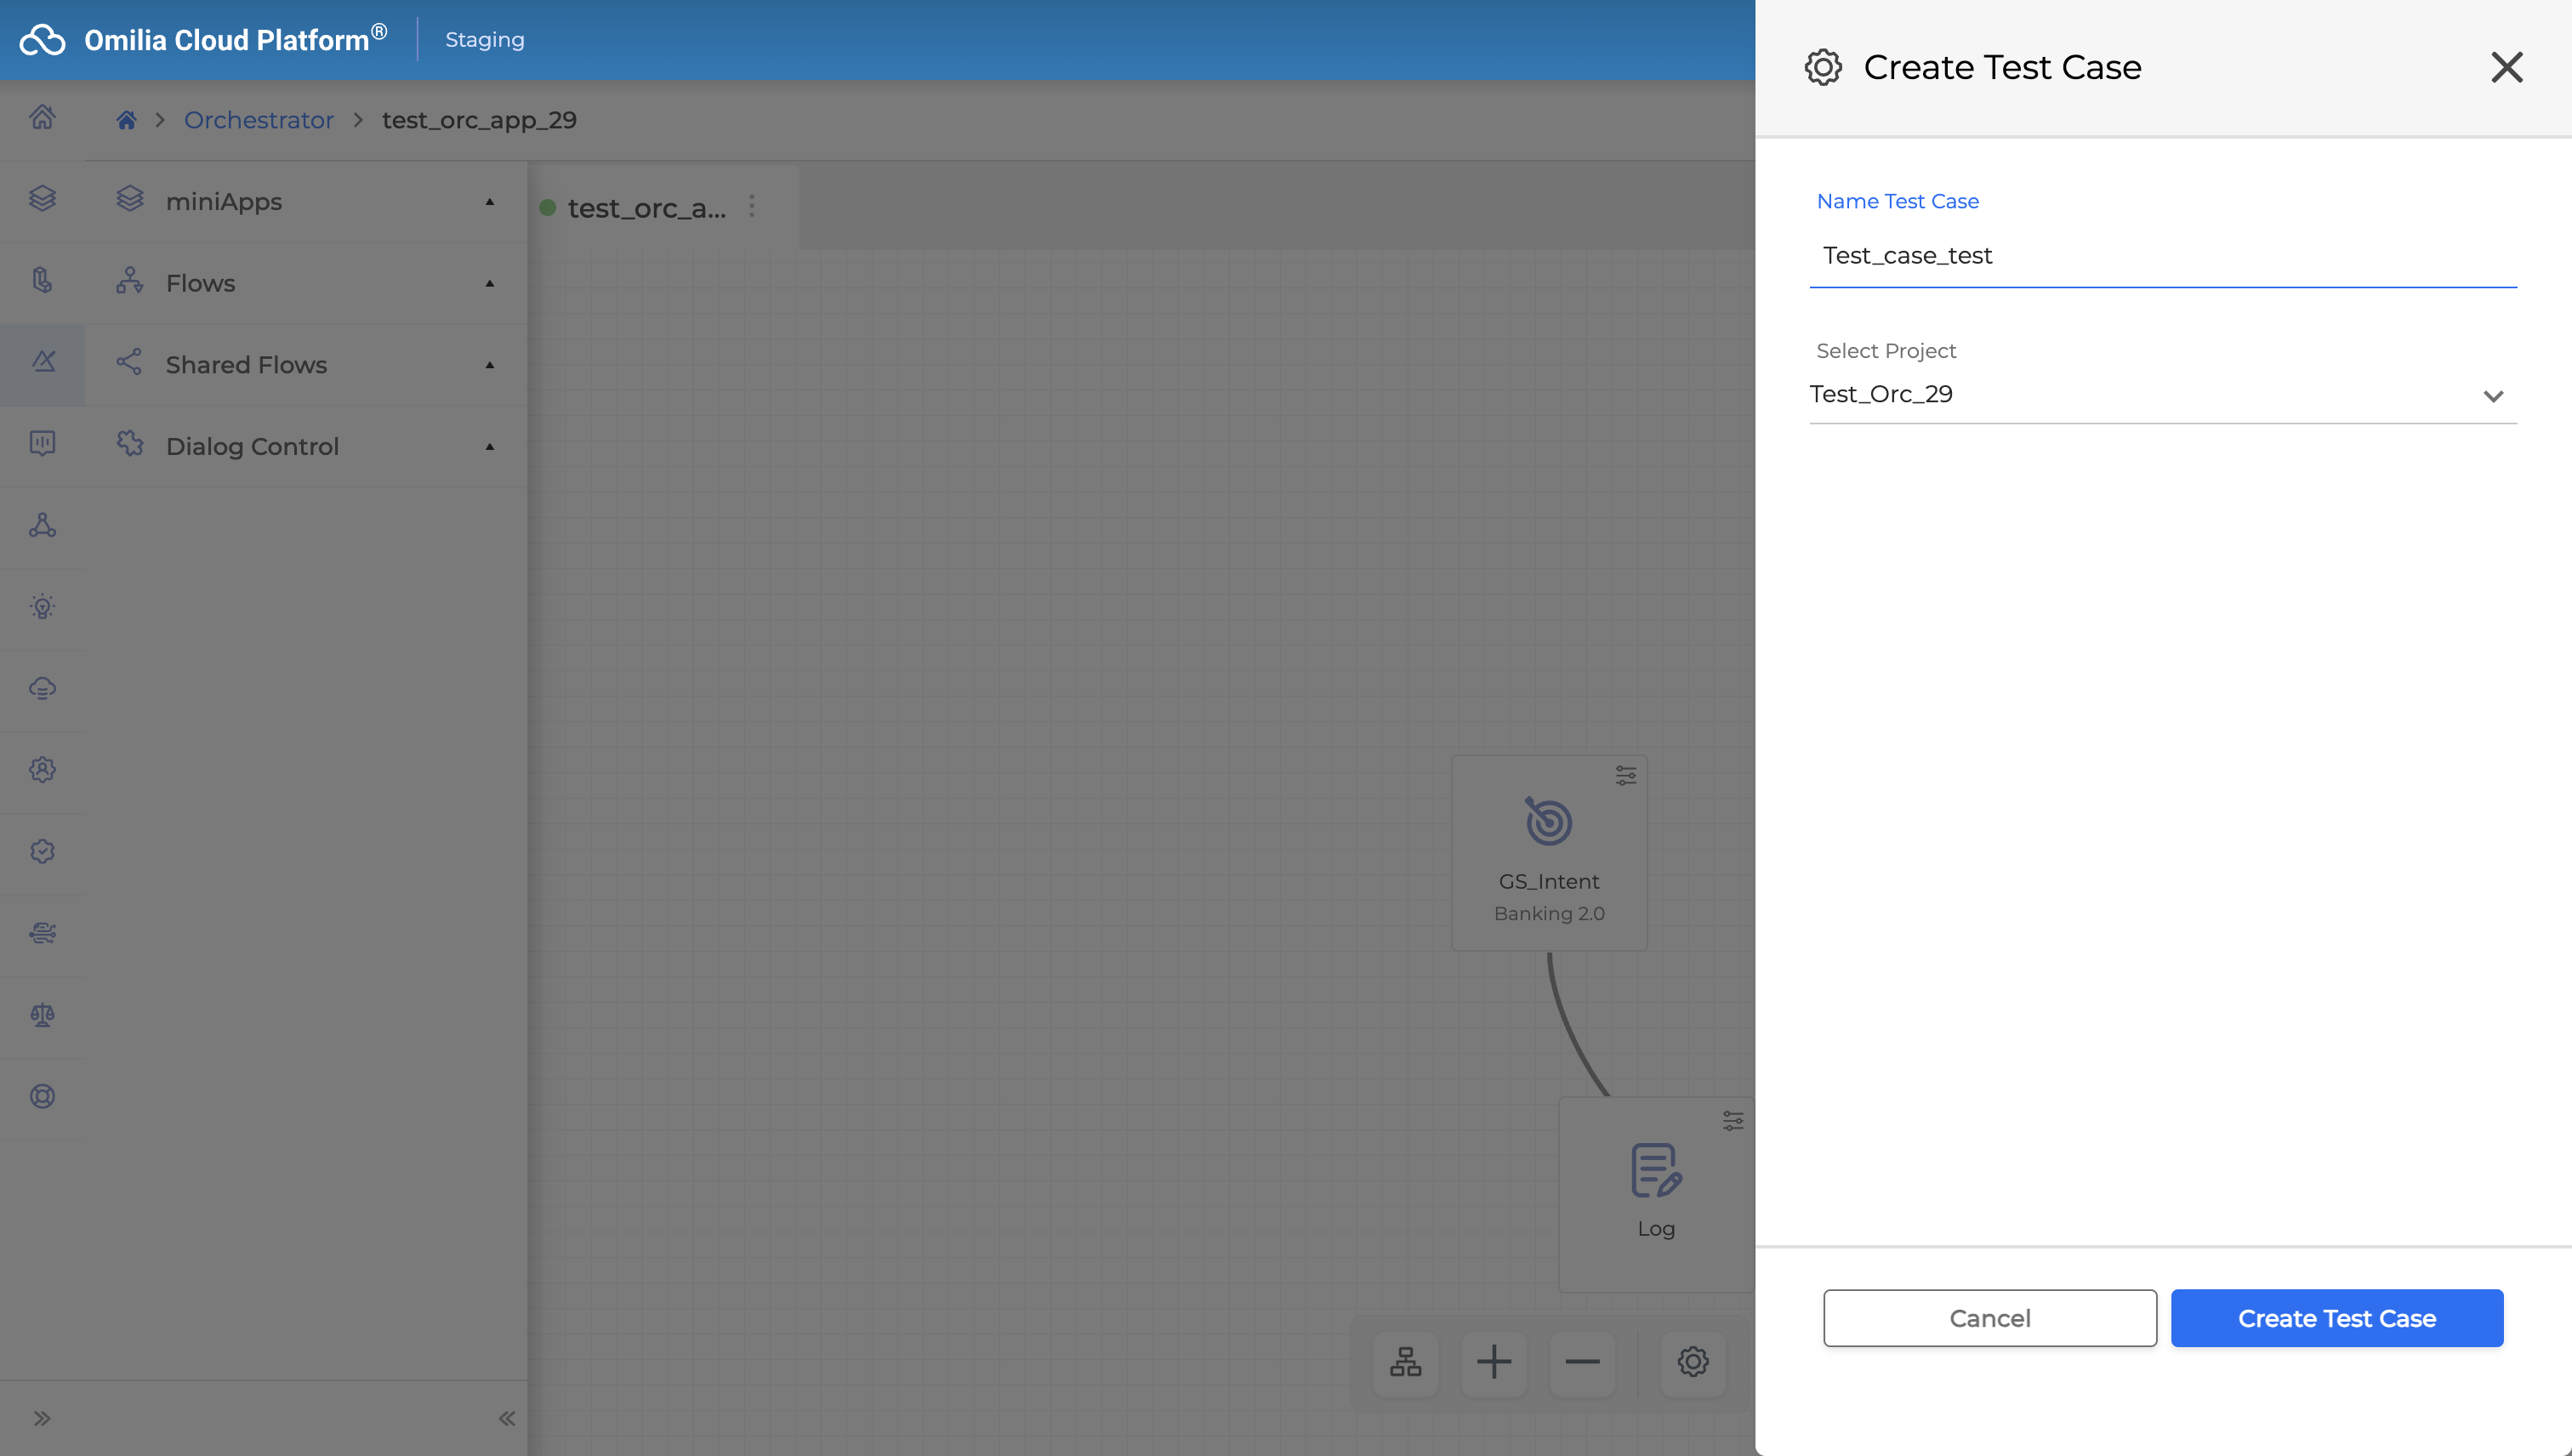
In the Create Test Case window:
-
Enter a name for the new test case.
-
Select a Testing Studio+™ project from the dropdown list.
-
-
Click Create Test Case.
The test case will be sent to Testing Studio™ Test Suites and will appear in the corresponding project’s test suite.
Hold and DTMF Testing in Chat
When testing dialog flows that require the DTMF input, you can do so without requiring a phone line.
Just type [dtmf] followed by digits (for example, [dtmf] 123#*), and the digits will be registered as the DTMF input.
Supported DTMF characters: 1234567890, #, *
Similarly, you can type [hold] to trigger the hold action for your call.