Overview
After finishing the API and telephony integration, you can download the provided scripts:
-
Open NiC Studio Integration Tab.
-
Click NICE inContact scripts. The script download starts.
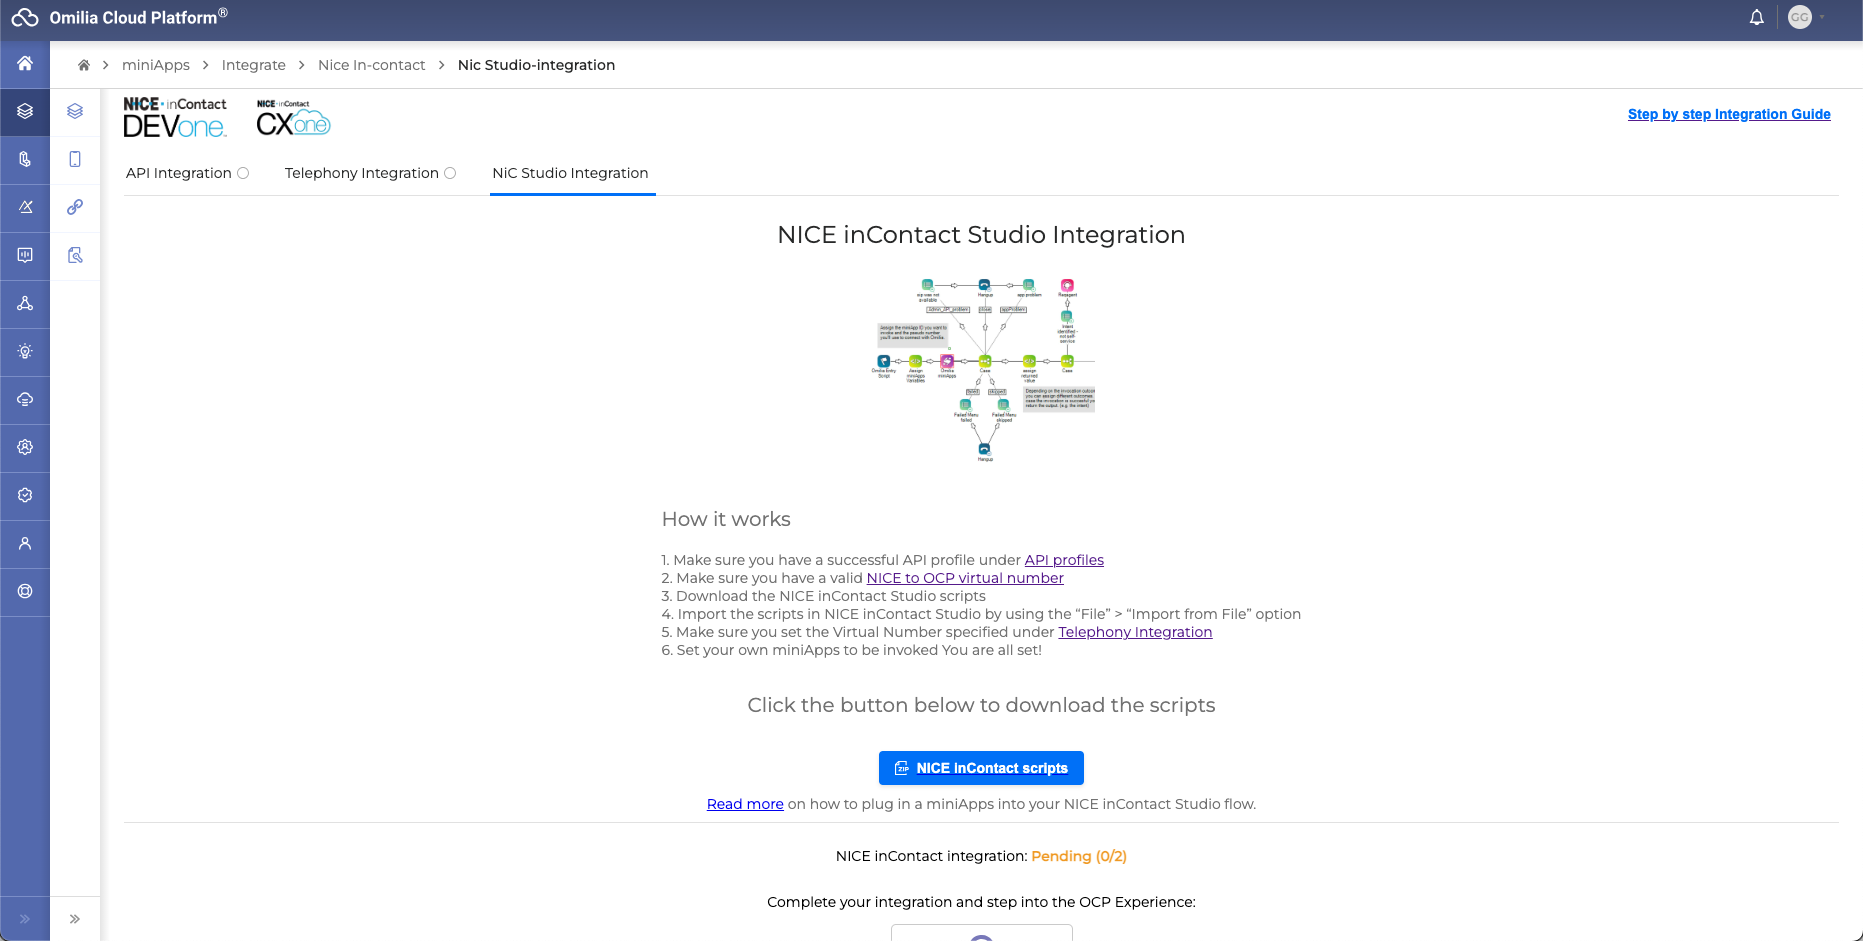
NICE inContact Studio scripts
NICE inContact scripts file is an archive that contains three XML studio scripts:
-
Omilia_mainScript_DEV.xml
-
Omilia_masterScript_DEV.xml
-
Omilia_spawnScript_DEV.xml
The Omilia_masterScript_DEV.xml should be edited to provide the relevant parameters.
Omilia_mainScript_DEV.xml and Omilia_spawnScript_DEV.xml should always be kept within the same relative path (for example, within the same folder) as one refers to the other at runtime, and they should not be edited.
Import all the scripts into NICE CXone Studio to complete the integration. Edit the Omilia_masterScript_DEV.xml file with the proper project data in NICE CXone Studio to complete the integration.
Importing NICE inContact Studio scripts
When importing the scripts, make sure they are connected to the right flow, and the parameters have correct values.
To import your scripts into NICE CXone Studio:
-
Open NICE CXone Studio.
-
Click File → Import File in the top left corner. Or you can press the following hotkeys combination: <Ctrl>+<I>.

Importing scripts into NICE CXone Studio -
Choose the folder with these scripts or a specific script that you need to add.
-
Click Open. Now the scripts will be displayed on the right in the Browse section, and you will be able to see your whole miniApps flow.
Editing the Omilia_masterScript
Generic parameters configuration
-
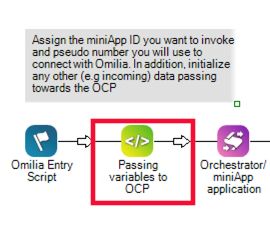
Select the corresponding element in the CXone flow diagram.
-
Edit the Snippet properties (Section A).
.png?cb=7a2c859d4d841ffc0b63fe7532b7f5f7)
In particular, the parameters are as follows:
-
app_id - OCP miniAppID
miniAppID is unique for each miniApp.
To find your miniAppID go to your miniApp, in the General tab. There you can see and copy the
OCPminiAppIDof the current application.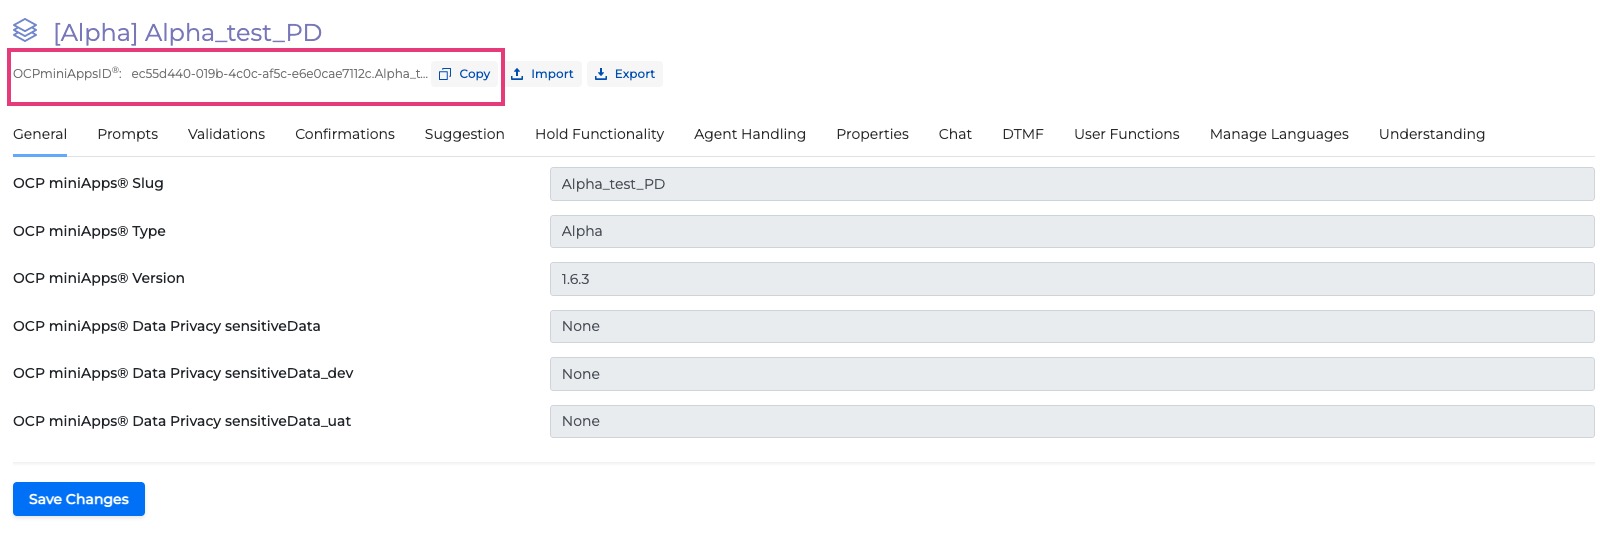
-
pseudo_number - NICE CXone Virtual Number
Virtual number (also pseudo or internal number) is used to enable SIP connectivity between NICE CXone and OCP®. This number is provided by NICE when purchasing SIP trunks.
-
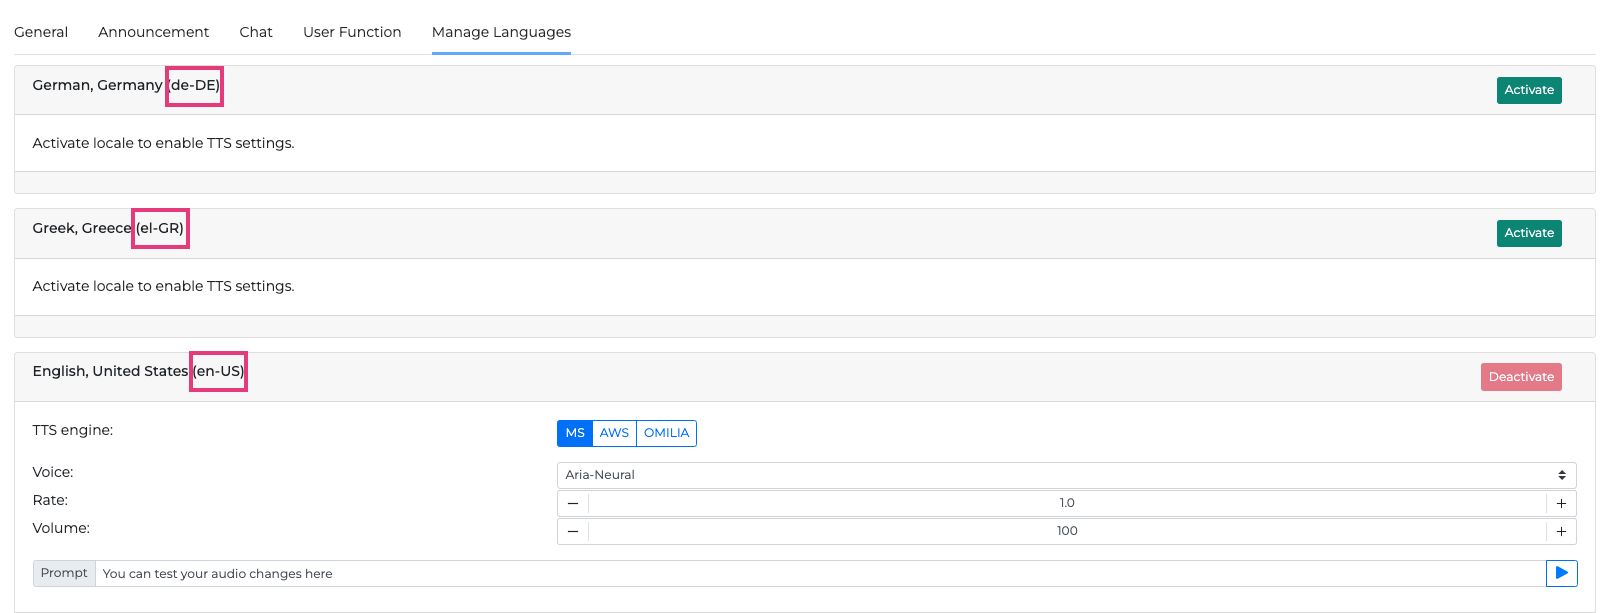
language - OCP miniApps® locale
Available locales depend on the miniApp.
To find supported locales, go to your miniApp, on the Manage Languages tab. There you will see available locales (For example, de-DE, en-US, el-GR).
-
log_ani, log_dnis - OCP ANI/DNIS
-
log_ani - ANI (Automatic Number Identification), allows or disallows you to log the phone number of call originator.
-
log_dnis - DNIS (Dialed Number Identification), allows or disallows you to log the dialed phone number.
true - allow, false - disallow
-
-
errorEmail - defines to which email to send a notification when a call fails to reach Omilia.
Incoming Attached Data configuration
When a caller contacts the call center and transfers some information during a conversation, the call center can transfer this information to Orchestrator.
Example
DYNAMIC IncomingAttachedData
ASSIGN IncomingAttachedData.locale="en-US"
ASSIGN IncomingAttachedData.storeLocation="NYC"
ASSIGN IncomingAttachedData.openingTime="8AM"
ASSIGN IncomingAttachedData.status="open"
IF log_ani = true
{
  ASSIGN IncomingAttachedData.Ani="{ANI}"
}
IF log_dnis = true
{
  ASSIGN IncomingAttachedData.Ani="{DNIS}"
}
ASSIGN appParameter="{IncomingAttachedData.asjson()}"
The locale is the minimum expected parameter by the OCP, and it corresponds to the invoked OCP miniApps® language (for example, de-DE, en-US, el-GR).
The store location will be NYC using the incoming attached data configuration and corresponding Local Dialog Fields (storeLocation, openingTime, status). In addition, if the opening time is 8AM, it will be assigned to the openingTime field, and so on. Afterward, you can use these fields inside any miniApps or JS functions. For example, in an Announcement miniApp, you will be able to add the following prompt:
Welcome to {{
storeLocation}}. The store opens at {{openingTime}}.
For more information regarding incoming data configuration using Orchestrator, read Configure Incoming Attached Data section.
Outgoing attached data
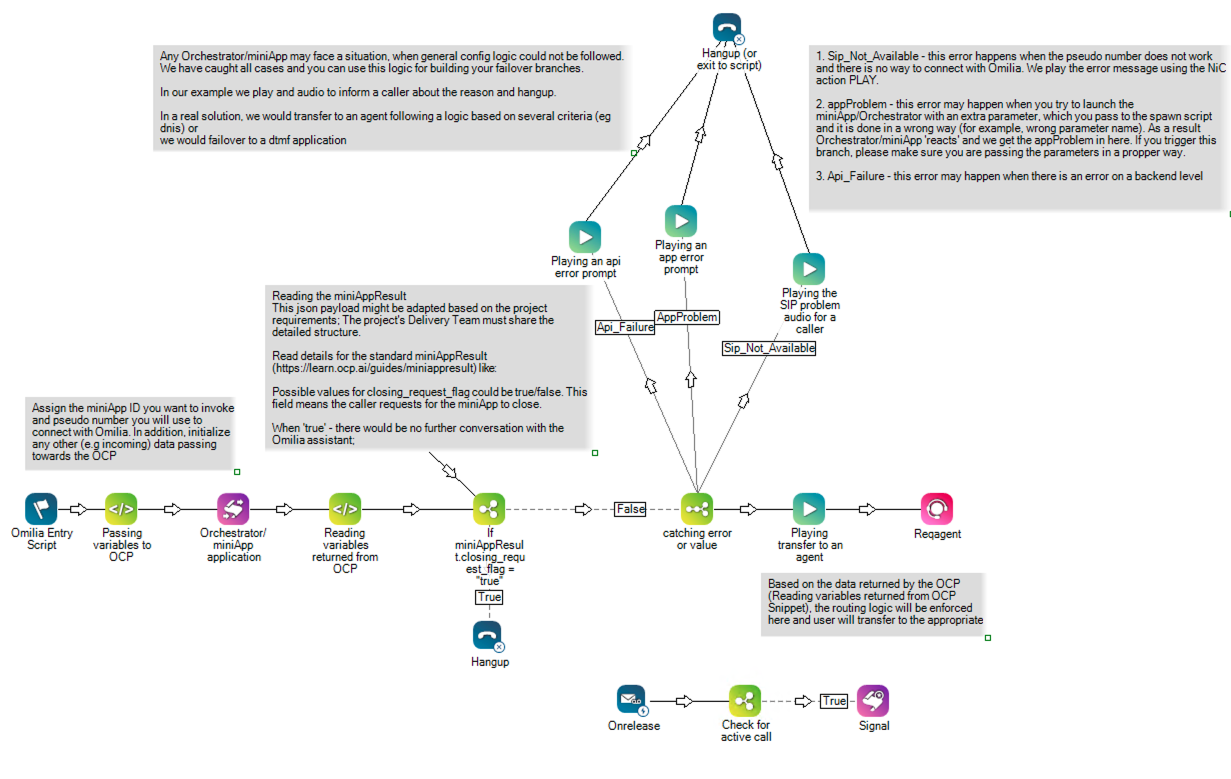
When a miniApp ends, it will post back the results to NICE CXone in JSON format. The miniAppResult object can be parsed on the NICE inContact script and the data can be used to decide on the flow of the call.
Getting values from the OCP
OCP will fill in the miniAppResult object with the necessary information as configured in the corresponding element (Reading variables returned from OCP).
Example
IF TEST = 1
{
  DYNAMIC global:miniAppResult
}
ASSIGN global:OutOmilia_AgentRequests="{global:miniAppResult.agent_requests}"
ASSIGN global:OutOmilia_ClosingRequestFlag="{global:miniAppResult.closing_request_flag}"
ASSIGN global:OutOmilia_Dialogid="{global:miniAppResult.dialogId}"
ASSIGN global:OutOmilia_DtmfIntent="{global:miniAppResult.dtmf_intent}"
ASSIGN global:OutOmilia_Duration="{global:miniAppResult.duration}"
ASSIGN global:OutOmilia_Errors="{global:miniAppResult.errors}"
ASSIGN global:OutOmilia_FailExitReason="{global:miniAppResult.fail_exit_reason}"
ASSIGN global:OutOmilia_InputValue="{global:miniAppResult.input_value}"
ASSIGN global:OutOmilia_Language="{global:miniAppResult.language}"
ASSIGN global:OutOmilia_NoInputs="{global:miniAppResult.no_inputs}"
ASSIGN global:OutOmilia_NoMatches="{global:miniAppResult.no_matches}"
ASSIGN global:OutOmilia_Result="{global:miniAppResult.result}"
ASSIGN global:OutOmilia_Step="{global:miniAppResult.step}"
ASSIGN global:OutOmilia_Timestamp="{global:miniAppResult.timestamp}"
ASSIGN global:OutOmilia_Transcription="{global:miniAppResult.transcription}"
ASSIGN global:OutOmilia_ValidationFailName="{global:miniAppResult.validation_fail_name}"
ASSIGN global:OutOmilia_ValidationFailReason="{global:miniAppResult.validation_fail_reason}"
ASSIGN global:OutOmilia_ValidationResult="{global:miniAppResult.validation_result}"
ASSIGN global:OutOmilia_ValidationSuccessName="{global:miniAppResult.validation_success_name}"
ASSIGN global:OutOmilia_WrongInput="{global:miniAppResult.wrong_input}"
Here, you are reading the returned JSON payload (miniAppResult variable).
When a Flow ends, it will post back the results to NICE CXone in JSON format. The miniAppResult object is returned to the NICE inContact script and the data can be used to decide on the flow of the call.
OCP returns this miniAppResult object; The variable signalType is also available in the originating script(s) in the global scope.
The signalType variable can help you with the error handling logic. Possible values are: Api_Failure, AppProblem, Sip_Not_Available.
You can build your script logic based on the attributes of the miniAppResult or you can create separate variables to be accessible by the originating script(s).
The Omilia Delivery Team can also provide the definition of any custom/additional key required by the project.
In the case of separate variables, you recommend using the prefix OutOmilia_ as a naming convention.
The specification of the miniAppResult output can be found in the miniAppResult section.