Overview
This step is needed to build the bridge between the NICE CXone API and OCP miniApps®. Here we essentially tie your NICE CXone profile to OCP miniApps® to be able to establish a two-way connection and successfully integrate your pre-existing NICE CXone setup and OCP®.
Add API profile
To create an API application through OCP Console®, follow the steps below:
-
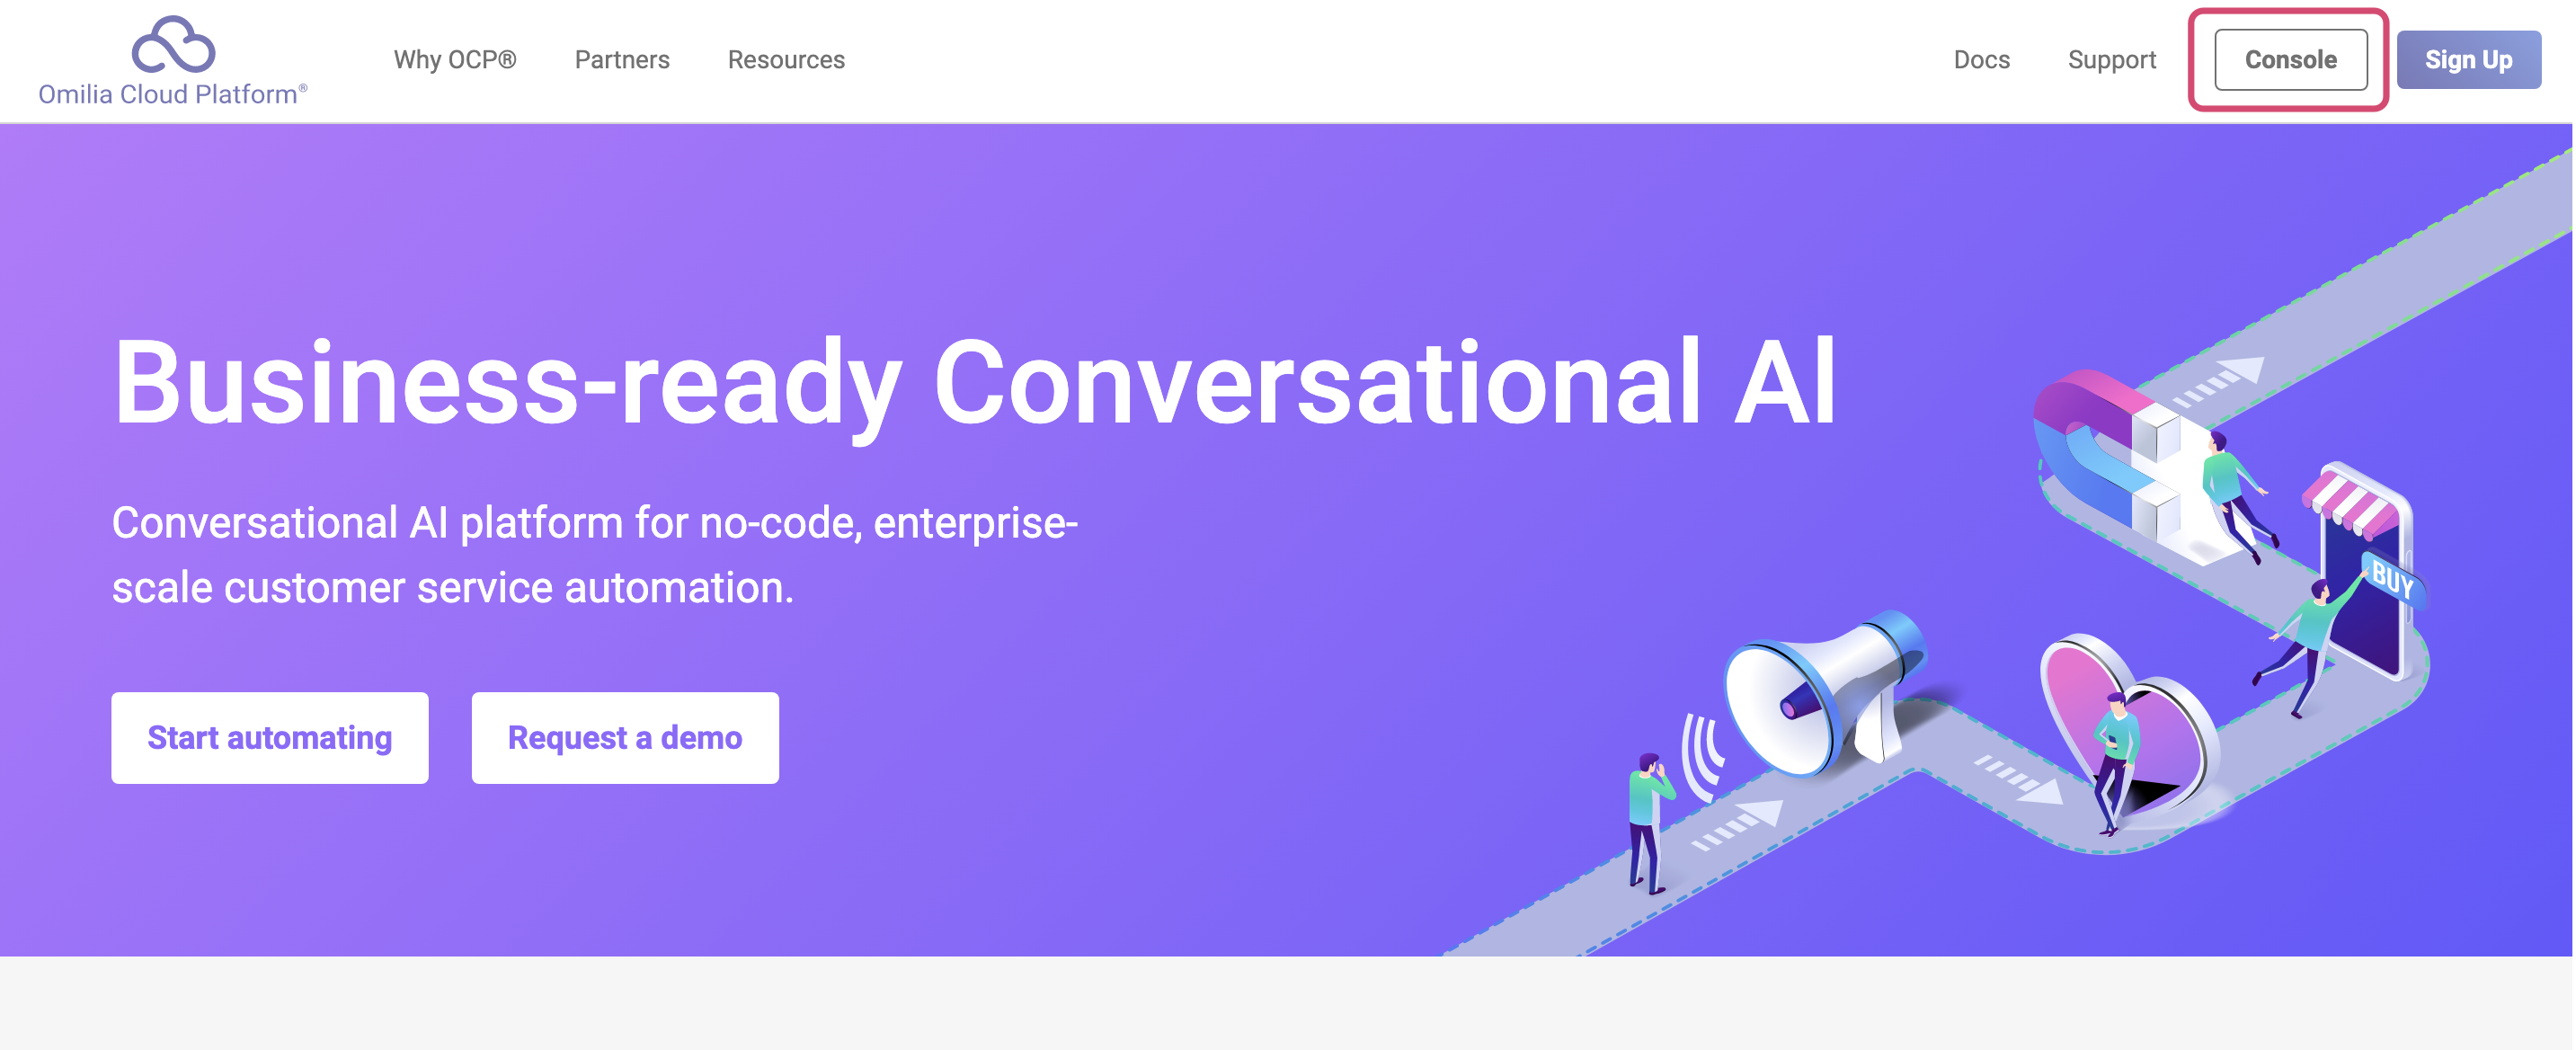
Go tohttp://ocp.ai and select Console.
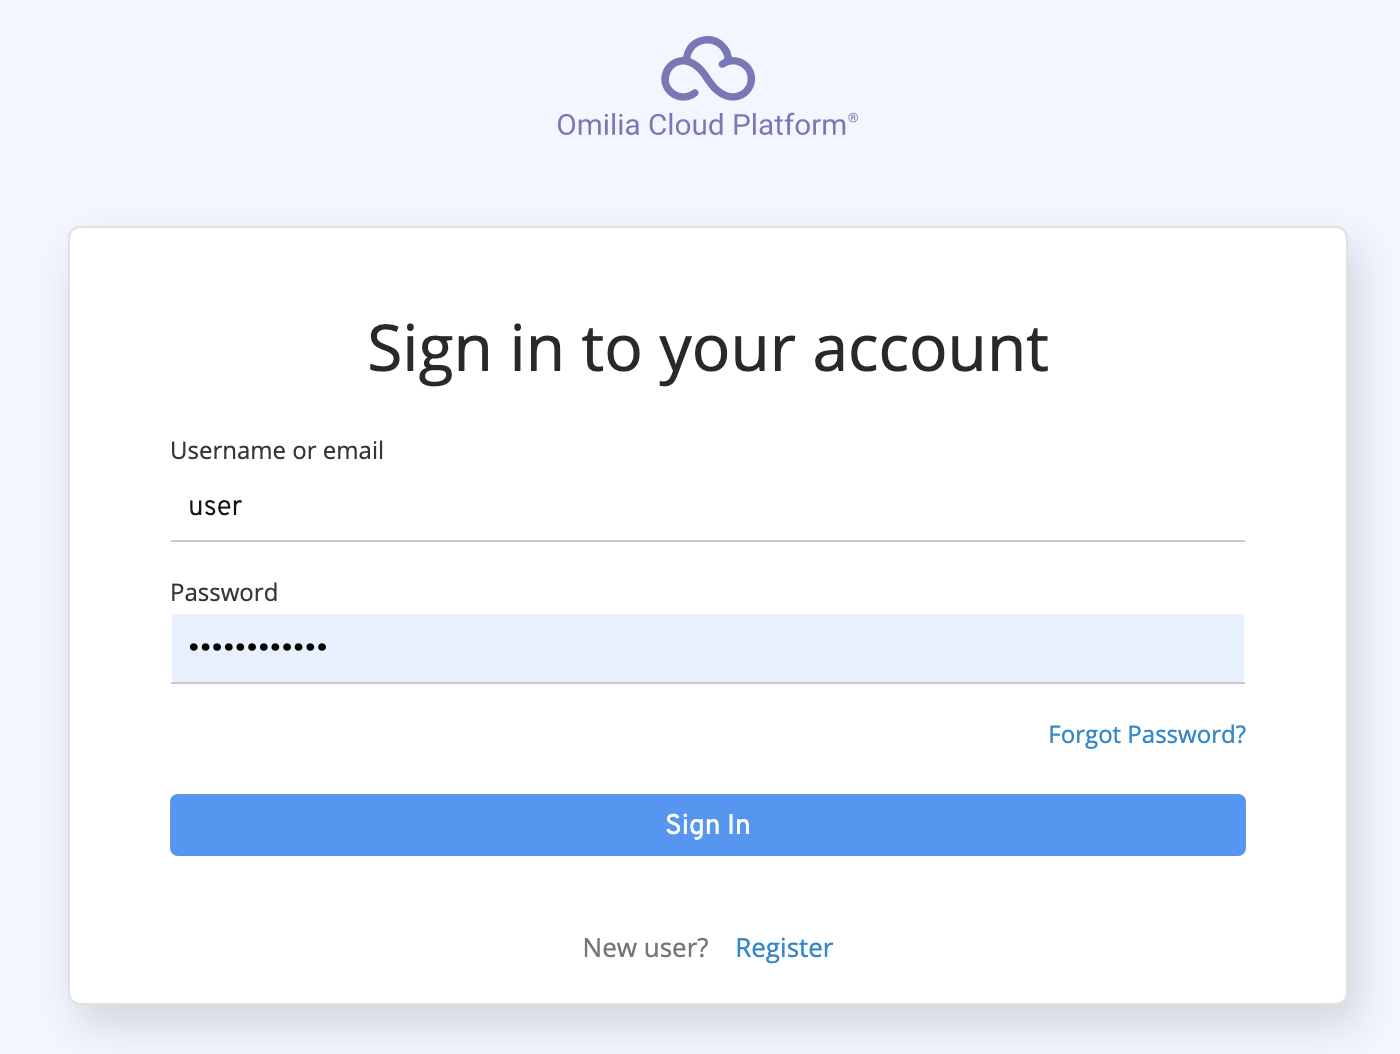
2. Log in with OCP® credentials.
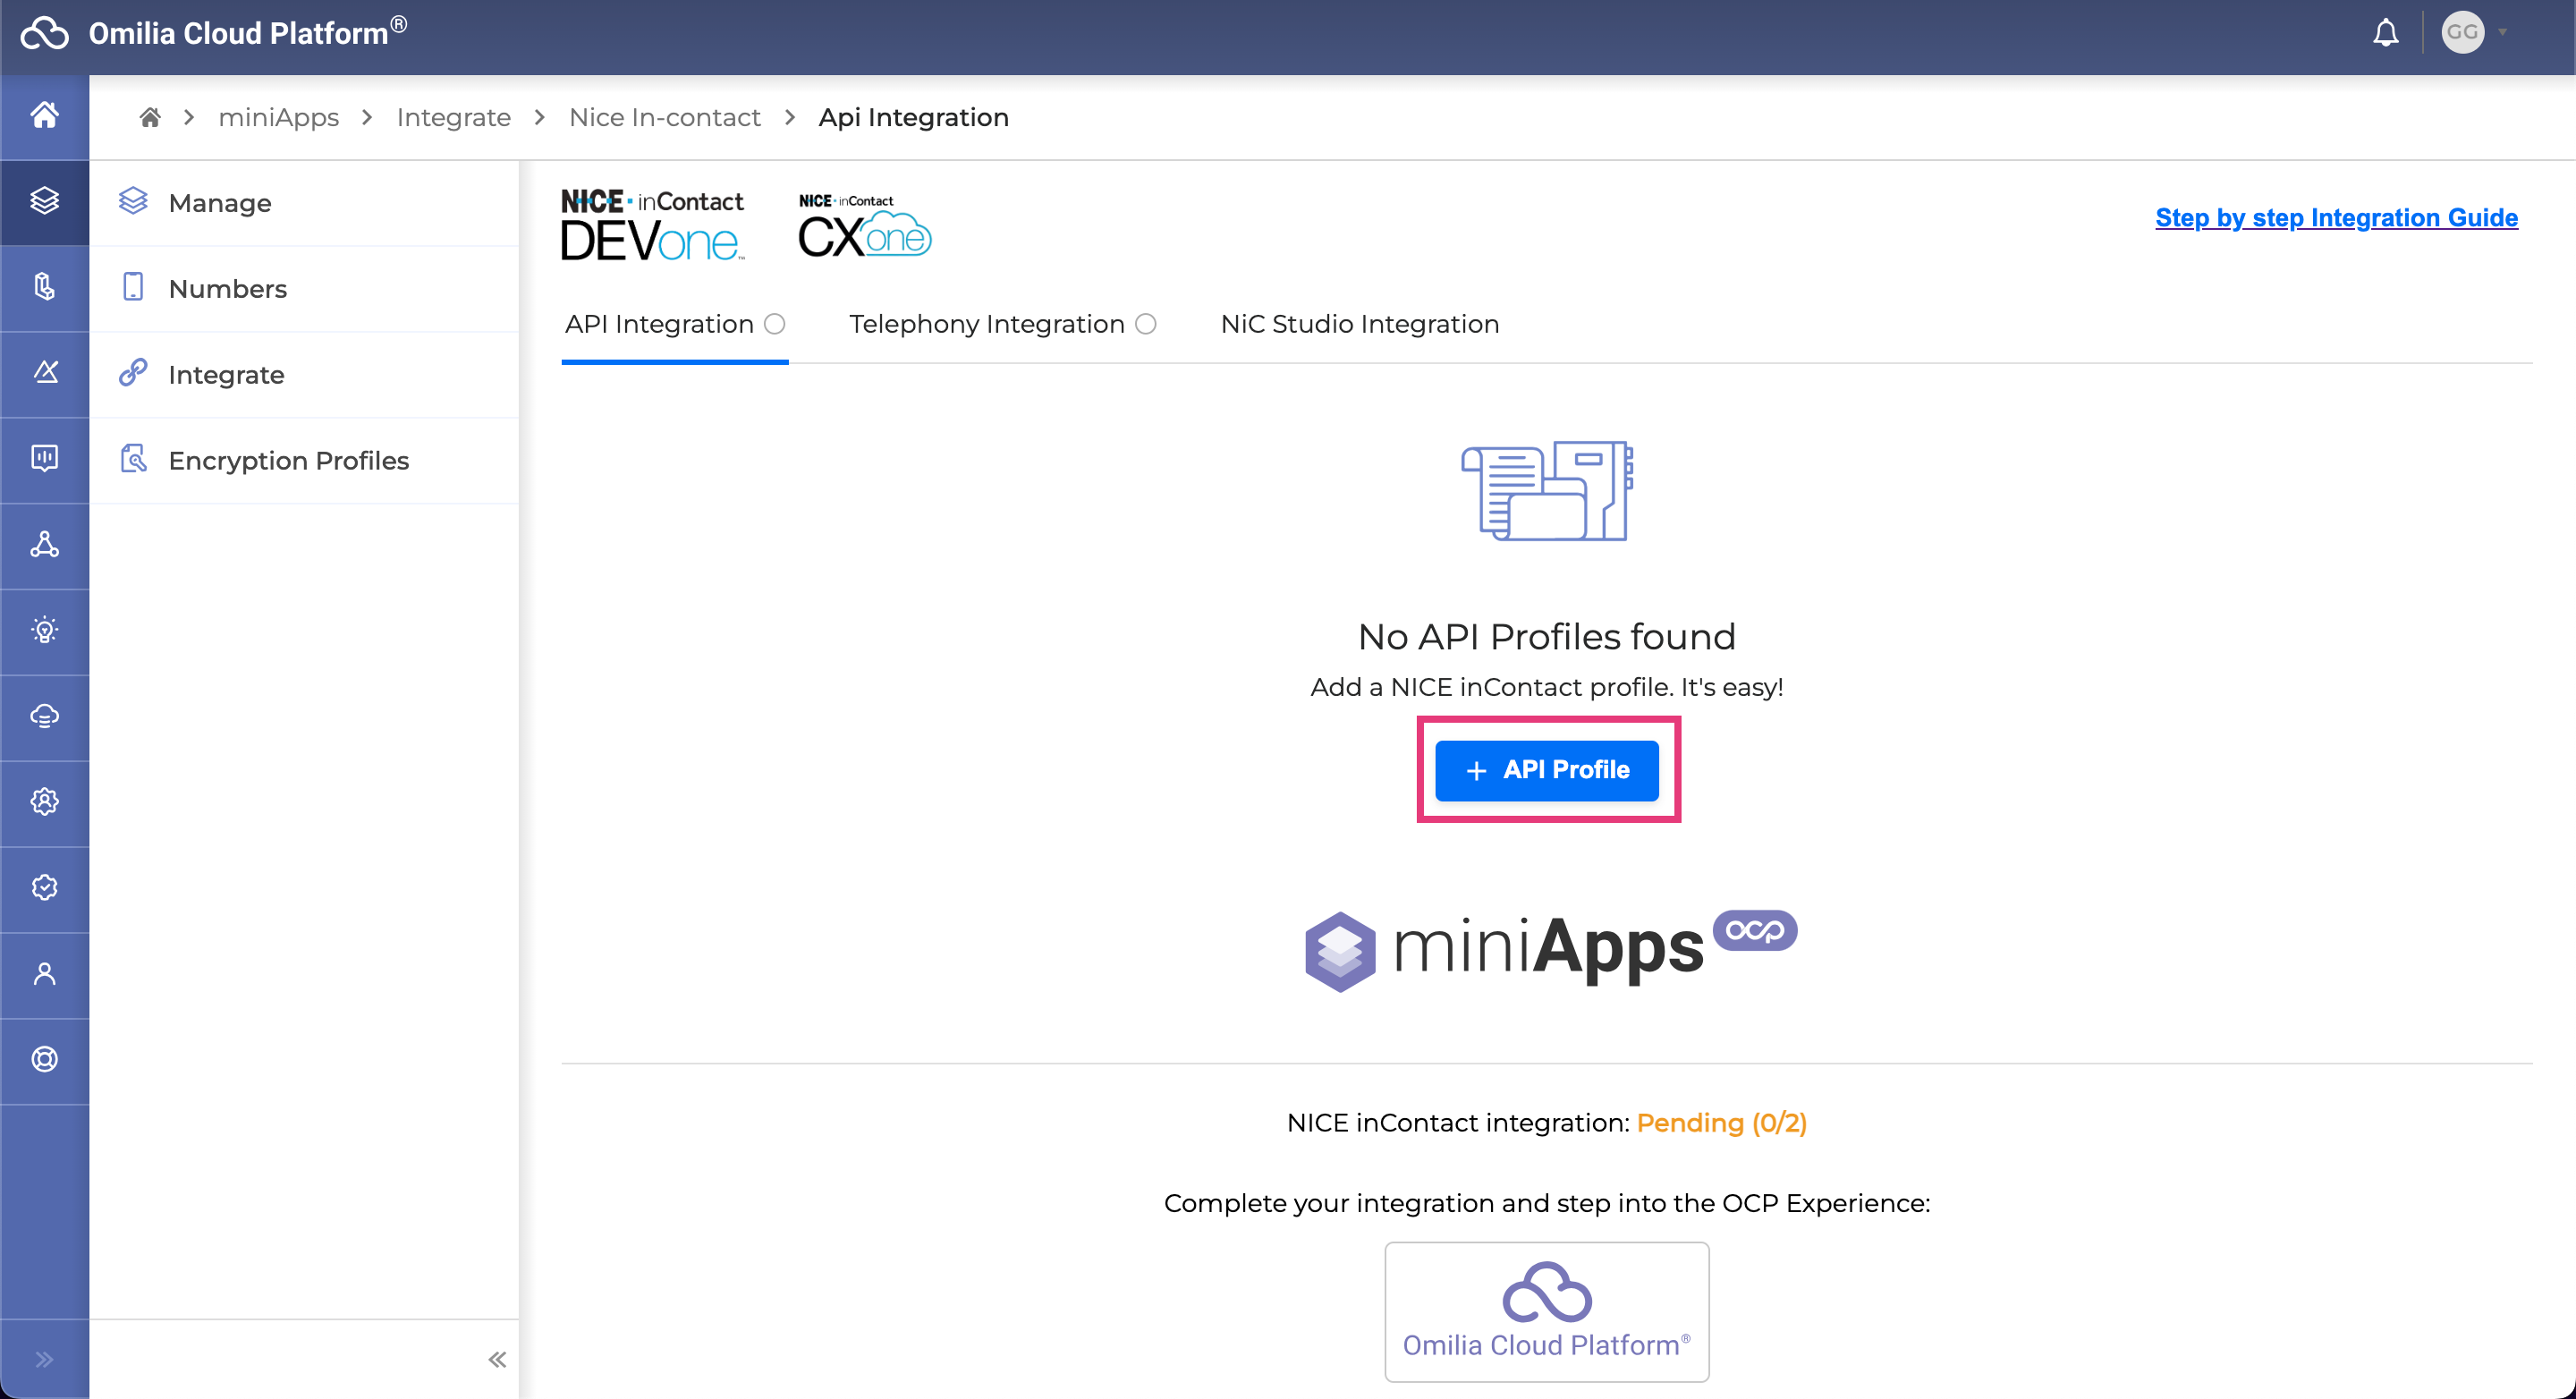
3. Once logged in, select the miniApps → Integrate tab on the left and click the + API Profile button on the opened page.
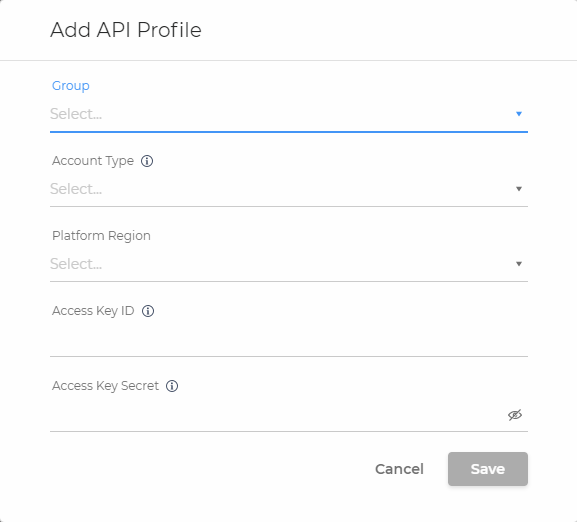
4. Fill in the following fields in the opened dialog box:
-
Group: Select the OCP miniApps® group for which you want to enable the integration with NICE CXone.
-
Account Type: There are two options: User Hub or Central. The details you need to fill in for either one of them do not differ, but the authentication endpoints do. Thus, having this information available is paramount.
-
Platform Region: Select the region of your NICE CXone account.
-
na1 refers to North America
-
eu1 refers to Europe
-
au1 refers to Australia
-
-
Access Key Id: Insert your access key. Check this article to find out how to generate the Access Key ID.
Access Key Secret: Insert your secret key. Check this article to find out how to generate the Access Key Secret.
4. After you have filled in all the information, click Save. Your API profile should be successfully created.
If the provided data is correct, you will see that the authorization process was successful and you are now Verified. In case the verification fails, you will see a red cross as shown below:
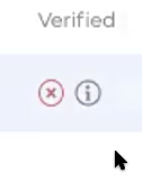
This indicates some data is not valid or does not correspond to the specified account. In this case, you should double-check your details.
After finalizing the API integration, you can move on to Telephony Integration.
If you had an error creating the API profile, consult this article.