To create an Autocorrect Application, proceed as follows:
-
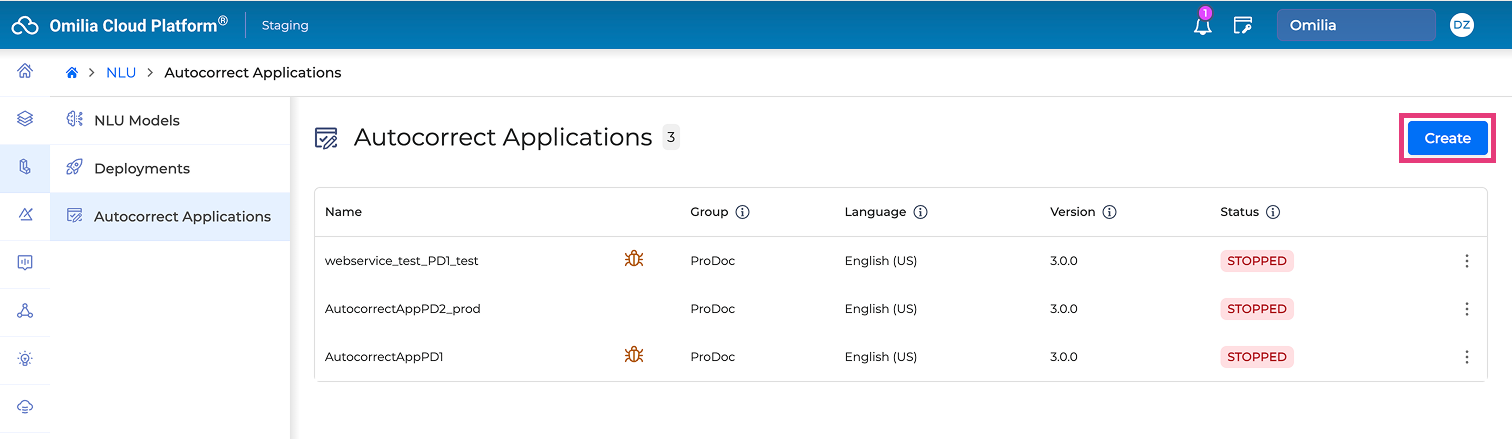
Navigate to NLU - Autocorrect Applications and click the Create button.
-
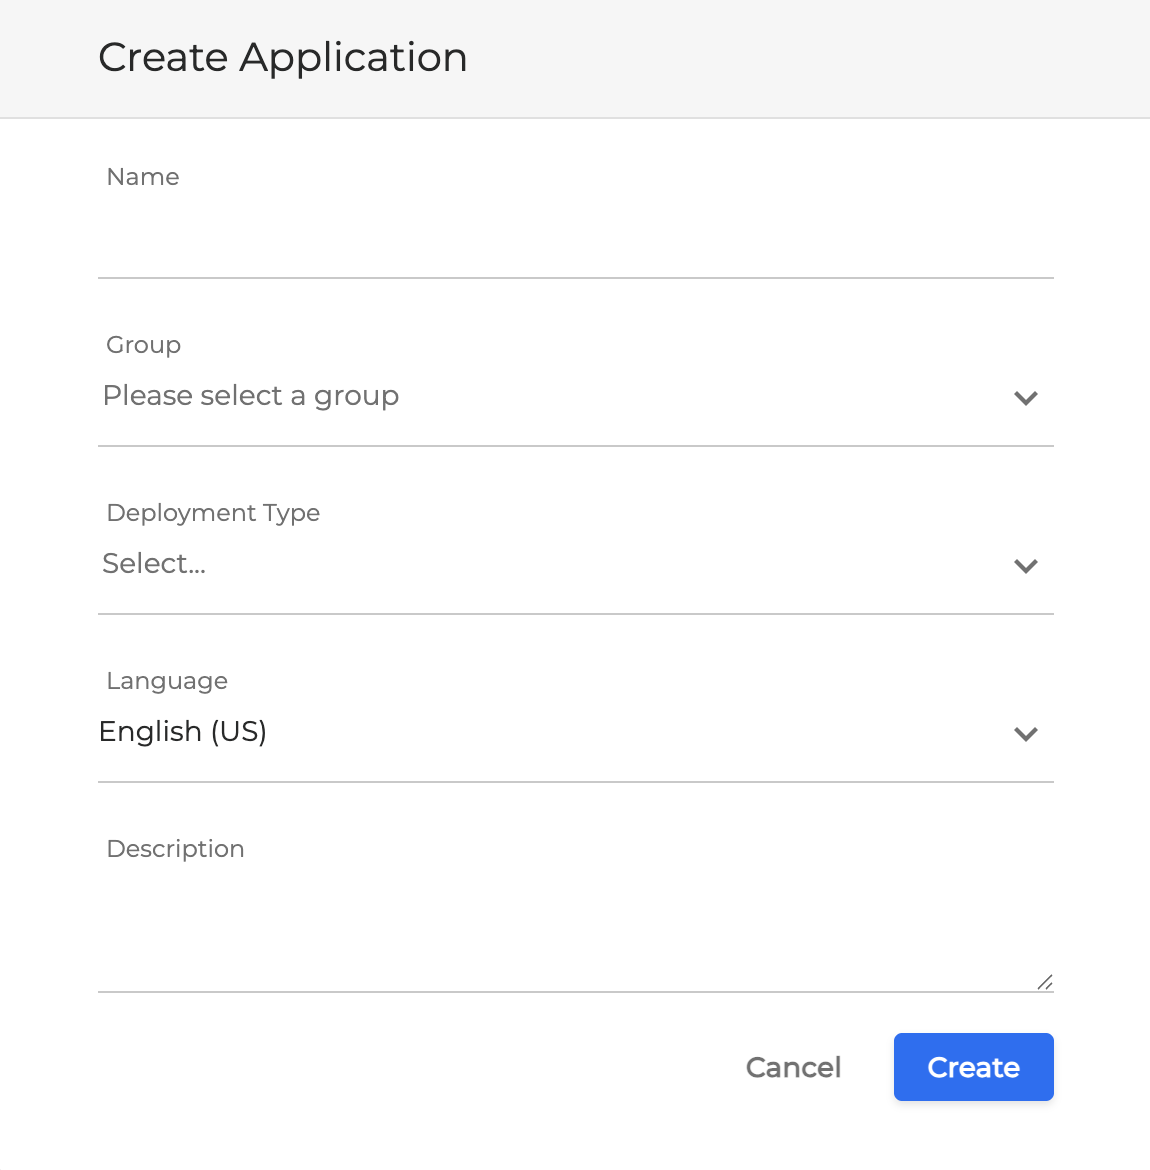
In the opened dialog box, fill in the required fields as described below:
-
Name: Provide a name for your Autocorrect Application.
-
Group: Select a group for your Autocorrect Application.
-
Deployment Type: Select Production or Testing deployment type.
-
Testing: A cost efficient deployment type used for testing purposes.
-
Production: Used for live-traffic applications.
-
-
Language: Select a language for your your Autocorrect Application.
-
Description: Optional description for your Autocorrect Application.
-
Click Create when finished. You will see the created application’s details, its status is automatically set to STOPPED as shown below.

Now you should proceed to deploying your Autocorrect application.