5 - Place your 1st call
In this tutorial, you are going to place your first call to see how your miniApp deals with oral comprehension.
To place an actual call, we need to get a phone number and attach it to your miniApp.
Get a phone number for your miniApp
To get a phone number for your miniApp, follow the guidelines below:
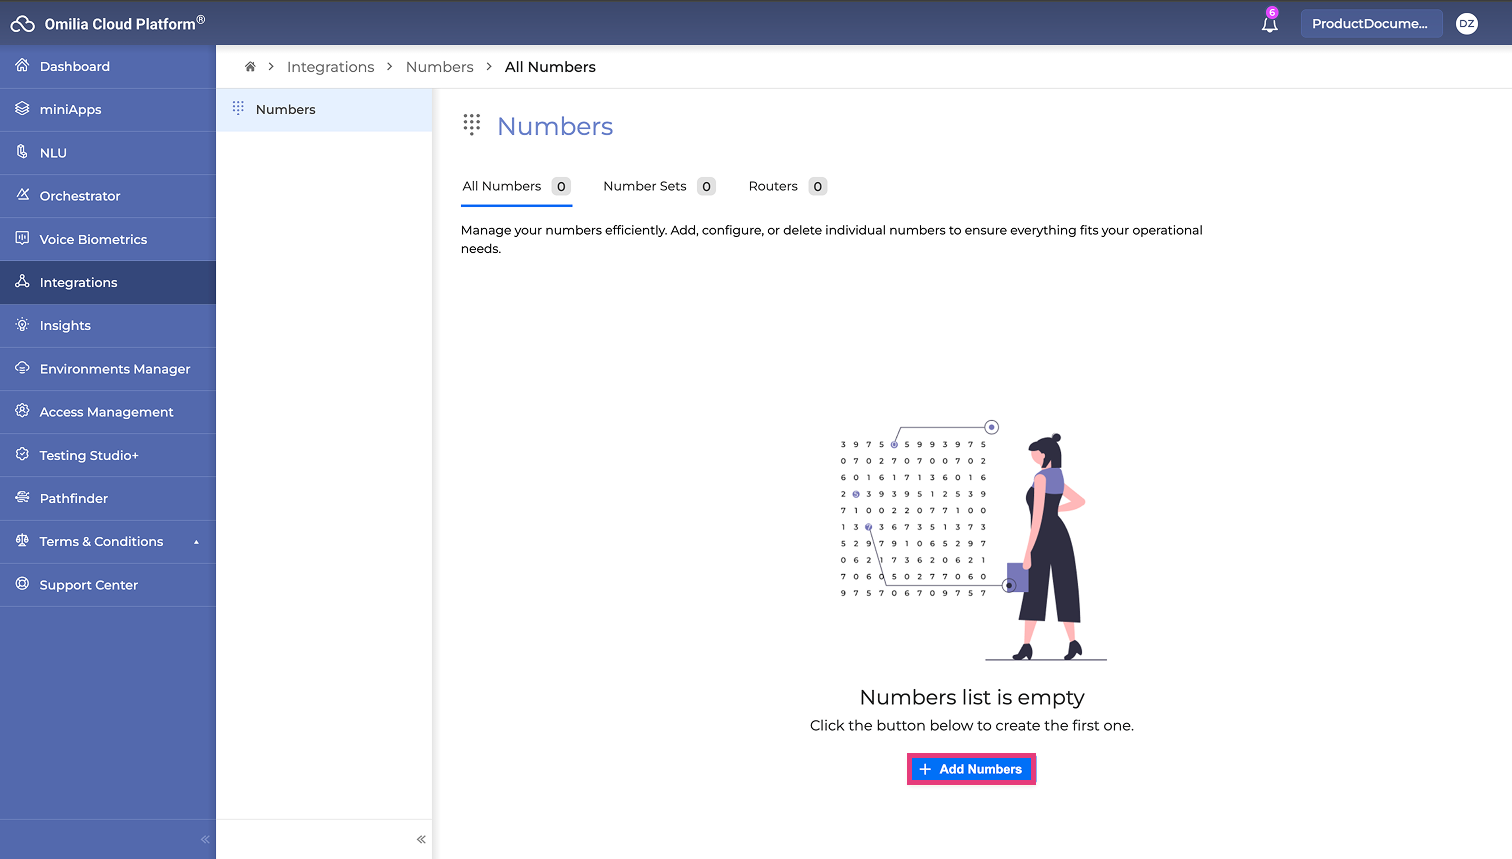
Navigate to Integrations → Numbers and click +Number.
2. In the Get Number(s) section, select Country Code and Group. In our example, we have selected United States (+1) and ProDocs respectively..
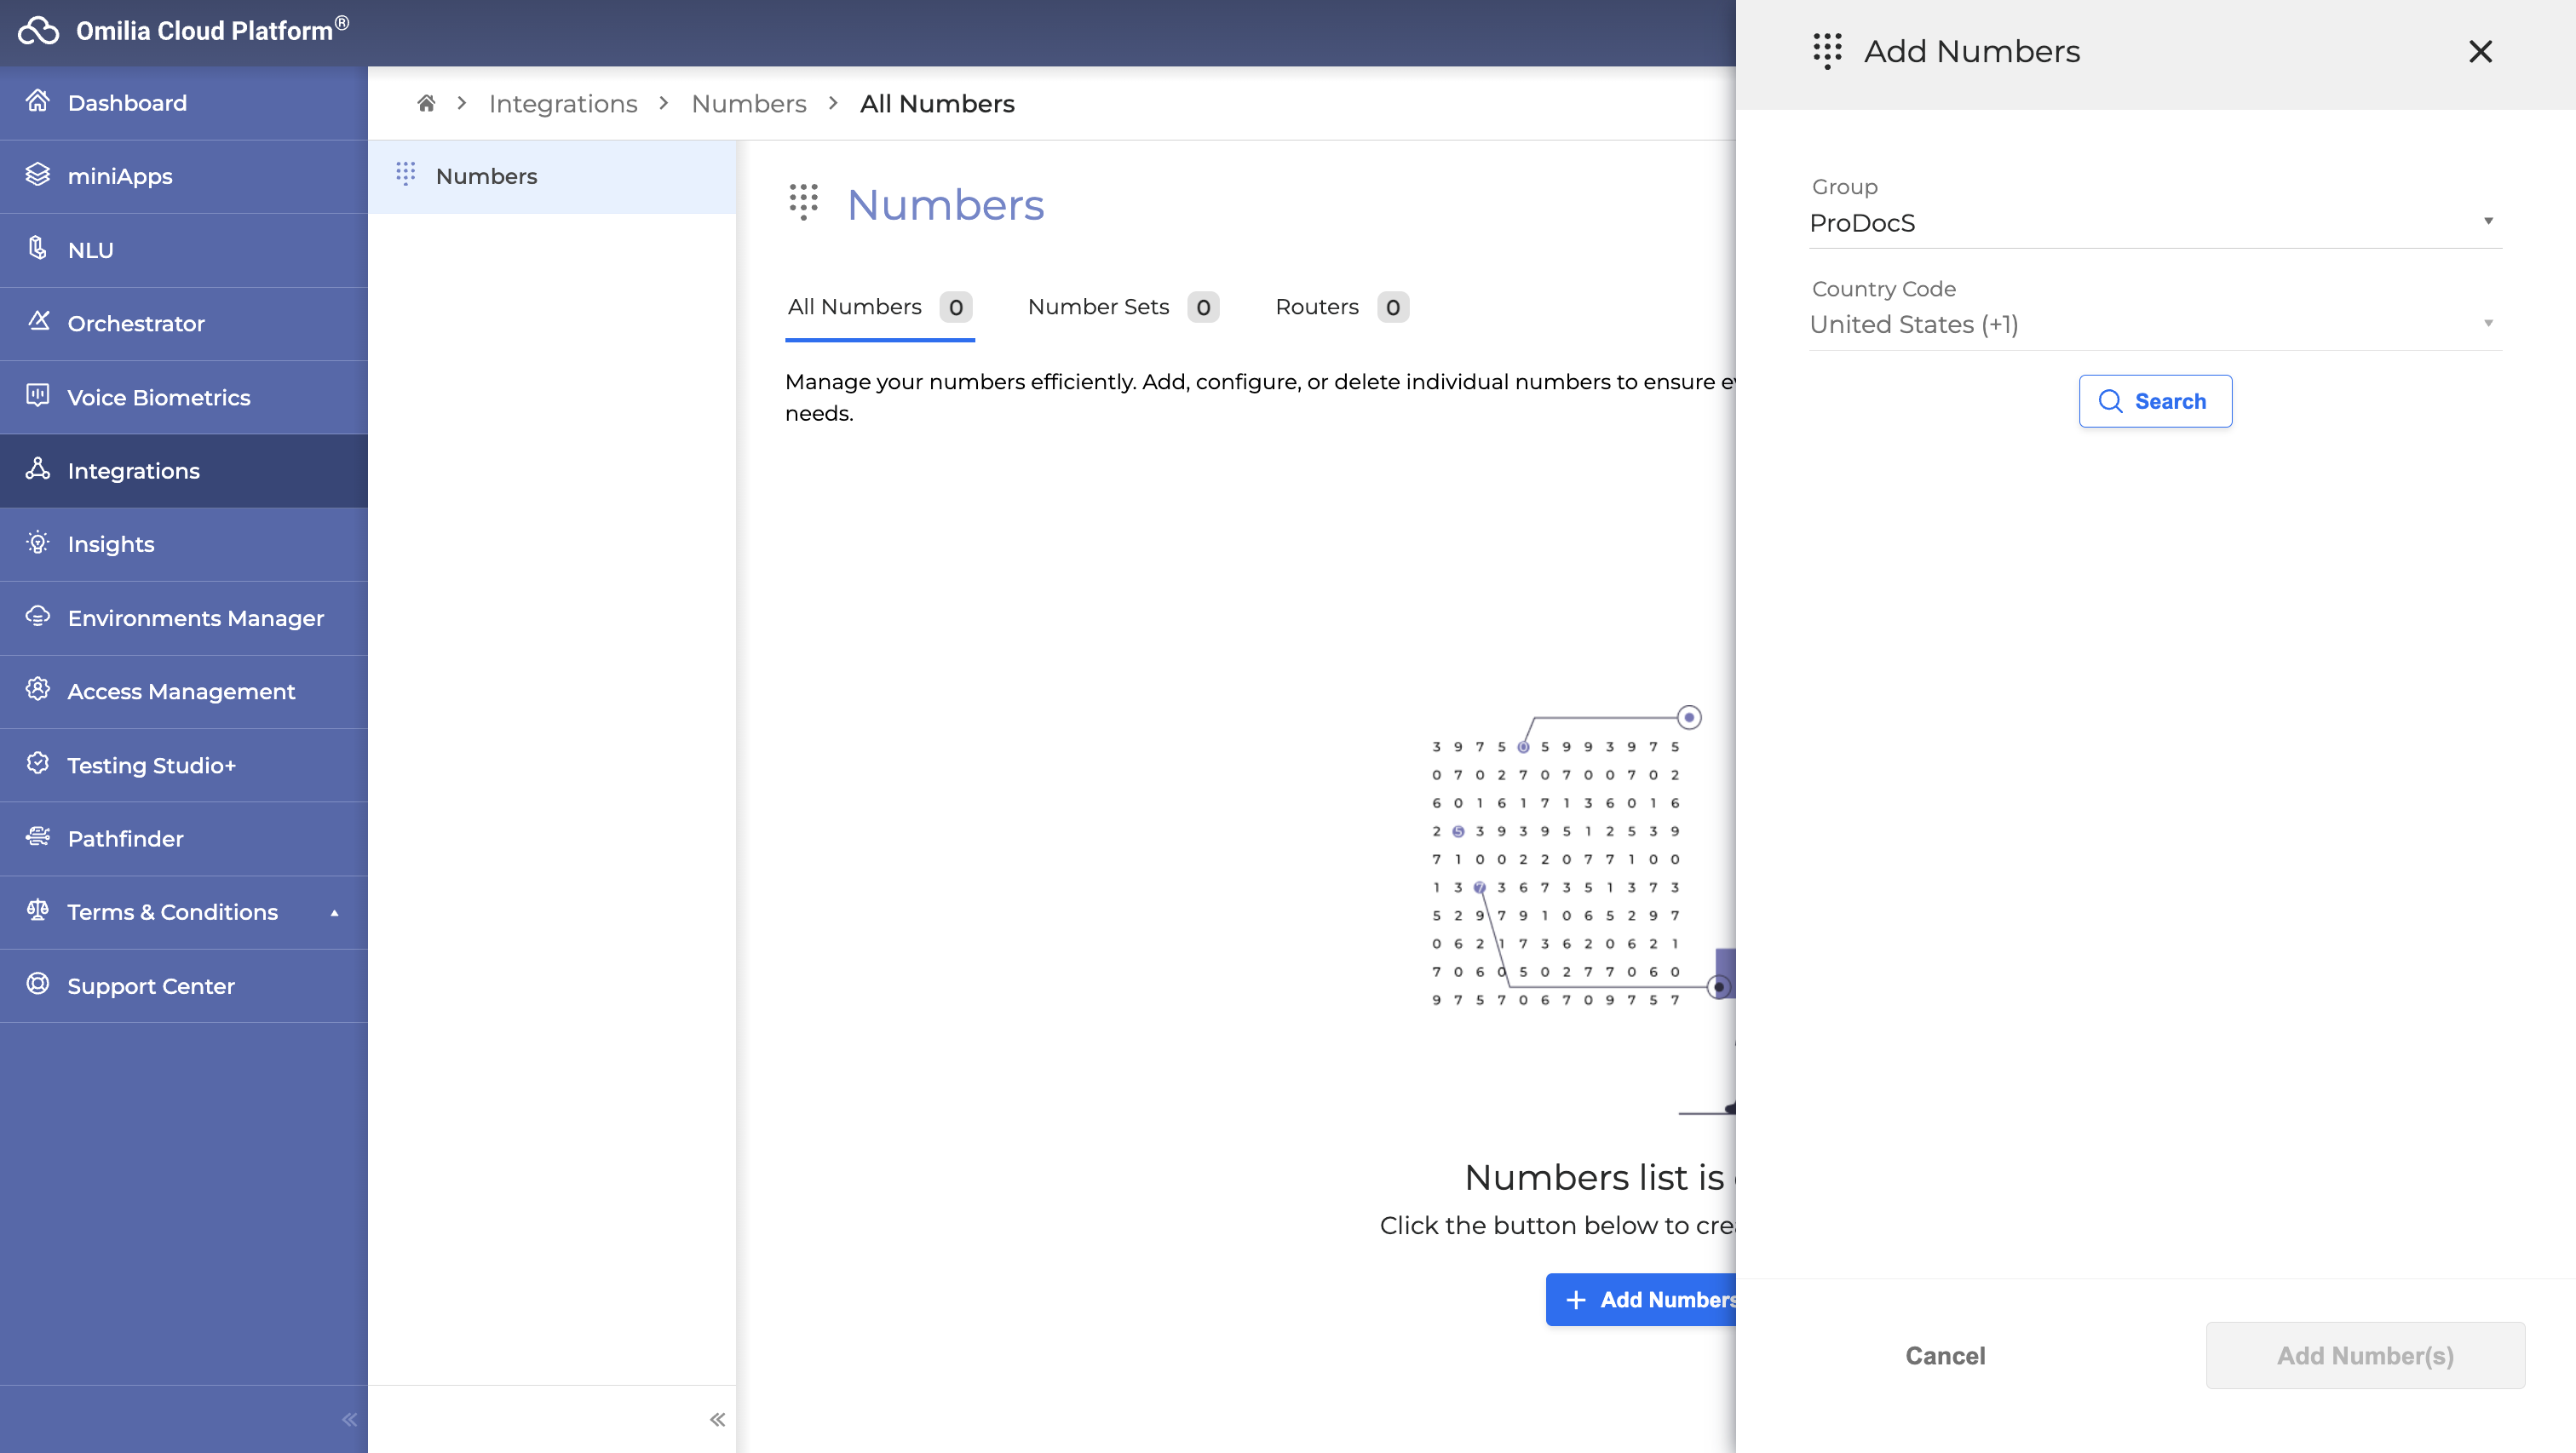
Click Search to proceed.
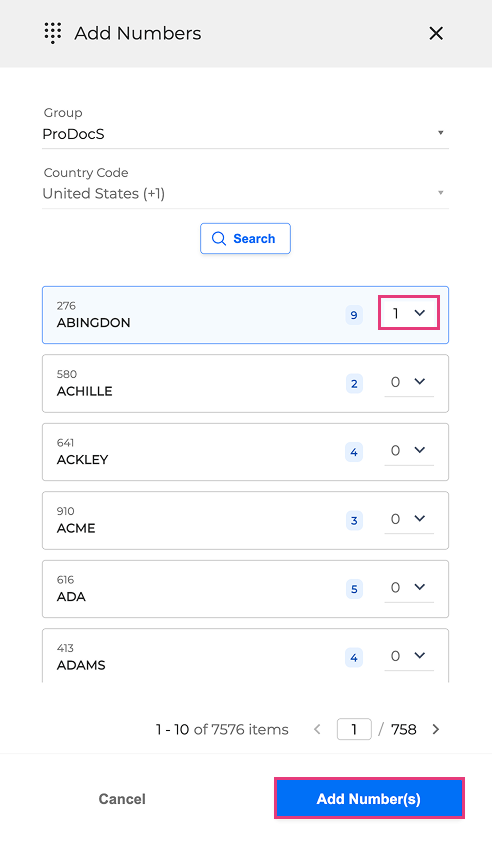
Select a number from the list of available numbers and click Add Number(s).
5. Click Yes, I’m sure to confirm your selection.
Now you have your first number available for your miniApp. The only thing left is to attach the number to your miniApp.
Attach your number to the miniApp
To attach the number to your miniApp, proceed as described below:
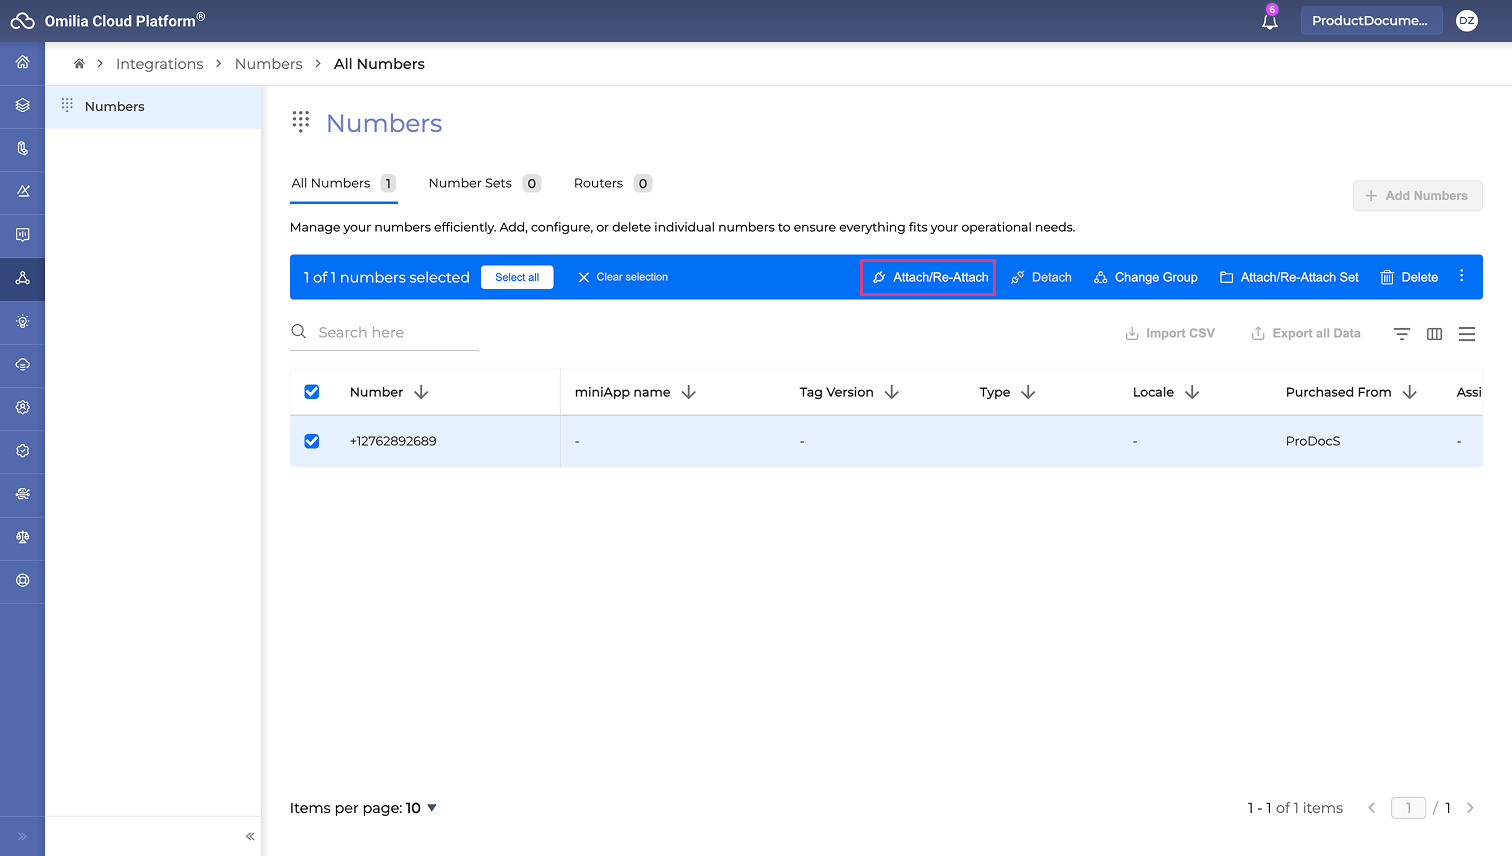
Navigate to Integrations → Numbers.
Click the Number and click Attach/Re-Attach button.
3. Fill in the form in the Attach miniApp pop-up window:
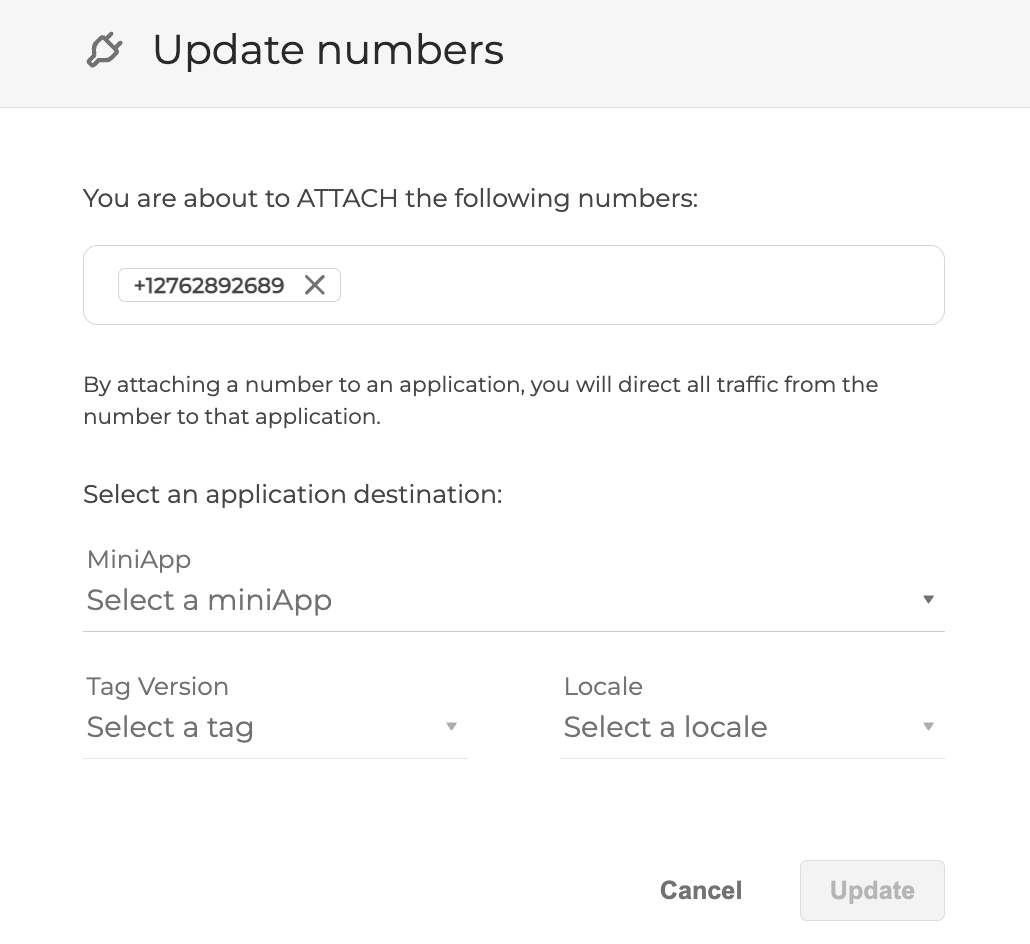
Select miniApp your want to attach the number to.
Select a Locale and click Update to confirm.
The selected number is now attached to your miniApp, and all the necessary preparations are over.
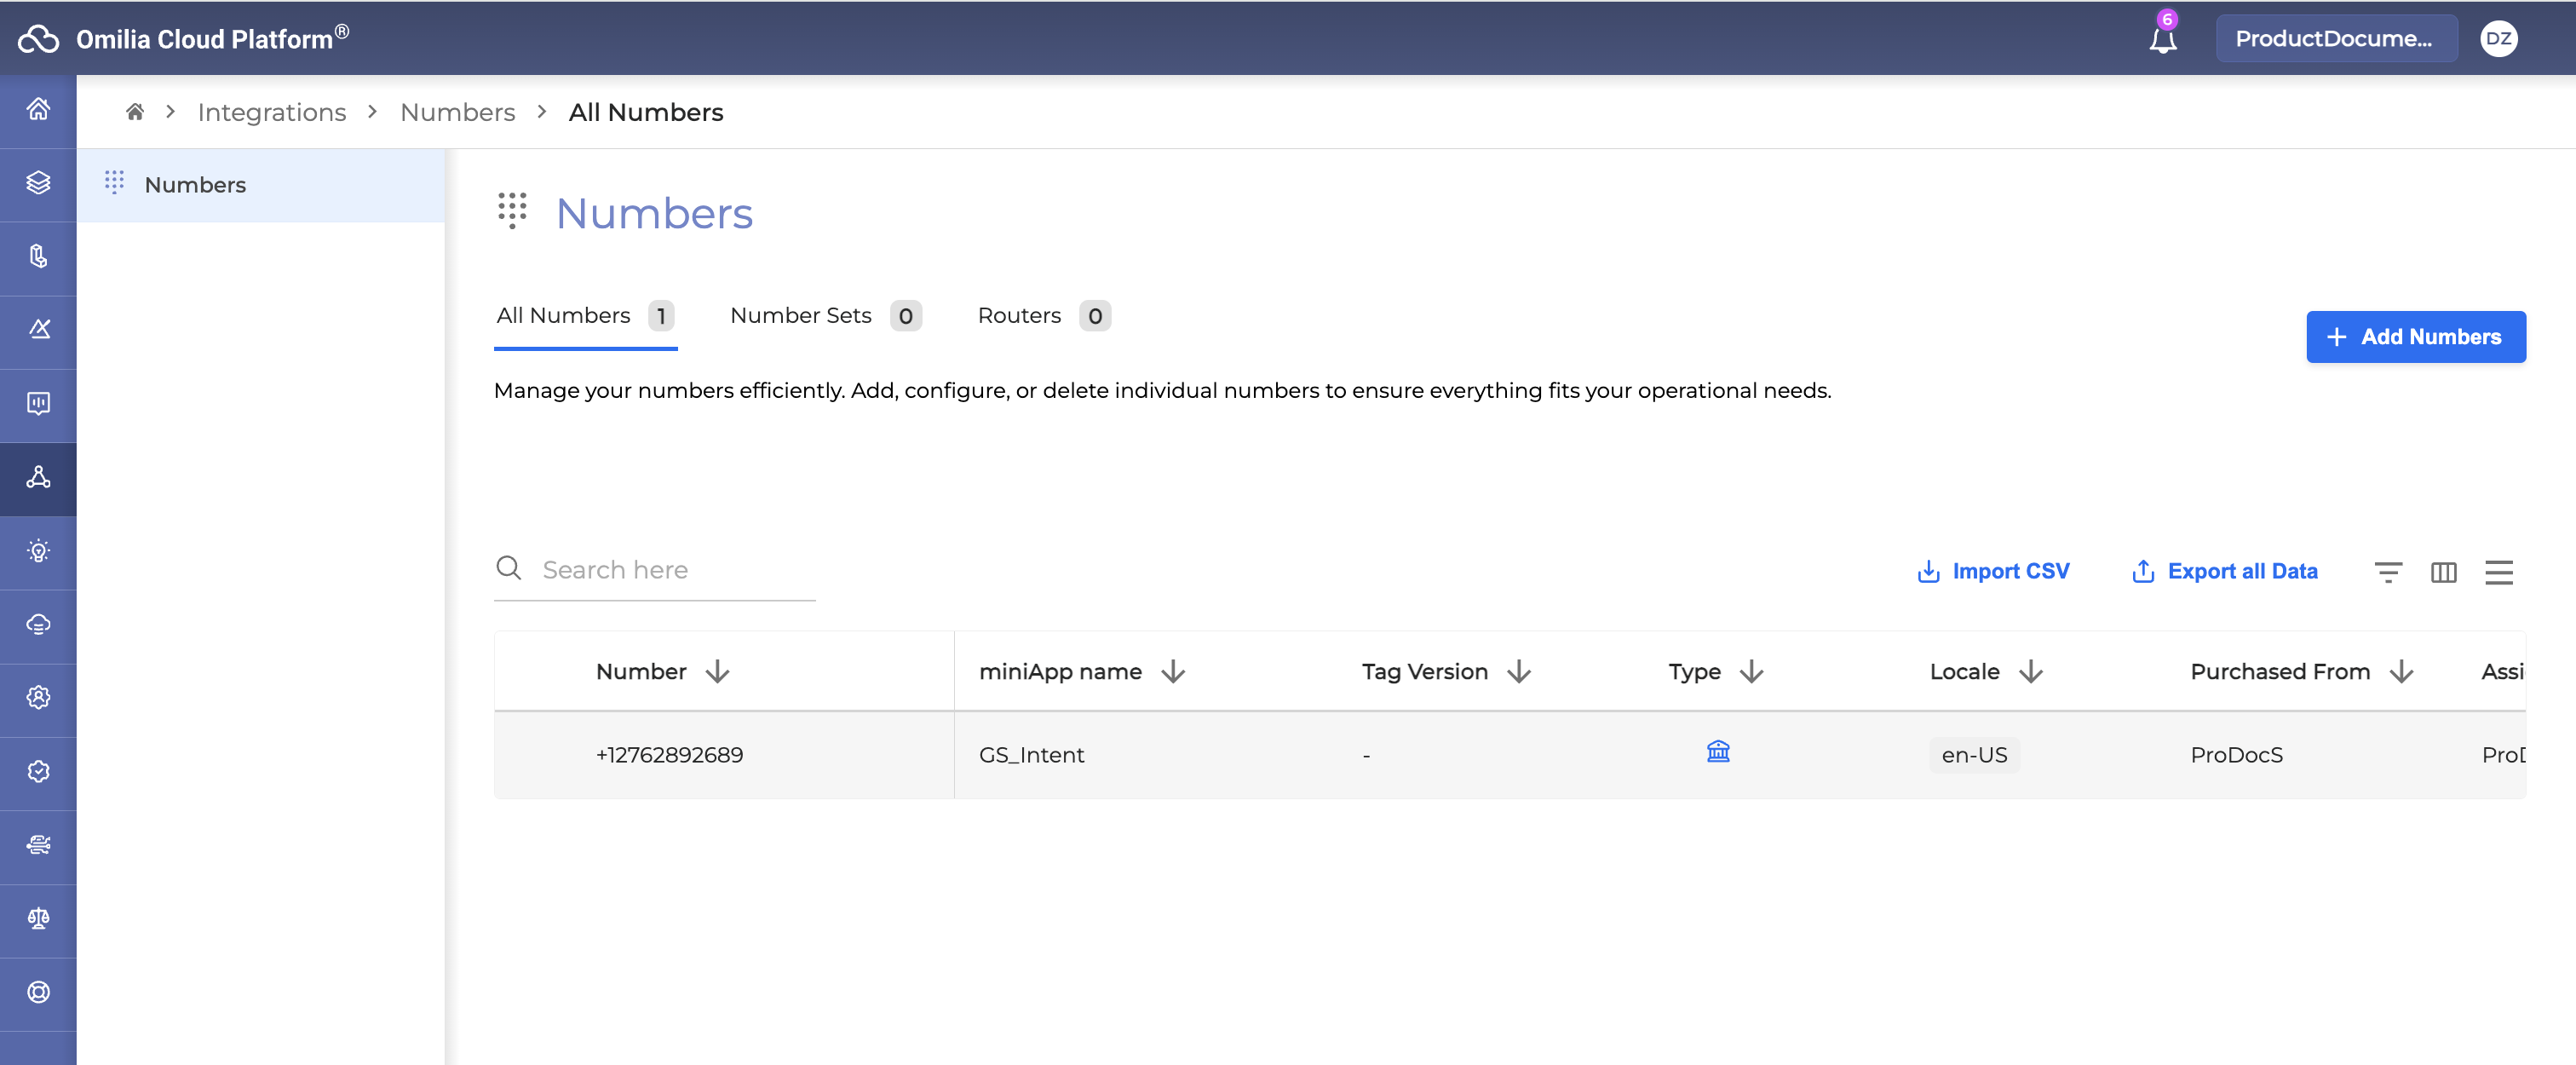
The application is ready to be tested.
Test your miniApp
To test your miniApp, proceed as described below:
Call the number you attached to the miniApp from your mobile, landline, or any VoIP softphone.
You must be able to hear the following prompts:
”Welcome to Getting Started tutorial! I will be your Virtual Assistant. How may I help you?”Describe the reason for your call, for example:
”I have lost my card.”You must be able to hear the following answer:
”Let me connect you with the Card Department.”
As you can see, the application shows exactly the same behavior as in the chat letting us know that it is running properly.
.svg)