.svg)
11 - Get a Client ID
In this tutorial, you can learn how to create a miniApp that confirms the caller’s client ID. For this purpose, we can create a Numeric miniApp. This can be used later to create more complex requests like getting the current exchange rates for US Dollar, announcing them to the caller, and asking if the caller needs more information before ending the call.
To achieve this the following steps must be taken, that are also explained in detail later:
Create a Numeric miniApp
Configure Welcome Prompts
Configure Validations
Configure Confirmations
Configure Hold Functionality
Create a Numeric miniApp
Open miniApps → Manage menu.
Click the +Create button.
Select the Numeric miniApp type from the list and fill in the rest information accordingly. For example, name this miniApp GS_Ask_ClientID.
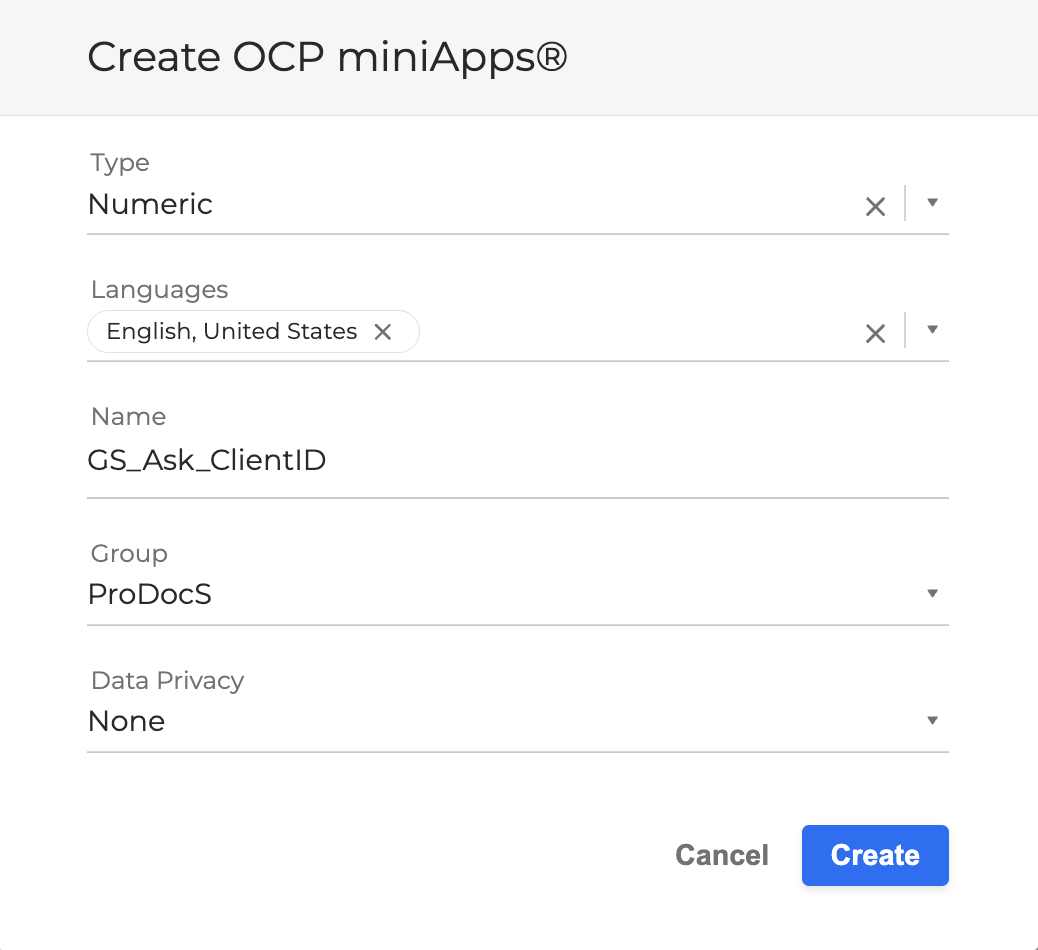
Click the Create button to save the miniApp.
Configure Welcome Prompts
Go to Prompts tab → Welcome Announcement section.
Delete the default Welcome prompt. It is not required since we have an Intent miniApp GS_Intent that we will use to welcome the user in our application later.

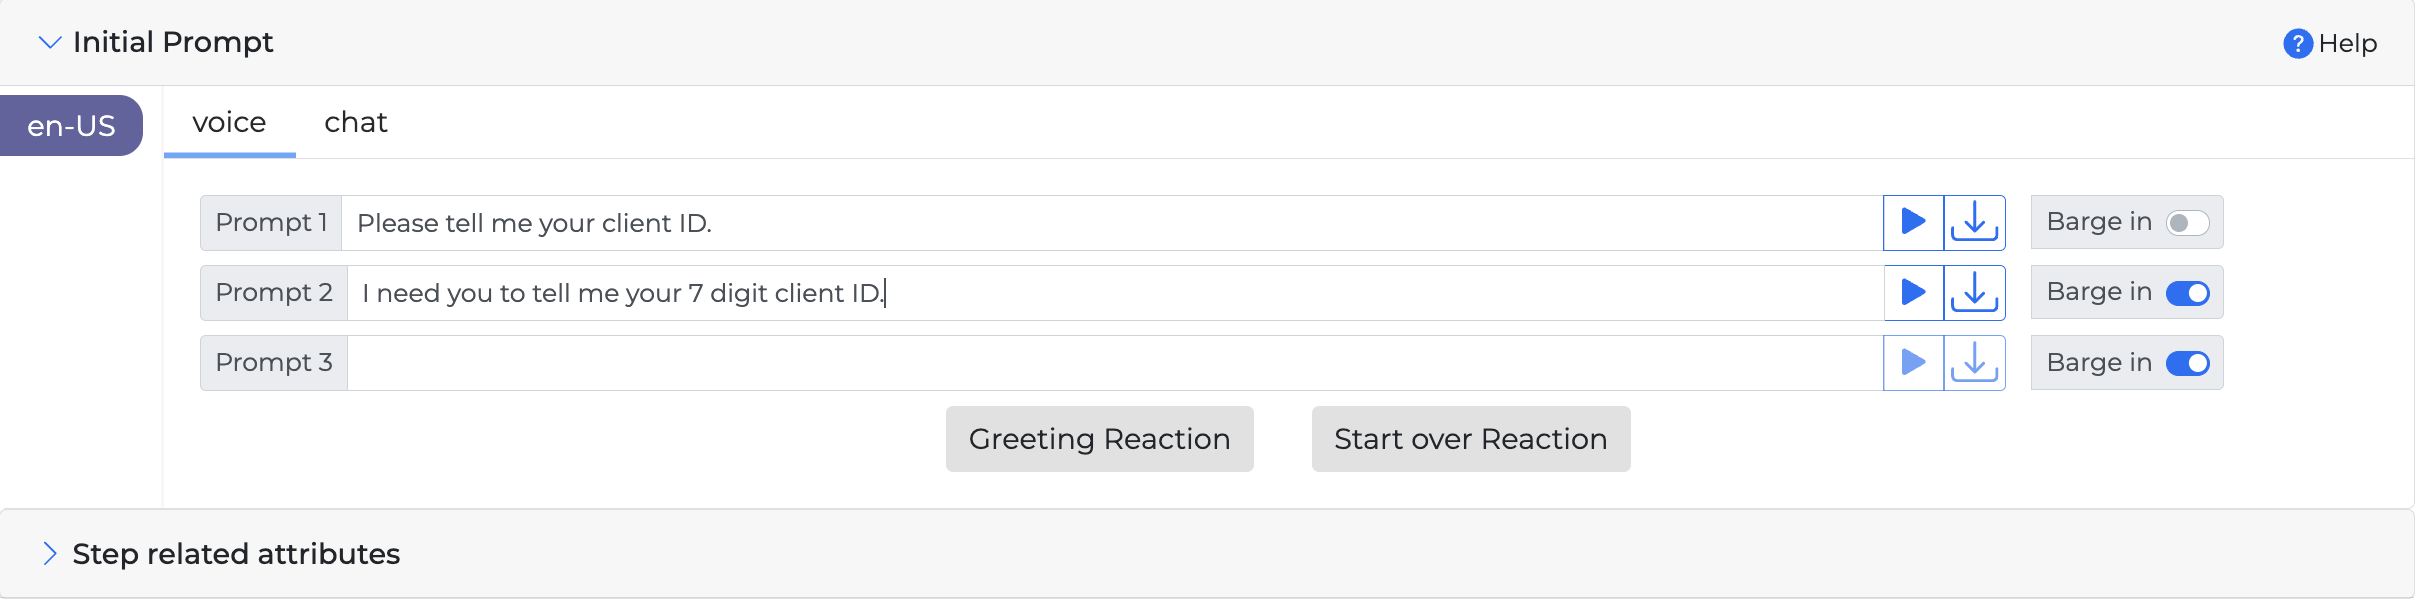
Go to Initial Prompt section.
Edit the Initial prompts.
Prompt 1: “Please tell me your client ID.”
Prompt 2: “I need you to tell me your 7 digit client ID.”
Click Save Changes.
The miniApp is ready to be used, however we need to validate user’s input.
Configure Validations
The validation we require for client ID has specific digits entry since in our case client IDs have 7 digits. To create a validation for this case follow the steps:
Go to the Validations tab.
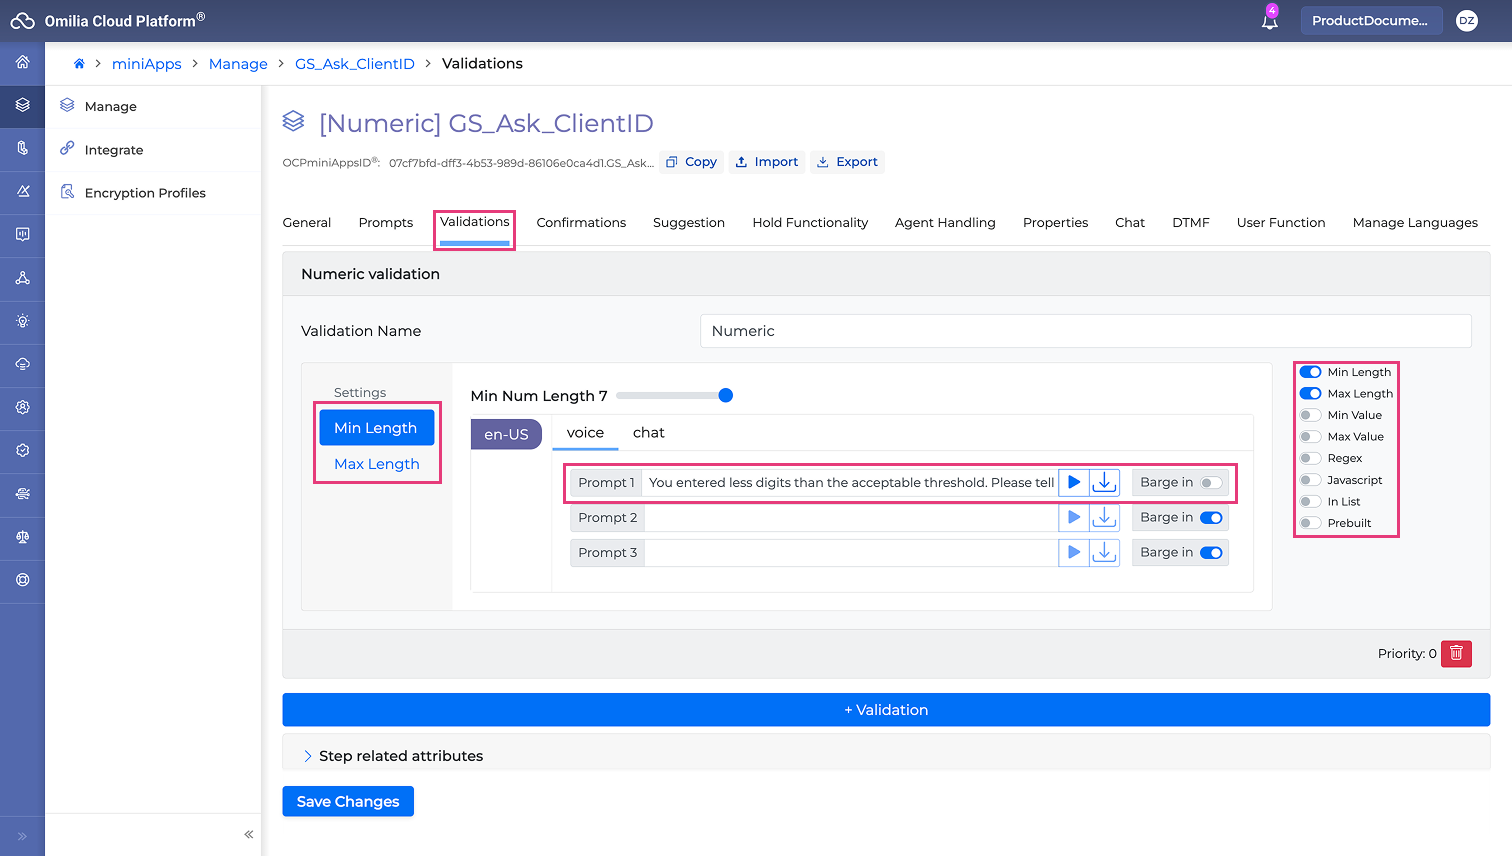
Turn any default validation types Toggle button off.
Turn the Max Length validation Toggle button on.
Set Max Num Length to 7.
Edit Prompt1: “You entered more digits than the acceptable threshold. Please tell me your client ID.”
Delete all other prompts.
Turn the Min Length validation Toggle button on.
Set Min Num Length to 7.
Edit Prompt1: “You entered less digits than the acceptable threshold. Please tell me your client ID.”
Delete all other prompts.
Click Save Changes.
Configure Confirmations
Confirmations are needed to ensure that the caller has provided the correct data and the app understood them correctly as well. When enabled they are triggered to repeat the input of the caller. It is recommended when asking for caller’s identification information like the client ID in this case.
Go to the Confirmations tab.
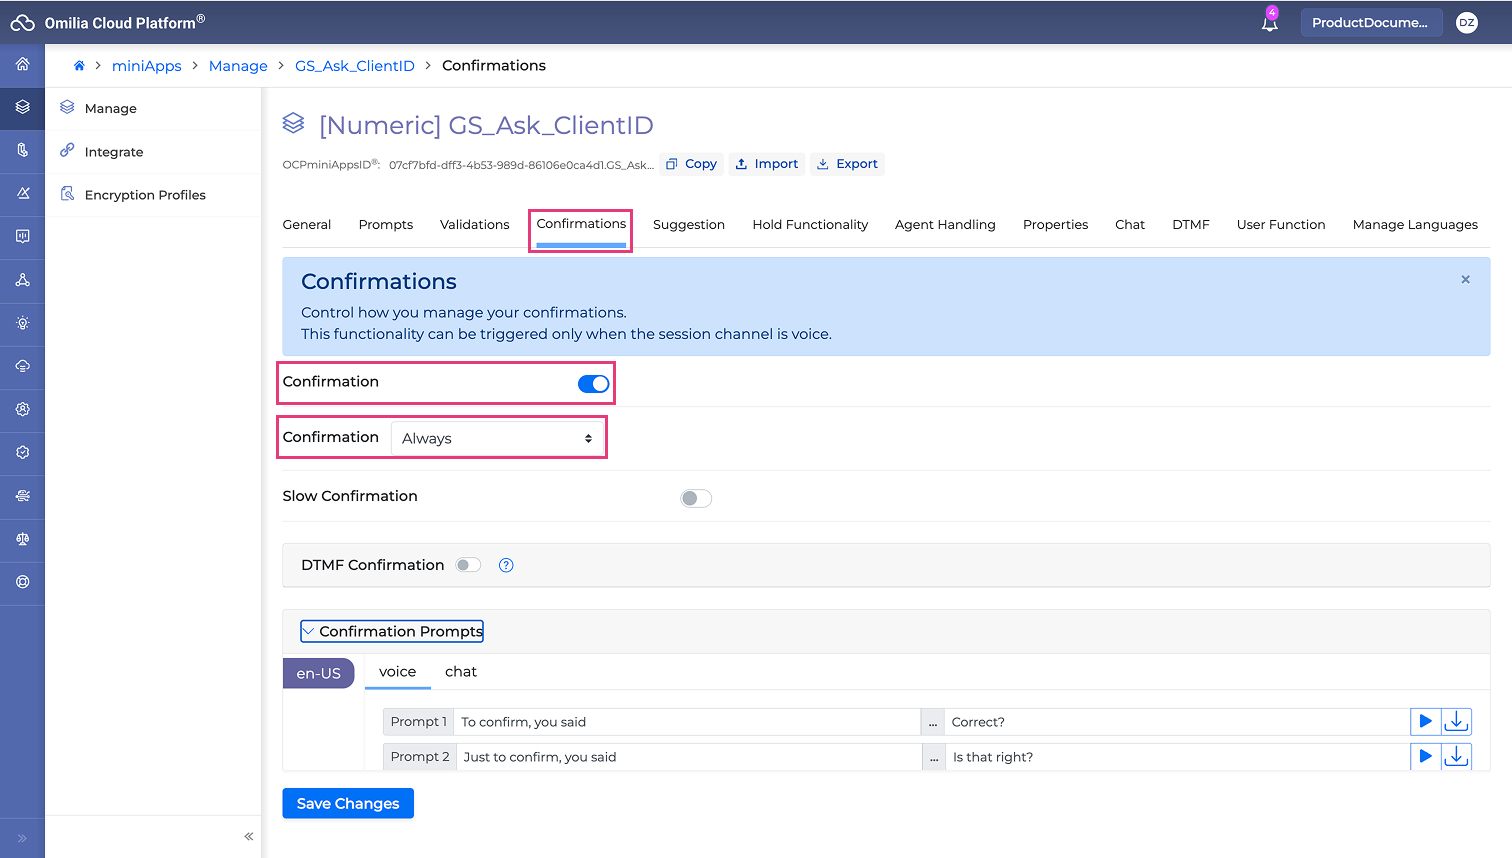
Turn the Confirmation Toggle button on.
Set Trigger Confirmation. Select Always for our example. Select a confidence level if you want to avoid confirmation all the time.
You can optionally edit the below. For more information read Confirmations Tab section for non-Intent miniApps:
Toggle Slow Confirmation.
Add a DTMF confirmation key.
Edit Nice Reactions.
Edit Confirmation prompts.
Click Save Changes.
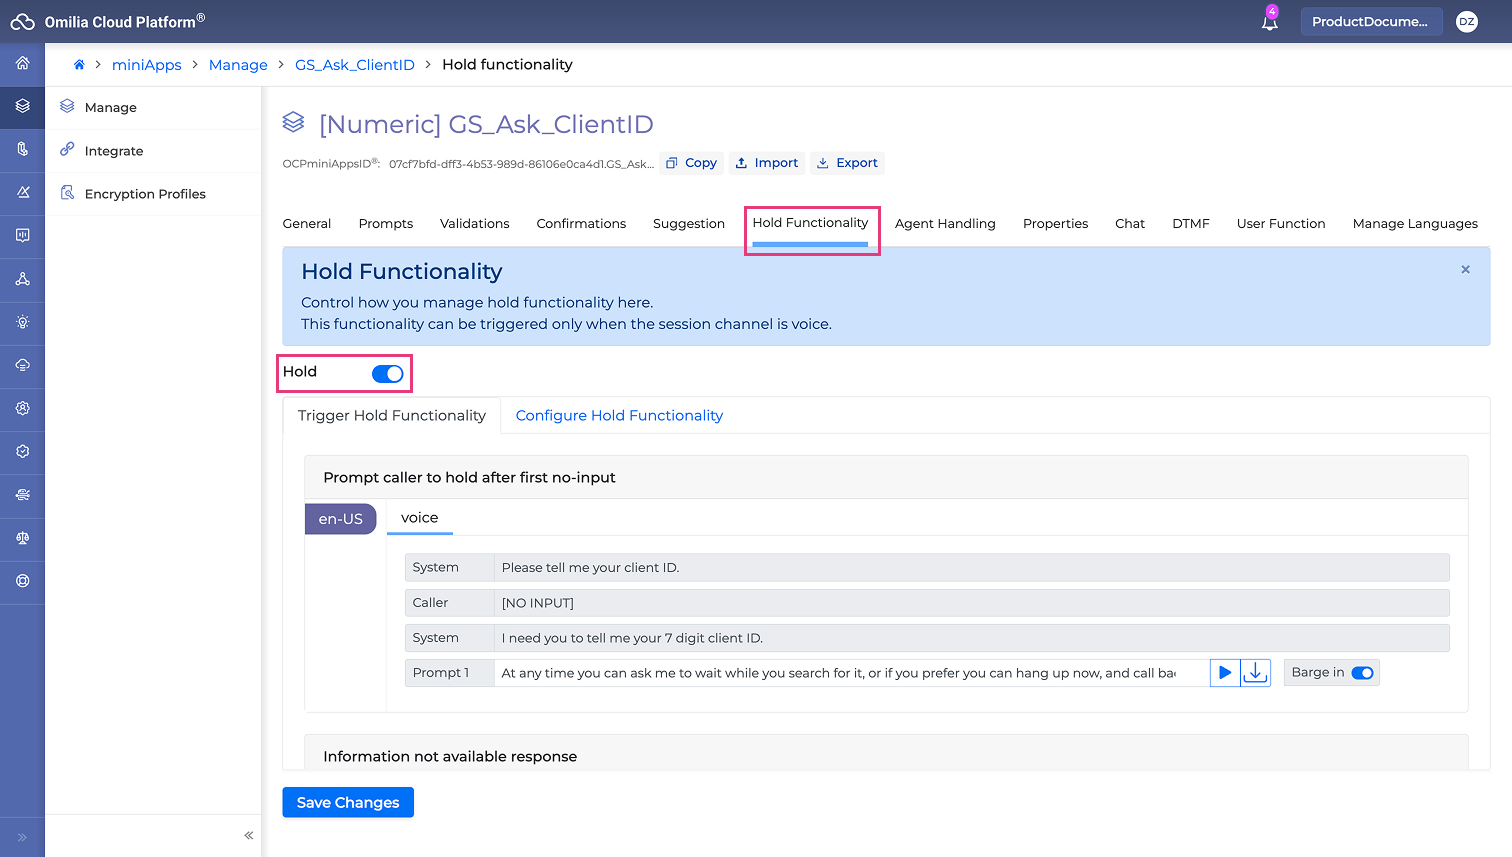
Configure Hold Functionality
Hold functionality is used in case the caller remains silent after the miniApp’s question or needs more time to provide necessary information. It gives the opportunity to wait or hold the call.
Go to the Hold Functionality tab.
Turn the Hold Toggle button on .
The Numeric app has been created and is ready to be used or combined with other miniApps.