.svg)
How to get a test number in OCP miniApps®
To test your OCP miniApps® application before you get a pseudo number from a CCaaS provider, you can use a test number.
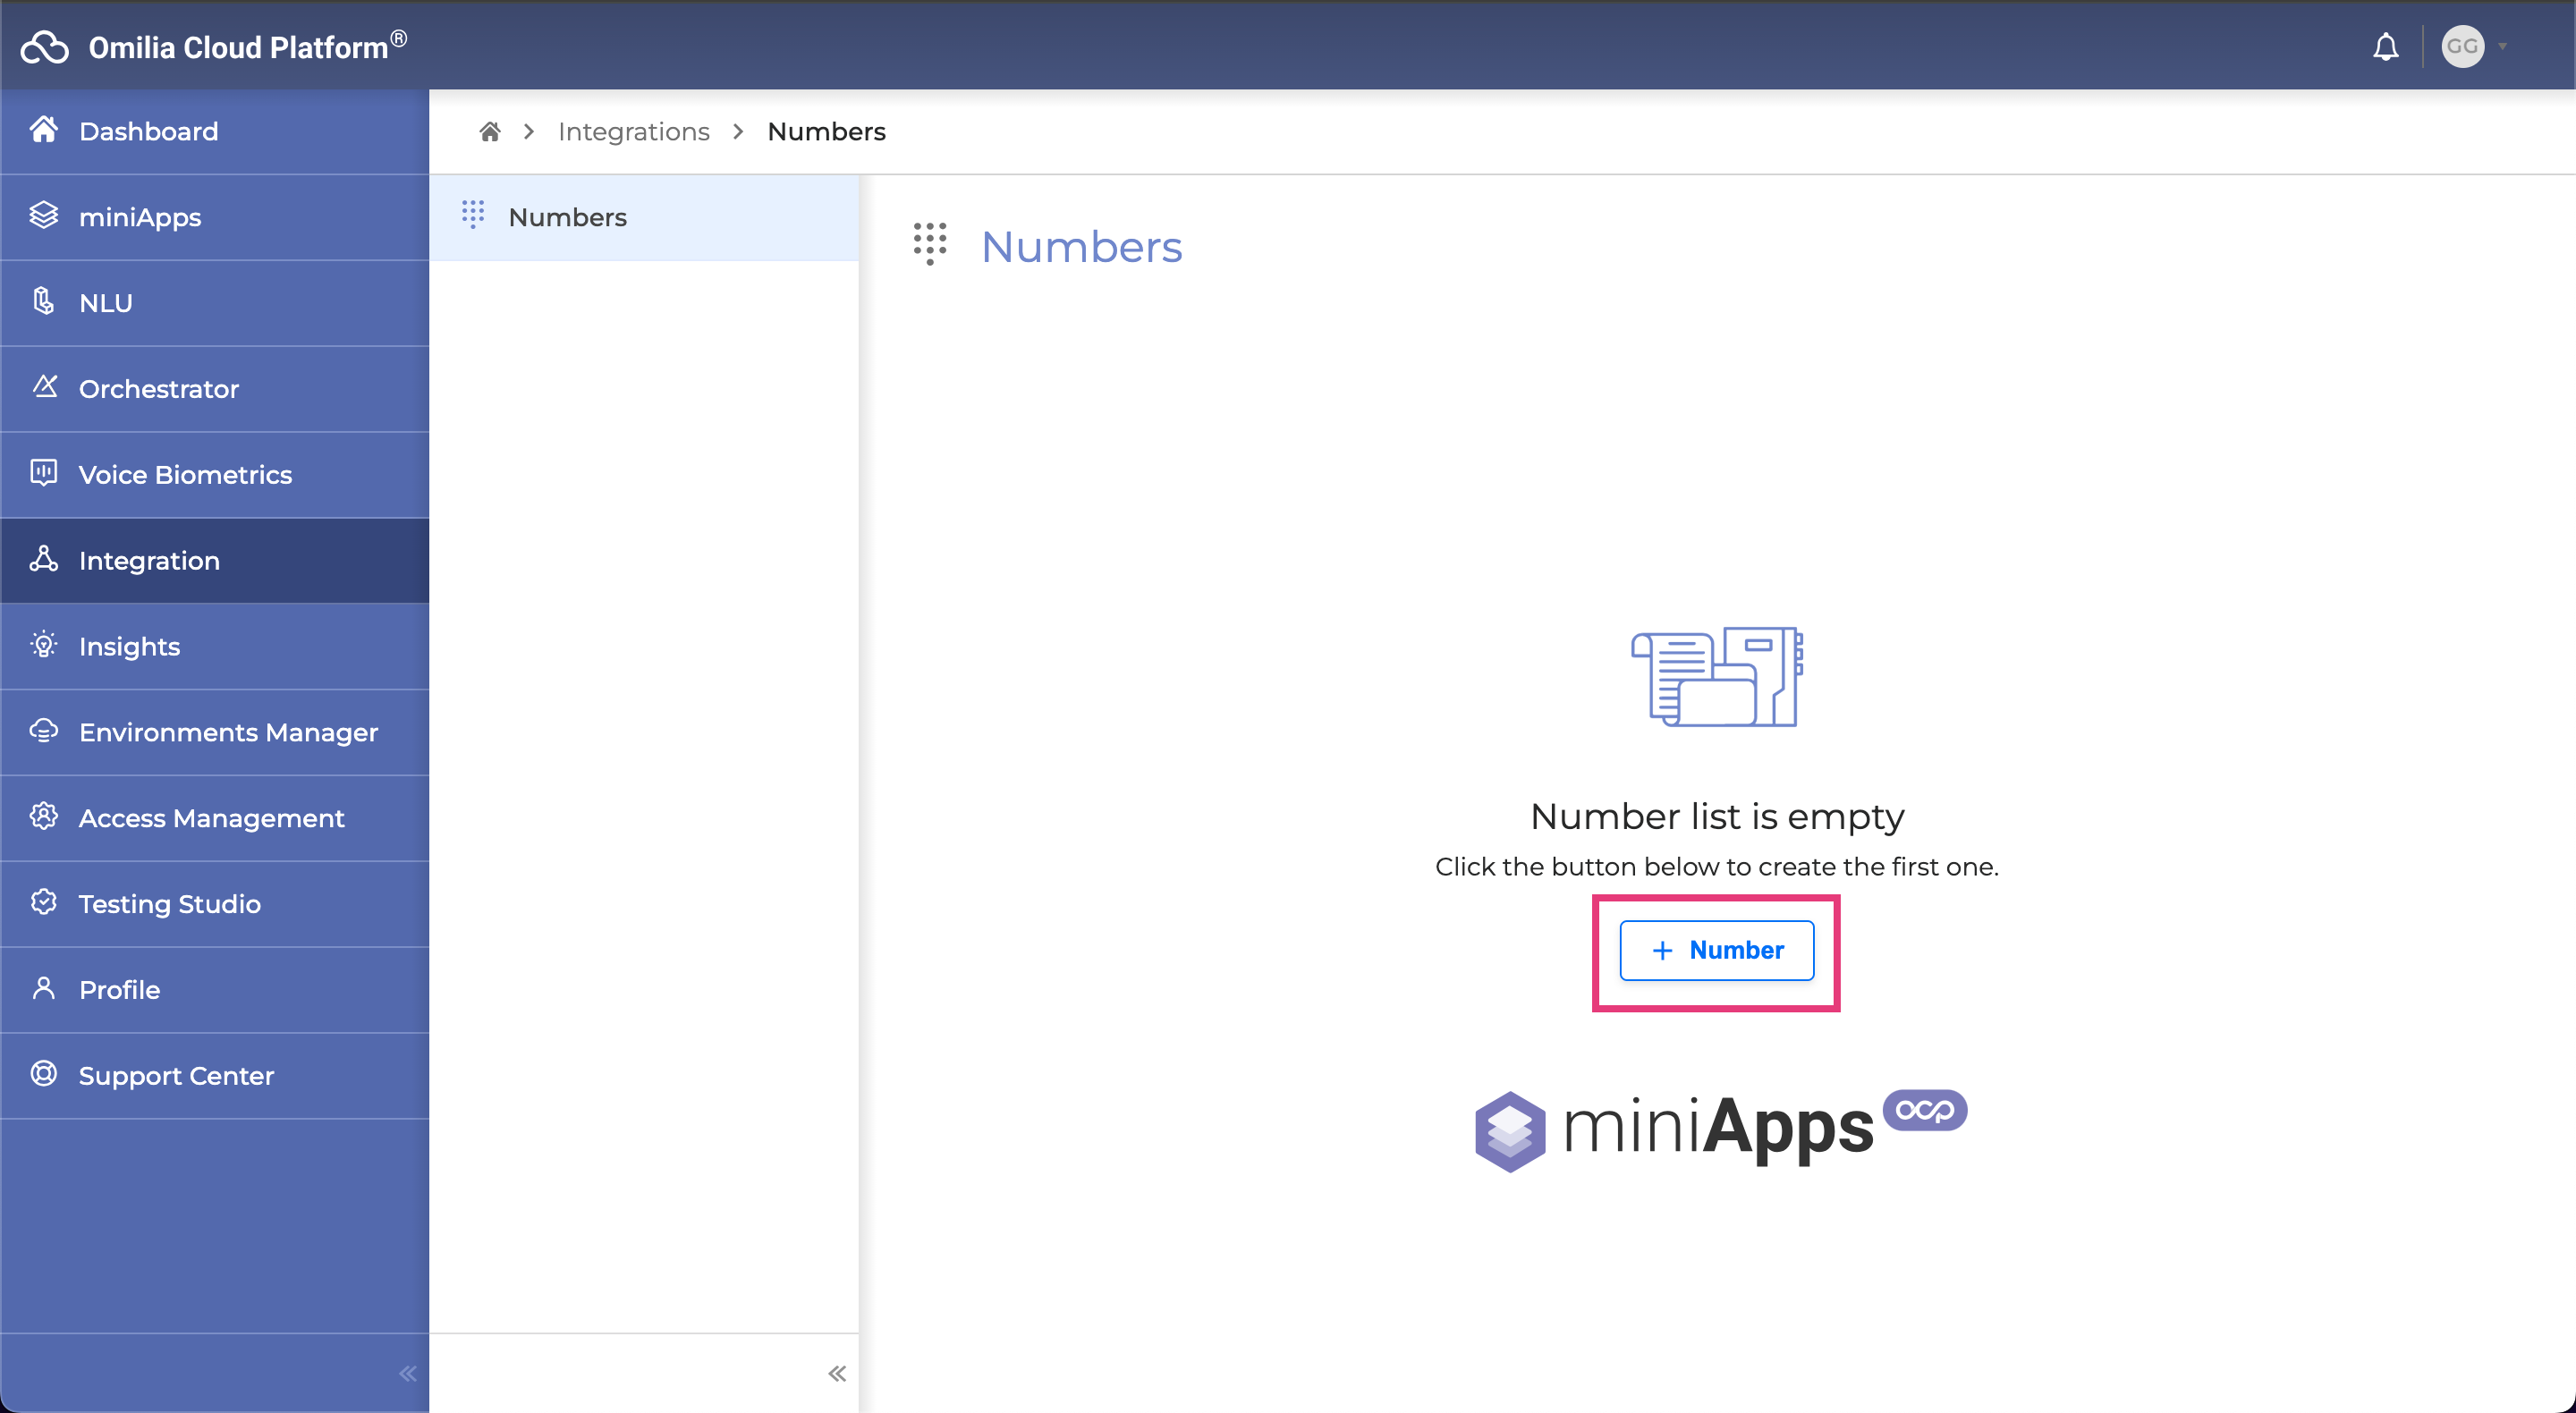
How to get a number
Go to the Integration → Numbers tab and click the + Number button to add a new number.
Get Numbers
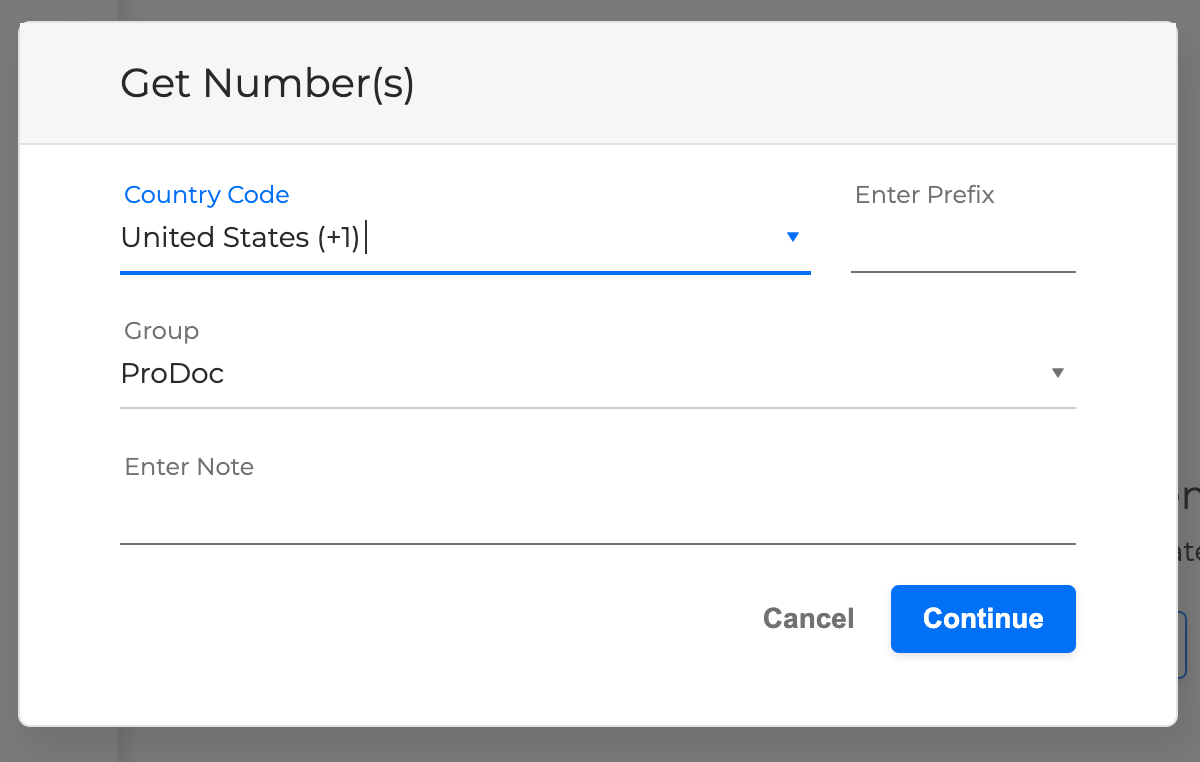
2. In the Get Number(s) pop-up window, select the Country Code, enter the prefix (or you can leave it blank), and click Continue.
Get Number(s) pop up window
3. You will be prompted to see Available Numbers with their Areas. Select the numbers you want and click Continue.

Get Number(s) pop-up window
To get a European number, you need to have your physical address confirmed first. If your account is not yet associated with a European address, you will see a message resembling the following:

Get Number(s) pop-up window
4. When you are ready to proceed, click the Get button.

Confirm Get Number(s) pop-up window
How to attach a number to an OCP miniApps® application
To attach a number, click the Options menu icon next to the number and choose Reattach.

Attach a number
2. Select the miniApp to which you want to attach this number and the Locale which will be used for this number. Click Attach when finished.

Configure and confirm attach
Now the number is attached to the application and can be used for test purposes.
How to detach a number from an OCP miniApps® application
To detach an application from a number, click the Options menu icon next to the number and choose Detach.

Detach a number
2. To confirm the detachment, click Detach in the Detach Application pop-up window.

Confirm detach
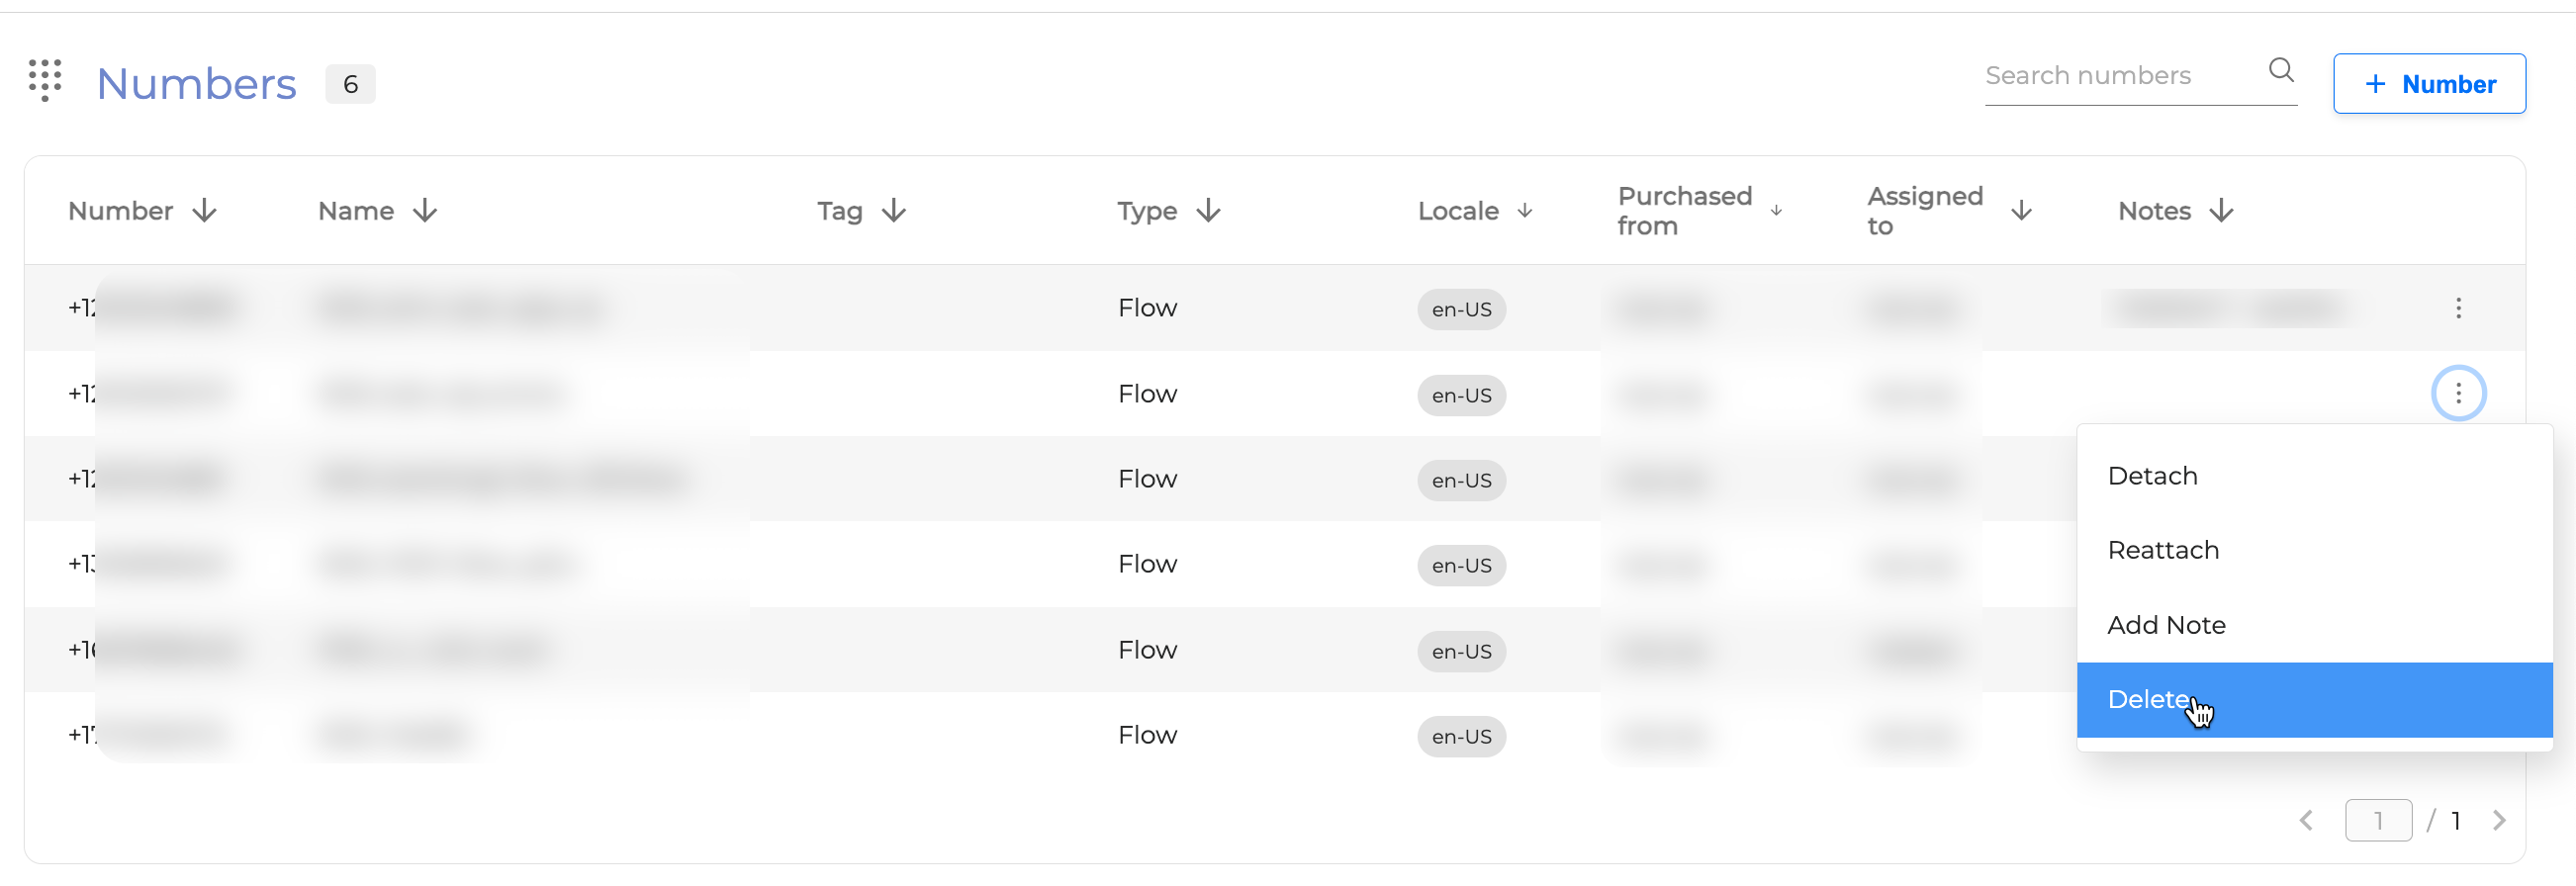
How to delete a number
To delete a number, click the Options menu icon next to the number and select Delete from the drop-down menu.
Delete a number
2. To confirm the deletion, click Delete in the Delete Number pop-up window.

Confirm delete
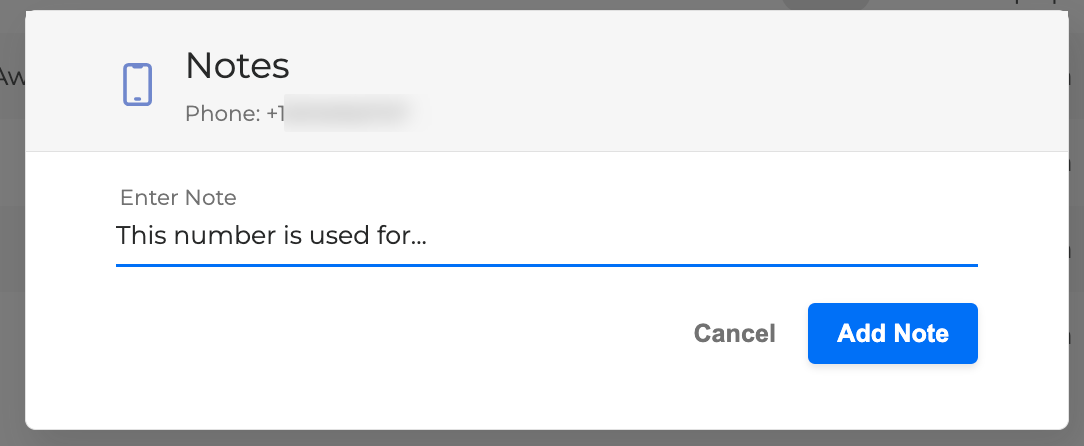
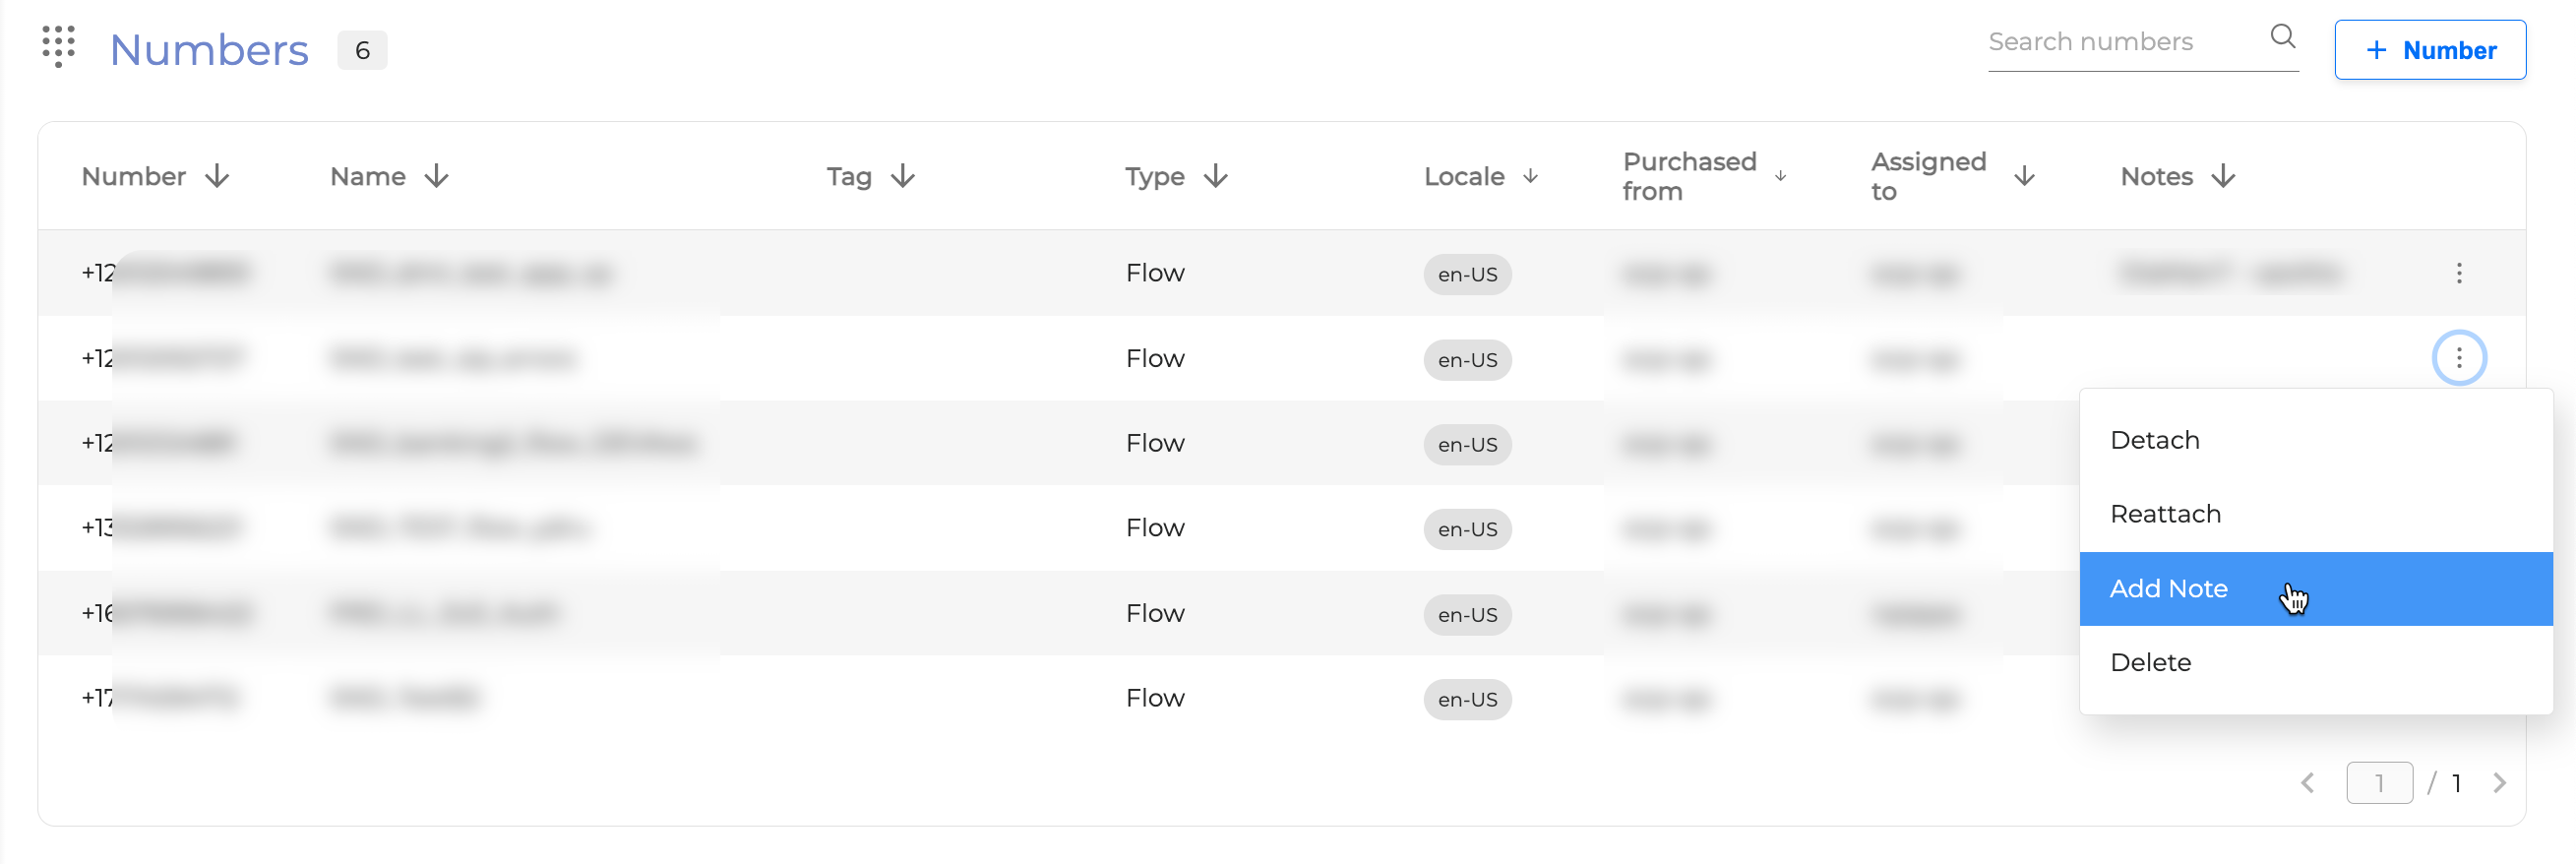
Add a Note
You can add a note to each number that makes sense to you and help identify what this number is used to, or add any other information about it.
To add a note, click the Options menu icon next to the number and select Add Note from the drop-down menu.
Enter the note in the corresponding field in the pop-up window and click the Add Note button.