.svg)
5 - Transfer a caller
Previous tutorial: 4 - Place your 1st call
In this tutorial, you will learn how to transfer a caller according to their intentions.
Consider the main requirements that trigger the transfer, for example if the caller wants to cancel a card account, lost a card, or has a problem with a card. The call will be transferred to a specific agent skill group with a designated number, and the information for this transfer, such as “Let me connect you with the card department”, will be announced to the caller.
To create a transfer application, you need to follow the below steps. Each step is described in more detail below.
Find the required intents that will trigger the transfer.
Create an Announcement miniApp.
Link the intent miniApp to the Announcement miniApp with a Condition in Orchestrator.
Create a Transfer block in Orchestrator and link it to the Announcement miniApp.
Find the related Intents
Select the GS_Intent miniApp from the list of miniApps in the Manage menu.
Navigate to the Manage Intents tab.
Click Browse Intents to reveal the list of intents.
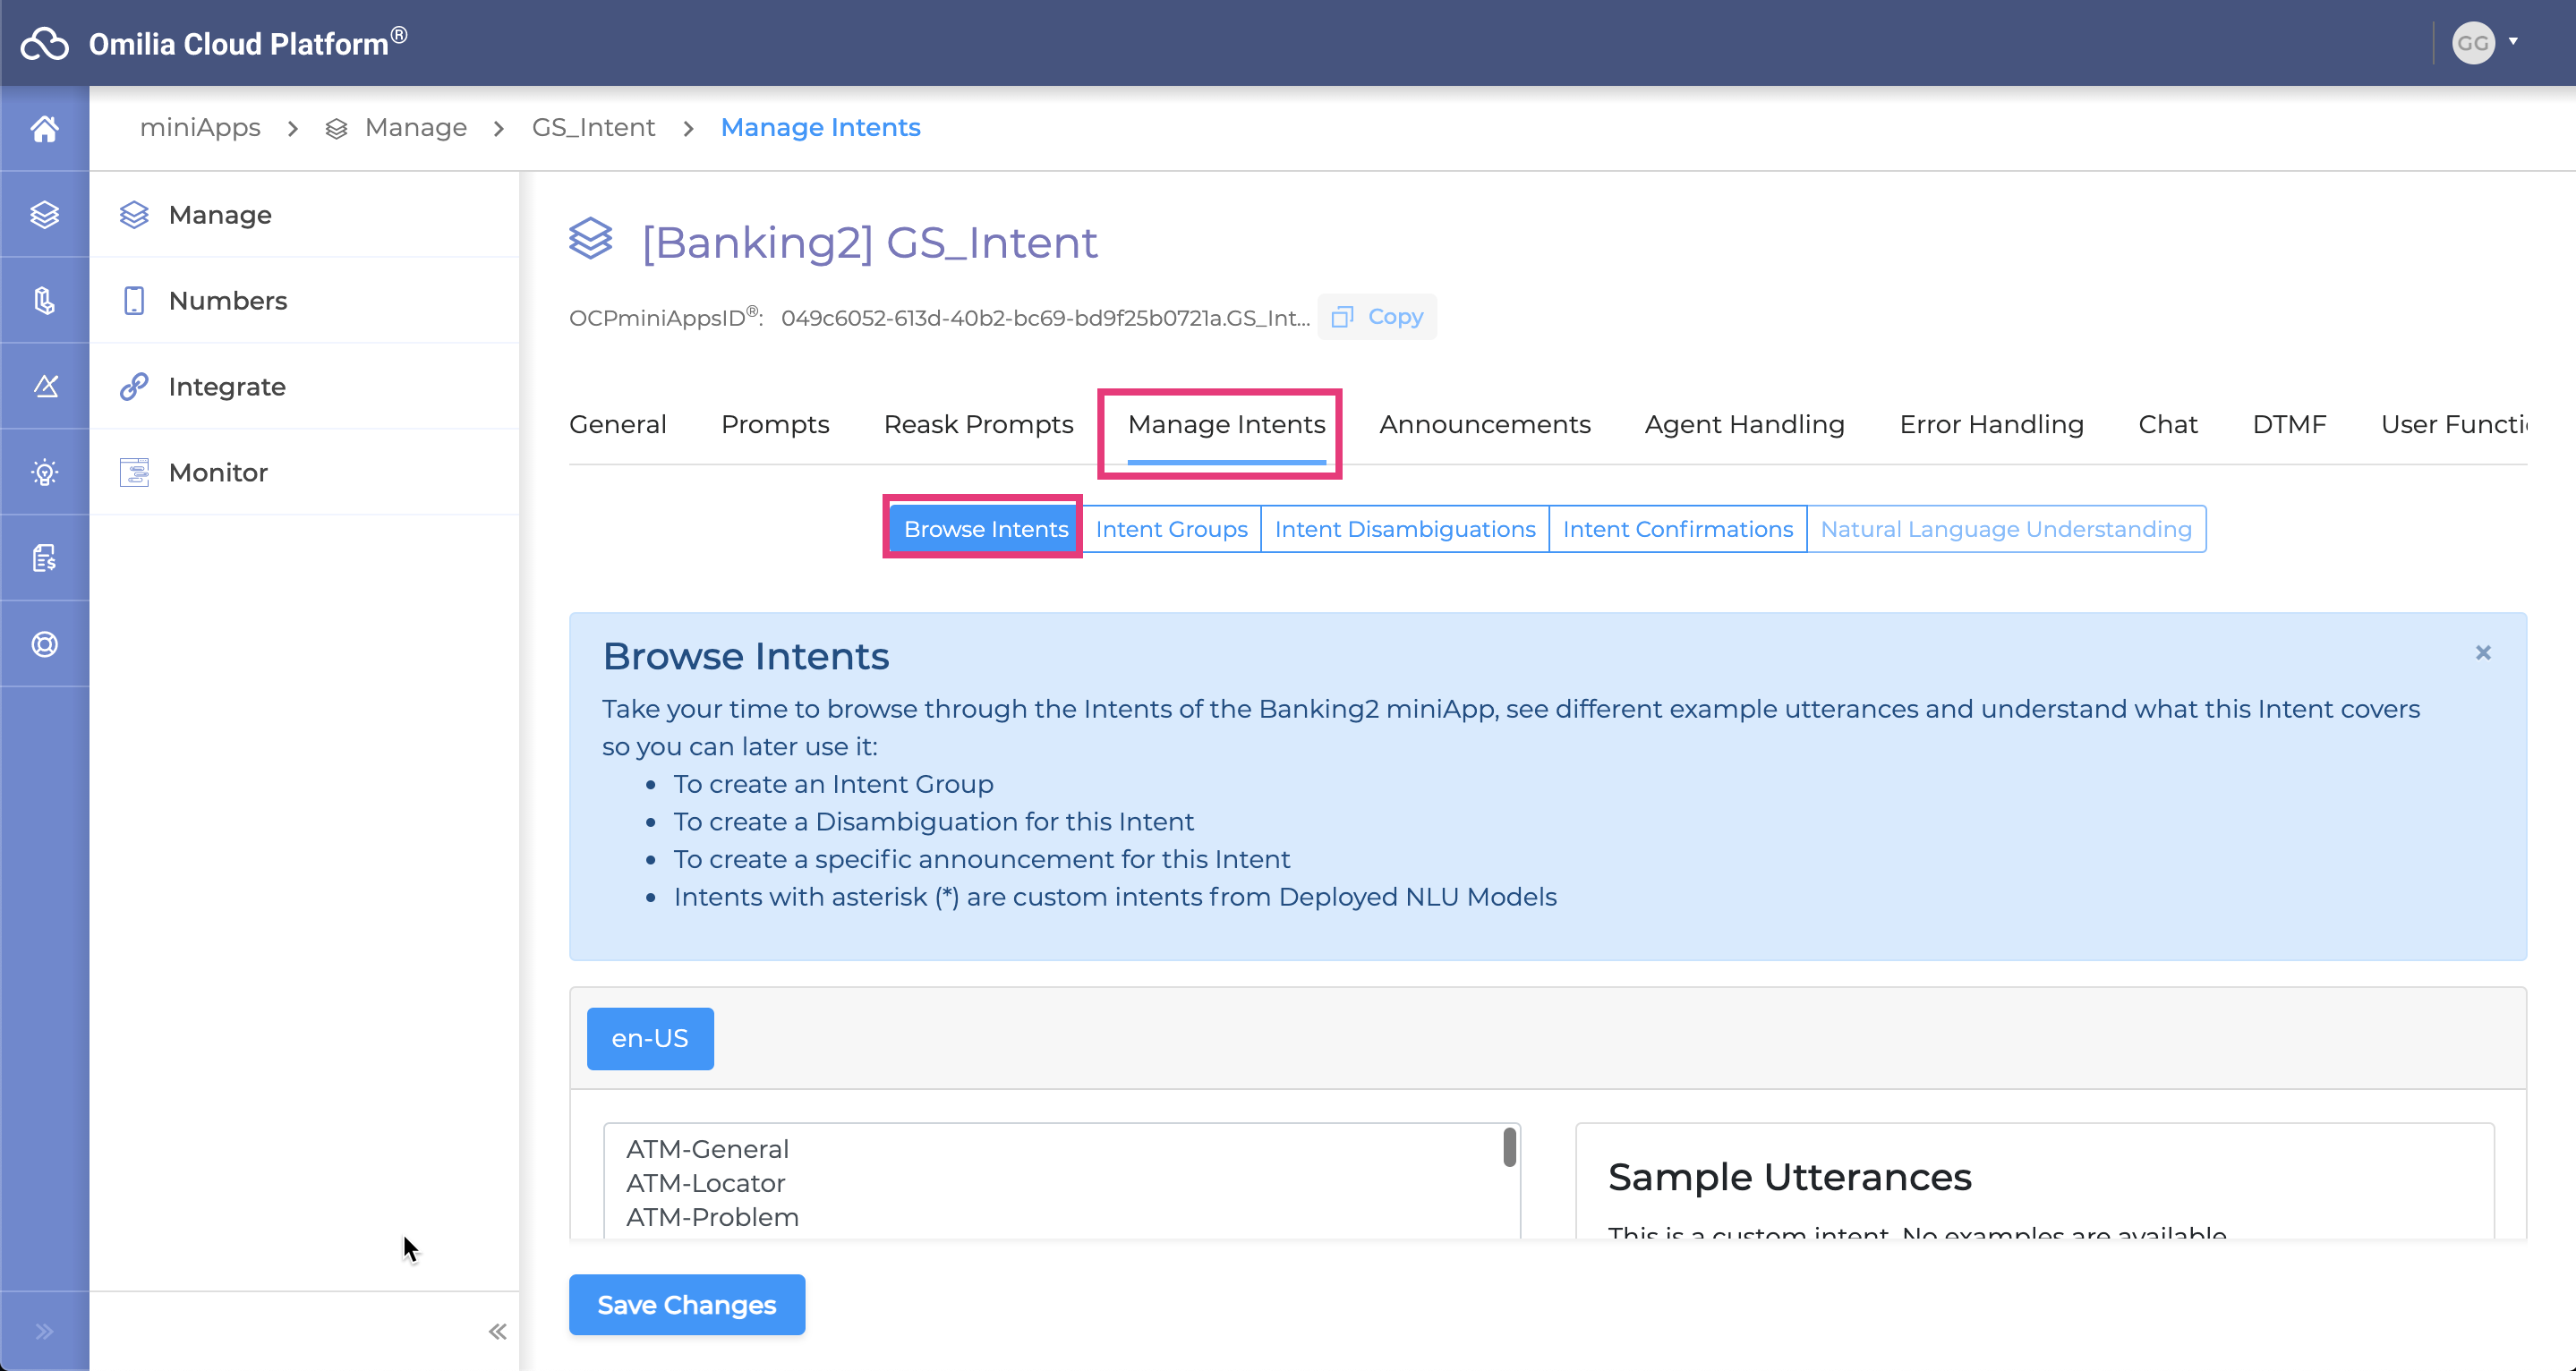
Manage Intents tab
3. Type card to move directly to intents that start with card since the intent we want to use are card-related.
4. Find the intents related to the card account, lost card and problem with card cases we want to create an announce for. These are:
Card-Cancel_Account
Card-Lost_Stolen
Card-Problem
Create an Announcement miniApp
Go to the Manage menu.
Click the +Create button.
Select an Announcement type miniApp from the list.
Name it GS_TransferCardD
Select a Group
Click the Create button
Select the GS_TransferCardD miniApp from the Manage menu.
Navigate to the Announcement tab
Delete all unnecessary prompts leaving only one.
Edit the Announcement prompt with phrase: Let me connect you with the card department.
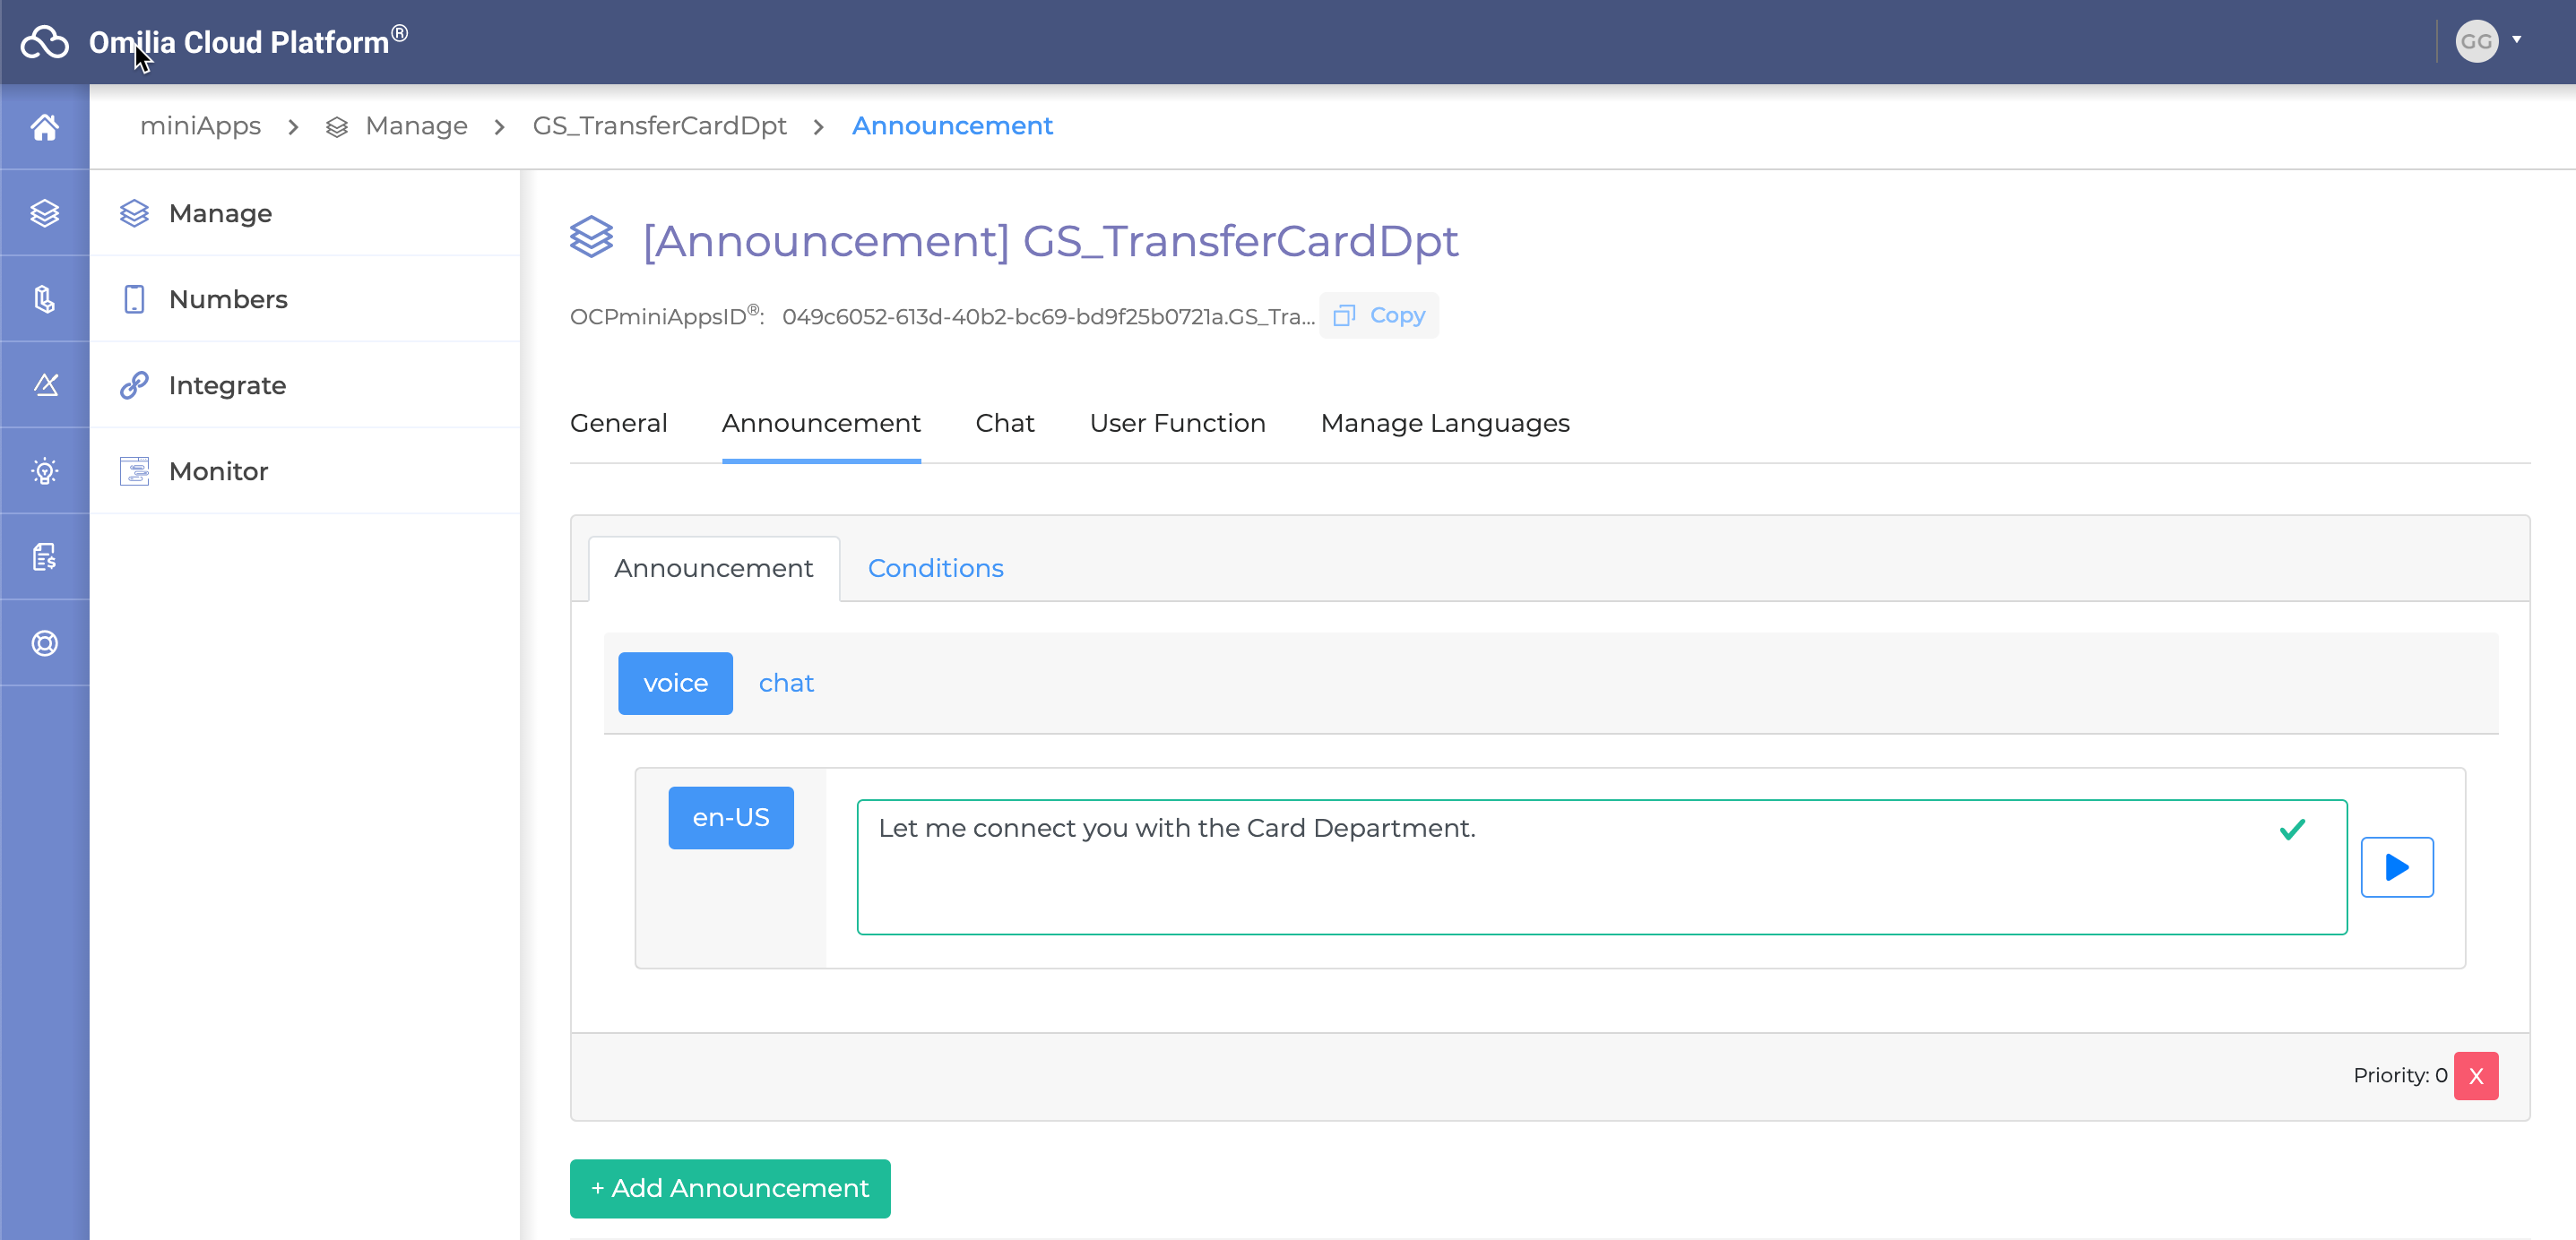
Announcement → Announcement sub-tab
7. Click the Conditions tab to decide onto which circumstances our announcement is applicable. Fill the below information:
Condition: Select the asterisk (*) at the end of the list, to make it always applicable.
Operator: Select Equals to
Value: Type an asterisk (*) in the input field.
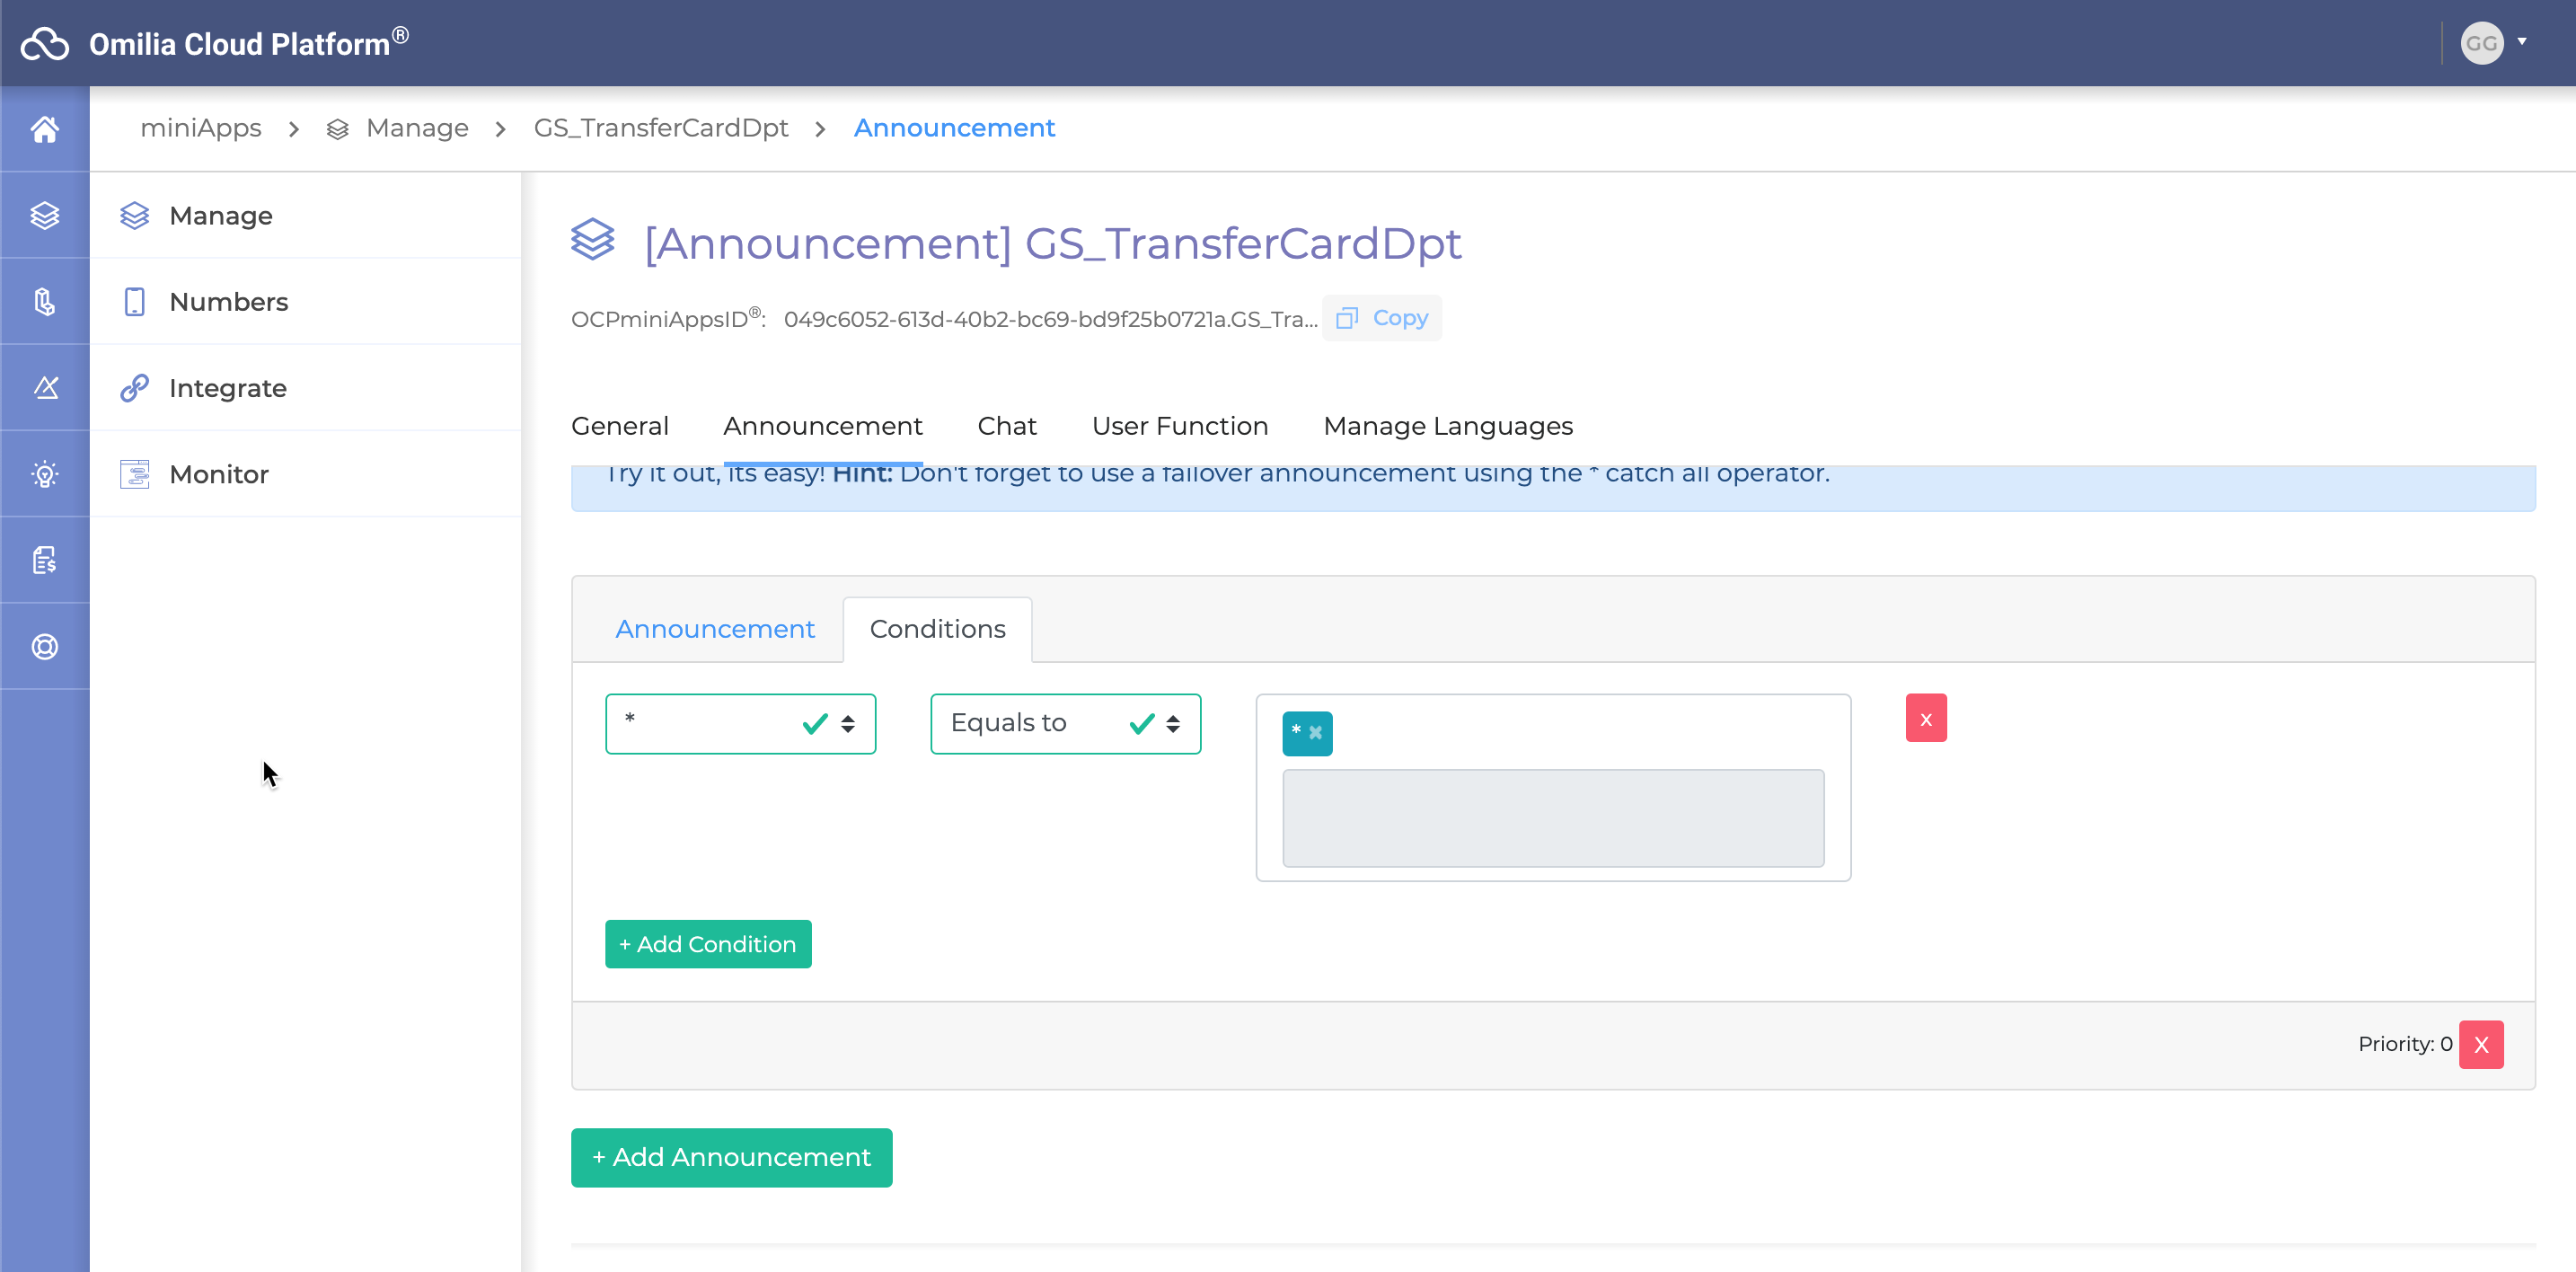
Announcement → Conditions sub-tab
8. Click Save Changes. The miniApp is complete and ready to be used.
Create a Transfer
Go to Orchestrator.
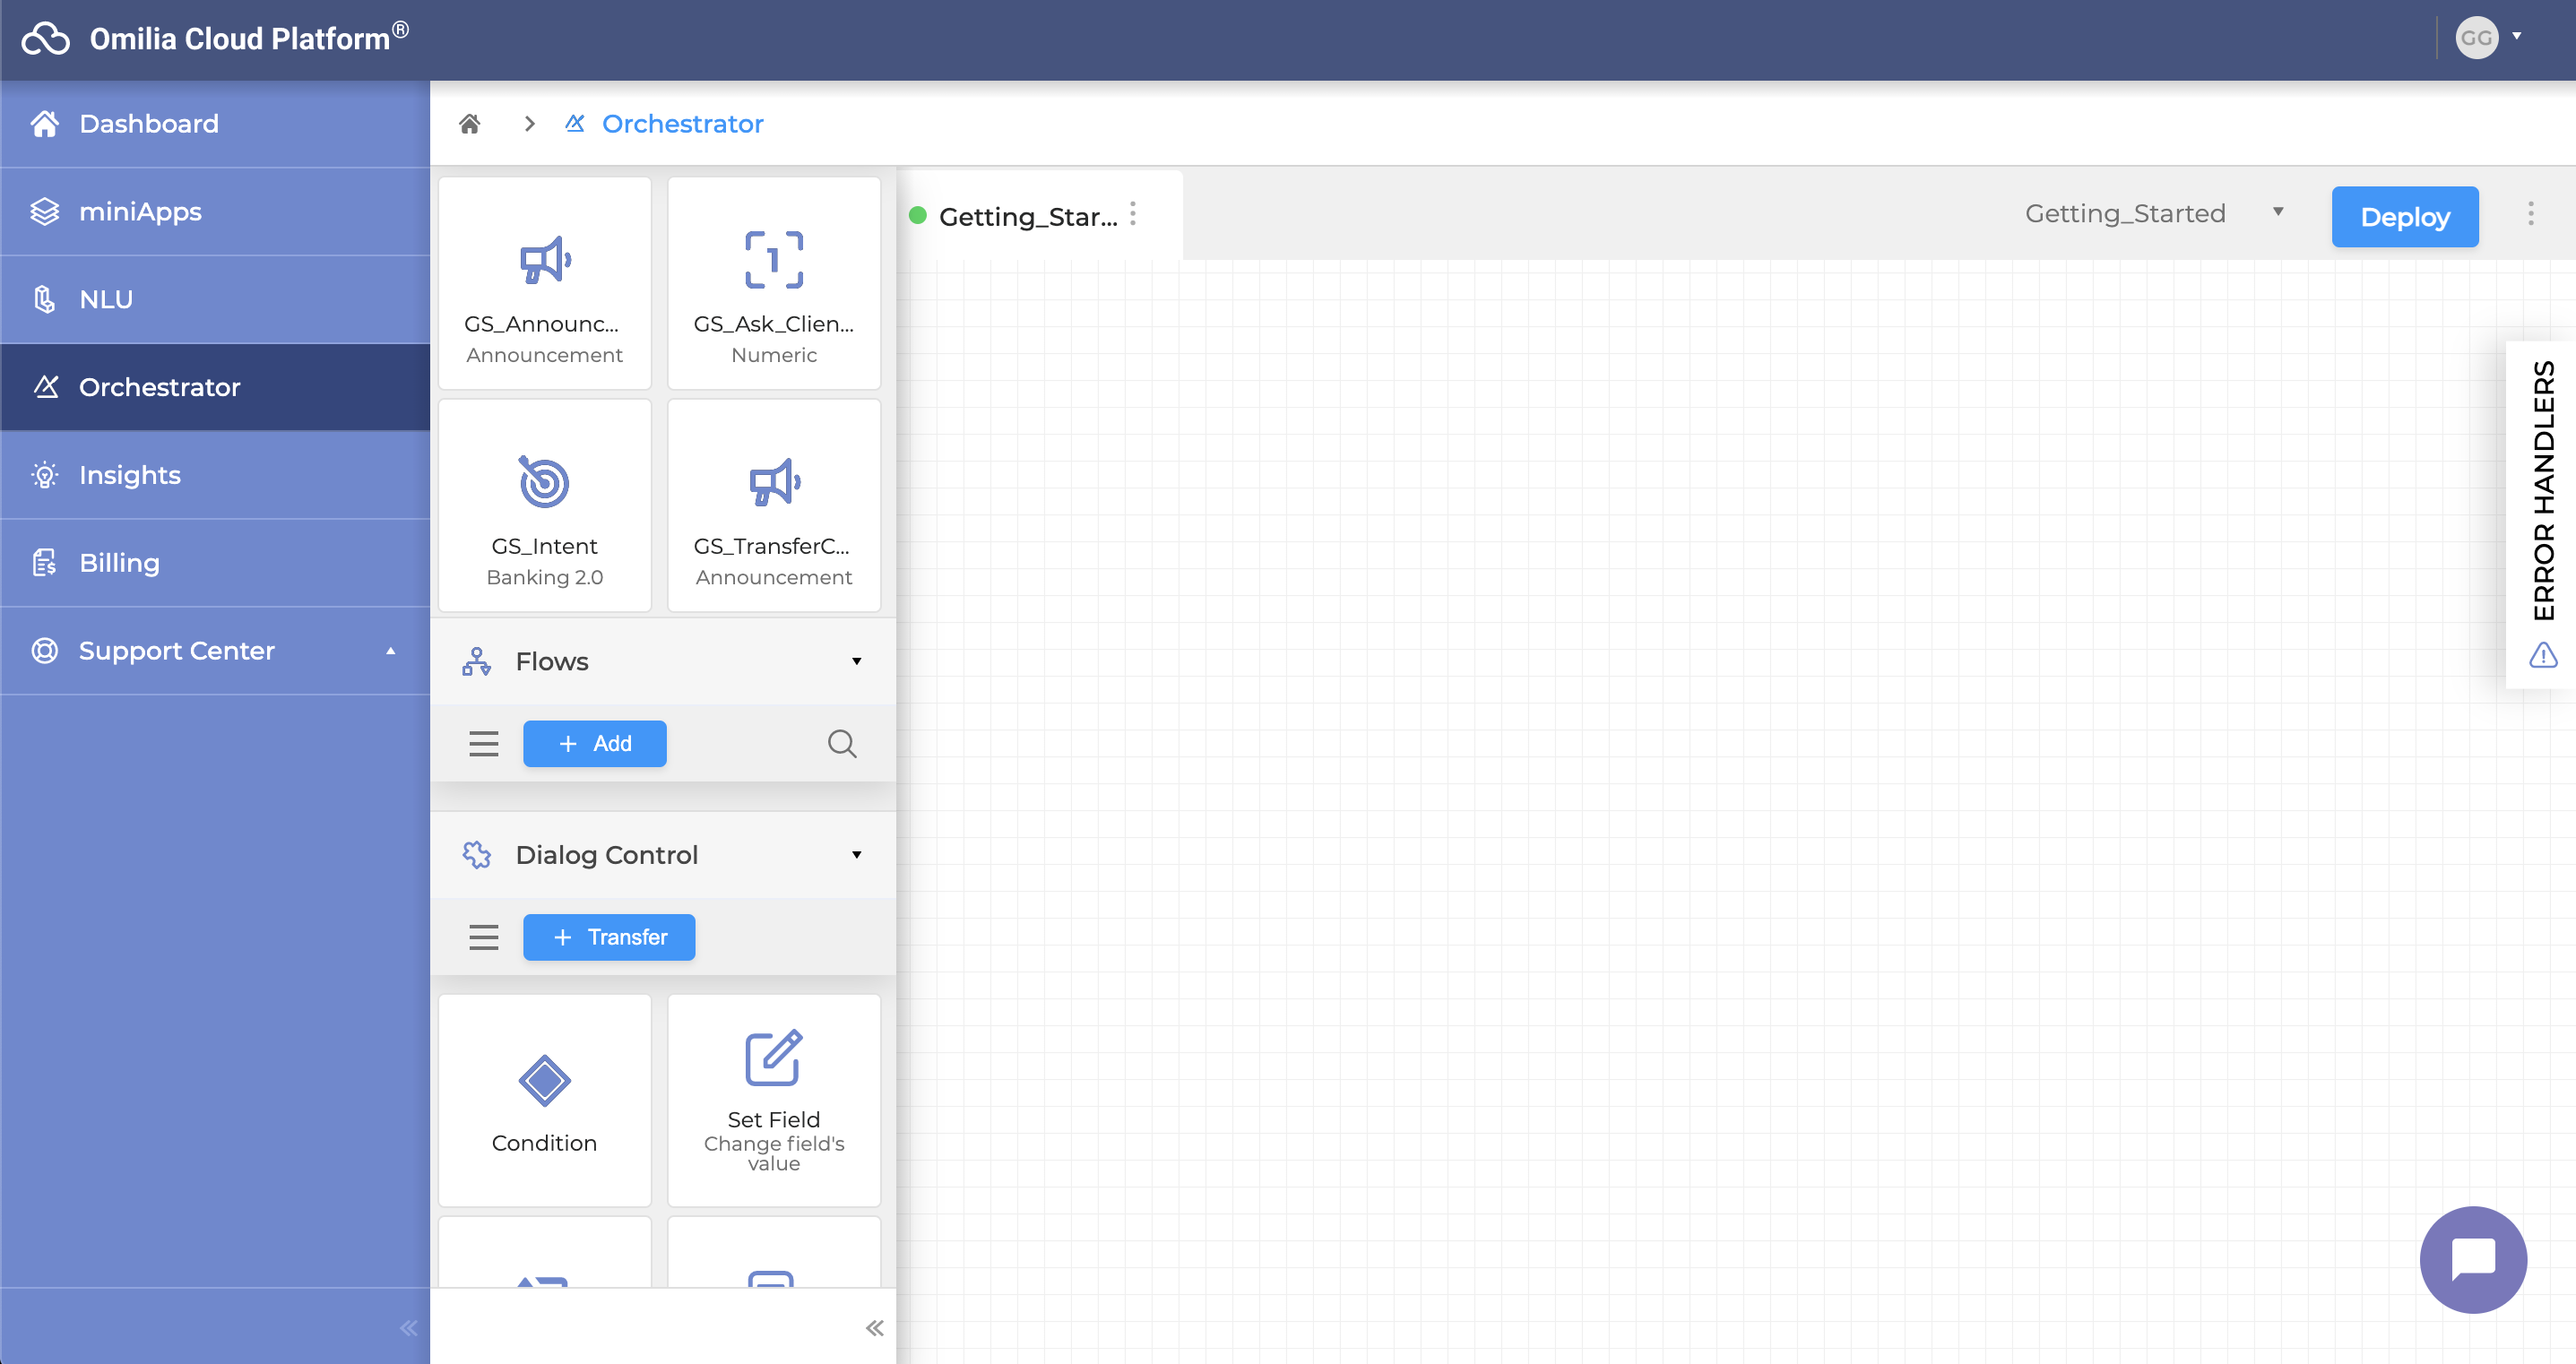
Orchestrator board
2. Drag and drop the GS_Intent miniApp.
3. Drag and drop a Condition block and link it to the GS_Intent miniApp.
4. Drag and drop the GS_TransferCardD Announcement miniApp and link it to the Condition block. The Condition Settings window will automatically open.
5. Add the three conditions from the intent miniApp that we need for the Announcement to be triggered, and click Save.
Conditions Settings menu
6. Click the +Transfer button in the dialog control menu on the left to create a new Transfer block.
Create/Edit Transfer window
7. Name the transfer block GS_CardDpt.
8. Declare as target number 12345.
9. Click Save.
10. Drag and drop the GS_CardDpt Transfer block.
11. Link the GS_TransferCardD Announcement miniApp to the GS_CardDpt Transfer block. The Transfer application is now ready and it should look like the image below in Orchestrator.
Complete Transfer Application
12. Click the Deploy button.
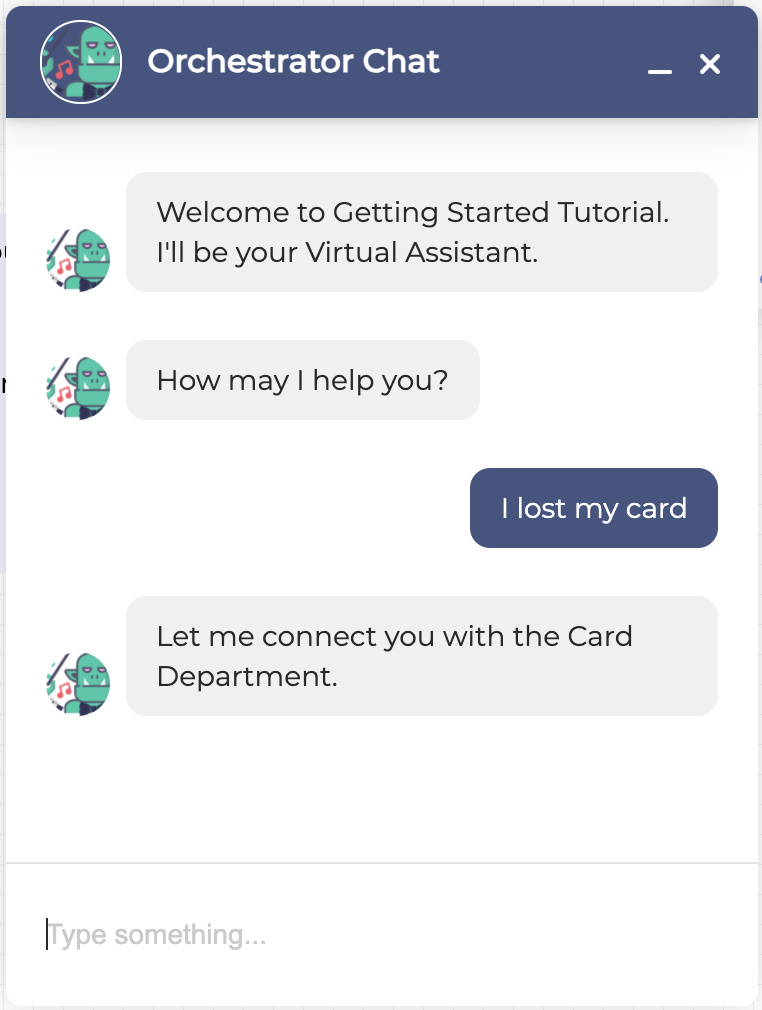
Test a Transfer application
Test the application in the Orchestrator Chat.
Click the Chat icon on the lower right to open the Orchestrator Chat.
Type in something that declares your intent that you lost or have a problem with your card and check how the dialog evolves.
Next tutorial 6 - Disambiguate a Vague Request